Mother’s Day Scroll Saw Patterns: 5 Easy Gifts to Cut This Weekend
A scroll saw turns a $5 piece of plywood into a keepsake Mom will keep long after the flowers are gone. Below are five beginner-friendly Mother’s Day patterns — a heart plaque, a jewelry box, a monogram sign, a flower trivet, and a photo frame — each with the wood, blade, and steps you need to finish it before Mother’s Day 2026 (May 10). None of them require advanced scroll saw skills; if you can trace a line and follow it slowly, you can finish any project here in an afternoon.
What You Need Before You Start
Best Beginner Scroll Saw
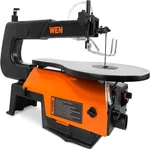 |
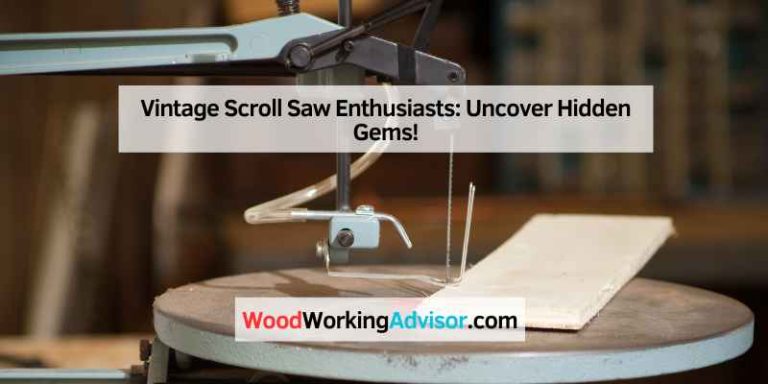
WEN 3922 16-inch Variable Speed Scroll Saw – $99.96 Every pattern in this guide, from the heart plaque to the jewelry box, is well within what this saw is built to handle.
|
Every project below uses the same basic kit, so it’s worth setting this up once:
- A scroll saw: A beginner variable-speed model, like the WEN 3922 below, handles all five patterns.
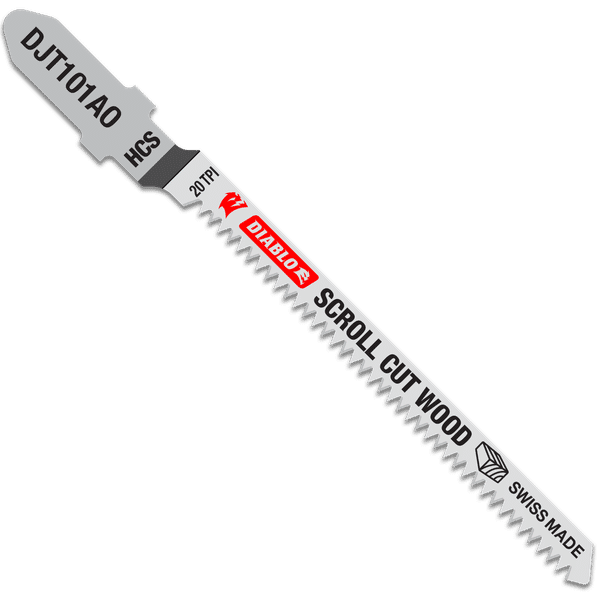
- Blades: #5 blades for most cuts, #2 or a spiral blade for tight inside curves.
- Wood: 1/4-inch birch plywood for flat plaques and signs; 1/2-inch pine or poplar for boxes.
- Sandpaper: 120-grit for shaping edges, 220-grit for a smooth final pass.
- Finish: Non-toxic wood stain, food-safe mineral oil (for anything that touches jewelry or food), or acrylic paint.
5 Mother’s Day Scroll Saw Patterns to Try
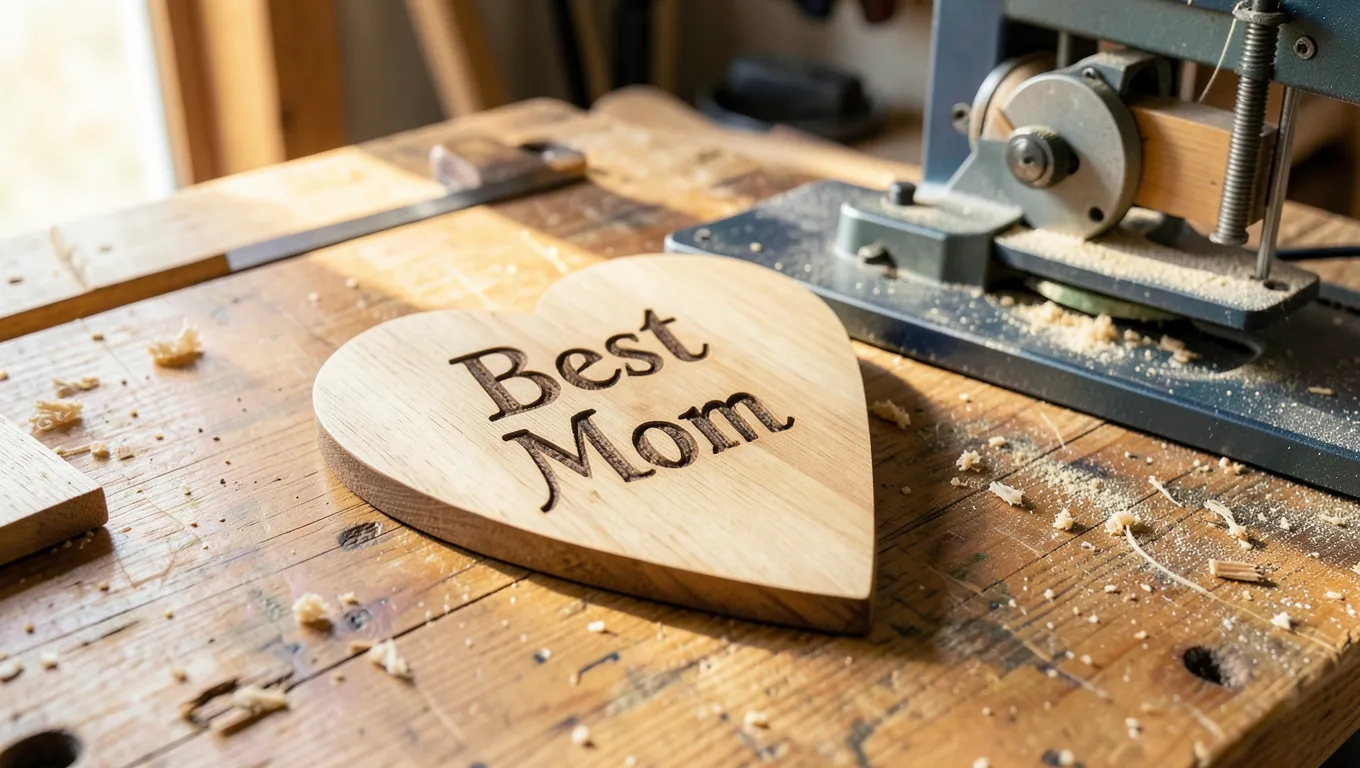
1. Heart-Shaped “Best Mom” Plaque
The simplest project on this list and a good first cut if you’ve never used a scroll saw before.
- Print or trace a heart outline with “Best Mom” (or her name) lettered in the center.
- Tape the pattern to a piece of 1/4-inch birch plywood.
- Cut the outer heart shape first with a #5 blade, going slow on the curves.
- Drill a small entry hole inside each letter, thread the blade through, and cut the letter interiors.
- Sand with 120-grit, then 220-grit, easing all the edges.
- Stain or paint, then glue a sawtooth hanger to the back.
Time: About 1.5–2 hours. Cost: Under $10 in materials.
2. Scroll-Cut Jewelry Box
A small box with a fretwork flower or vine panel set into the lid. This one takes longer but makes a gift Mom will actually use daily.
- Cut the box sides, bottom, and lid frame from 1/2-inch pine or poplar.
- Scroll-cut a thin (1/8-inch) fretwork panel with a flower or vine pattern for the lid inset.
- Glue and clamp the box sides and bottom together; let it dry fully before handling.
- Set the fretwork panel into the lid frame, backed with thin felt or dark fabric so the cutout pattern shows.
- Sand every edge that will be handled, since jewelry boxes get picked up and opened constantly.
- Finish with stain or paint, then line the interior with felt.
Time: 3–4 hours. Cost: $12–$20 in materials.
3. Personalized Monogram Sign
A single large initial or short word (“Mom,” “Grandma,” a family surname) cut from a thicker board and mounted on a contrasting backer.
- Cut the letter or word from 3/4-inch pine using a #7 blade for the thicker stock.
- Cut a slightly larger backer board from a contrasting wood or painted plywood.
- Sand the letter’s edges heavily since 3/4-inch stock leaves more visible saw marks than thin plywood.
- Glue the letter centered on the backer and clamp until dry.
- Finish both pieces before gluing if you want two different colors.
Time: 2 hours. Cost: $8–$15 in materials.
4. Flower Trivet
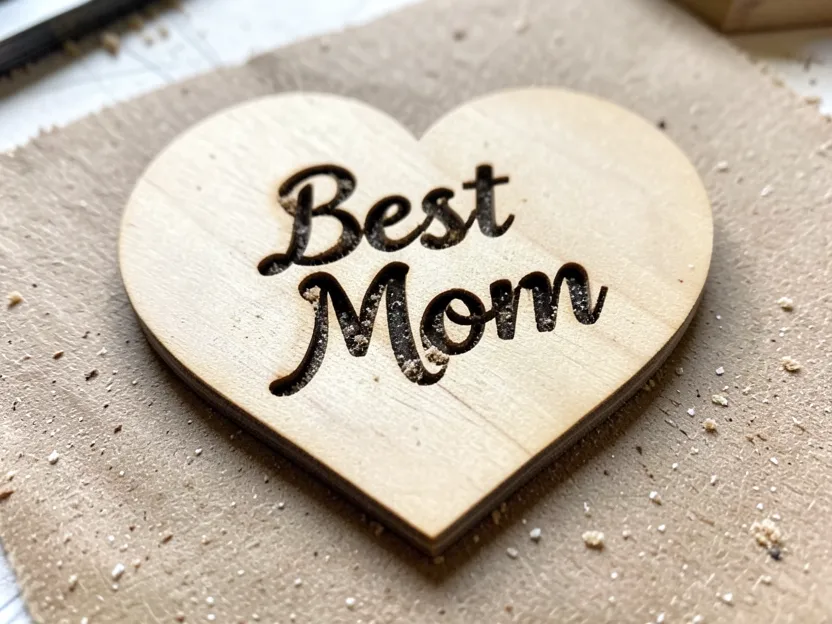
A flat, flower-shaped or scalloped-edge trivet in a heat-safe hardwood. Simple silhouette, no interior cuts, so it’s a good confidence-builder after the heart plaque.
- Trace a flower or scalloped-circle outline onto 1/2-inch hard maple or walnut.
- Cut the outline in one continuous pass where possible — fewer stops mean a smoother edge.
- Round over the top edge slightly with sandpaper so it’s comfortable to pick up.
- Finish with food-safe mineral oil rather than polyurethane, since it will sit under hot cookware.
Time: 1.5 hours. Cost: $6–$12 in materials.
5. Fretwork Photo Frame
A picture frame with a scroll-cut decorative border instead of a plain molding edge.
- Cut a frame front from 1/4-inch plywood with a rectangular photo opening in the center.
- Scroll-cut a decorative pattern (vines, hearts, or a scalloped border) around the outer edge.
- Cut a plain plywood backer slightly larger than the frame front.
- Glue the frame front to the backer along three sides only, leaving one side open to slide a photo in.
- Sand and finish, then add a stand or hanger on the back.
Time: 2–2.5 hours. Cost: $8–$15 in materials.
Safety Basics for Scroll Saw Work
- Wear safety glasses: Scroll saws throw fine dust and occasional blade fragments upward.
- Unplug before changing blades: Tool-free blade clamps still have tension on them; always disconnect power first.
- Keep fingers clear of the blade path: Use a push stick or your fingertips well back from the cut line, especially on small pieces.
- Let kids trace and sand, not cut: If a child is helping, an adult should run the saw; kids can handle tracing patterns and sanding finished pieces.
If Your Cuts Aren’t Perfect
A wobble in a curve or a slightly uneven letter is normal on early scroll saw projects — the blade flexes more than a table saw or jigsaw blade, and it takes a few cuts to get a feel for feed rate. Sanding removes small saw marks, and paint or a darker stain hides more than you’d expect. If a cut goes badly wrong on an inside detail, it’s usually faster to reprint the pattern and start that one piece over than to try to fix it with filler.
Where to Find More Patterns
Once you’ve tried these five, our free beginner scroll saw pattern library and advanced scroll saw pattern guide cover more designs once you’re ready to move past beginner projects. Looking for a Mother’s Day gift that doesn’t require a scroll saw at all? See our broader Mother’s Day woodworking gift guide for cutting-board, coaster, and plant-stand ideas.
Frequently Asked Questions
What are Mother’s Day scroll saw patterns?
They’re printable templates — hearts, flowers, monograms, or words like “Mom” — that you trace onto wood and cut out with a scroll saw to make handmade Mother’s Day gifts.
What’s the best wood for a beginner project?
1/4-inch birch plywood for flat plaques and signs, or 1/2-inch pine for boxes. Both are inexpensive, cut cleanly, and are easy to find at any hardware store.
Do I need an expensive scroll saw?
No. A beginner variable-speed saw in the $90–$130 range, like the WEN 3922, handles every pattern in this guide.
How long does a project take?
The heart plaque and flower trivet take about 1.5–2 hours each. The jewelry box is the most involved, at 3–4 hours including glue-up and drying time.
Can kids help with scroll saw projects?
Yes, with supervision. Kids can trace patterns, hold pieces steady, and sand finished cuts, but an adult should operate the saw itself.
What if my cuts aren’t perfect?
Sand out small wobbles and cover minor gaps with stain or paint. First scroll saw projects rarely come out perfectly straight, and it doesn’t show as much as you’d expect once finished.
Any of these five patterns can be finished in a single weekend with a beginner scroll saw and under $20 in wood. Start with the heart plaque if you’ve never used a scroll saw before, and work up to the jewelry box once you’re comfortable with the blade. Mom won’t remember whether the corners were perfectly square — she’ll remember that you made it.
Sponsored / affiliate links. As an Amazon Associate I earn from qualifying purchases. I may earn additional commission from eligible campaigns.