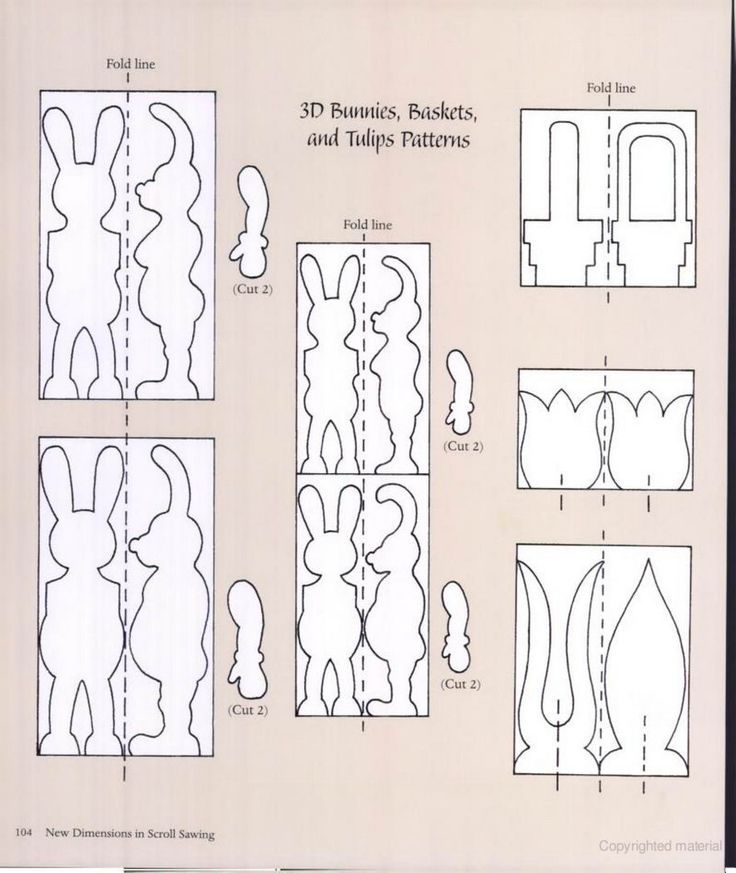
Free 3D Scroll Saw Patterns: Real Sources & Segmentation Guide
Genuinely free 3D scroll saw patterns exist, but “3D” here almost always means segmentation — cutting and stacking layers of wood to create depth, not a literal 3D-printed file.
Getting a convincing dimensional effect depends less on finding the perfect pattern than on understanding positive and negative space, so a piece stays structurally connected while still reading as three-dimensional. Skip a bridging point and a whole section can fall apart mid-cut.
This guide covers real free pattern sources beyond “check Pinterest,” the segmentation technique for designing your own layered pattern, and the tools that make clean multi-layer cuts possible.
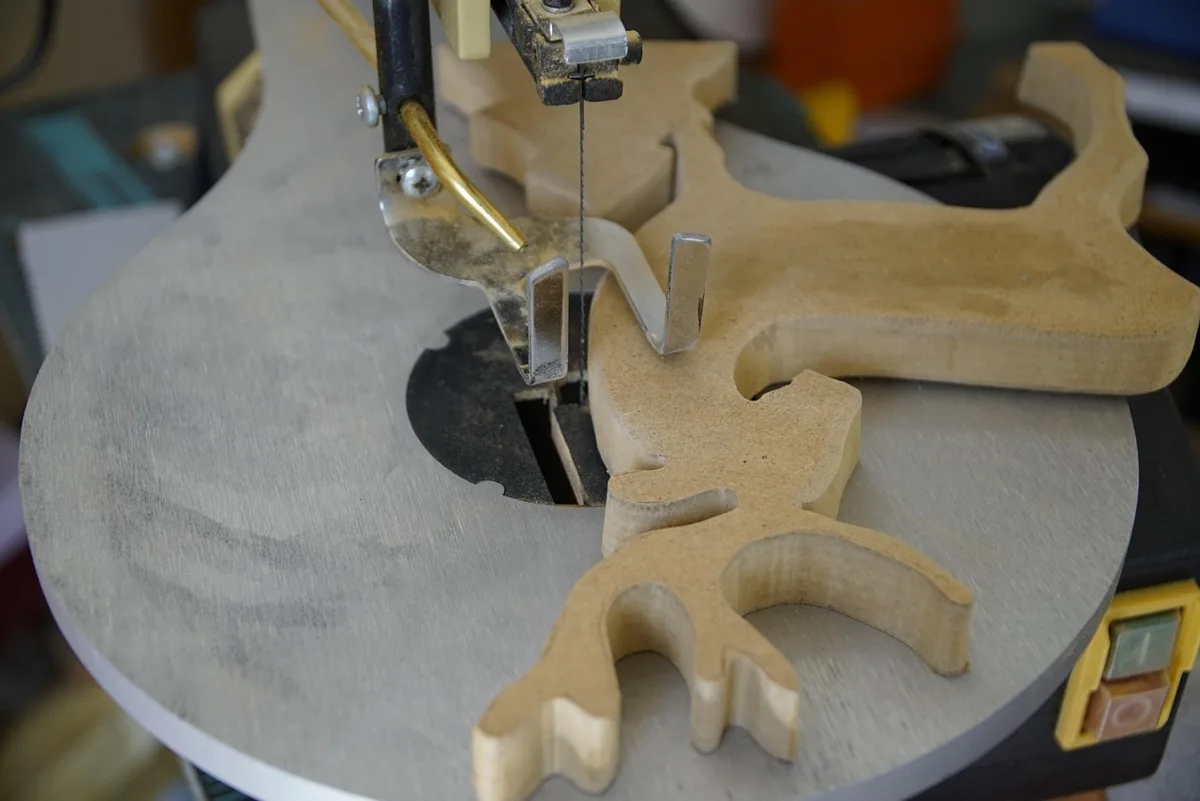
Choosing The Right Patterns
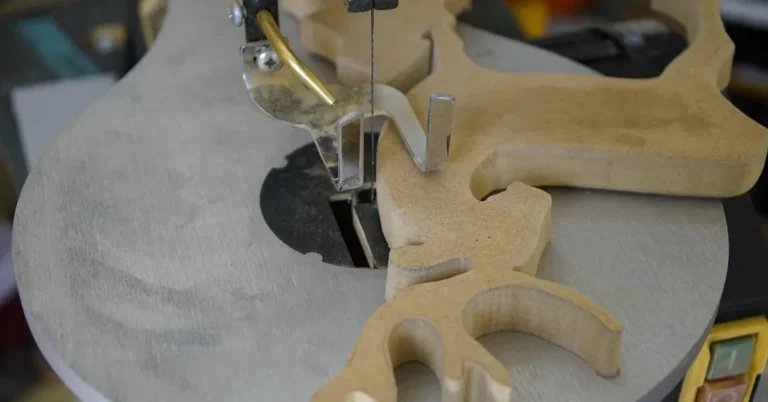
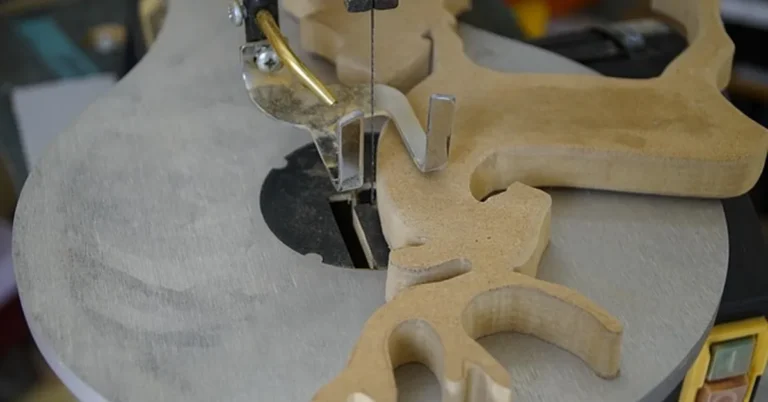
3D scroll saw patterns (more accurately called segmentation patterns) create the illusion of depth by dividing a design into pieces that are cut, shaped, and reassembled at slightly different heights or angles, rather than being cut flat from a single board. This makes them more involved than a standard silhouette cutout but achievable once you understand the layering logic.
Start by evaluating how many segments a pattern has before committing to it — a pattern with 5-10 pieces is a reasonable first project, while pieces with 30+ segments (common in detailed animal or portrait segmentation) demand more patience and precision. Count the pieces before you cut, not after you’re partway through.
Where To Actually Find Free 3D Patterns
Real sources that publish free segmentation and 3D scroll saw patterns, rather than just linking back to Pinterest:
- Scroll Saw Artist — a dedicated pattern library with a specific compound-cut and 3D section, ranging from beginner to advanced difficulty.
- 3axis.co — free 3D scroll saw patterns as PDF and DXF downloads, including puzzle-style animal designs.
- SunCatcher Studio — printable and downloadable patterns in SVG, PNG, and JPEG for beginner through advanced skill levels.
Our own roundup of 10 free scroll saw patterns and Steve Good’s long-running pattern blog are both worth checking for 2D designs you can adapt into a layered version yourself using the segmentation method below.
Essential Tools And Materials
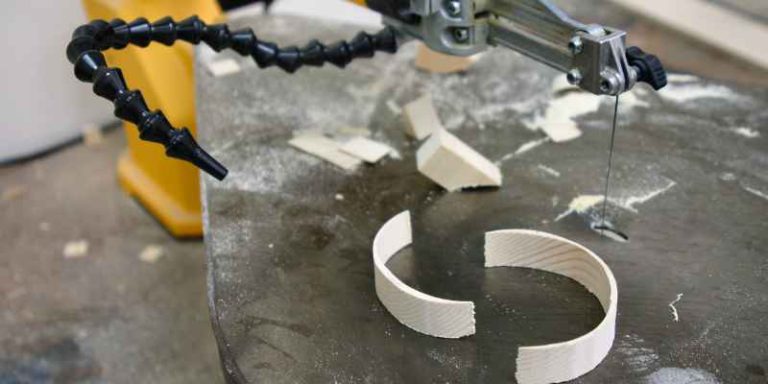
The scroll saw’s small, controllable blade is what makes tight curves and interior cuts possible — the same reason it’s the standard tool for segmentation work rather than a bandsaw or jigsaw. Thin, fine-toothed blades work best for the delicate bridging sections in a layered pattern, since a coarse blade is more likely to snap a thin connecting piece. Segmentation also eats bench space, which is why our guide to the best scroll saw for woodworking compares each machine’s table size against the panel width its throat depth actually allows.
Wood choice matters more here than for flat cutouts. Basswood is the standard choice for segmentation because it’s soft, tight-grained, and holds detail without splintering along thin bridges. Harder woods like oak look striking once finished but are far less forgiving on thin connecting sections — save them for simpler, fewer-piece patterns. Fine-toothed blades that cut smoothly reduce the risk of tear-out on visible edges.
Gear For 3D Segmentation Projects
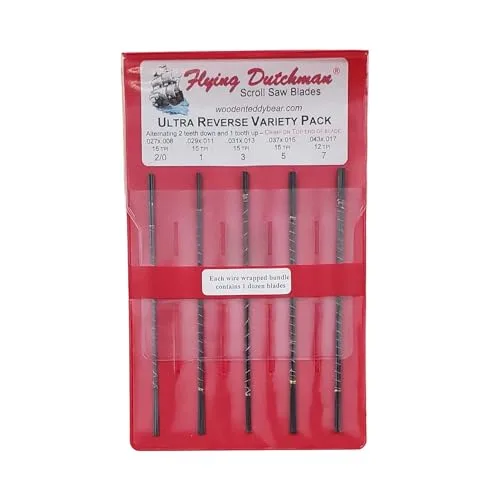
Flying Dutchman Blade Variety Pack
Best for: switching between fine-detail and general-purpose cuts on the same project
Why we picked it: a 5-dozen assortment covers the range of tooth counts segmentation work actually needs, instead of buying single packs repeatedly
Main drawback: pinless blades require a saw that accepts them — check your scroll saw’s blade clamp first
Check Price on Amazon
Scroll Saw Segmentation Book
Patrick Spielman’s reference on positive/negative space and bridging — the standard text on this technique.
Check Price →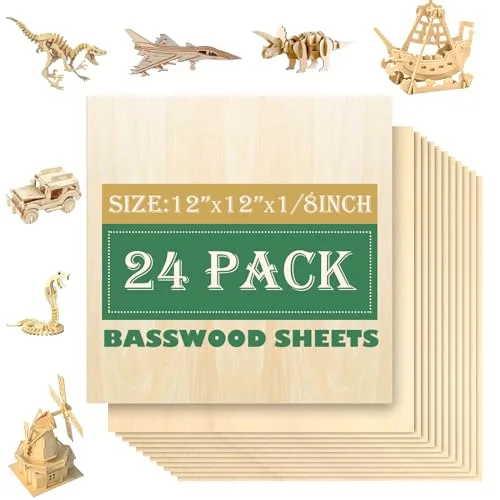
Basswood Project Sheets
The standard segmentation wood — soft and tight-grained enough to hold thin bridges.
Check Price →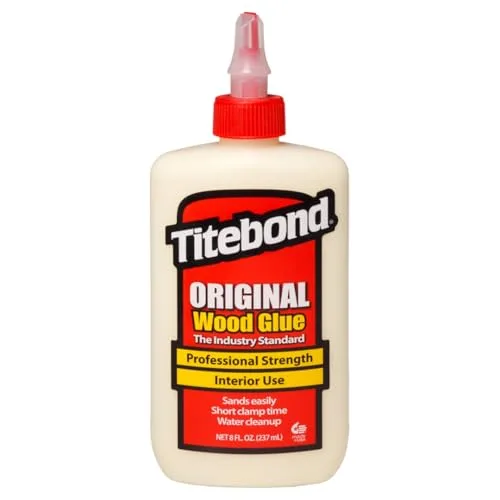
Titebond Wood Glue
For gluing shaped segments back together once each layer is cut and contoured.
Check Price →How To Design Your Own 3D Pattern (Segmentation Basics)
This is the step most “free pattern” roundups skip, and it’s what people are really asking when they search for how to make a 3D scroll saw pattern rather than just download one. Segmentation works by dividing a design into distinct areas — a technique called plane patterning — using either geometric shapes (triangles and simple forms to define body parts or background sections) or freestyle outlines that follow the natural divisions in the image, like feather groups on a bird or muscle groups on an animal.
Every segmented pattern needs both positive space (the wood that stays) and negative space (what’s cut away), connected by bridges — narrow sections of positive space that hold otherwise-separate pieces together during cutting. Plan your bridges before you cut: a segment with no bridge to its neighbor will simply fall out. Once all segments are cut, each piece is typically chamfered, rounded, or shaped with a rotary tool before being glued back into its final layered position — this contouring step is what actually creates the 3D look, not the cutting alone.

Preparing Your Workspace
Organize tools within reach and ensure ample lighting over the cutting area before starting a multi-piece segmentation project — losing track of small cut segments is a common frustration, and good light helps you spot thin bridge sections before they snap.
Safety Precautions
Wear eye protection and keep hands clear of the blade path. Use ear protection for extended cutting sessions, avoid loose clothing that can catch on the saw, and keep a first-aid kit within reach.
Organizing Your Tools
With a segmented pattern producing many small pieces, label or bag each numbered segment as you cut it so reassembly matches your plan. Check blades before use and keep spares on hand — thin blades break more often on detailed segmentation work.
Lighting And Ventilation
Position bright, direct lighting over the work area so you can see fine cut lines clearly. Ventilate the space, especially when sanding basswood dust or using a rotary tool to shape segments.
Techniques For 3D Cutting
Beyond single-board segmentation, stacking separate wood layers is another way to build depth — each layer is cut as its own flat piece, then glued on top of the last, with layers set back slightly to create a stepped, dimensional profile from the side. Align layers carefully before gluing; a misaligned layer is far easier to fix before the glue sets than after.
Varying wood tone between layers (light basswood against a darker walnut or cherry layer) reinforces the depth effect even more than shape alone. Sand each layer’s edges smooth before assembly rather than after — it’s much harder to sand cleanly into a tight corner once layers are glued together.
Tips For Successful Projects
Beginners often rush straight into a complex, many-segment pattern — start with something in the 5-10 piece range instead. Keep blades sharp, since a dull blade is more likely to wander and break a thin bridge than a fresh one. Dry-fit all segments before gluing anything permanently; it’s much easier to catch a sizing mistake at that stage.
Break larger, high-segment-count projects into sessions rather than trying to finish in one sitting — fatigue is when most bridge-breaking mistakes happen.
Showcasing Your Creations
Photograph finished pieces in natural side-lighting rather than straight-on — raking light across a layered or segmented piece is what actually shows off the depth you built into it. A plain background keeps attention on the piece itself.

Scroll saw and segmentation-specific crafting forums tend to give more useful, technique-focused feedback than general craft social media, since other members understand the bridging and layering challenges specific to this work.
Frequently Asked Questions
What Are 3D Scroll Saw Patterns?
3D scroll saw patterns, more precisely called segmentation patterns, divide a design into pieces that are cut, shaped, and reassembled at different heights or angles to create the appearance of depth, rather than being cut flat from one board.
Where Can I Find Free 3D Scroll Saw Patterns?
Scroll Saw Artist, 3axis.co, and SunCatcher Studio all publish genuinely free 3D and segmentation patterns as PDF, DXF, or SVG downloads. Always check the license terms on any pattern before using it commercially.
How Do I Make My Own 3D Scroll Saw Pattern?
Divide your design into segments using geometric or freestyle plane patterning, plan bridges to keep separate pieces connected during cutting, then cut, shape, and reassemble each segment at a slightly different depth or angle. Patrick Spielman’s “Scroll Saw Segmentation” is the standard reference for this technique.
Are 3D Scroll Saw Patterns Hard To Cut?
They’re more demanding than flat cutouts because thin bridging sections can snap easily. Starting with a 5-10 segment pattern before attempting a 30+ piece design is the easiest way to build the skill without frustration.
What Materials Work Best For 3D Scroll Saw Projects?
Basswood is the standard choice since it’s soft, tight-grained, and holds detail on thin bridges without splintering. Harder woods look striking once finished but are less forgiving for beginners on delicate connecting sections.
Conclusion
Free 3D scroll saw patterns are out there from real sources, not just Pinterest boards — but the real skill worth building is segmentation itself: understanding positive and negative space, planning bridges, and shaping each piece after cutting. Start small, with a low-segment-count pattern in basswood, before attempting a complex multi-layer design.
Sponsored / affiliate links. As an Amazon Associate I earn from qualifying purchases. I may earn additional commission from eligible campaigns.