SKIL Table Saw Zero Clearance Insert: Find Your Exact Part Number
Searching “SKIL table saw zero clearance insert” only gets you halfway there — SKIL sells three different insert plates across its table saw lineup, and putting the wrong one in a search bar (or an Amazon cart) wastes a return shipment. The part number depends entirely on which SKIL saw you own: STZ6307 for the TS6307-00, SPT00C for the SPT70WT/SPT99, and SPT5004-ZC for the SPT99T. Below is how to find your exact match, install it without cracking the plastic, and decide whether a $16 aftermarket plate or a shop-made hardboard insert is the better call for your shop.
Find the Right Insert for Your SKIL Table Saw Model
Fits SKIL TS6307-00
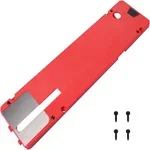 |
GEAIN STZ6307 Zero Clearance Insert – $16.39 A direct drop-in for the SKIL TS6307-00 (the 15-amp jobsite saw this site also reviews) — the exact part number to search for instead of a generic listing.
|
SKIL doesn’t use one universal insert across its table saws, so match the part number to your model before ordering:
- SKIL TS6307-00 (the 15-amp, 10-inch jobsite saw with the folding stand) — part number STZ6307. This is the model covered above and in our SKIL 15 amp table saw review.
- SKILSAW SPT70WT and SPT99 — part number SPT00C, which replaced the older SPTA70WT-ZC.
- SKILSAW SPT99T — part number SPT5004-ZC, sized specifically for that saw’s throat plate.
If you’re not sure which saw you have, check the model number stamped on the saw’s data plate (usually on the motor housing or rear guard) rather than guessing from the amperage rating alone — SKIL has sold more than one 15-amp 10-inch saw over the years, and the throat opening dimensions differ enough that an insert made for the wrong one won’t sit flush.
Why the Stock Throat Plate Isn’t Good Enough
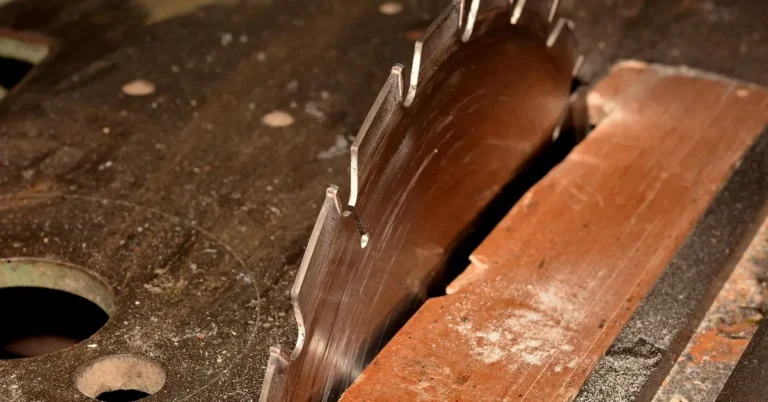
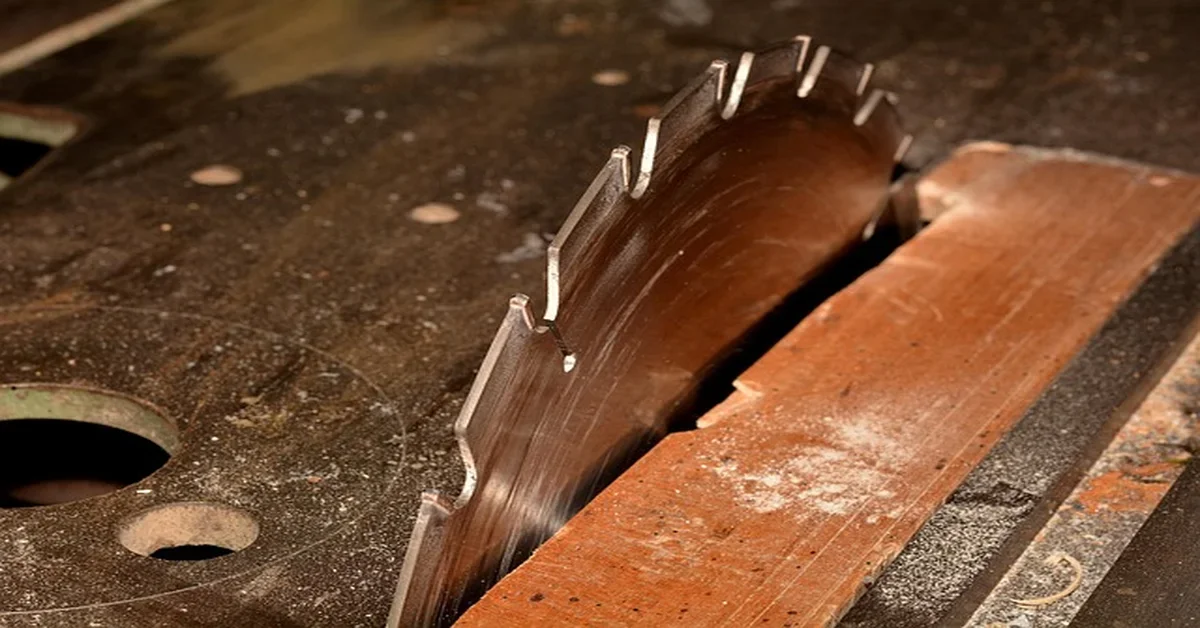
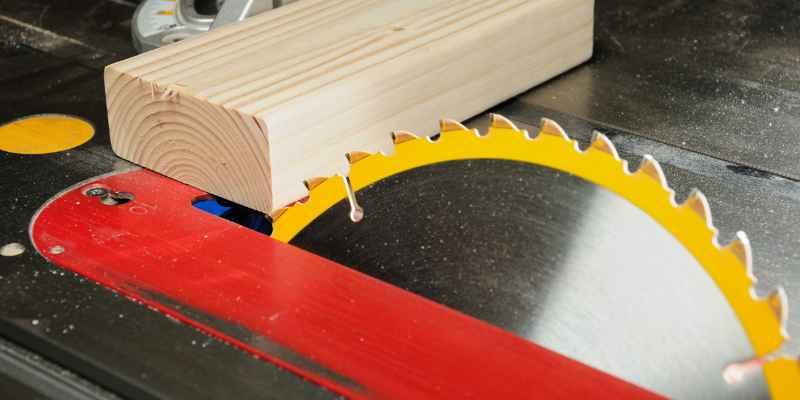
Every table saw ships with a throat plate wide enough to accommodate blades from a standard thin-kerf up to a full dado stack, which means there’s a gap on either side of a regular blade that a workpiece never needs. That gap is where thin offcuts, plywood veneer, and the leading edge of a crosscut have nowhere to be supported, so the wood fibers tear rather than shear cleanly. A zero clearance insert is just a blank plate that you cut your own slot into with the saw itself, so the resulting kerf matches your blade’s exact kerf width and nothing else — no play, no unsupported edge.
The practical difference shows up most on cross-grain cuts in plywood, melamine, and veneered sheet goods, where the underside of the cut is prone to chipping as the blade exits. It also matters for kickback risk: with the stock opening, a thin offcut can drop into the gap and get caught by the blade instead of falling clear, which is one of the more common ways splinters and small cutoffs get thrown back at the operator.
Installing and Cutting In the Insert
A new insert arrives as a flat blank with no blade slot at all — you create the slot by running the saw itself, which is the step most first-time buyers get wrong.
- Unplug the saw, lower the blade fully, and remove the riving knife before you start. This is the single most important step: several owners of the STZ6307 insert have reported the plastic cracking or shattering because they left the riving knife in place during the first cut.
- Remove the stock insert and set the new blank into the throat opening, using the leveling screws around its edge to get it flush with the table surface — check with a straightedge across the gap, not just by eye.
- With the insert secured and the blade still below the table, turn the saw on and slowly raise the blade through the blank to its full cutting height. Go slowly; forcing it through too fast is what causes the plastic to flex, bind, or bow in the middle instead of cutting a clean slot.
- Turn the saw off, reinstall the riving knife, and check that the slot is long enough for the full range of motion the riving knife and blade guard need — on some plates the factory pre-score is meant only as a starting guide and needs to be extended slightly with the running blade or a utility knife.
- Run a test cut in scrap to confirm the plate sits flush and doesn’t rock under light hand pressure before trusting it with a real workpiece.
OEM Plastic, Aftermarket, or a Shop-Made Insert?
You have three real options once the stock plate isn’t cutting it anymore, and each trades off differently:
Aftermarket plastic (like the STZ6307 above) is the fastest and cheapest fix at under $20, and it’s a precise fit for the specific model it’s made for. The tradeoff, based on the pattern across current owner reviews, is that the plastic is soft enough to cut easily (which is the point) but also soft enough to warp slightly if it sits in a hot garage or gets the riving knife pressed into it during the break-in cut. It’s a good default choice, not a lifetime part.
A shop-made insert from 1/4-inch hardboard or Baltic birch plywood costs close to nothing if you already have material on hand, and it’s more rigid than the injection-molded plastic options. The catch is that you need to trace the stock plate’s outline and leveling-screw locations accurately, and hardboard will eventually need replacing once the slot widens from repeated blade changes — it just doesn’t spring back the way some plastics do.
SKIL’s own OEM dado insert (STA6307 for the TS6307-00) is a different part entirely and isn’t a zero-clearance insert — it’s sized for a dado stack, with a wider opening. If your only goal is a tighter single-blade kerf, the zero clearance plate is the right purchase; the dado plate is only needed if you’re running rabbets or grooves with a stacked dado set.
Maintenance and When to Replace It
A zero clearance insert doesn’t need much upkeep, but a few habits extend its life. Clear sawdust out of the slot and leveling-screw holes with a brush or compressed air rather than letting it pack in, since compacted dust under the plate is a common cause of an insert sitting slightly proud of the table. Avoid resting hot offcuts or leaving the saw in direct sun on the plate, since prolonged heat is what causes the plastic versions to bow.
Replace the insert once the slot has widened enough that thin offcuts can rock or drop into it, once you can see daylight under a straightedge laid across the middle of the plate, or once it’s visibly cracked. None of these are safe to keep using — a loose or warped insert reintroduces the exact tear-out and kickback risk the plate is there to prevent.
Safety Notes Specific to Zero Clearance Inserts
Keep the riving knife installed for every cut once the insert’s slot is cut in — it should only come out for the initial cut-in itself. A riving knife left out permanently increases the chance of the workpiece pinching the blade and kicking back, and it’s a step some owners skip after installation and don’t put back. Also confirm the insert’s slot is compatible with whatever blade you’re currently running: switching from a thin-kerf to a full-kerf blade, or to a different blade height, can mean the slot no longer matches, and a mismatched slot defeats the purpose of the zero clearance fit.
Frequently Asked Questions
What does a zero clearance insert do for a table saw?
It closes the gap between the blade and the throat plate down to the exact width of the blade’s kerf, which supports the workpiece and offcuts right up to the cut line. That reduces tear-out on the underside of the cut and stops small pieces from dropping into the blade opening.
Do you use a riving knife with a zero clearance insert?
Yes, for every normal cut. The riving knife should only be removed for the one-time cut-in process when you first raise the blade through a fresh insert; it goes back in immediately afterward.
Which SKIL insert plate fits my saw?
Match it to your exact model: STZ6307 for the TS6307-00, SPT00C for the SPT70WT and SPT99, and SPT5004-ZC for the SPT99T. Check the model number on the saw’s data plate if you’re unsure which one you own.
Can I make my own zero clearance insert instead of buying one?
Yes. Hardboard or Baltic birch plywood cut to match the stock plate’s outline and screw-hole locations works well and is more rigid than injection-molded plastic, though it will eventually need replacing as the slot widens from repeated blade changes.
Conclusion
Match the part number to your exact SKIL model before you buy, remove the riving knife only for the initial cut-in, and raise the blade slowly through a new insert rather than forcing it. Do that and a $16 plate (or a scrap of hardboard) will noticeably clean up your cut quality without becoming a recurring expense.
Sponsored / affiliate links. As an Amazon Associate I earn from qualifying purchases. I may earn additional commission from eligible campaigns.