What Size Nails for 1/4 Plywood? (18-Gauge Length Guide)
If a guide told you to use 1-1/4 inch to 1-1/2 inch nails on 1/4 inch plywood, don’t. Nails that long are sized for framing lumber, not a sheet of plywood that’s only a quarter inch thick — drive one in and you’re either splitting the face veneer or watching the tip poke out the back side. The nail that actually works here is a short 18-gauge brad, typically 5/8 inch to 3/4 inch long. Here’s the reasoning behind that number, plus the gauge, spacing, and edge-distance choices that keep thin plywood from cracking.
The Right Nail Size for 1/4 Plywood
For most 1/4 inch plywood work — cabinet backs, drawer bottoms, shed sheathing over furring strips, craft and box builds — an 18-gauge brad nail, 5/8 inch to 3/4 inch long, is the standard choice. If you’re fastening 1/4 inch plywood onto something thicker, like a 3/4 inch carcass side, you can size up to a 3/4 inch or 1 inch 18-gauge brad, since more of that length is sinking into the thicker backing material rather than trying to pass through the plywood itself. For edge work on delicate veneered plywood where even an 18-gauge brad risks a hairline split, a 23-gauge pin nail (5/8 inch to 1 inch) is the safer option, though it holds less on its own and works best paired with glue.
| Situation | Nail | Length |
|---|---|---|
| General 1/4″ plywood (backs, panels, boxes) | 18-gauge brad | 5/8″ – 3/4″ |
| 1/4″ plywood over a thicker substrate | 18-gauge brad | 3/4″ – 1″ |
| Delicate veneer or close-to-edge work (with glue) | 23-gauge pin | 5/8″ – 1″ |
Right-Sized For 1/4″ Plywood
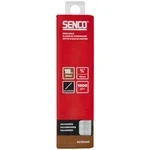 |
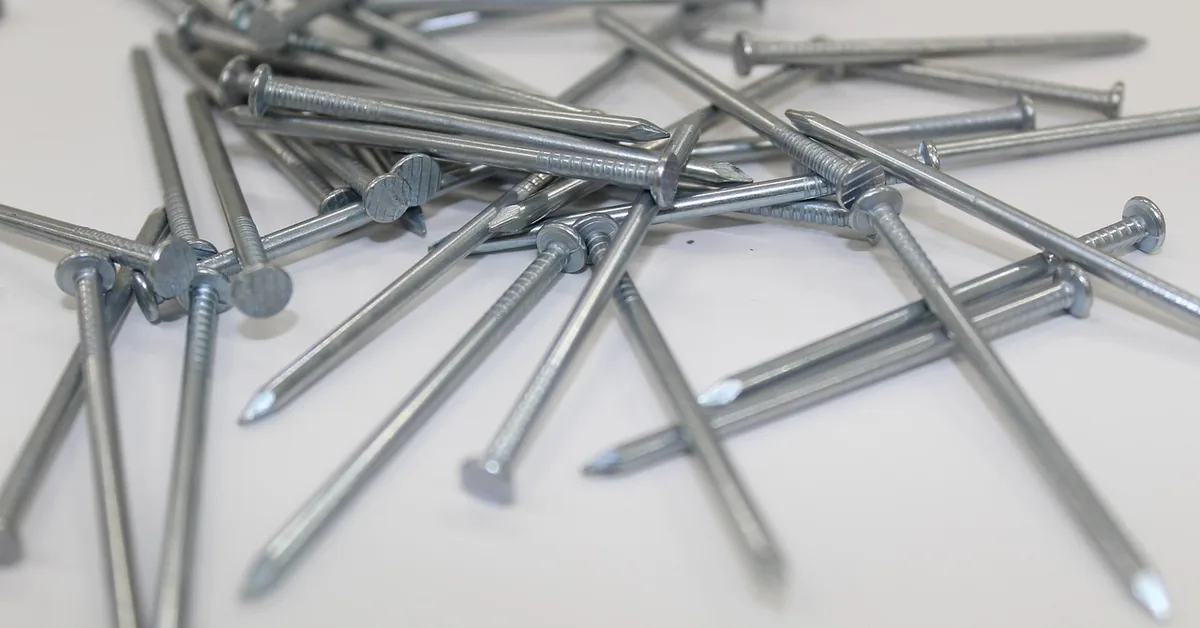
SENCO AX11EAAR 3/4″ 18-Gauge Brad Nails, 1,000 Count – $10.08 This is the exact length this guide recommends for 1/4 inch plywood — a galvanized 18-gauge brad sized to hold without splitting or blowing through thin panels.
|
Why 1-1/4 To 1-1/2 Inch Nails Are Too Long For 1/4 Plywood
A common rule of thumb for fastening is that a nail should sink roughly two-thirds of its length into the piece it’s anchoring into, once it clears the piece it started in. For 1/4 inch plywood face-nailed onto a stud or frame, that means a nail only needs about 1/2 inch to 5/8 inch of bite past the plywood to hold well — not the inch-plus that a 1-1/4 inch or 1-1/2 inch nail would try to drive.
Push a nail that long through 1/4 inch stock and one of two things happens. If the substrate underneath is thin too (another sheet of plywood, a thin batten), the tip comes out the far side. If the substrate is solid enough to stop the nail, the extra length has nowhere to go except sideways pressure against the plywood’s face veneer near the entry point, which is exactly what causes the hairline splits and popped grain you see along an edge or corner. Shorter, thinner brads avoid both problems because there’s simply less metal being forced through a thin, layered material.
18-Gauge Brad Vs. 23-Gauge Pin Nails For Thin Plywood
Gauge measures the nail’s diameter (wire thickness), not its length — the higher the gauge number, the thinner the nail. An 18-gauge brad is about 0.0475 inch thick; a 23-gauge pin nail is closer to 0.025 inch, less than half as thick. For most 1/4 inch plywood work, 18-gauge is still the better default: it’s thin enough to avoid splitting standard sheet stock, but it has a small head and enough shank strength to hold on its own. If you’re doing more detailed comparisons between nailer gauges for other jobs on site, our 16-gauge vs. 18-gauge nailer guide breaks down when you’d want a thicker fastener instead.
23-gauge pin nails earn their place on the thinnest, most visible veneer plywood — door panels, small box lids, trim returns — where even an 18-gauge brad’s slightly larger head risks a mark or a split near an edge. The tradeoff is that a pin nail is nearly headless and has very little holding power by itself, so it’s meant to be a clamp substitute alongside glue, not the primary joint. Pin nailers also top out around 1 inch of length, so they’re not an option if you need more reach into a thicker backing piece.
Nail Spacing And Edge Distance For 1/4 Plywood
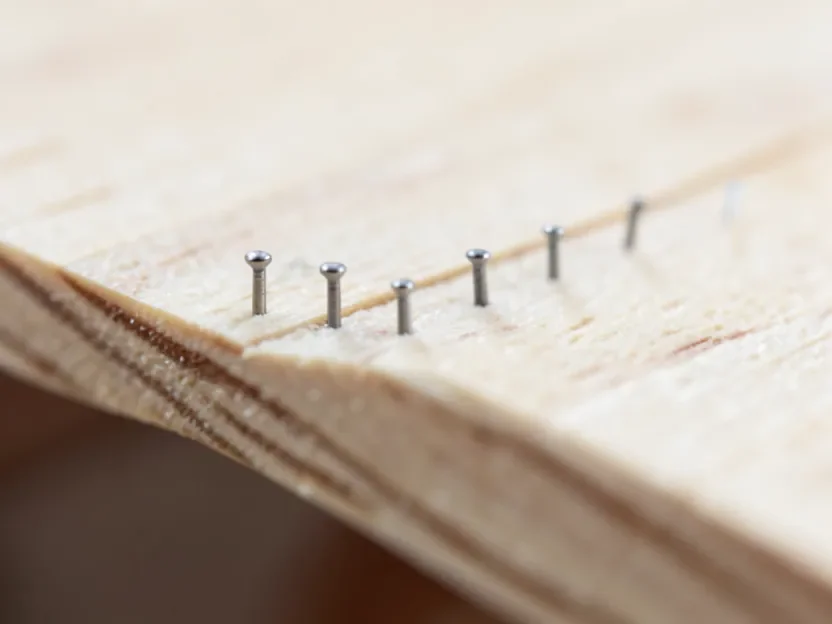
For 1/4 inch plywood, space brads about 4 to 6 inches apart along the field of a panel, tightening up to roughly 2 to 3 inches near corners and high-stress spots where the panel is more likely to lift or flex. Keep nails at least 1/2 inch back from any edge — closer than that and you’re nailing into the thinnest, weakest part of the sheet, which is where splits start. If a joint genuinely needs a fastener closer than 1/2 inch from the edge, switch to a 23-gauge pin and add glue rather than forcing a brad in tight.
Pre-Drilling: When You Actually Need It
With an 18-gauge brad nailer, pre-drilling isn’t standard practice for 1/4 inch plywood — the nail is thin enough that a nail gun can usually drive it without splitting normal-grade plywood. Pre-drilling (or at least marking and hand-starting) is worth doing in a few specific cases: nailing within 1/2 inch of an edge or corner, working with a brittle or void-heavy sheet, or hand-nailing instead of using a nail gun, since hand-driven nails don’t have the consistent speed and angle a pneumatic tool provides. If you do pre-drill, use a bit noticeably smaller than the nail’s shank diameter so the nail still has enough wood fiber to grip.
Nails Vs. Screws For 1/4 Plywood
Screws hold better than nails and resist pull-out, which matters for anything load-bearing or likely to be handled repeatedly, like a drawer bottom or a shelf. For 1/4 inch plywood, a #6 to #8 screw around 3/4 inch to 1 inch long is a reasonable equivalent to the 18-gauge brad range above, but screws need a pilot hole in plywood this thin — driving one without pre-drilling is a near-guaranteed split. Nails win when speed matters more than maximum hold, when the fastener needs to stay small and unobtrusive, or when you’re gluing the joint anyway and the fastener is really just a clamp while the glue sets.
Common Mistakes That Split Or Blow Through 1/4 Plywood
The most frequent mistake is reaching for whatever brad length is already loaded in the nailer instead of checking it against the plywood thickness — a 1-1/4 inch or 1-1/2 inch brad left over from a trim job is the wrong call here, for the reasons above. The second is nailing too close to an edge or corner without easing up on spacing or switching to a pin nail. The third is skipping the nailer’s depth-of-drive adjustment: most pneumatic brad nailers let you dial in how far the head sinks, and running full pressure on thin plywood can drive the head clean through the face veneer even with a correctly sized nail.
Frequently Asked Questions
What size nails for 1/4 plywood?
Use 18-gauge brad nails, 5/8 inch to 3/4 inch long, for most 1/4 inch plywood work. Size up to 3/4 inch or 1 inch only if the plywood is being fastened onto a thicker piece that needs more penetration. Avoid 1-1/4 inch or longer nails, which tend to split or blow through stock this thin.
Can I use 23-gauge pin nails instead of 18-gauge brads?
Yes, especially on delicate veneer or close to an edge where an 18-gauge brad risks a split. Pin nails are nearly headless and hold much less on their own, so pair them with wood glue rather than relying on the pin as the main joint.
How far apart should nails be spaced on 1/4 plywood?
Space brads 4 to 6 inches apart across the field of the panel, and tighten to 2 to 3 inches near corners or edges that see more stress. Stay at least 1/2 inch back from any edge to avoid splitting.
Should I use screws instead of nails for 1/4 plywood?
Screws hold better and resist pull-out, which is worth it for drawer bottoms or anything load-bearing, but they require a pilot hole in plywood this thin. Nails are faster and less visible, and work well when the joint is also glued.
Conclusion
For 1/4 inch plywood, the size that actually works is an 18-gauge brad nail, 5/8 inch to 3/4 inch long — not the 1-1/4 inch to 1-1/2 inch nails some guides still recommend, which are long enough to split or blow through stock this thin. Reach for a 23-gauge pin nail on delicate veneer or tight edge work, keep spacing around 4 to 6 inches in the field, and stay at least 1/2 inch back from any edge. Get the length and gauge right and 1/4 inch plywood holds cleanly without the cracked corners or popped grain that come from oversized nails.
Sponsored / affiliate links. As an Amazon Associate I earn from qualifying purchases. I may earn additional commission from eligible campaigns.