Plywood Thickness Chart: Which Size For Which Project
For many projects, around 3/4-inch plywood is a common default; thinner sheets can suit cabinet backs and light panels, mid-thickness sheets can suit floors and roofs, and thicker sheets are usually reserved for longer or heavily loaded spans. Go too thin and shelves sag, screws strip, dadoes fit loose, and sheet goods bounce or fail between supports. This guide maps nominal versus actual thickness, span limits, and project-by-project picks for cabinets, shelving, benches, subfloors, roofing, underlayment, trim, and shop storage.
How do nominal and actual plywood thickness differ?
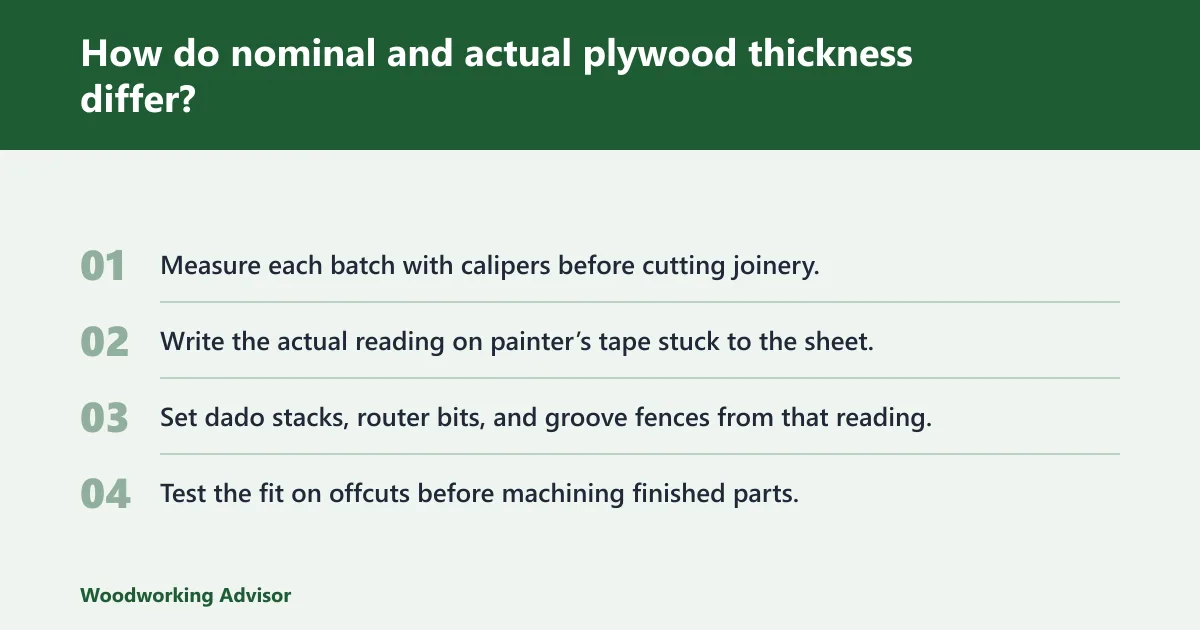


Nominal plywood thickness is the store name on the rack, while actual thickness is what a caliper reads on the sheet. That gap shows up fast in dadoes, grooves, underlayment transitions, and hardware fit. A 3/4-inch sheet is actually 23/32 inch thick, and the thinner labels follow the same pattern.
Start with the measured sheet, not the printed label
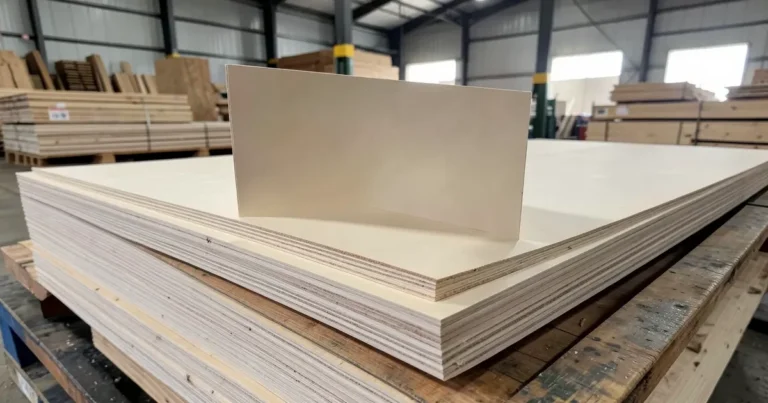
Plywood is built from peeled wood veneers glued in layers, with each layer’s grain turned across the next. That cross-grain layup keeps the panel steadier than a wide board and helps limit edge splitting. Plywood usually has an odd number of plies to stay balanced, and a typical plywood panel has face veneers of a higher grade than the core veneers.
The label is rounded because sheet goods are sold in familiar fractions. The panel then loses a bit through pressing, sanding, and normal manufacturing variation. In finish work, that tiny difference decides whether a panel slides into a groove or jams halfway.
Common nominal sizes and common measured sizes
| Nominal label | Common actual thickness | Where it works | Where it causes trouble |
|---|---|---|---|
| 1/4 inch | 7/32 inch | Drawer bottoms in grooves, cabinet backs, templates, trim panels | Edge screws, shelf loads, hinge mounting |
| 1/2 inch | 15/32 inch | Light cabinet parts, backs, small drawer sides, jigs | Long shelves, wide cabinet sides, workbench tops |
| 3/4 inch | 23/32 inch | Shelves, cabinet carcasses, work surfaces, shop fixtures | Assumed 3/4-inch dadoes cut too loose or too tight |
| Over 1 inch | Generally true size | Heavy tops, laminated benches, long loaded spans | Needless cost and weight on light cabinetry |
A 1/2-inch sheet is actually 15/32 inch thick. A 1/4-inch sheet is actually 7/32 inch thick. A 3/4-inch sheet is actually 23/32 inch thick. Plywood over an inch thick is generally true size, not nominal.
Why a caliper check changes the cut list
Thickness matters for grooves in cabinet doors and underlayment height. It also matters for drawer bottoms, back panels, edge-banding reveals, and any hardware system that expects a close fit. I have seen one setup based on the rack label spoil a whole stack of parts.
- Measure each batch with calipers before cutting joinery.
- Write the actual reading on painter’s tape stuck to the sheet.
- Set dado stacks, router bits, and groove fences from that reading.
- Test the fit on offcuts before machining finished parts.
What plywood thickness should I use for shelves, cabinets, or a workbench?
Use 3/4-inch plywood for most shelves, cabinet sides, and workbench skins because it gives better stiffness, cleaner joinery options, and better screw holding. Drop to 1/2-inch for lighter backs and panels. Use 1 inch only when spans are long, loads stay high, or a bench top needs mass and flatter support.
Shelf rules by span, depth, and front edging
A thicker panel deflects less over the same opening and load. That is the plain rule, but shelf depth and unsupported length matter every bit as much as the number on the label. A deep shelf loaded with books asks far more from the panel than a shallow pantry shelf carrying paper goods.
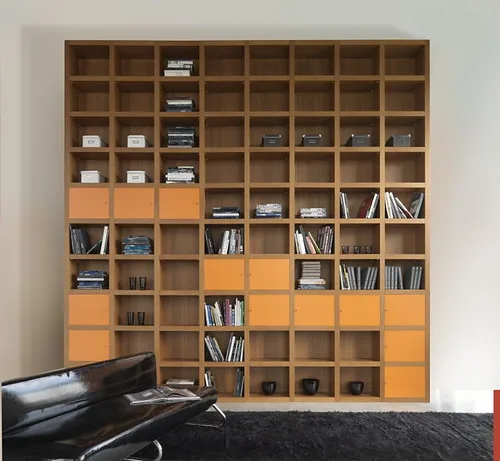
For most freestanding or built-in shelves, 3/4-inch is the buy-first choice. It handles ordinary shelf depths and moderate unsupported runs better than 1/2-inch, and it takes face frames or solid-wood edging without feeling flimsy during assembly.
Front edging changes the result. A solid front strip stiffens the front edge and slows sag, so a 3/4-inch shelf with a good front edge can stay flatter than a bare sheet of the same thickness. It does not turn 1/2-inch into a long-span bookshelf panel.
Cabinet parts: sides, bottoms, backs, and drawer bottoms
Cabinet sides and bottoms do best in 3/4-inch when hinges, drawer slides, or long runs are involved. The extra thickness gives better screw bite and a stiffer box. That matters on tall pantry sides, wall cabinets carrying dishes, and sink bases with wide openings.
Cabinet backs are different. A 1/2-inch back can stiffen a carcass well when housed in a dado or rabbet. A thin back only brad-nailed to the rear edge should never be treated as the part that stops racking by itself.
Drawer bottoms usually belong in 1/4-inch grooves for lighter drawers, while larger or loaded drawers often move up to 1/2-inch. The warning here is simple: a wide drawer bottom spanning too far in 1/4-inch will drum, bow, or pull free from the groove under load.
Workbench tops: one layer or a laminated build
A single layer of 3/4-inch plywood works for an assembly table, a light tool stand, or a bench with close support underneath. It does not have much reserve for pounding, vises, or long unsupported edges.
For a serious workbench top, laminating two layers of 3/4-inch usually makes more sense than buying a single extra-thick panel. The top gets stiffer, stays flatter, and is less prone to local dip around a vise or dog-hole area. It also gives more thickness for screws from below.
Common failure points
- Sagging shelves: usually 1/2-inch on a run that should have been 3/4-inch, or a shelf made too deep for its load.
- Weak hinge screws: common when 1/2-inch cabinet sides carry heavy doors or repeated adjustment.
- Workbench bounce: a single thin skin over a wide frame.
- Racking cabinets: thin backs fastened only with brads and no housed joint.
- Blown-out edges: screws driven near the edge of 1/4-inch or poor-core panels.

Which plywood gives the smoothest painted furniture finish?
Baltic birch and maple veneer plywood produce the smoothest paint finishes because their tight grain patterns and low-void cores prevent surface telegraphing. Cabinet-grade panels with thick face veneers allow sanding without breakthrough, while cheaper sheets swell at the edges and demand excessive filler and primer to hide imperfections.
Choosing the right panel saves hours of prep work and ensures a durable, even coat on cabinet fronts, shelves, and visible surfaces. The guide comparing plywood for painted furniture ranks options by grain hiding ability, edge filling requirements, and primer adhesion so you can match the sheet to your project’s finish quality and budget.
Budgeting for a Plywood Storage Rack Build
A basic plywood storage rack typically costs between $60 and $150 in materials, while heavy-duty or mobile versions range from $150 to $300. The final price depends on sheet capacity, lumber dimensions, and whether you add casters. Underestimating these expenses often leaves builders short on fasteners or structural bracing halfway through the project.
Pricing your build before purchasing materials prevents mid-project delays and ensures the finished rack safely supports full sheets without sagging. A detailed breakdown by size, design, and hardware helps you match the right configuration to your shop space and budget. Review the full plywood storage rack cost guide to calculate exact material quantities and compare DIY pricing against pre-built commercial alternatives.
How plywood and MDF affect cabinet budgets
Cabinet material choice is not just about the price of a sheet. Plywood often costs more upfront, but it can reduce labor and long-term repair costs because it holds screws better, resists sagging, and usually needs less edge treatment. MDF can look cheaper on paper, especially for painted, dry cabinets with short spans, but it may add hidden costs if edges chip, panels swell, or fasteners fail. The plywood vs MDF comparison breaks down material, labor, finish, and durability so you can choose the option that fits the cabinet’s location and expected wear.
Choosing the Right Plywood Species for Painted Furniture
When finishing furniture with paint, the substrate matters as much as the primer. Not all plywood hides wood grain or resists edge swelling equally, which can lead to uneven surfaces and extra sanding work. best plywood for painting typically includes Baltic birch or cabinet-grade panels with low-void cores and thick face veneers that sand smoothly without cutting through.
Selecting a species that takes primer well saves time on filler application and ensures a durable finish. Using standard, cheaper plywood often results in visible grain patterns and structural weaknesses that compromise the final aesthetic of your painted project.
Choosing Between Marine and Pressure-Treated Plywood for Wet Environments
When your project involves constant moisture or outdoor exposure, the choice between marine and pressure-treated plywood determines structural longevity. The supporting article breaks down how each material handles wet environments, explaining that marine plywood focuses on glue-line integrity while pressure-treated plywood targets biological decay. It details the specific failure modes for each, such as delamination versus soft panel formation, to help you avoid costly mistakes in decks, docks, or sheds. marine vs pressure-treated plywood provides a clear decision matrix based on fastener compatibility and expected service life, ensuring you pick the right panel for your specific exposure conditions.
Marine Plywood vs. Pressure-Treated Plywood for Wet Environments
Marine plywood resists rot at the glue line and keeps laminations intact under repeated wetting, while pressure-treated plywood better resists biological decay and insects when panels can dry out. Choosing the wrong material leads to swelling, delamination, or early structural failure in docks, trailers, shed floors, and exterior decks.
The right choice depends on your project’s exposure conditions, fastener requirements, and expected lifespan. A detailed comparison of marine vs treated plywood breaks down how each panel is built, where each performs best, and which one delivers longer service life in specific wet environments so you buy the correct sheet the first time.
You must verify adhesive chemistry before buying plywood for enclosed cabinetry or children’s spaces, as standard urea-formaldehyde glues can affect indoor air quality over time. Purebond vs Columbia comparison clarifies that Purebond is specifically Columbia’s no-added-formaldehyde line, whereas their standard product range utilizes various glue systems. This distinction determines whether you prioritize low-emission certifications for tight living spaces or cost-efficiency for structural exterior uses.
Choosing correctly avoids future off-gassing issues while ensuring the veneer species and core construction align with your load requirements.
The project-by-project plywood thickness chart
How to read the matrix
Read the chart by project first, then check span, load, material family, and joinery. The right panel for a roof is often the wrong panel for a cabinet, even at the same thickness. Buy by use case, not by whatever fraction seems close.
| Project | Recommended nominal thickness | Common actual thickness to expect | Span/load note | Joinery and fastener caution | Buy this, not that |
|---|---|---|---|---|---|
| Bookshelves and general shelving | 3/4 inch | 23/32 inch | Use for moderate shelf runs; step up or add edging/support when depth or load climbs | Do not rely on edge screws alone in poor cores | Buy hardwood or quality sanded 3/4 inch, not 1/2 inch utility plywood |
| Cabinet sides and bottoms | 3/4 inch | 23/32 inch | Best default for hardware, hinges, and wider spans | Set dados to measured thickness, not the label | Buy 3/4 inch hardwood plywood, not 1/2 inch unless the cabinet is small and lightly loaded |
| Cabinet backs in dadoes | 1/2 inch | 15/32 inch | Adds stiffness when housed on all sides | Brad-nailed backs alone are not structural | Buy 1/2 inch for better racking resistance, not 1/4 inch for large cabinets |
| Drawer bottoms | 1/4 inch or 1/2 inch | 7/32 inch or 15/32 inch | Use 1/4 inch for light drawers; move to 1/2 inch for wide or loaded drawers | Groove width must match measured panel | Buy 1/2 inch for file drawers or tool drawers, not 1/4 inch |
| Workbench top skin | 3/4 inch, often doubled | 23/32 inch | One layer for close support; laminate for impact and long-term flatness | Thin tops strip screws and flex at vise points | Buy two 3/4 inch sheets to laminate, not a single 1/2 inch sheet |
| Subfloor plywood | At least 19 millimetres | Measure actual sheet before transitions | Joist spacing drives the final choice | Use the right fastening schedule and panel orientation | Buy subfloor-rated panels, often tongue-and-groove, not furniture plywood |
| Roof sheathing plywood | 16 millimetres and up | Measure where matching repairs matter | Span rating and support spacing decide the safe minimum | More fasteners do not fix an undersized panel | Buy structural softwood sheathing, not interior hardwood plywood |
| Underlayment | 1/4 inch or 1/2 inch | 7/32 inch or 15/32 inch | Use to tune finished floor height and smooth the surface | Small thickness errors telegraph at doorways and trim | Buy flat underlayment-grade stock, not warped sheathing |
| Shop jigs and templates | 1/2 inch or 3/4 inch | 15/32 inch or 23/32 inch | Use 1/2 inch where weight matters; 3/4 inch where fences need stiffness | Thin edges split easily under repeated screws | Buy sanded plywood, not voidy construction panels |
| Trim panels and paint-grade inserts | 1/4 inch | 7/32 inch | Best for non-structural infill and wall panel details | Keep nails away from fragile edges | Buy smooth sanded panels, not rough utility sheets |
Cost, weight, and storage tradeoffs
Thickness choice changes more than strength. Thicker sheets cost more, weigh more, and fill a rack faster. A shop that stores many 3/4-inch sheets loses capacity quickly compared with one that keeps a mixed stack of 1/4-inch, 1/2-inch, and 3/4-inch for project-specific use.
Handling also matters. A 4 feet by 8 feet sheet is the common North American format, and that size is already awkward in tight shops or upstairs rooms. If a project does not need 3/4-inch, carrying it anyway adds effort without solving a real problem.
Which plywood thickness is best for subflooring or roofing?
Subfloors need thicker, structural panels than most shop projects, and roofs can use thinner sheets only when the support spacing and panel rating allow it. Subfloors are at least 19 millimetres thick, roofing can use thinner 16-millimetre plywood, and tongue-and-groove edges are worth buying when edge support matters.
Subfloor plywood minimums and joist spacing rules
Subfloors are at least 19 millimetres thick. That is the floor, not the finish layer, so bounce and edge movement matter. Joist spacing decides whether the minimum is enough or whether stepping up in thickness is the safer buy.
For subfloor work, use panels made for structural flooring. Furniture-grade hardwood plywood may look better, but it is the wrong product family for this job. The panel stamp and support conditions decide the final call.
When tongue-and-groove edges are worth paying for
Tongue-and-groove plywood is usually found in the 13-to-25-millimetre range. It earns its keep when panel edges would otherwise land unsupported between joists. The interlocking edge helps neighboring sheets share load and cuts down on edge rise under foot traffic.
If every edge has solid support, plain-edge panels can still work. If edge support is uncertain, tongue-and-groove is the smarter purchase than trying to make up the difference with more fasteners.
Roof sheathing thickness and span concerns
Roofing can use thinner 16-millimetre plywood. That does not mean every roof should. Roof pitch, support spacing, local loading, and the sheathing rating all matter. When the span table or stamp points to a thicker panel, use the thicker panel instead of packing in extra nails and hoping for the same result.
Softwood plywood is the normal family here. It is built for structural work and utility jobs, and it commonly covers the thicknesses used in floors, roofs, and wall bracing.
Does more ply count make plywood stronger at the same thickness?
More plies can help, but ply count alone does not settle strength or stiffness. At the same thickness, veneer species, core voids, face thickness, glue quality, and panel family all affect how the sheet bends, holds screws, and machines. Count the plies, then judge the whole panel.
How odd-number ply construction works
Plywood usually has an odd number of plies to stay balanced. The grain direction alternates from layer to layer, which keeps the panel more stable and less likely to split at the edges. That balanced build is why plywood behaves differently from a single wide board.
Ply count versus veneer thickness and core quality
Two sheets of the same thickness can act very differently. One may have more, thinner plies and a cleaner core. Another may have fewer plies, thicker inner veneers, and voids that weaken screw holding near the edge. The second sheet can chip, crush, or strip even when the label matches.
For cabinet and furniture work, the cleanest core often matters more than the highest ply count on a sales tag. Better cores cut cleaner rabbets, support screws more reliably, and leave fewer surprises when an exposed edge gets machined.
Hardwood plywood, softwood plywood, and sanded plywood
Hardwood plywood is usually the better choice for cabinets, furniture, and shop fixtures where stiffness, surface hardness, and cleaner faces matter. Softwood plywood fits structural and utility use, including roofs, floors, and rough shop storage.
Sanded plywood sits between those worlds. It is a finish-sheet option with a smoother face than rough sheathing, but sanding can remove a small amount of thickness. That is one more reason to measure before cutting grooves or fitting parts into hardware tracks.
How do plywood type and sheet size change the decision?
Plywood type changes stiffness, face quality, and screw holding, while sheet size changes layout, transport, and waste. Softwood panels fit structural work, hardwood panels fit cabinets and furniture, and sanded panels fit paint-grade or shop projects. Standard 4×8 sheets suit most jobs, but metric panels can change cut planning.
Softwood plywood for structural and utility jobs
Softwood plywood is the common pick for subfloors, roof sheathing, utility shelving, and shop partitions. It is sold across the thickness range most structural jobs use, and the grades are easier to match to support spacing and rough-service use.
It is usually the wrong surface for exposed cabinetry. The face quality and core appearance are built for service, not for fine joinery or clear finishing.
Hardwood plywood for cabinets and furniture
Hardwood plywood earns the extra money where doors hang from it, drawer slides screw into it, or a visible face needs to stay clean after machining. Cabinet sides, shelves, bench skins, and fixture parts all benefit from a panel that stays flatter and takes edge treatment better.
Which plywood sheet size is standard for most projects?
The common North American sheet size is 4 feet by 8 feet. Vietnam factory standard plywood sizes include 1220 x 2440 mm and 1250 x 2500 mm. The 1220 x 2440 mm panel is the metric expression that tracks the usual 4×8 format closely enough for most planning.
The 1250 x 2500 mm sheet gives a modest area gain over 1220 x 2440 mm. That matters when one extra strip can be nested from a sheet, when van capacity is tight, or when a rack was built around North American 4×8 storage and leaves little room for oversize corners.
When do I need to measure plywood with calipers instead of trusting the label?
Measure with calipers any time fit matters more than appearance: dadoes, grooves, rabbets, edge-banding reveals, underlayment transitions, drawer bottoms, and hardware channels. Labels are rounded, sanding removes a little thickness, and normal variation exists. The minute a panel must fit inside something, the caliper becomes the real spec.
Dados, grooves, and rabbets cut to nominal size
The most common shop mistake is cutting a 3/4-inch dado for a panel that is actually 23/32 inch. Sometimes the fit is sloppy. Sometimes a stack or bit cuts slightly under and the panel jams. Both mistakes waste time, and one wastes parts.
The same problem hits cabinet door grooves for 1/4-inch panels, drawer bottom slots, and rabbets for backs. Measuring once takes less time than remaking a side panel.
Fastener limits by thickness
Thin plywood has little room for edge fasteners. In 1/4-inch, screws near the edge are a gamble. In 1/2-inch, hinges and confirmat-style fasteners can work in the right panel, but the margin is small if the core is soft or voidy.
At 3/4-inch, screw holding improves enough that many cabinet and fixture jobs become routine instead of fussy. That is why 3/4-inch stays the default for sides, shelves, and hardware-bearing parts.
Underlayment, trim panels, and thin-sheet traps
Underlayment is where small thickness errors show up at door clearances and transitions to adjacent flooring. Trim panels have a different trap: thin stock can ripple through uneven walls or cup if stored badly. Thin panels save weight, but they ask for flatter storage and better support.
A quick thickness-check routine before breakdown
- Check the label, then ignore it for joinery setup.
- Measure both ends of the sheet with calipers.
- Record the actual thickness on the cut plan.
- Cut one test groove in scrap.
- Dry-fit before machining all matching parts.
What plywood thickness should I buy for underlayment or trim work?
Buy 1/4-inch plywood for most trim panels and surface-smoothing underlayment when only a thin layer is needed, and move to 1/2-inch when height build-up or stiffness matters more. Measure actual thickness before installation because underlayment height, reveal lines, and groove fit all depend on the real panel, not the label.
Best uses for 1/4-inch and 1/2-inch in finish work
Use 1/4-inch for paint-grade wall panels, cabinet backs, lightweight drawer bottoms, and shallow decorative inserts. It cuts easily, stores efficiently, and does not add much build-up. It is poor stock for edge screws and poor stock for any unsupported load.
Use 1/2-inch when the panel needs some self-support, when a floor transition has to meet another layer more closely, or when a cabinet back needs to help square the box. In trim-heavy work, the extra thickness also hides waviness better than very thin sheet stock.
CDX vs. BC Plywood: Matching Grade to Subfloor Performance
CDX and BC grades serve different subfloor purposes based on surface quality and exposure. CDX is engineered for hidden structural layers, tolerating minor face defects because underlayment covers imperfections. BC offers a cleaner, flatter top surface, reducing the risk of thin finish floors telegraphing bumps or fasteners failing due to uneven density. Selecting the wrong grade often leads to patching or replacement, increasing labor and material costs. CDX versus BC plywood explains how to align panel grade with your specific finish flooring to ensure a durable, level base.
What is the actual thickness of 3/4-inch plywood?
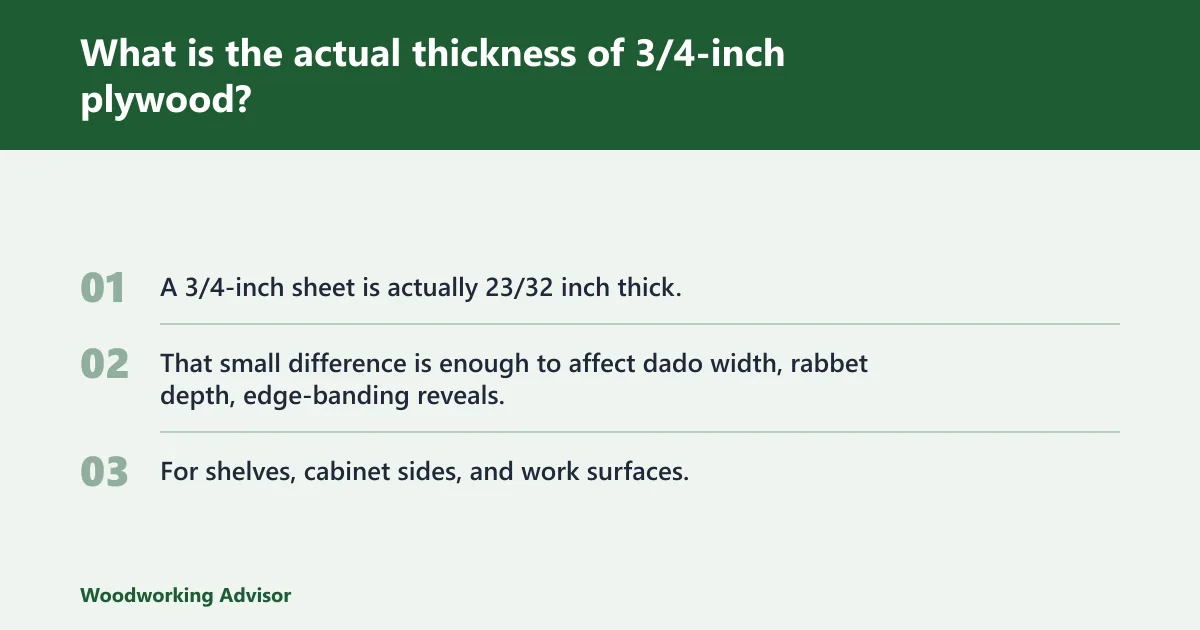
A 3/4-inch sheet is actually 23/32 inch thick. That small difference is enough to affect dado width, rabbet depth, edge-banding reveals, and hardware fit. For shelves, cabinet sides, and work surfaces, 23/32 inch is the number that should guide machining, even if the rack label says 3/4 inch.
Sponsored / affiliate links. As an Amazon Associate I earn from qualifying purchases. I may earn additional commission from eligible campaigns.
 Baltic Birch Plywood Sheets Box of 45 - Laser Engraving Cutting, Scroll Saw Nature Veneer Color, Stronger Than Basswood, A/A Grade,12 x 12 x 1/8”, 3mm Thickness Perfect for Wood Burning
 15 PCS 12 Inch Square Basswood Board, Thickness 6 mm, Basswood Sheets, Plywood Sheets for Laser, CNC Cutting, Wood Burning, Drawing Painting, Wood Engraving,GNIEMCKIN