Why is My Planer Leaving Lines?: Troubleshooting Tips
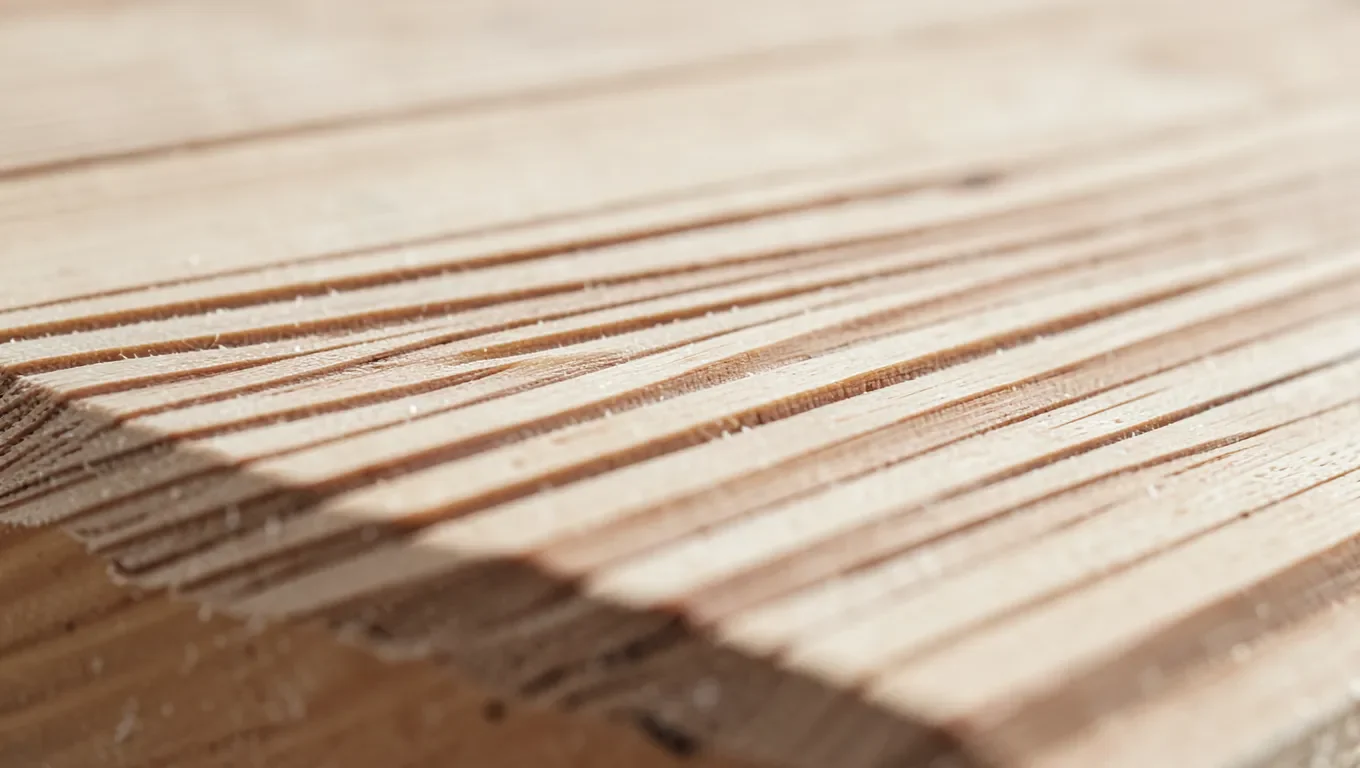
If your planer is leaving a line (or a few evenly spaced lines) running the length of every board, the most common cause is a single nicked or chipped spot on a blade edge. That one damaged spot on the blade cuts the same groove into every board that passes under it. Dull blades, resin buildup, and packed sawdust on the cutterhead or rollers are the next most likely causes, each with a different fix below.
Quick Diagnosis By Symptom
| What You See | Likely Cause | Fix |
|---|---|---|
| One or a few sharp, repeating lines the full length of the board | Nicked or chipped blade edge | Flip to unused edge or replace the blade set |
| Fuzzy, torn surface everywhere, no distinct lines | Dull (but undamaged) blades | Sharpen or replace both blades |
| Faint lines or pressure marks despite sharp blades | Resin/dust buildup on cutterhead or rollers | Clean cutterhead, chip breaker, and rollers |
| Stepped ridge, one side cutting deeper than the other | Uneven blade height | Check and reset blade height with a straightedge or dial indicator |
| Dip or gouge only at the board’s ends | Snipe (infeed/outfeed support, not a blade issue) | Support the board level as it enters and exits |
| Board comes out tapered (thicker on one edge) | Table not flat/parallel | Check table with a straightedge, adjust support screws |
Best For Fixing A Nicked-Blade Line
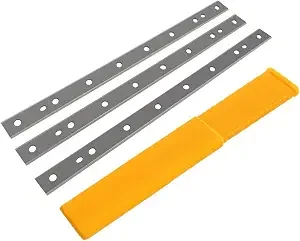 |
FOXBC 13″ Planer Blades for DeWalt DW735, Set of 3 – $29.99 Direct replacement double-edge blades – a single nicked spot on a factory blade is the #1 cause of a repeating line, and these swap in without regrinding.
|
Check For A Nicked Blade First
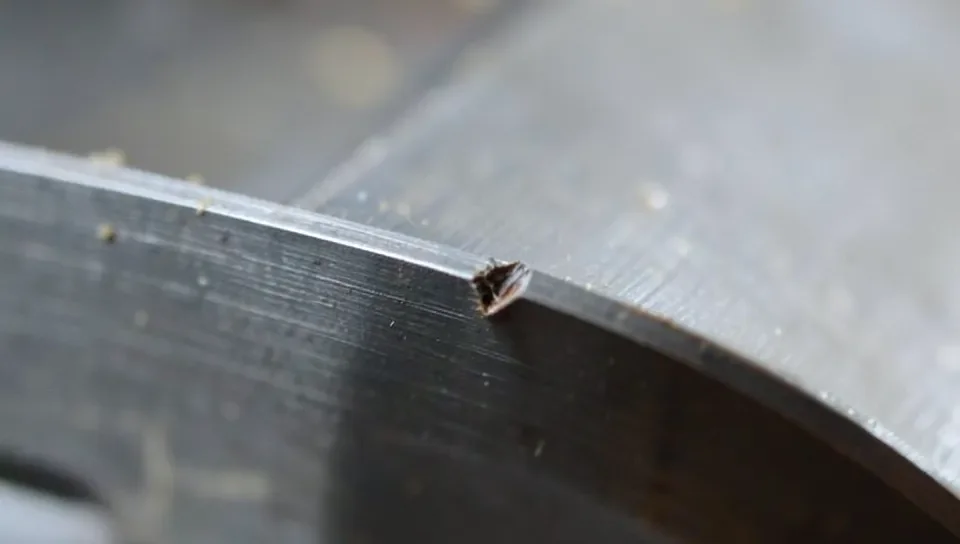
With the planer unplugged, remove the blade guard and look along the cutting edge of each blade under a bright light, or drag a fingernail (not a fingertip) lightly along the edge – a nick will catch it. A single small chip is enough to leave a visible line, because that exact spot on the blade passes over the same point across the board’s width on every rotation. Most double-edged planer blades can simply be loosened, flipped to the unused edge, and reinstalled; if both edges are nicked or dull, replace the set.
Dull Blades vs. A Damaged Blade
Dull blades and a nicked blade cause different-looking problems, and it’s worth telling them apart before you start swapping parts. A dull but undamaged blade tends to produce a fuzzy, slightly torn surface overall, sometimes with faint burn streaks, rather than one crisp repeating line – the edge is rounded over evenly, so it’s tearing fibers instead of shearing them cleanly everywhere at once. A nicked blade produces one (or a few) sharp, consistent lines at fixed spacing across the width of the board, because that specific point is missing material while the rest of the edge cuts normally. If you can see or feel a specific flaw on the edge, that’s the fix; if the whole edge just feels rounded and the wood looks torn everywhere, it’s time to sharpen or flip/replace both blades rather than hunt for a single spot.
Dust And Resin Buildup On The Cutterhead
This is the cause most people skip because it doesn’t show up when you check the blades. Packed sawdust, wood pitch, or resin on the cutterhead, chip breaker, or feed rollers changes how evenly a board sits against the cutterhead as it passes through, which can leave faint lines or pressure marks even with sharp, undamaged blades. Unplug the planer and clean the cutterhead, chip breaker, pressure bar, and both feed rollers with a stiff brush and a resin-safe cleaner (a citrus-based pitch remover works well and won’t damage steel). Do this as routine maintenance, not just when you’re already troubleshooting a problem – resin builds up gradually and the lines it causes can be easy to mistake for a blade issue.
Blade Height And Alignment
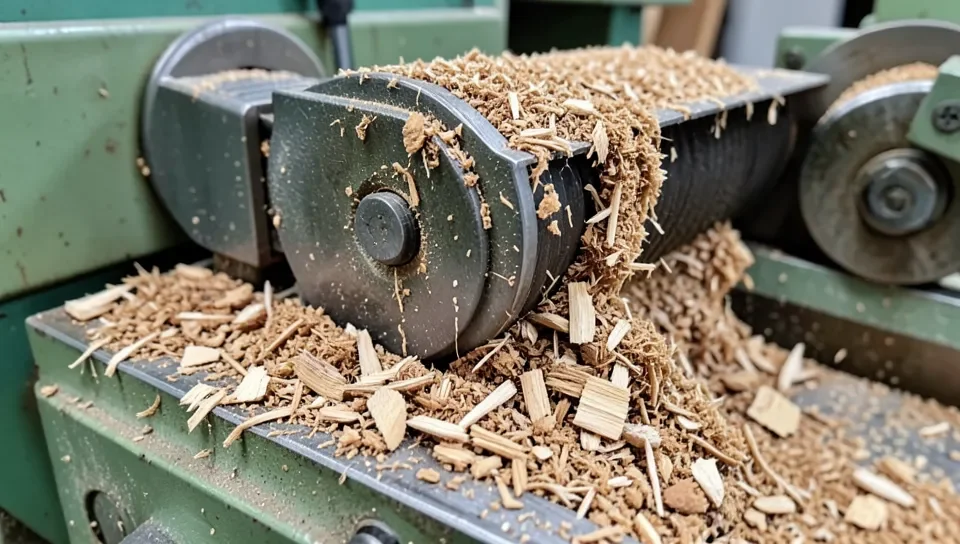
Most benchtop planers use two blades, and if one sits even slightly higher than the other, it does most of the cutting while the lower one barely touches the wood – which can produce a stepped ridge rather than an even surface. Check blade height with a dial indicator if your planer has mounting points for one, or a simple straightedge laid across both blades at top-dead-center: both edges should just touch the straightedge with even, light drag at several points across the width. Follow your specific model’s torque spec when tightening the gib bolts that hold the blade in its slot – overtightening one bolt more than another is a common way blade height ends up uneven in the first place.
Feed Rate And Grain Direction
A feed rate that’s too fast for the wood and depth of cut asks the blades to remove more material per pass than they cleanly can, which shows up as a rougher surface rather than the crisp lines a nick produces – if your planer has a two-speed feed, drop to the slower setting on hardwood or a deeper cut. Wavy or interlocked grain (common in figured woods) can also cause the blade to tear out small chips regardless of how sharp it is; a lighter depth of cut per pass reduces this. Neither of these will fix an actual nick, but ruling them out helps confirm the problem really is the blade and not the technique.
When To Check The Table Instead
If boards come out tapered (thicker on one edge than the other) rather than lined, the issue is usually the infeed or outfeed table, not the blades. Lay a straightedge along the table lengthwise and check for gaps or high spots; most benchtop planers have adjustment screws on the table supports for exactly this. This is a separate problem from lines and won’t be fixed by working on the blades or cutterhead.
When To Call In A Repair Shop
Most line problems are a blade or cleaning fix you can do yourself in under an hour. Get a technician involved if the lines persist after fresh, correctly-aligned blades and a full cleaning, since that points to a mechanical issue like a bent cutterhead, worn bearings, or drivetrain slop that isn’t a simple parts swap. Look for a shop that specifically services planers and jointers rather than general power tools, and check recent reviews before committing.
Frequently Asked Questions
Why Is My Planer Leaving Lines?
A single, repeating raised line running the length of the board almost always means one spot on a blade edge is nicked or chipped – that damaged spot cuts a groove into every pass of wood that goes under it. Widespread fine scratching across the whole surface points to dull blades or built-up pitch instead of a specific nick.
What’s The Difference Between Planer Lines And Planer Snipe?
Lines are parallel marks that run the full length of a board, caused by a damaged or dirty blade edge. Snipe is a localized dip or gouge only at the very ends of a board, caused by the board tipping slightly as it enters or exits unsupported by the infeed/outfeed rollers. They have different causes and different fixes.
How Often Should Planer Blades Be Sharpened Or Replaced?
As a rough guide, resharpen or replace blades every 20-30 hours of cutting time, sooner if you’re planing a lot of hardwood, reclaimed wood, or anything with embedded grit or old finish. A single hard hidden object (a staple, a bit of grit) can nick a blade in one pass, so inspect the edge any time you notice a new line appear.
Can Dust And Chip Buildup Really Cause Planer Lines?
Yes. Packed sawdust and resin on the cutterhead, chip breaker, or feed rollers changes how evenly the board is held and cut, which can show up as pressure marks or faint lines even with good blades. This is the most commonly overlooked cause because it doesn’t show up when you inspect the blades themselves.
Conclusion
A repeating line almost always traces back to one nicked spot on a blade edge – check that first. If the surface is torn or fuzzy everywhere instead, the blades are dull rather than damaged. Either way, clean the cutterhead and rollers while you’re in there, since resin and packed dust cause the same symptoms and are easy to miss if you only inspect the blades.
Sponsored / affiliate links. As an Amazon Associate I earn from qualifying purchases. I may earn additional commission from eligible campaigns.