Wood Burning a Horse: Pyrography Mane, Fur & Shading Guide
Wood burning horse art uses a heated pyrography pen to burn a horse’s likeness directly into the wood grain, building shading and mane texture with heat instead of paint. Skip proper heat control and detailed mane work turns into a flat, scorched blob instead of individual hair strands. This guide covers the tools, techniques, and finishing steps specific to burning horses — especially mane, fur, and muzzle shading.
What Is Wood Burning Horse Art?
Best Wood Burning Kit Pick
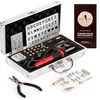 |
Premium Wood Burning Kit (43-Piece, Adjustable Temp) – $49.99 The mane and shading techniques below need real temperature control — this kit’s adjustable pen plus 36 interchangeable tips covers everything from broad shading strokes to fine stippled fur detail in one case.
|
As an Amazon Associate we earn from qualifying purchases.
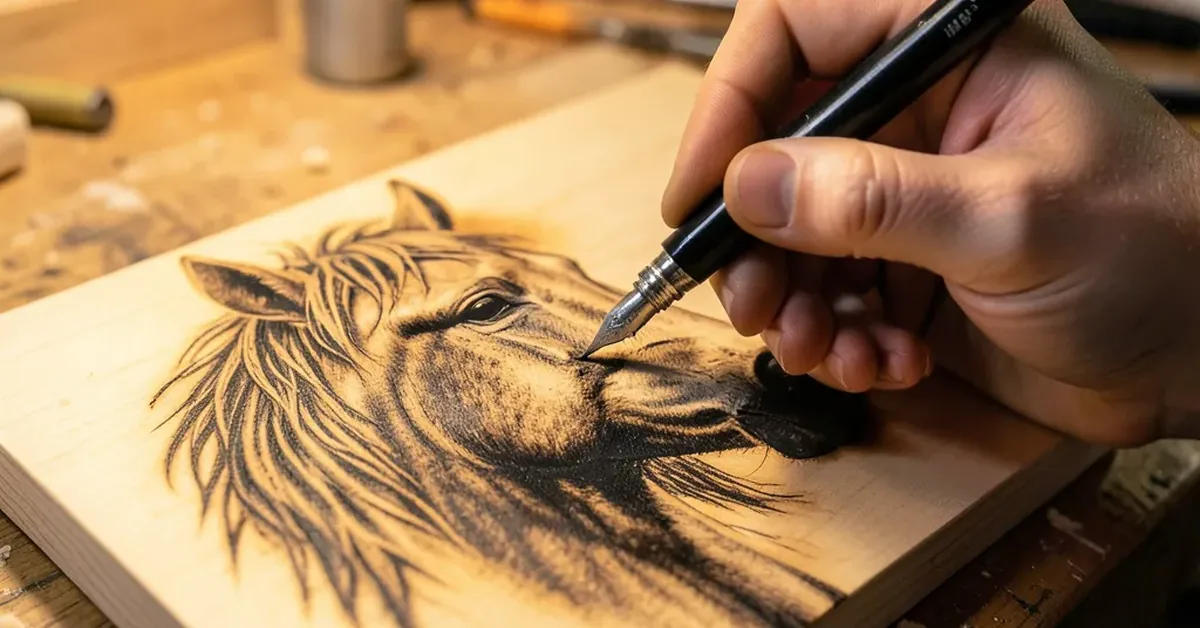
Wood burning horse art (pyrography) is the technique of using a heated tool to darken wood fiber into an image of a horse, rather than painting or carving one. Horses are one of the most common pyrography subjects because their mane, muscle definition, and eyes give an artist a wide range of shading and texture to work with — more than a flat silhouette subject offers.
- Portraits showcasing a specific horse’s personality and markings
- Horses in motion, using directional burn strokes to suggest movement
- Wild or pasture scenes that pair a horse with a landscape background
📊 Basswood has one of the lowest Janka hardness ratings of any wood commonly sold for craft projects — soft enough to take a burn evenly across the grain, which is why it’s the default recommendation for detailed portrait subjects like a horse’s mane and muzzle. Source: common pyrography and wood-carving supplier technical guides.
Choosing the Right Tools
The right pen and wood choice make the difference between clean detail and a muddy burn.
Types of Wood Burning Pens
| Type | Description | Best For |
|---|---|---|
| Standard pen | Fixed or single-heat pen | Beginners, simple silhouettes |
| Variable temperature pen | Adjustable heat dial | Detailed mane and shading work |
| Full kit with interchangeable tips | Multiple nibs for line and shading | Full horse portraits |
Selecting Wood for Your Project
- Basswood: smooth, even grain — best for detailed horse portraits.
- Birch: slightly harder, still takes fine detail well.
- Pine: softer and cheaper, but knots and sap pockets burn unevenly.
- Plywood: avoid for detailed work — glue layers between veneers can streak.
Always test a scrap piece of the same wood and thickness before starting the final piece — grain, moisture, and even the same species from a different board can burn differently. For pen and tip recommendations beyond a starter kit, see our guide to the best wood burning pens.
Designing Your Horse Portrait
Start from a clear reference photo, not memory — horse anatomy (the angle of the jaw, the taper of the muzzle) is easy to get subtly wrong when sketching freehand. Draw simple shapes to block in the head and neck, add the mane and ear detail, then check proportions against the reference before transferring the design to wood. For general portrait transfer and shading fundamentals that apply beyond horse subjects, see our guide to portrait wood burning technique.
Techniques for Mane, Fur, and Shading
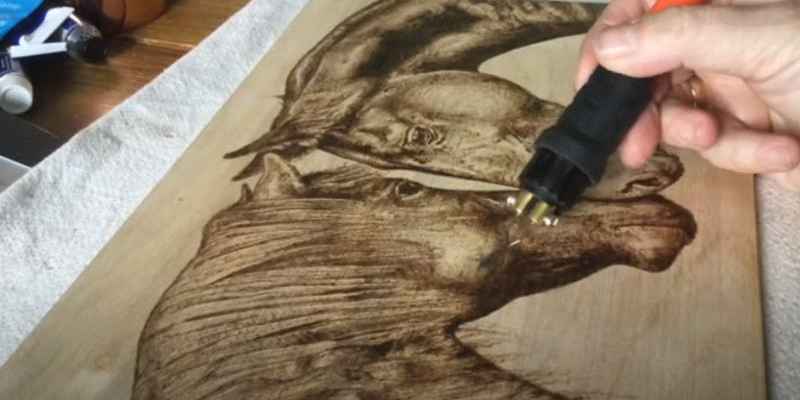
Horse subjects live or die on mane texture and shading — a flat-burned mane reads as a solid dark shape instead of hair.
- Cross-hatching: layered lines in different directions build shadow under the jaw and around the eye socket.
- Gradation: vary heat and speed for smooth transitions across the neck and shoulder.
- Stippling: dot the surface with the tool’s tip for a soft, furry texture on the muzzle.
- Individual line strokes: burn single mane hairs with the pen’s edge, varying length and direction, rather than one solid dark block.
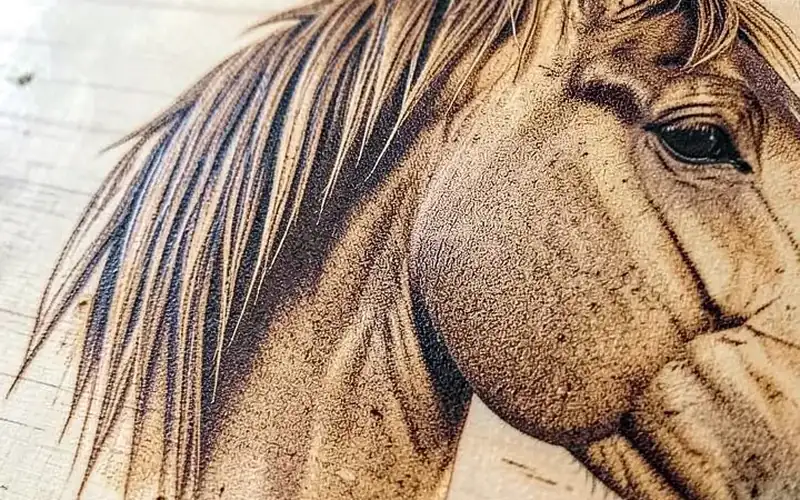
“The mane is where most horse portraits fall apart — burning it as one dark mass instead of individual overlapping strokes is the single most common mistake we see. Re-burning a few strands darker after the base layer is what actually sells the depth.”
Safety Tips for Wood Burning
- Work in a well-ventilated area or use a fume extractor — burning wood releases smoke and fine particulates.
- Keep the pen tip away from skin and flammable materials; tips stay hot after the power is off.
- Use a dedicated stand for the pen between strokes rather than resting it on the workbench.
- Check that the tool is rated for the tips you’re using before swapping heads.
Finishing and Displaying Your Wood-Burned Horse
Sanding and Sealing
- Wipe off burn dust with a dry cloth before sealing — don’t sand over finished burn lines, it softens the contrast.
- Apply a clear finish rated for wood (oil, varnish, or polyurethane) to protect the piece and deepen the burned tones.
- Apply two to three thin coats rather than one heavy coat, letting each dry fully.
Framing and Display
A simple wood frame keeps the focus on the burned detail; a shadow box adds depth if the board has any relief carving mixed in with the burning. Natural or angled spotlighting brings out the texture in the mane and shading far better than flat overhead light.
Frequently Asked Questions
What is wood burning horse art?
Wood burning horse art, also called pyrography, uses a heated tool to burn images of horses into wood instead of painting or drawing them. The heat darkens the wood fiber permanently, which lets an artist build shading, fur texture, and fine detail directly into the surface rather than on top of it.
How do you start a wood burning horse project?
Gather a pyrography pen, a smooth basswood or birch board, and a clear reference photo of the horse. Sketch the outline in pencil first, transfer it to the wood, then burn the darkest outlines before filling in shading. Practice mane and eye detail on scrap wood before committing to the final piece.
What wood is best for burning a horse portrait?
Basswood is the standard choice because its fine, even grain takes detail well and doesn’t fight the pen with hard or soft grain lines. Birch and pine also work for simpler designs, but avoid plywood for detailed portraits — the glue layers between veneers burn unevenly and can produce dark streaks.
Can beginners create realistic wood burning horse art?
Yes, but realistic horse portraits are harder than most beginner pyrography subjects because of the mane texture and eye detail. Start with a simple side-profile silhouette to learn heat control, then move to a detailed portrait once cross-hatching and stippling feel comfortable on scrap wood.
Conclusion
Wood burning a horse comes down to two things a flat silhouette doesn’t need: patient mane texture built from overlapping strokes, not one dark mass, and enough temperature control to shade the muzzle and eye without scorching them flat. Practice both on scrap basswood before committing to a final board, and the rest of the process — sanding, sealing, framing — is the same as any other pyrography piece.
Sponsored / affiliate links. As an Amazon Associate I earn from qualifying purchases. I may earn additional commission from eligible campaigns.