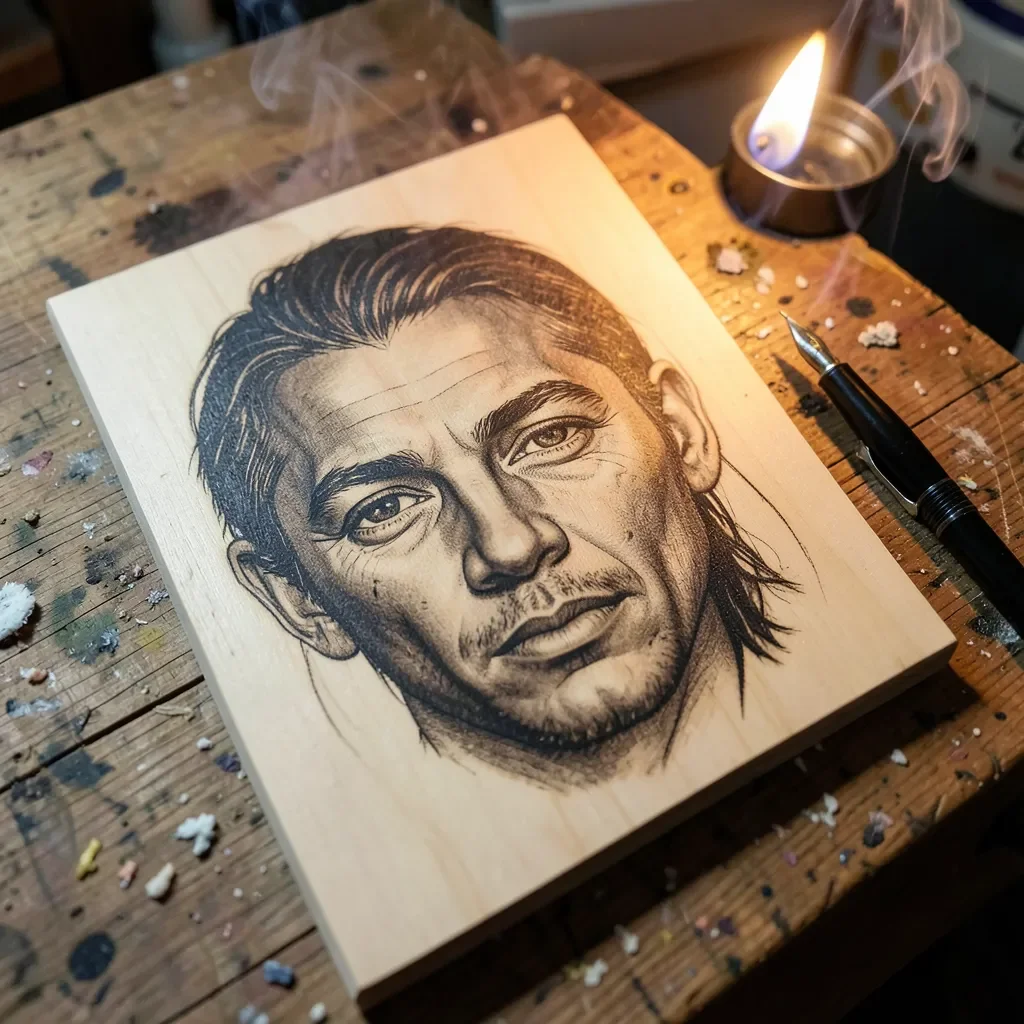
Portrait Wood Burning: The Shading Method (Not Heat) That Works
Portrait wood burning (pyrography) works by finding one dark-tan burn setting on your pen and leaving it alone – the tonal range in a finished face comes almost entirely from how many times you re-burn an area and how fast you move the tip, not from cranking the temperature up and down for every shade. That single habit is the biggest difference between a portrait that looks flat and one that has real depth.
Below is the actual process: preparing the wood, transferring a photo, building shading in layers instead of by heat, and the specific mistake – sealing the wood before you burn it – that quietly ruins more beginner portraits than a bad pen does.
Getting Started: Wood, Tools, and the Photo
Best for Detailed Portrait Shading
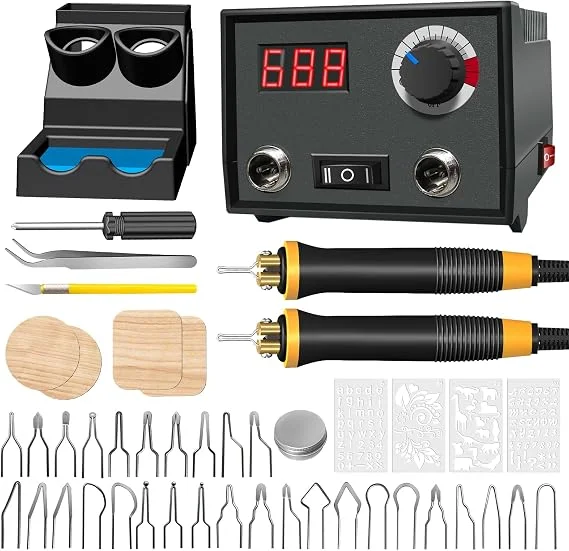 |
FIRElood Wood Burning Tool Kit – $39.99 A dual-pen kit with a digital thermometer and true adjustable temperature (25-750 degrees C) plus 30 tips, so you can lock in one dark-tan setting on scrap wood and control every shade after that with speed and re-burning instead of constantly changing the dial.
|
Basswood and birch plywood are the two most forgiving surfaces for portrait work because they burn evenly and show fine detail without a busy grain pattern fighting the image. Pine and other resinous softwoods are cheaper but their grain darkens unevenly and can leave streaks running straight through a face, which is the opposite of what a portrait needs. Sand up to at least 220 grit – anything rougher and the pen tip will catch on the surface instead of gliding, which shows up as jagged edges in fine linework like eyelashes and hairlines.
For the photo itself, pick one with strong, direct lighting and real contrast between the light and shadow sides of the face – a flat, evenly lit photo gives you nothing to translate into burn depth. Convert it to grayscale before you start, since color tells you nothing about the tonal values you’re about to recreate in burn marks. Transfer the outline with graphite paper rather than freehanding it; a portrait lives or dies on the accuracy of the eyes and the proportions between features, and graphite transfer keeps that accurate before you’ve committed a single burn. If you haven’t burned anything before, our broader wood burning techniques guide covers pen basics and tip selection before you jump into a portrait.
The Mistake That Ruins More Portraits Than a Bad Pen: Sealing the Wood First
A surprising amount of wood burning advice tells beginners to seal the wood with a sanding sealer or wood conditioner before burning, on the theory that it stops the wood from “absorbing heat too quickly.” In practice this is backwards and causes real problems: most sealers and conditioners are wax- or oil-based, and burning through that layer produces uneven, blotchy marks, extra smoke, and fumes you don’t want to breathe, because the pen is now burning finish as well as wood. It also makes it much harder to get the crisp, controlled tan-to-black gradient a portrait depends on, since the sealer changes how the wood chars from one spot to the next.
The correct order is the reverse: sand the bare wood smooth, burn the entire portrait on the unsealed surface, and only apply a finish – wax, oil, or a clear spray sealer – after every burn mark is finished. Finishing over a completed burn protects and slightly deepens the tones; finishing under one just gets in the way of the burn itself.
Building Shading With Passes, Not With Heat
Set your pen’s temperature once, on scrap wood from the same board, until a slow, deliberate pass produces a medium tan burn. Then stop touching the dial. From that point on, every tone in the portrait – from the faintest highlight to the deepest shadow under a jawline – comes from two variables you control with your hand, not the temperature knob:
- Speed: a fast pass over an area leaves it light; a slow, lingering pass darkens it. This is the fastest way to adjust tone mid-stroke without stopping.
- Re-burning: going back over an already-burned area with a second or third pass deepens it further, the same way a pencil sketch darkens with more layers of graphite. Build shadows in two or three light passes rather than one heavy one – it’s far easier to darken an area that’s too light than to lighten one you’ve burned too dark.
For the actual stroke pattern, small circular motions rather than straight lines are what most experienced pyrographers use for skin and shading, because circles blend into a smooth gradient instead of leaving visible line texture. Save directional, linear strokes for things that are actually made of lines – individual hair strands, eyelashes, fabric folds – where a visible stroke direction reads as texture instead of as an error.
Mapping Light and Shadow Onto a Face
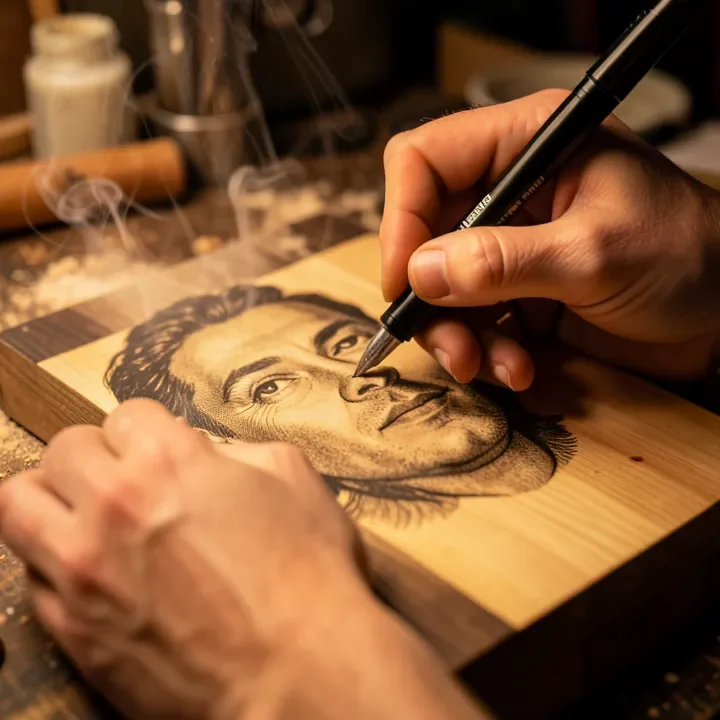
A face reads as three-dimensional when the planes that catch light stay light and the planes that fall into shadow go dark – and those planes are consistent enough across faces that you can plan for them before you ever pick up the pen. The forehead, bridge of the nose, and tops of the cheekbones typically catch the most light and should stay the lightest values in the piece. The hollows under the cheekbones, the sides of the nose, the area under the lower lip, and the eye sockets fall into shadow first and take the darkest, most re-burned passes.
Work from light to dark rather than the other way around: burn in your lightest mid-tones first across the whole face, then progressively add darker passes only where the reference photo actually shows shadow. This keeps you from over-committing to a dark area early and losing the ability to walk it back, since a burned area can always be darkened with another pass but can’t be lightened again.
Finishing and Protecting the Piece
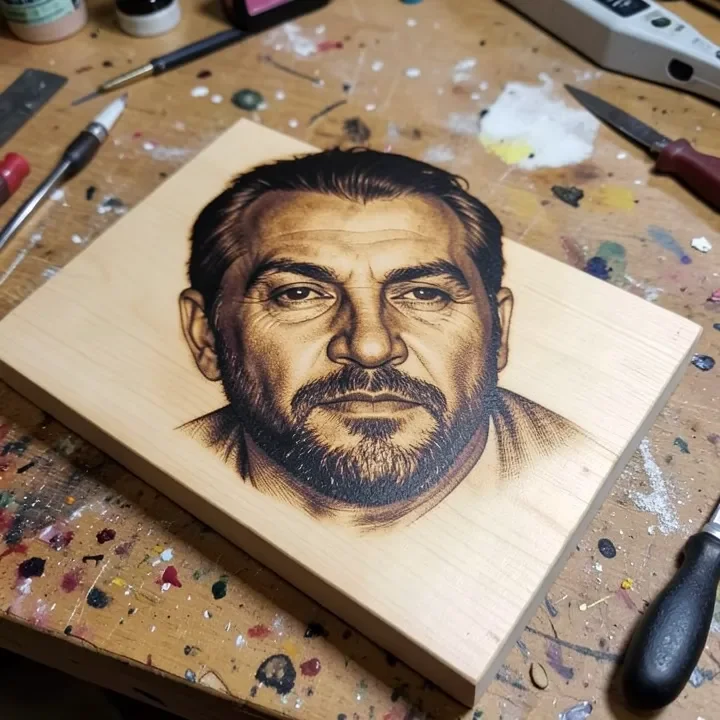
Once every burn is finished, lightly dust off any surface residue with a soft brush before applying a finish – never sand a completed burn, since sanding will lighten and blur the exact edges you just spent hours creating. A wipe-on oil like walnut or tung oil deepens the wood tone slightly and enriches contrast without adding shine; a matte or satin spray sealer protects the surface while keeping the burned texture visible; wax gives the softest sheen but needs reapplication over time. Whichever you choose, test it on your scrap piece from the same board first, since finishes can shift tone slightly and you want to see that shift before it’s permanent on the actual portrait.
Keep the finished piece out of direct sunlight, since UV exposure fades and yellows both the burned areas and the bare wood around them at different rates, which changes the contrast the whole portrait depends on.
Frequently Asked Questions
Should I seal the wood before burning a portrait?
No. Sealing or conditioning the wood before burning causes uneven, blotchy marks and extra fumes, since the pen ends up burning through finish as well as wood. Burn on bare, sanded wood, and apply any finish only after the entire portrait is complete.
How do you create different shades in wood burning without changing the temperature?
Set one dark-tan temperature on scrap wood and leave it alone. Control tone instead with speed (faster passes stay light, slower passes darken) and re-burning (going over an area a second or third time deepens it further, similar to layering pencil graphite).
What wood is best for portrait wood burning?
Basswood and birch plywood are the most forgiving choices because they burn evenly and have minimal grain pattern to compete with facial detail. Pine and other resinous softwoods are cheaper but their uneven grain can streak through a face and disrupt fine detail.
What stroke technique works best for shading a face?
Small circular motions are typically best for skin and shading, since they blend into a smooth gradient rather than leaving visible line texture. Reserve straight, directional strokes for genuinely linear details like hair strands, eyelashes, and fabric folds.
Sponsored / affiliate links. As an Amazon Associate I earn from qualifying purchases. I may earn additional commission from eligible campaigns.
 FIRElood Wood Burning Tool,Wood Burning kit Pen 25~750℃,Professional Wood Burning kit,with Digital Thermometer Temperature Adjustable Temperature,1 Wood Burning pens, 30 Wood Burning Pen Tips
 FIRElood LH30-1 wood burning tool,wood burning kit pen 25~750℃,professional wood burning kit,with digital thermometer temperature adjustable temperature,1 wood burning pens, 30 pen tips(LH30-1A pen)