8 Easy Wood Burning Projects for Beginners (2026 Guide)
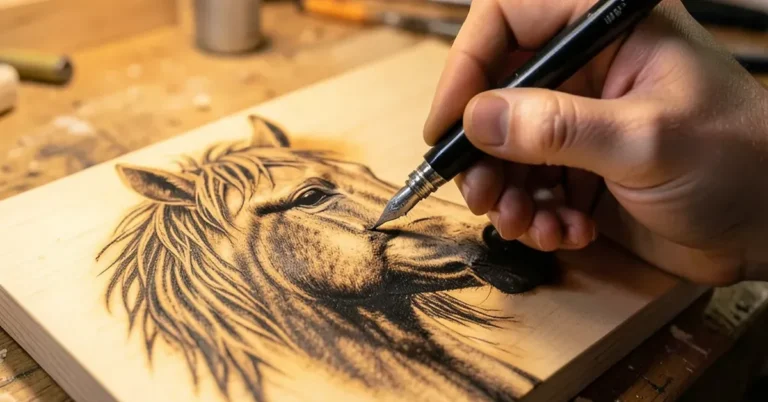
Wood burning (pyrography) is one of the cheapest craft hobbies to start — a basic pen kit runs $15 to $30, and you can finish your first real project in an afternoon. The eight projects below are ordered from simplest to slightly more involved, so you build control before tackling anything with fine detail.
What You Actually Need to Start
Best Starter Wood Burning Kit
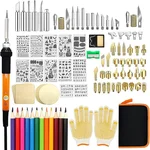 |
PETUOL 110-Piece Wood Burning Kit – $27.54 Everything from the tools list above in one box, including wood blanks and stencils to practice on right away.
|
You don’t need a $200 professional rig for any of these projects. A single-temperature or variable-temperature wood burning pen, a couple of interchangeable tips (a fine writing tip and a wider shading tip cover almost everything below), 220-grit sandpaper, and graphite transfer paper are the whole shopping list.
Wood choice matters more than the pen does. Basswood is the standard for beginners because it has a tight, even grain with almost no visible grain lines to fight against, so your burn lines stay clean and predictable. Butcher block-style poplar and birch plywood also work well. Avoid oak, walnut, and other open-grained hardwoods at first — the grain burns unevenly and can make a simple line look jagged.
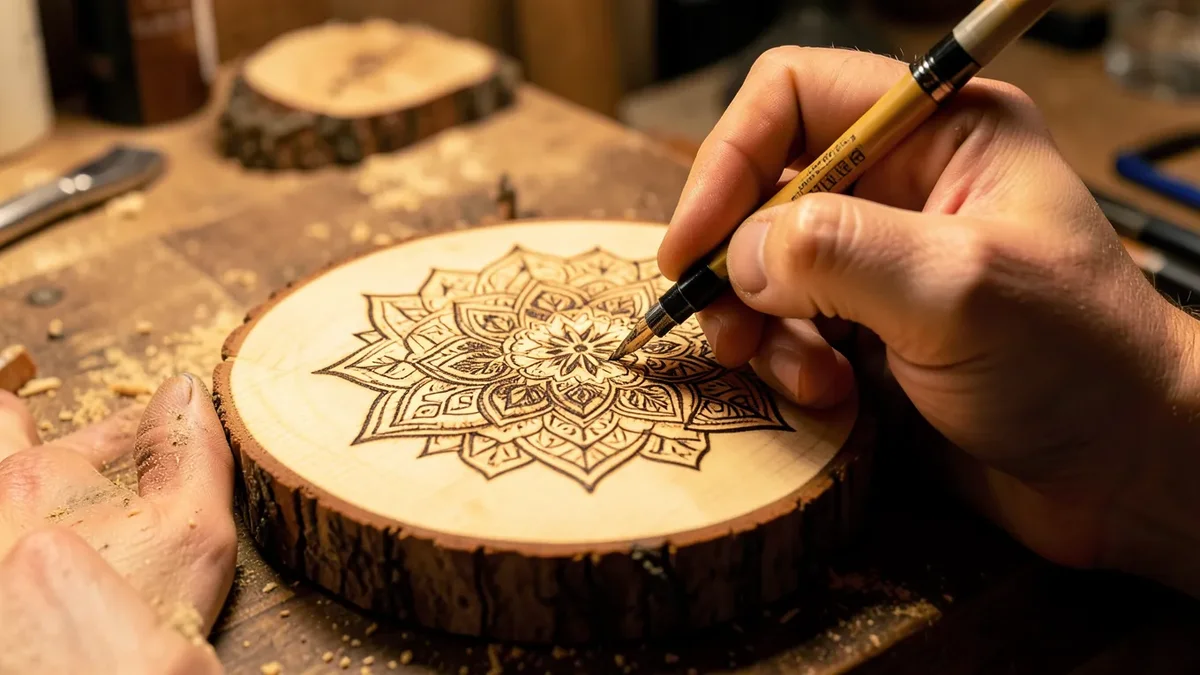
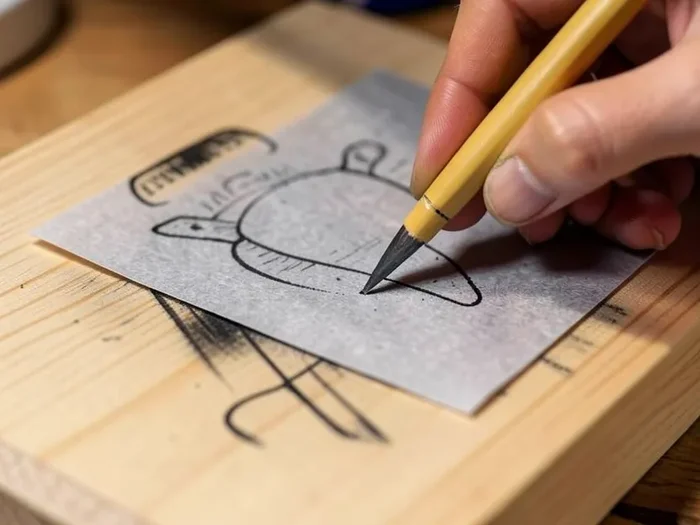
Transfer your design instead of freehanding it. Print or draw your pattern, slide a sheet of graphite transfer paper (graphite-side down) between the paper and the wood, and trace over the lines with a ballpoint pen. This leaves a light graphite outline on the wood that burns away as you trace it with the pen — it’s far more reliable than sketching freehand, especially for symmetrical designs like mandalas or lettering.
Safety Basics Before You Start Burning
A wood burning tip runs between roughly 200°F and 900°F depending on the pen and setting — hot enough to cause a serious burn instantly, and hot enough to smolder fabric or paper it touches. Work in a ventilated room (burning wood releases fine smoke and particulates, not just a pleasant smell), rest the pen on its stand between strokes rather than setting it down on your work surface, and keep long hair and loose sleeves clear of the tip. A basic respirator mask is worth the $10 if you’ll be burning for more than an hour at a stretch.
8 Beginner-Friendly Projects
1. Basswood coasters. Round basswood coaster blanks are cheap and forgiving — start with a simple geometric border (straight lines and dots are easiest to keep even) before attempting a centered design. Seal the finished coaster with a food-safe, heat-resistant finish so condensation from a cold glass doesn’t lift the burned lines.
2. Personalized keychain blanks. A name, initial, or single small icon (a leaf, a star) is ideal for the small surface. Keep the design under about an inch so the lines don’t crowd each other, then sand the edges and add a keyring hardware loop.
3. Wooden spoon handles. Decorate the flat top of the handle, never the bowl of the spoon — that’s the part that contacts food, and burned wood there can harbor bacteria in the char. Use an unfinished, untreated spoon so the burn takes evenly, and finish afterward with food-grade mineral oil or beeswax, not polyurethane.
4. Small wall art panel. A 6×8″ basswood or birch plywood panel is large enough for a real scene — a mountain silhouette, a tree line, or lettering — without taking hours. Sketch it in pencil first, transfer with graphite paper, then burn the outline before filling in any shading.
5. Wooden bookmarks. A thin basswood or bamboo bookmark blank is one of the fastest projects on this list — a border pattern plus a single word or small motif takes 20-30 minutes. Round the corners with sandpaper so they don’t dog-ear a book’s pages.
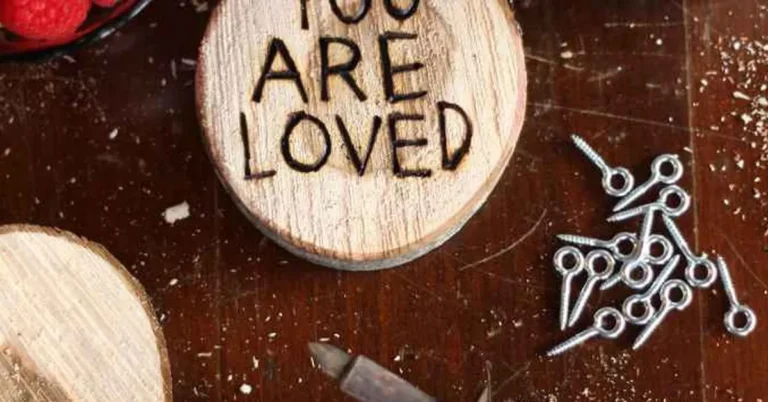
6. Hanging plaques. A pre-cut plaque with a name, house number, or short phrase is a genuinely useful first “real” gift project. Screw in a small eye hook before you start burning, not after — it’s easier to hold the blank flat while burning without hardware in the way.
7. Cutting board border. Rather than burning across the whole working surface (which you’d have to re-seal constantly), burn a decorative border around the edge of a maple or beech cutting board, well away from the cutting zone. This is a good next step up in scale once you’re comfortable holding a straight line.
8. Layered shading practice panel. Once the first seven feel easy, burn a scrap panel with nothing but graduated shading — rows going from light, fast strokes to slow, dark ones. This single practice piece teaches you more about temperature and speed control than any finished project will, and it’s the skill that separates flat-looking pyrography from pieces with real depth. For more beginner-friendly patterns once you finish these eight, browse these simple wood burning designs sized for basswood and pine.
Getting Clean Lines: The Two Variables That Matter
Every pyrography mistake traces back to one of two things: temperature or speed. Too hot or too slow, and the line bleeds wider than you intended and can char instead of leaving a crisp brown line. Too cool or too fast, and the line comes out faint and patchy. There’s no universal “correct” setting — it depends on the pen, the tip, and the wood — so the right move is always the same: burn a test line on a scrap piece of the same wood before starting the real project, and adjust from there. Dragging the tip with the grain gives a smoother line than dragging across it, which is worth keeping in mind when you’re choosing which direction to orient a design.
Finishing and Protecting Your Piece
For decorative pieces (wall art, plaques, bookmarks), a clear matte or satin spray sealant protects the burned lines from fading and smudging without changing their color much. For anything that will touch food or skin (spoons, coasters, cutting boards), skip polyurethane and lacquer entirely and use a food-safe finish — pure mineral oil, or a beeswax-and-mineral-oil blend — reapplied every few months with normal use.
Frequently Asked Questions
What wood is best for beginner wood burning projects?
Basswood is the standard choice because its tight, even grain burns smoothly and predictably. Poplar and birch plywood also work well; avoid open-grained hardwoods like oak until you have more control.
Do I need an expensive wood burning kit to start?
No. A basic kit with a temperature-adjustable pen and a handful of interchangeable tips, in the $20 to $30 range, is enough for every project in this guide.
How do I transfer a design onto wood before burning?
Place graphite transfer paper graphite-side down between your printed design and the wood, then trace over the lines with a ballpoint pen. This leaves a light outline that burns away as you trace it.
Is wood burning safe to do indoors?
Yes, as long as the room is ventilated. The tip runs up to roughly 900°F, and burning wood releases fine smoke and particulates, so open a window or run a fan and consider a basic respirator mask for longer sessions.
The Bottom Line
Start with a coaster or a keychain, not the wall art panel — small, low-stakes projects build the temperature and speed control that everything else depends on. Once a straight line and an even shade both come out the way you intended, every project on this list gets noticeably faster and cleaner.
Sponsored / affiliate links. As an Amazon Associate I earn from qualifying purchases. I may earn additional commission from eligible campaigns.