How to Finish Shiplap Edges (Plus Corners, Trim & Caulk)
To finish shiplap edges, sand them in three grit stages (80, then 120, then 220), run a bead of paintable acrylic-latex caulk along seams and corners, let it cure roughly 30 minutes, then prime and paint or wipe on stain. The step most guides skip is the corners: inside corners get caulked, outside corners need real trim, not just a caulk bead.
Shiplap looks simple once it’s on the wall, but the edges are where a DIY install either reads as “finished” or “almost finished.” Raw cut ends, open miters at a doorframe, and a corner where two boards just butt into open air are the details that give away a rushed job. None of that is hard to fix – it just takes the right order of operations and a couple of products most people don’t think to buy until they’re already stuck.
This guide covers the full process – tools, cutting, sanding, sealing, and paint – but spends extra time on the part that most shiplap tutorials gloss over in a single sentence: what to actually do where boards meet at inside corners, outside corners, and door or window casing.
Why Finished Shiplap Edges Matter
An unfinished edge isn’t just a cosmetic problem. Pine and cedar shiplap both move seasonally, and a raw cut end soaks up humidity faster than the face of the board, which is exactly where cupping and small gaps start. Sealing and finishing the edges slows that moisture exchange, protects the exposed grain from dings, and gives paint or stain something even to grab onto instead of soaking in unevenly at the end grain.
Best Caulk For Shiplap Seams & Corners
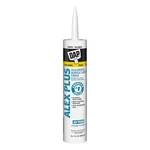 |
DAP Alex Plus Acrylic Latex Caulk – $2.95 The bead that actually closes shiplap seams and inside corners – paint-ready in about 30 minutes so it doesn’t hold up the rest of the finishing steps below.
|
One tube like this handles a typical accent wall’s seams and inside corners with some left over – keep reading for exactly where to run the bead and where you need trim instead.
Tools and Materials You’ll Actually Use
You don’t need a full shop to finish shiplap edges well, but a few specific items make the difference between a clean line and a visible patch job.
- Miter saw: for square cross-cuts and the 45° corner miters covered below.
- Caulk gun + paintable acrylic-latex caulk: seals seams, inside corners, and nail holes.
- 120- and 220-grit sanding block or sponge: knocks down saw fuzz on cut ends without rounding the profile.
- Wood filler: for chips, knots, or gaps wider than caulk should bridge (anything over about ⅓ inch).
- Stud finder, level, and a good tape measure: so boards land tight without hidden gaps at the studs.
- Corner trim or a miter box for 45° returns: for any outside corner – a caulk bead alone won’t hold up there.
For the boards themselves, pine is the cheapest and easiest to cut but moves the most with humidity; primed MDF shiplap holds paint better and won’t telegraph knots, but it isn’t a good choice anywhere it can get wet (a mudroom or bathroom); cedar costs more but handles moisture and exterior exposure on its own without much extra sealing.
Finishing Corners: the Step Most Shiplap Guides Skip
Most shiplap tutorials explain how to finish a flat wall and stop there. In a real room, boards also have to turn a corner, wrap a doorframe, or stop at the ceiling – and those transitions are treated differently depending on whether the corner is inside or outside.
Inside Corners
At an inside corner (where two walls come together toward you), a simple butt joint is usually the right call – run one wall’s boards long into the corner and butt the adjacent wall’s boards against the face, then caulk the seam. Load the caulk gun, run a continuous bead into the joint, and smooth it with a damp finger or a baby wipe before it skins over. That bead does three jobs at once: it hides small gaps from a wall that isn’t perfectly square, it keeps dust and paint from creeping behind the boards, and it flexes instead of cracking as the wood expands and contracts.
Outside Corners
Outside corners get bumped, so they need something more durable than caulk alone. Two options work well: pre-made corner trim (an L-shaped molding that wraps both faces and hides the raw board ends completely), or mitered corners where each board is cut at a matching 45° angle so the two faces meet in a tight line. Pre-made trim is faster and far more forgiving of a wall that’s slightly out of square; mitered corners look more seamless but only if every cut is exact, since even a one-degree miss opens a visible gap at the point.
Whichever method you use, measure before you cut – check the actual corner angle with a speed square rather than assuming 90°, since older framing and drywall corners are frequently off by a degree or two, which is enough to open a gap at a mitered point.
Where Shiplap Meets Door and Window Casing
Treat the edge where shiplap butts into door or window trim the same way as an inside corner: a tight cut, then a thin caulk line to close any gap left by an imperfect fit. Avoid forcing a board tight against casing with no gap at all – leave roughly ⅓16 inch of clearance so seasonal movement doesn’t push the board against the trim and crack the paint line later.
Cutting and Sanding for a Tight Fit
Measure the wall height and width, then mark each board rather than trusting a running tape measure down the wall – small errors compound over several rows. Cut with a miter saw for straight cross-cuts and square ends; save the jigsaw for any board that needs to notch around an outlet or vent.
After cutting, every exposed edge gets a quick three-stage sanding pass: 80-grit only if the saw left visible tear-out, 120-grit to knock down fuzz and splinters, then 220-grit to leave a smooth surface that won’t show brush marks once painted. Sand with the grain, not across it, and wipe the dust off with a tack cloth before caulking or priming – caulk and paint both adhere poorly over sanding dust.
Caulking, Filling, and Sealing the Seams
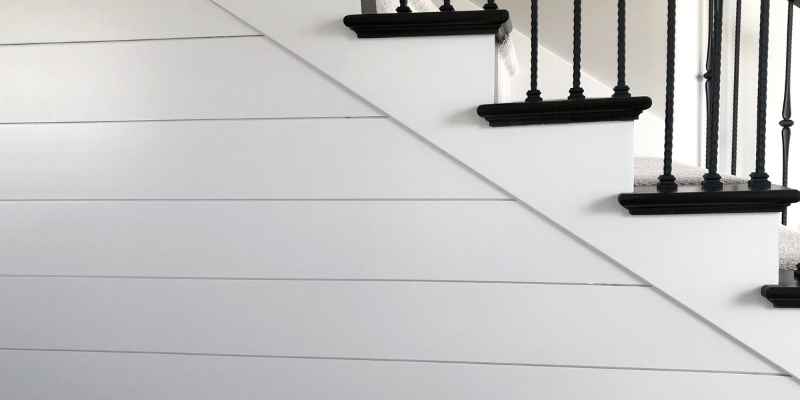
Once boards are cut, sanded, and hung, go back over every seam, corner, and nail hole before you pick up a paintbrush. Small gaps and dents get wood filler, pressed in with a putty knife and sanded flush once dry. Seams, inside corners, and the line where shiplap meets ceiling or casing get a caulk bead instead of filler – filler is rigid and will crack at a joint that moves, while a paintable acrylic-latex caulk stays flexible.
- Confirm the surface is clean, dry, and free of sanding dust.
- Run a continuous bead along seams, inside corners, and trim lines.
- Smooth the bead with a damp finger or cloth before it skins over.
- Let it cure per the label (about 30 minutes for most paintable acrylic-latex caulk) before priming.
Painting or Staining Shiplap Edges
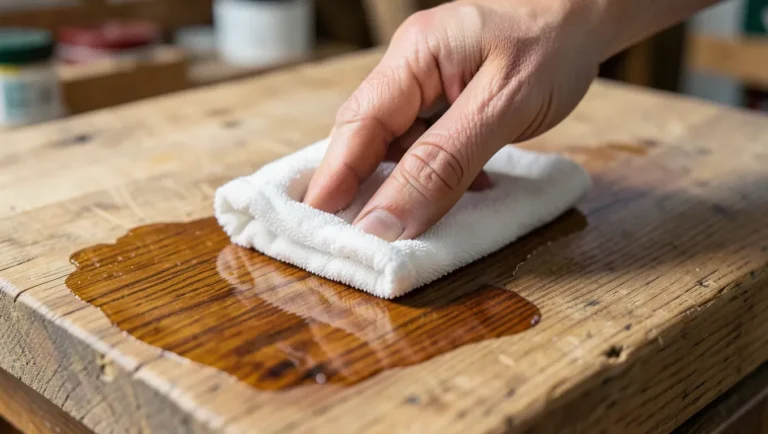
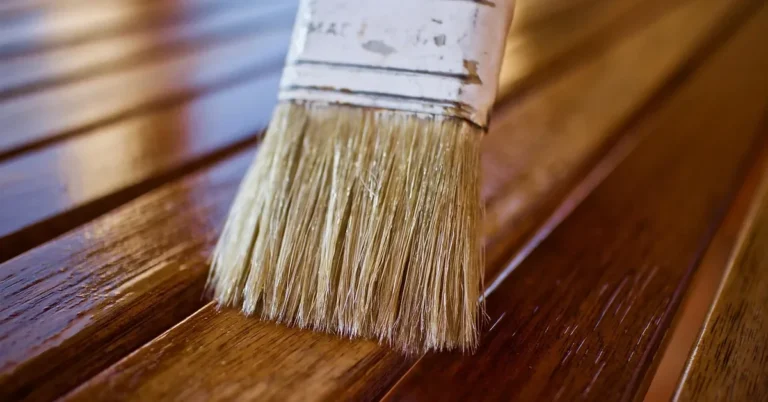
Paint and stain do different jobs on an edge. A satin or semi-gloss paint over a primed edge holds up well in high-traffic rooms and hides any minor filler or caulk lines completely, which is why it’s the more forgiving choice for a first shiplap project. Stain shows off the grain and is a better match if the boards themselves are a feature (cedar, reclaimed wood), but it also shows every sanding inconsistency, so the 220-grit pass matters more if you’re staining.
| Finish | Best for | Edge prep needed |
|---|---|---|
| Satin/semi-gloss paint | Bathrooms, kitchens, high-traffic walls | Primer, then two coats; hides caulk/filler lines |
| Clear or tinted stain | Feature walls, cedar or reclaimed boards | Even 220-grit sanding is critical – stain highlights flaws |
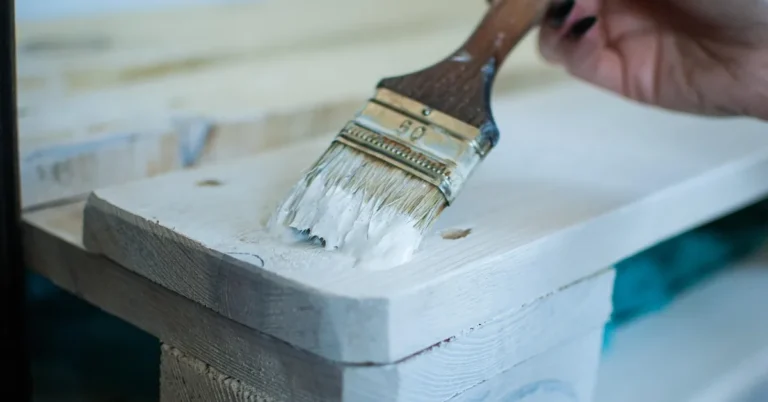
Whichever you choose, prime bare wood first if painting, apply with a brush for edges and a roller for flat faces, and let each coat dry fully before the next – a second thin coat looks better and lasts longer than one thick one.
Maintaining Finished Shiplap Edges
A properly finished edge needs very little upkeep. Dust it with a soft cloth, wipe spills up promptly rather than letting water sit in a seam, and keep indoor humidity in the 30–50% range so boards aren’t constantly expanding and contracting against their caulk lines. If a corner or seam does eventually crack – usually after a dry winter followed by a humid summer – sand the area lightly, re-run a thin caulk bead or press in fresh filler, and touch up the paint or stain to match.
Frequently Asked Questions
How do I finish shiplap edges?
Sand cut edges through 80, 120, and 220 grit, then caulk seams and inside corners, fill any larger gaps or dents with wood filler, and finish with primer plus paint or a wood stain. Outside corners need real corner trim or a mitered joint, not just caulk.
What’s the difference between finishing an inside corner and an outside corner?
Inside corners are simply butted together and sealed with a caulk bead, which hides small gaps and flexes with the wood. Outside corners take more impact, so they need pre-made corner trim or a precise 45° miter – caulk alone won’t hold up to bumps on an exposed outside edge.
What materials do I need to finish shiplap edges?
You’ll need a miter saw, sandpaper or a sanding block in 120 and 220 grit, paintable acrylic-latex caulk with a caulk gun, wood filler for larger gaps, and primer plus paint or stain. Corner trim or a miter box is also worth having if the wall has any outside corners.
Can I use shiplap in a bathroom?
Yes, as long as the edges and seams are properly caulked and sealed and you choose a moisture-tolerant material like cedar or a fully primed board rather than untreated MDF. A satin or semi-gloss paint also holds up better than a flat finish in a humid bathroom.
What type of paint is best for shiplap edges?
A satin or semi-gloss finish paint is the best all-around choice for shiplap edges – it’s durable, easy to wipe clean, and forgiving of the small caulk or filler lines that are normal on a finished edge.
Conclusion
Finishing shiplap edges comes down to the same short sequence every time: cut clean, sand through the grits, caulk the seams and inside corners, use real trim or a tight miter on outside corners, then prime and finish. Get the corners right and the rest of the wall reads as intentional rather than DIY – that’s the detail that separates a good shiplap install from a great one.
Sponsored / affiliate links. As an Amazon Associate I earn from qualifying purchases. I may earn additional commission from eligible campaigns.