Best Way to Stain Cabinets: Ultimate Guide for Flawless Results
Are your cabinets looking dull or outdated? You might think staining them is a tough job, but it doesn’t have to be.
The best way to stain cabinets can transform your space quickly and affordably. Imagine bringing out the rich, natural beauty of the wood while giving your kitchen or bathroom a fresh, new look. In this guide, you’ll discover simple steps and expert tips that make staining easy—even if you’ve never done it before.
Ready to see your cabinets in a whole new light? Keep reading, and you’ll learn how to get flawless results every time.
Choosing The Right Stain
Choosing the right stain is a key step in staining cabinets. The right stain brings out the wood’s natural beauty. It also protects the surface and changes the cabinet’s look. Picking the perfect stain can be simple with the right information. Understanding different types, colors, and finishes helps make the best choice.
Types Of Wood Stains
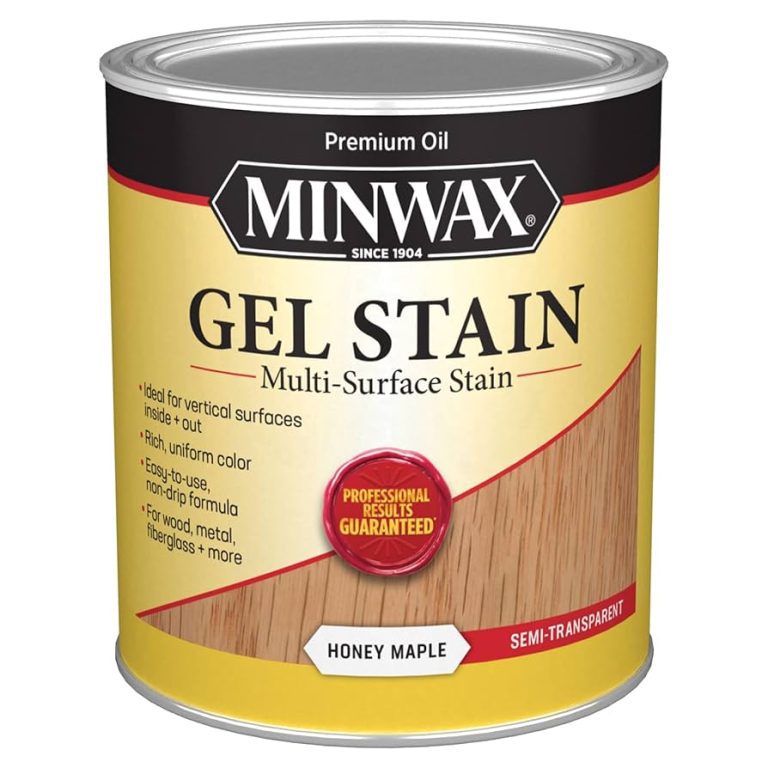
Wood stains come in several types. Each type affects the wood differently. Gel stains are thick and sit on top of the wood. They work well on cabinets with uneven grain. Penetrating stains soak deep into the wood. They highlight the natural patterns inside. Lacquer stains dry quickly and create a hard finish. They are less common but useful for some woods.
Color Selection Tips
Choose a color that matches your room’s style. Dark stains create a rich, classic look. Light stains keep spaces bright and open. Test the stain on a small wood piece first. This shows the final color before applying it to all cabinets. Consider the wood type too. Different woods can change how the stain looks.
Oil-based Vs Water-based Stains
Oil-based stains soak deeper and last longer. They bring out warm, rich colors. These stains take longer to dry and need good ventilation. Water-based stains dry fast and clean up easily with soap and water. They have less odor and are better for indoor use. Water-based stains keep colors true but may raise the wood grain.
Preparing Cabinets For Staining
Preparing cabinets for staining sets the foundation for a smooth, lasting finish. This step requires care and attention. Proper preparation helps the stain stick well and look even. Taking time here saves effort later and improves the final result.
Removing Hardware And Doors
Start by removing all cabinet doors, drawers, and hardware. Take off handles, knobs, and hinges carefully. This prevents damage and allows access to all surfaces. Label each piece to keep track during reassembly. Removing parts makes staining easier and cleaner.
Cleaning And Sanding Surfaces
Clean the cabinet surfaces to remove grease, dirt, and dust. Use a mild cleaner and a soft cloth. After cleaning, sand the wood gently with fine-grit sandpaper. Sanding opens the wood pores for better stain absorption. Wipe away sanding dust with a damp cloth before staining.
Repairing Imperfections
Check the cabinets for cracks, holes, or dents. Fill any imperfections with wood filler using a putty knife. Let the filler dry completely, then sand it smooth. Repairing surface flaws ensures a uniform finish. Smooth surfaces prevent uneven stain patches.
Essential Tools And Materials
Staining cabinets requires the right tools and materials for the best results. Using proper equipment helps you work faster and achieve a smooth finish. Preparing everything before starting makes the staining process easier and cleaner.
Brushes And Applicators
Choose high-quality brushes for even stain application. Natural bristle brushes work well with oil-based stains. Foam brushes are good for water-based stains and tight spots. Cloth rags also help spread and wipe off excess stain. Using the right applicator prevents streaks and blotches on the wood.
Protective Gear
Wear gloves to protect your hands from stain and chemicals. Safety glasses shield your eyes from splashes. A mask or respirator keeps you safe from harmful fumes. Protective gear ensures you can work without health risks or skin irritation.
Drop Cloths And Masking Tape
Cover floors and counters with drop cloths to catch drips. Use plastic or canvas cloths for good protection. Masking tape helps protect edges and areas not to be stained. It creates clean lines and keeps your workspace neat and tidy.
Step-by-step Staining Process
Staining cabinets can change the look of your kitchen or bathroom. The process is simple but needs careful steps. Follow these steps to get a smooth and even finish. Take your time and work patiently for the best results.
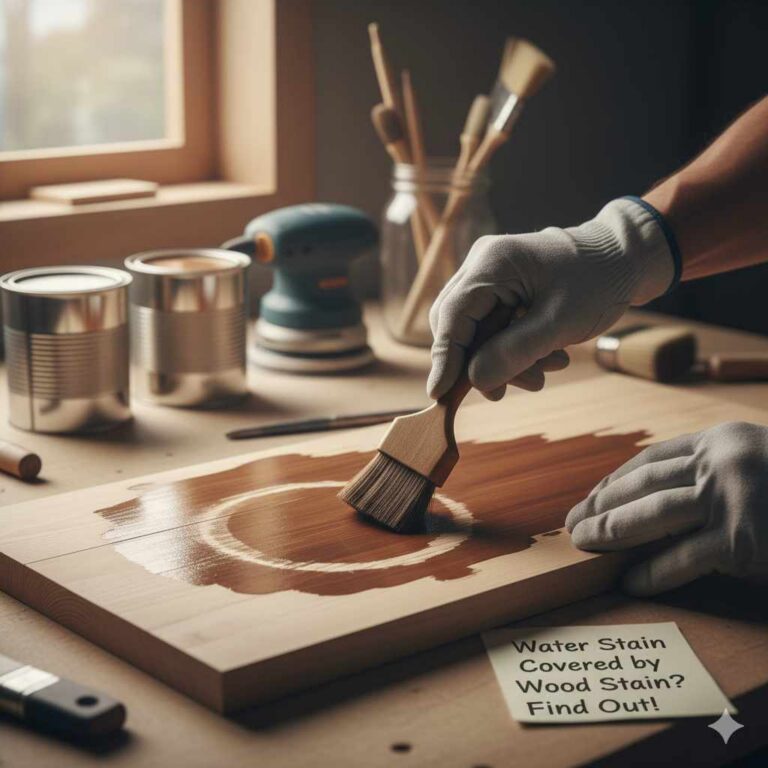
Applying The Stain
Use a clean cloth or brush to apply the stain. Work in small sections to control the color better. Always follow the wood grain direction. Apply the stain evenly to avoid blotches. Avoid putting too much stain at once.
Wiping Excess Stain
After applying, wait a few minutes, then wipe off extra stain. Use a clean, dry cloth for this step. Wiping removes excess and helps the wood absorb the color well. This step controls how dark the stain will be. Wipe gently to keep an even tone.
Drying Times Between Coats
Let the stain dry completely before adding more coats. Drying time usually takes 4 to 6 hours. Check the product label for exact drying times. Adding another coat too soon can cause sticky spots. Patience here ensures a smooth and lasting finish.
Sealing And Finishing Cabinets
Sealing and finishing cabinets protects the wood and enhances its look. This step stops moisture from damaging the wood. It also gives cabinets a smooth, polished appearance. Proper sealing and finishing make your cabinets last longer and look better every day.
Choosing The Right Finish
Select a finish that suits your cabinet use and style. Glossy finishes shine bright and highlight wood grain. Matte finishes offer a soft, natural look without shine. Satin finishes balance shine and subtlety, hiding fingerprints well. Consider durability too. Some finishes resist scratches and stains better.
Applying Sealants And Topcoats
Start with a clean, dry cabinet surface. Use a brush or cloth to apply sealant evenly. Thin, even coats prevent drips and bubbles. Let each coat dry before adding the next. Apply two or three coats for strong protection. A topcoat seals the finish and adds durability. Use a polyurethane or varnish topcoat for best results.
Maintaining The Finish
Clean cabinets regularly with a soft cloth and mild soap. Avoid harsh chemicals that can damage the finish. Wipe spills quickly to prevent stains. Polish cabinets occasionally to keep shine and moisture protection. Check for chips or cracks and touch them up fast. Proper care keeps cabinets looking fresh and new for years.
Common Mistakes To Avoid
Staining cabinets can transform your space beautifully. Avoiding common mistakes saves time and frustration. These errors often cause uneven colors and poor finishes. Knowing what to avoid helps you get smooth, rich results every time.
Uneven Stain Application
Applying stain unevenly leaves blotchy spots on cabinets. Dark patches appear where stain pools or soaks too much. Light areas show if you miss spots or spread too thin. Use a clean cloth or brush and work in small sections. Wipe off extra stain quickly to keep color even.
Skipping Preparation Steps
Preparation is key for good staining results. Not sanding cabinets leaves rough surfaces that stain unevenly. Dust and dirt block stain from soaking in well. Clean cabinets fully and sand with fine grit paper. This step opens wood pores and helps stain absorb evenly.
Rushing The Drying Process
Drying time affects the final look and durability. Rushing causes sticky, patchy stains that do not set properly. Wait at least 24 hours before touching or adding a second coat. Allow cabinets to dry in a dust-free, well-ventilated area for best results.
Tips For Long-lasting Results
Staining cabinets can give your kitchen a fresh, beautiful look. To keep that look for years, follow some simple tips. These tips help protect the stain and keep your cabinets strong. Small actions make a big difference in how long your cabinets last.
Proper Ventilation
Good air flow helps the stain dry evenly and fully. Open windows and use fans during and after staining. This stops moisture from building up on the wood. Moisture can cause the stain to peel or bubble. Proper ventilation also reduces strong smells from stain chemicals.
Regular Cleaning Techniques
Clean your cabinets often with a soft cloth and mild soap. Avoid harsh chemicals that can wear down the stain. Wipe away grease and dust quickly to stop damage. Use a damp cloth, not a wet one, to protect the wood. Regular cleaning keeps the stain shiny and fresh.
Touch-up Strategies
Small scratches or faded spots can be fixed easily. Keep some stain and a brush handy for quick repairs. Lightly sand the damaged area before applying new stain. This helps the new stain stick well and match the old. Touch-ups prevent bigger problems and keep cabinets looking new.
Frequently Asked Questions
What Is The Best Stain For Wooden Cabinets?
The best stain for wooden cabinets depends on wood type and desired color. Oil-based stains offer rich tones and durability. Water-based stains dry faster and have less odor. Choose a stain that enhances wood grain and complements your kitchen style.
How Do I Prepare Cabinets Before Staining?
Start by removing cabinet doors and hardware. Clean surfaces thoroughly to remove grease and dirt. Sand cabinets with fine-grit sandpaper to smooth imperfections. Wipe dust off with a tack cloth. Proper prep ensures even stain absorption and a smooth finish.
Can I Stain Cabinets Without Sanding?
Sanding is recommended for best results but not always required. If cabinets have a smooth, sealed surface, lightly scuff sanding with fine grit can help. Without sanding, stain may not adhere properly and can result in uneven color or peeling over time.
How Long Does Cabinet Stain Take To Dry?
Cabinet stain typically dries within 4 to 6 hours. Drying time varies by stain type and environmental conditions. Oil-based stains take longer, usually 6 to 8 hours. Ensure proper ventilation and avoid heavy use until fully dry to protect the finish.
Conclusion
Staining cabinets can change the look of any room quickly. Choose the right stain for your wood type. Prepare the surface well for smooth, even color. Apply stain carefully, following the grain of the wood. Let the stain dry fully before adding any finish.
Take your time and work step by step. The effort will show in the final result. Enjoy your refreshed cabinets for years to come. Simple steps bring great results.