Best Way To Touch Up Wall Paint: A Proven, Essential Guide
The best way to touch up wall paint is to first clean the area, then lightly sand any imperfections. Apply a high-quality primer to the spot, allow it to dry completely, and then carefully dab or feather the matching paint using the original application tool. Proper prep and blending are the keys to a seamless, invisible repair.
Hello friend! It happens to all of us. A scuff from a moving chair, a small ding from a toy, or a scratch from a pet’s claws. Suddenly, your perfect wall has a noticeable blemish. It’s so frustrating! You might think you have to repaint the entire wall, but I’m here to tell you that’s not always the case. A good touch-up can make that damage disappear.
Learning how to do it right can save you so much time and effort. I’ll walk you through every step, from picking the right tools to blending the paint like a pro. We’ll make sure that little imperfection becomes a distant memory. Let’s get started and make your walls look brand new again!
Why Most Wall Paint Touch-Ups Fail
Before we grab our brushes, let’s talk about why touch-ups can be tricky. Knowing the common pitfalls is the first step to avoiding them. Many people get frustrated when their touch-up spot sticks out like a sore thumb. This usually happens for a few simple reasons.
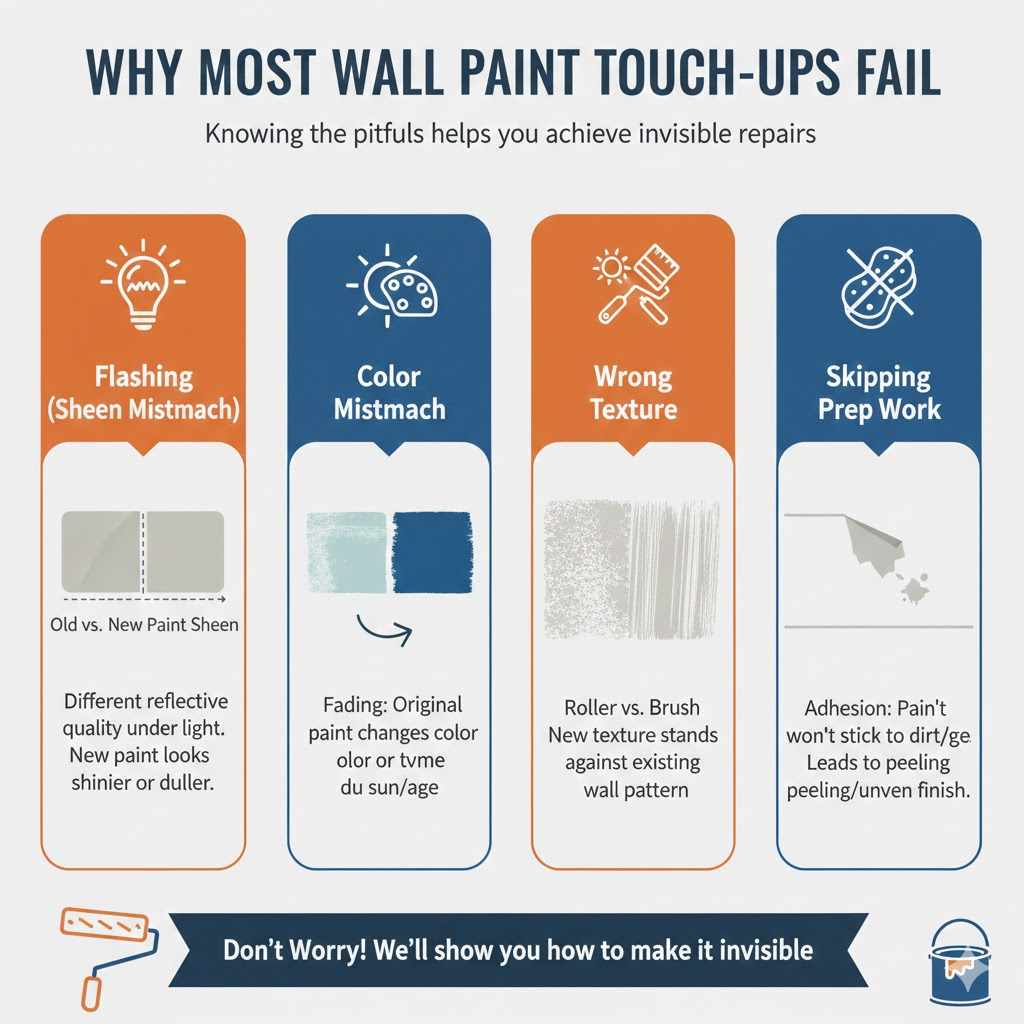
The most common problem is something called “flashing.” This is when the touched-up spot looks different from the rest of the wall when light hits it. It might look shinier or duller. This often happens because the texture or sheen of the new paint doesn’t perfectly match the old paint.
Other common issues include:
- Color Mismatch: The original paint on the wall has likely faded over time due to sunlight and aging. A new dab of paint, even from the same can, might look slightly different.
- Wrong Texture: If the original wall was painted with a roller and you touch it up with a brush, the textures will not match. The brush strokes will stand out against the roller’s stipple pattern.
- Skipping Prep Work: Painting directly over a dirty or greasy spot will prevent the new paint from sticking properly. The touch-up might peel or look uneven.
Don’t worry! We will tackle each of these issues head-on. With the right approach, you can make your repair virtually invisible.
Step 1: Gather Your Tools and Materials
Having everything you need on hand makes any job easier. It’s like baking a cake—you wouldn’t start without having all your ingredients measured out. Let’s get our supplies ready so we can focus on doing a great job.
Essential Supplies Checklist:
- Matching Paint: The most important item! Hopefully, you have some leftover paint from the original job.
- Primer: A small can of high-quality primer is a must, especially if you had to patch a hole.
- Small Paint Brushes: A few artist’s brushes or a small trim brush will work perfectly.
- Mini Paint Roller: If the original wall was rolled, a small 4-inch roller will help you match the texture.
- Clean Rags or Sponges: For cleaning the wall and wiping up any spills.
- Mild Soap or Degreaser: To properly clean the area before painting.
- Spackle or Wood Filler: If you are fixing a small hole or deep scratch.
- Putty Knife: To apply the spackle.
- Fine-Grit Sandpaper: 220-grit is ideal for smoothing spackle and feathering edges.
- Painter’s Tape (Optional): Useful for protecting trim or adjacent walls if the scuff is nearby.
- Cardboard or Drop Cloth: To protect your floors.
Having these simple tools will set you up for success. You likely already have many of them around your home workshop.
Step 2: Find Your Perfect Paint Match
Getting the color and sheen right is more than half the battle. If you have the original can of paint, you’re in great shape! If not, don’t panic—we have a few tricks up our sleeve.
If You Have the Original Paint
First, check if the paint is still good. Open the can. If it’s a lumpy, smelly mess, it’s probably no longer usable. If it just has a thin layer of liquid on top, you can mix it back together. Stir it thoroughly for several minutes with a paint stirrer until the color is completely uniform. The color pigments can settle over time, so good stirring is critical.
If You Don’t Have the Original Paint
This is a common challenge. Here’s what you can do:
- Find the Old Can: Search your basement or garage one more time. The can often has a sticker with the color name and formula.
- Chip a Sample: Carefully cut a small square of paint from an inconspicuous area of the wall, like behind a piece of furniture or inside a closet. A 1-inch by 1-inch square is usually enough.
- Take it to the Paint Store: Any paint store has a spectrophotometer, a fancy machine that can analyze the color and create a perfect match. This technology is incredibly accurate.
Understanding Paint Sheen
The sheen, or finish, of the paint is just as important as the color. A satin touch-up on a matte wall will stick out immediately. Higher gloss sheens are generally easier to clean but harder to touch up seamlessly.
Here’s a quick guide to help you understand different sheens.
| Paint Sheen | Appearance | Touch-Up Difficulty | Best For |
|---|---|---|---|
| Flat / Matte | No shine, hides imperfections | Easiest | Ceilings, low-traffic areas like adult bedrooms |
| Eggshell | Very low, soft shine like an eggshell | Easy | Living rooms, dining rooms, hallways |
| Satin | Slightly more shine than eggshell | Moderate | High-traffic areas, kitchens, bathrooms, kid’s rooms |
| Semi-Gloss | Noticeable shine, very durable | Difficult | Trim, doors, cabinets, bathrooms |
| High-Gloss | Very shiny, almost like plastic | Very Difficult | Doors, trim, high-use furniture |
As you can see, flat paint is the most forgiving. If you have a glossy finish, you need to be extra careful with your technique to avoid a noticeable patch.
Step 3: Prepare the Damaged Area for Painting
Great craftsmanship is all about preparation. Taking a few extra minutes here will make the difference between a clumsy patch and an invisible repair. Think of this as laying a strong foundation for your paint.
1. Clean the Wall
Walls collect dust, oils, and grime that you can’t always see. Paint needs a clean surface to adhere to. Mix a small amount of mild soap with warm water. Use a soft sponge or cloth to gently wash the scuff mark and the area around it. Rinse the soap off with a clean, damp cloth and let it dry completely.
2. Repair any Damage
If you’re just covering a scuff, you can skip this part. But for small nail holes, dents, or deep scratches, you’ll need to fill them.
- Take a small amount of spackle on the tip of your putty knife.
- Press it firmly into the hole or dent.
- Scrape the putty knife flat against the wall to smooth the surface and remove any excess.
- It’s okay to leave it slightly raised, as spackle can shrink a little as it dries.
Let the spackle dry completely according to the manufacturer’s instructions. This usually takes a few hours.
3. Sand It Smooth
Once the spackle is dry, wrap a piece of 220-grit sandpaper around a small block of wood. Lightly sand the patched area until it is perfectly smooth and flush with the wall. Gently sand the edges of the repair to feather it into the surrounding wall. Your goal is a surface that feels perfectly smooth to the touch. Wipe away all the sanding dust with a clean, dry cloth.
Safety is key! For homes built before 1978, it’s important to be cautious about sanding, as the paint may contain lead. You can learn more about lead-safe practices from the Environmental Protection Agency (EPA).
Step 4: Prime the Spot
Do not skip this step! Primer is your secret weapon for a flawless touch-up. It does two very important things:
- It seals the patch: Fresh spackle or a sanded spot is very porous. Without primer, it will absorb paint differently than the rest of the wall, creating a dull, blotchy area.
- It ensures color consistency: Primer creates a neutral base, so your topcoat of paint will look exactly as it should.
Using a small artist’s brush, apply a thin, even coat of primer directly over the sanded spackle or the stained area. Keep the primer confined to just the repair spot. Let it dry completely. A good primer will dry to the touch in about 30 minutes to an hour, but check the can for specific instructions.
Step 5: The Art of Applying the Touch-Up Paint
Now for the main event! The technique you use to apply the paint is critical for blending the repair. The goal is to mimic the original paint application as closely as possible.
Choose the Right Applicator
Take a close look at your wall’s texture. Was it applied with a roller or a brush?
- If the wall has a stippled texture, it was rolled. You must use a mini roller for your touch-up.
- If the wall is perfectly smooth, like on trim or doors, it was likely brushed or sprayed. A high-quality paintbrush is your best bet.
Application Techniques for a Seamless Finish
Here’s a breakdown of the best way to touch up wall paint, broken down by tool:
- Stir Your Paint: Stir the touch-up paint extremely well again, right before you use it.
- Use Very Little Paint: It’s always better to apply two thin coats than one thick, gloppy one. Too much paint will create a raised edge that catches the light.
- Feathering with a Brush: Dip just the tip of your brush into the paint. Dab the paint onto the center of the primed spot. Then, use light, sweeping strokes to blend the paint outward from the center. Lift the brush at the end of each stroke to create a soft, “feathered” edge. This helps the new paint transition smoothly into the old paint.
- Stippling with a Roller: Lightly load your mini roller with paint, rolling off any excess on a tray. Gently roll over the primed area. Then, use the roller to lightly press and lift around the edges. This dabbing or “stippling” motion helps recreate the bumpy texture of the original rolled wall, making the patch blend in.
- Less is More: Apply a very thin first coat and let it dry. It might still look visible at this stage. That’s okay! Once it’s dry, you can assess if it needs a second, equally thin coat. Most of the time, a second thin coat is what makes the repair disappear.
Patience is your best friend here. Let the paint dry completely between coats and before you judge the final result.
Common Touch-Up Problems and How to Fix Them
Sometimes things don’t go perfectly. Here’s a quick troubleshooting guide.
| Problem | What It Looks Like | How to Fix It |
|---|---|---|
| Flashing | The patch is shinier or duller than the rest of the wall. | This is often a sheen mismatch or lack of primer. You may need to lightly sand the area, prime it, and try again with the correct sheen and a better feathering technique. |
| Raised Edge | You can see the outline of your touch-up. | You used too much paint. Let it dry fully for a day or two, then lightly sand the edge with 220-grit sandpaper until it’s smooth, then apply another very thin coat. |
| Wrong Color | The patch is clearly a different shade. | The color is not a good match. You’ll need to get a new sample custom-matched at the paint store. There is no easy way to fix this without starting over with the right color. |
| Visible Brush Strokes | You can see lines from the brush on a rolled wall. | You used the wrong applicator. The wall texture doesn’t match. You will need to sand the area smooth and re-apply the paint with a mini roller to match the texture. |
When to Repaint the Whole Wall
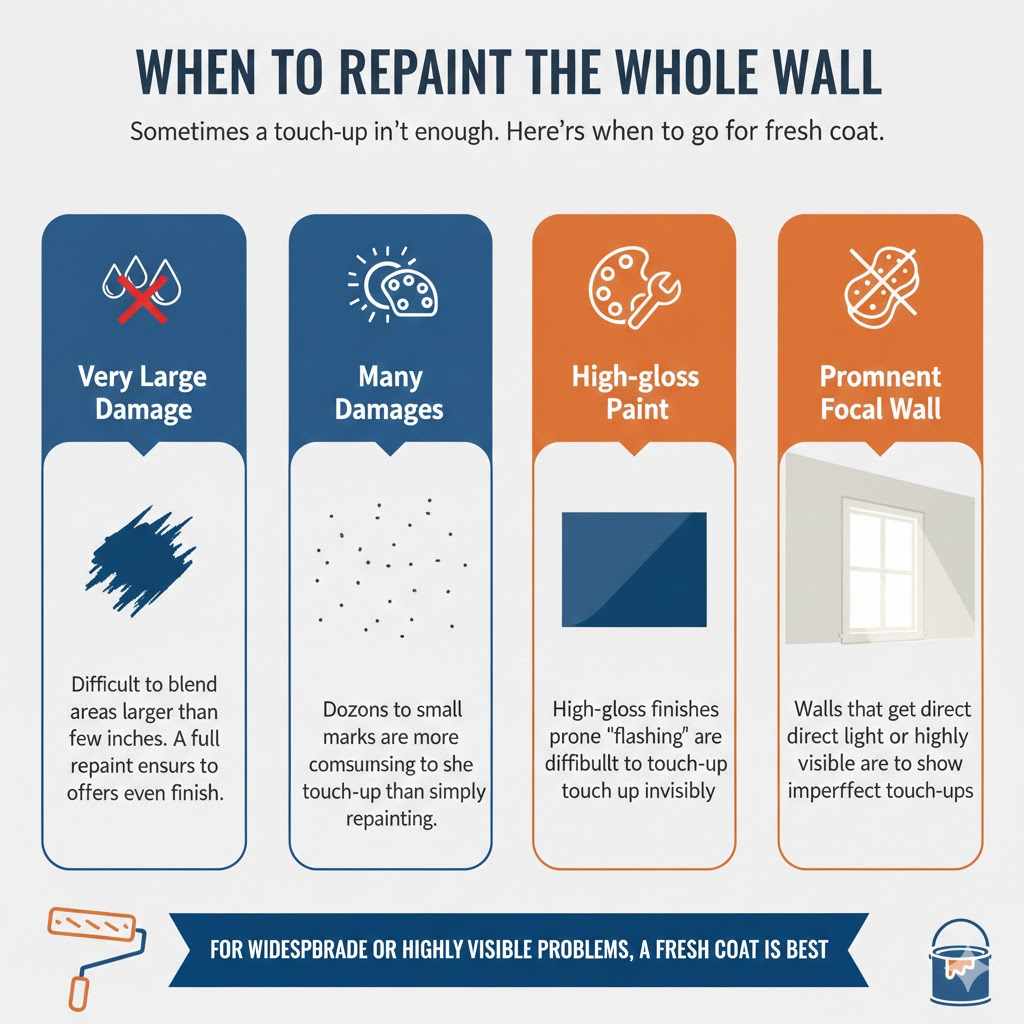
Sometimes, a touch-up just isn’t the right solution. It’s better to repaint the entire wall if:
- The damage is very large: If you have a scuff mark that’s more than a few inches wide, it will be very difficult to blend.
- There are many small damages: If a wall is covered in dozens of little marks, you’ll save time and get a better result by just giving it a fresh coat of paint.
- The paint is high-gloss: As we discussed, high-gloss finishes are notoriously difficult to touch up without flashing.
- The wall is a prominent focal point: A touch-up on a wall that gets a lot of direct light or is the first thing you see when you enter a room is more likely to be noticed.
Think of it this way: for small, isolated issues, a touch-up is perfect. For widespread or highly visible problems, a fresh coat of paint is the more reliable choice.
Frequently Asked Questions (FAQ)
1. Do I really need to use primer for a small touch-up?
Yes, absolutely! Primer is essential, especially over spackle. It seals the surface so the paint absorbs evenly, preventing a dull or blotchy spot. It’s a quick step that makes a huge difference in the final look.
2. What if I don’t have the original paint can?
Carefully cut a small, one-inch square of paint from a hidden spot (like behind a picture or inside a closet). Take this chip to any paint store, and they can use a computer to color-match it perfectly for you.
3. How long should I wait for the touch-up paint to dry?
Paint may feel dry to the touch in about an hour, but it takes much longer to fully cure. Wait at least 4-6 hours before applying a second coat. Avoid washing or scrubbing the area for at least two weeks to allow the paint to fully harden.
4. My touch-up is still visible. What did I do wrong?
The most common reasons are a color/sheen mismatch, not using primer, or applying the paint too thickly. Another reason could be using a brush on a rolled wall. Review the steps and see if you can identify the issue. Often, sanding it lightly and trying again with the right technique will fix it.
5. Can I use a foam brush for touch-ups?
You can, but I generally recommend a small artist’s brush or a mini roller instead. Foam brushes tend to leave a different texture that can be noticeable. The goal is to match the original application method as closely as possible.
6. Why does my touch-up look darker than the rest of the wall?
This is common. Fresh paint often appears slightly darker when wet. Also, the paint on your wall may have faded slightly from sunlight. Give it a full 24 hours to dry completely. If it still looks too dark, you might need a slightly lighter, custom-matched color.
7. Is it okay to use a sample pot of paint for touch-ups?
It can be risky. Sample pots are often made with a lower-quality base and may not have the exact sheen as the gallon you would buy. For the best results, get a quart of high-quality paint mixed in the exact color and finish you need.
Conclusion: Enjoy Your Flawless Walls
And there you have it! Fixing those little scuffs and dings on your wall isn’t as scary as it seems. Like any good project, the secret to the best way to touch up wall paint lies in patience and preparation. By cleaning the area properly, priming the spot, and using a light touch with the right applicator, you can make those imperfections vanish.
Don’t be discouraged if your first attempt isn’t perfect. Every repair is a chance to learn and refine your technique. Before you know it, you’ll be able to fix any small blemish with confidence, keeping your home looking its absolute best.
So next time you see a small mark on your wall, smile. You now have the skills and knowledge to handle it like a pro. Happy fixing!