Black Walnut Vs Walnut Wood: Proven Best
Black walnut vs walnut wood: The proven best choice for beginners is generally Black Walnut, especially for its rich, dark color and consistency. However, “walnut wood” often means Black Walnut commercially, so understanding species differences is key for specific projects where lighter Claro or English Walnut might be preferred for grain or workability.
Choosing the right wood can feel like the hardest part of any new woodworking project. If you’ve ever looked at those beautiful, dark brown boards and wondered what you are actually buying, you are not alone! The terms “Black Walnut” and “Walnut Wood” often cause confusion for new woodworkers. Does one cost more? Are they stronger? Will one look dramatically different on your finished project?
Take a deep breath. We are going to clear up this muddy terminology right now. As a fellow woodworker who loves the look of dark, stunning lumber, I’m here to show you exactly how these terms relate. We will break down the species, explain what you are actually getting when you buy “walnut,” and help you select the perfect material for your next build. Let’s start making sense of the lumberyard labels!
Understanding the Walnut Family Tree
The confusion between “Black Walnut” and “Walnut Wood” usually comes down to how the industry talks about trees versus how woodworkers talk about finished products. In short, Black Walnut is a specific type of walnut, but when people just say “walnut,” they usually mean Black Walnut too, especially here in North America.
To be a confident wood buyer, you need to know the main players in the walnut family. Not all walnuts are created equal when it comes to color, density, or price.
The Star: Black Walnut (Juglans nigra)
When someone says they are using “Black Walnut,” they are referring to the wood sourced from the Black Walnut tree, native to the Eastern and Central United States and Canada. This is the premium material most woodworkers dream about.
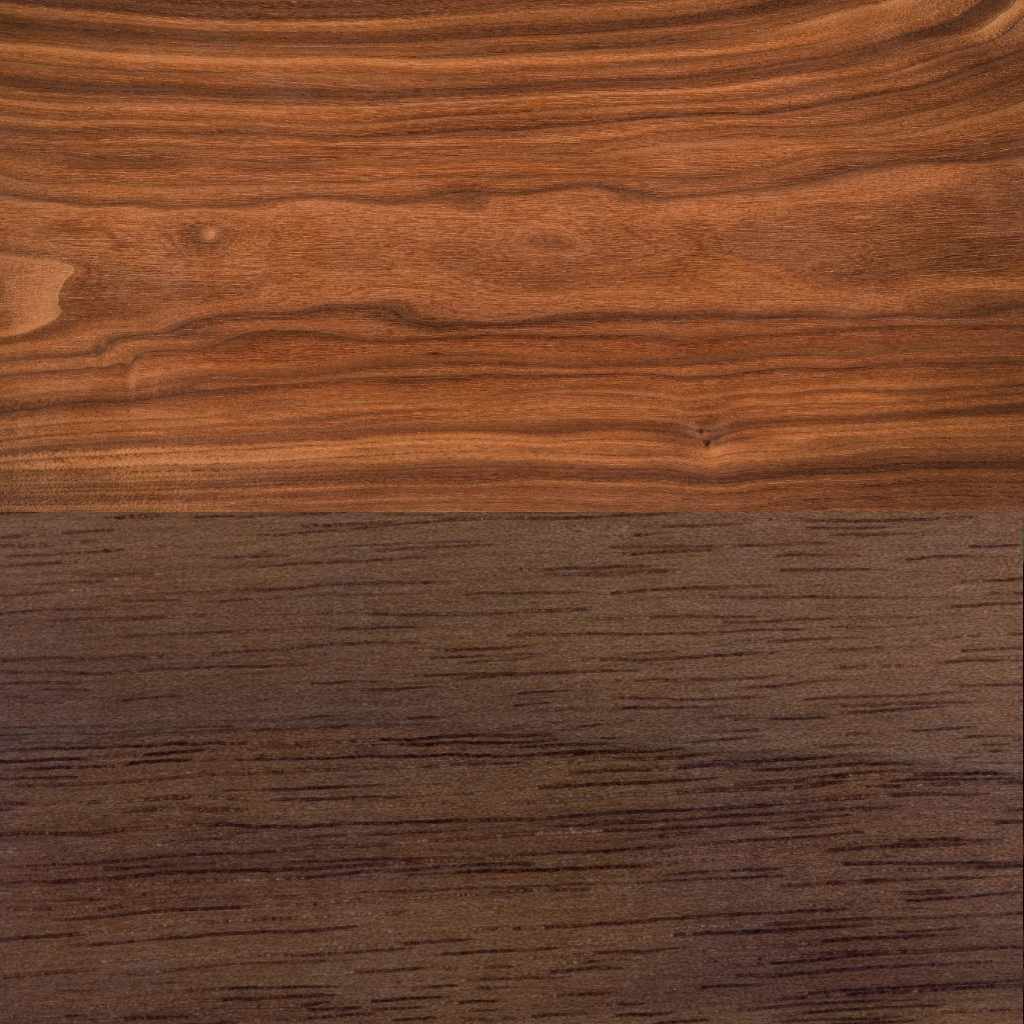
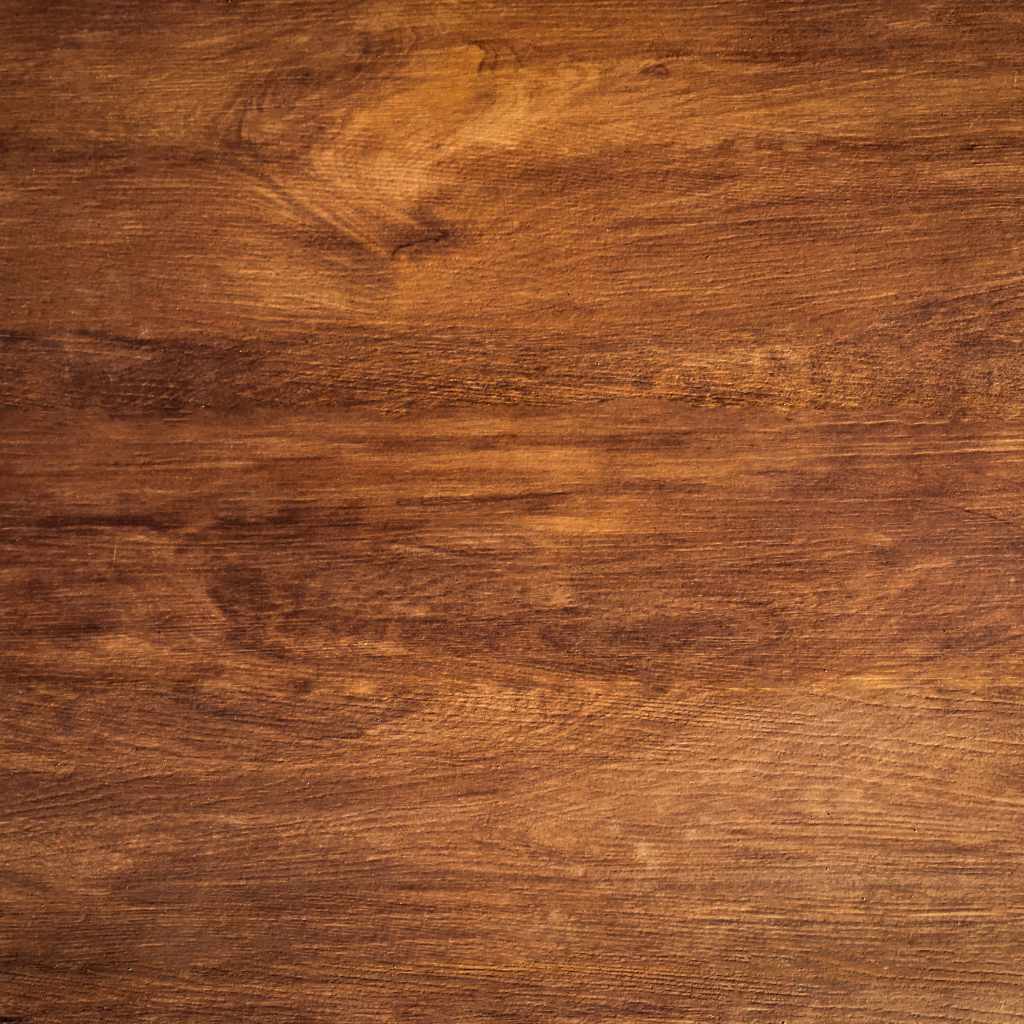
- Color: Famous for its rich, deep chocolate-brown heartwood. It darkens beautifully over time.
- Workability: It machines wonderfully. It’s a joy to sand and takes finishes like a dream, resulting in a very high-end look.
- Use: High-end furniture, cabinetry, gunstocks, and decorative veneers.
- Stability: Moderately stable, meaning it moves a little bit with changes in humidity, but predictable if dried properly.
The International Cousins: Other Walnuts
While Black Walnut dominates the high-end market, other species are often sold simply as “Walnut.” These are important to know, especially if you see a deal on imported lumber.
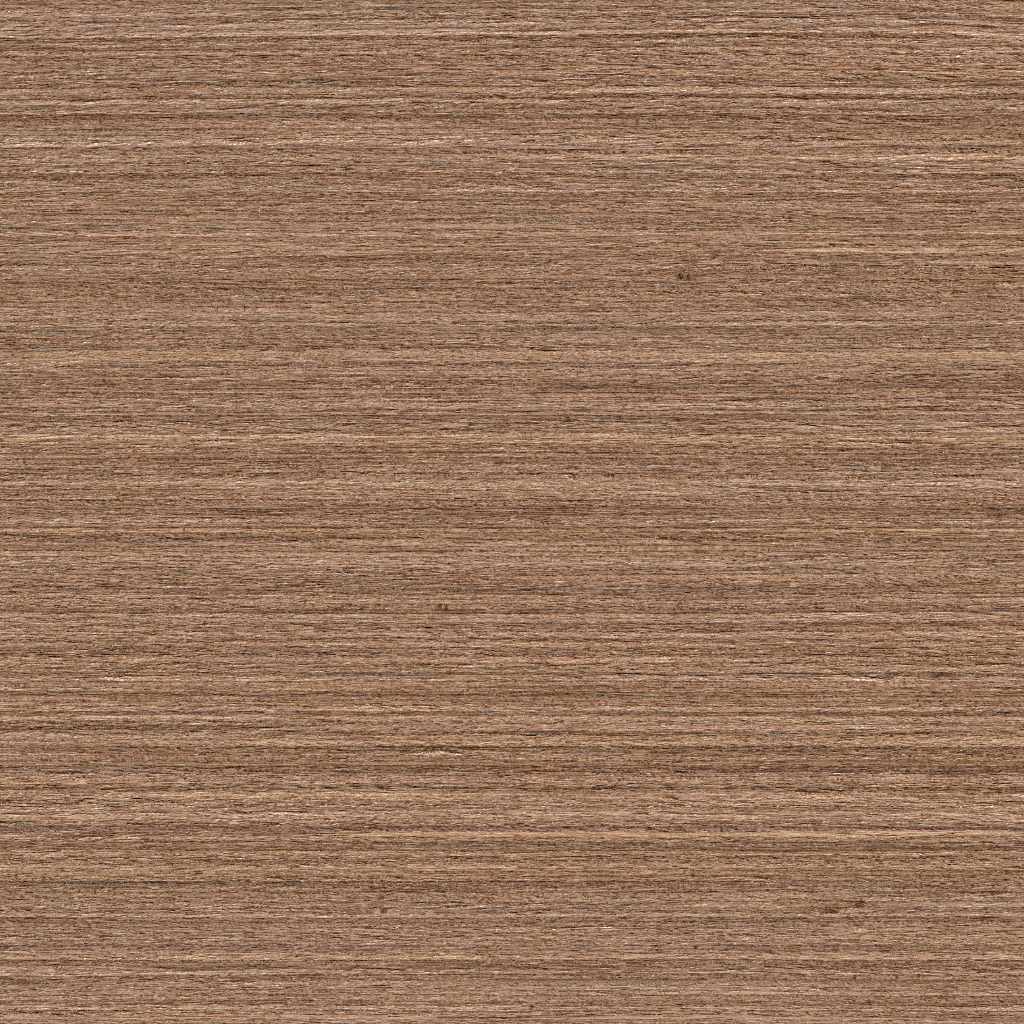
- English Walnut (or European Walnut / Juglans regia): This wood is often lighter than Black Walnut, sometimes appearing more taupe or grayish brown. It is widely used in fine veneer and turning blanks, especially outside of North America.
- Claro Walnut (California Black Walnut / Juglans hindsii): Grown primarily on the West Coast, Claro often has more dramatic, wild grain patterns (fiddlesticks) than standard Black Walnut, though the color can sometimes be less consistently dark.
- Butternut (White Walnut / Juglans cinerea): While sometimes grouped with walnuts, Butternut is much softer and pale. It’s often avoided for durable furniture unless a very light color is specifically desired.
Black Walnut Vs Walnut Wood: The Market Reality
Here is the simplified truth for the home woodworker trying to navigate the lumber yard:
In the United States, if a supplier labels a board simply as “Walnut,” 95% of the time they mean Black Walnut (Juglans nigra). It is the dominant, commercially recognized walnut species in our domestic market.
However, being precise matters when high visual consistency is required. If you need that deep, signature chocolate color, always specify Black Walnut. If the price seems low for “Walnut,” confirm with the seller what species they are actually handing you. This simple confirmation can save you from a mis-matched project!
Feature Comparison Table: Black Walnut vs. Common Alternatives
To help you see the differences clearly, I’ve laid out the key characteristics:
| Feature | Black Walnut (Juglans nigra) | English Walnut (Juglans regia) | Claro Walnut (Juglans hindsii) |
|---|---|---|---|
| Heartwood Color | Deep, rich chocolate brown | Lighter brown, sometimes grayish or yellowish | Variable; often lighter brown with dramatic stitching |
| Density (Janka Hardness) | Medium-hard (around 1010 lbf) | Slightly softer (around 900–1000 lbf) | Similar to Black Walnut |
| Primary Market Use | Premium domestic furniture | High-end veneer, carving | Burls, turning blanks, specialty projects |
| Price Point | High | Moderate to High (depending on origin) | Variable, often high for burls |
Why Black Walnut is Often the “Proven Best” for Beginners
For someone setting out on their first furniture piece, Black Walnut often offers the most rewarding experience. It’s not just about the look; it’s about how forgiving and beautiful the working process is.
1. Aesthetics and Finish
Black Walnut’s natural color profile is stunning right out of the planer. It provides a depth that cheaper woods simply cannot match.
- Instant Gratification: Even a simple oil finish (like Tung oil or Danish oil) makes the rich brown tones pop immediately, giving your beginner project a professional, expensive look.
- Hides Imperfections: The darker color does a better job of hiding minor scratches or small blemishes that novice sanders might leave behind compared to a very pale wood like Maple.
- Grain Continuity: While tight grain is prized, the generally straight grain patterns on domestic Black Walnut are easier for beginners to match and orient than highly figured veneers.
2. Workability and Stability
While Walnut is categorized as a medium-hard wood, it’s far easier to handle than true hardwoods like hard Maple or Red Oak.
It cuts cleanly with hand tools and machines very well on power tools. Good dimensional stability means that once the wood is properly dried (kiln-dried or air-dried in a controlled environment), it is less likely to warp dramatically during construction than woods like Poplar.
Remember, if you are buying rough-sawn lumber, always let it acclimate in your shop for several weeks before milling it down. This helps prevent warping later. For more on wood movement, check resources from places like the U.S. Forest Products Laboratory.
3. Value Over Time
Even though Black Walnut costs more upfront than Pine or Poplar, it holds its value exceptionally well precisely because of its desirable nature.
If you are building a piece of side table you plan to use for years, investing in Black Walnut means you are building something that will likely increase in sentimental (and sometimes monetary) value, rather than something that might get tossed out later because the finish wore off.
When Might You Choose a Different “Walnut”?
While Black Walnut is typically the winner, there are specific scenarios where English or Claro Walnut might actually be the better choice for your project.
Scenario 1: Seeking Dramatic Figure and Burls
If you are trying to create a turning blank for a unique bowl, or if you are seeking extreme, swirling grain patterns (often called ‘fiddleback’ or ‘burl’ figure), Claro Walnut or certain cuts of English Walnut often exhibit these dramatic features more frequently or more intensely than standard Black Walnut lumber.
Scenario 2: Veneer Work and Lighter Tones
For large, high-end veneer projects, imported English Walnut is common simply due to availability in large sheet sizes. Furthermore, if your design calls for a slightly warmer, tan-brown look instead of deep chocolate, English Walnut fulfills that aesthetic niche nicely.
Scenario 3: Budget Constraints
While still an expensive wood, sometimes imported specialty walnuts might be slightly cheaper than premium, quarter-sawn domestic Black Walnut, depending on your local lumber market dynamics.
Essential Steps for Working with Walnut Wood
Regardless of which specific walnut you choose, mastering a few fundamental steps will ensure stunning results for your project. Here is my proven workflow for milling and finishing walnut.
Step 1: Inspection and Acclimation
Never skip this, especially with hardwood.
- Inspect every board for insect damage (pinholes) or warping.
- Stack the wood in your workshop, separated by stickers (small spacers), allowing air to flow around all four sides of every board.
- Let it sit for 4–6 weeks in your controlled environment before cutting. This equalizes the moisture content.
Step 2: Milling and Jointing
Walnut is generally easy to mill. Take light passes with your planer and jointer.
- Joint one edge flat.
- Plane down one face flat, making it parallel to the jointed edge.
- Use a table saw to rip the second edge parallel to the first jointed edge, making the board the desired width.
- Bring the board to its final thickness using the planer.
Pro Tip on Tear-Out: While walnut is usually cooperative, it can sometimes chip a bit on end grain. Always use a climbing cut on your hand plane for smoothing end grain, or ensure your planer knives are razor sharp.
Step 3: Finishing for Maximum Pop
This is where the magic happens with walnut. You want a finish that enhances depth without obscuring the grain.
I recommend a clear, non-yellowing finish. For durability, a wipe-on polyurethane works well, but for pure depth, oil is king.
Recommended Oil Finish Process (Simple and Effective):
- Sand the final surface thoroughly, stopping at 180 or 220 grit.
- Wipe on a coat of pure Tung Oil (or a quality oil/varnish blend like Danish Oil). Let it soak for 15–20 minutes.
- Wipe off all excess thoroughly with a clean rag. If you leave puddles, it will cure tacky!
- Allow 24 hours to dry. Repeat this process 2–3 more times, thinning the final coat slightly for better penetration.
Dealing with Color Variation: Sapwood is Normal
One thing that can catch a beginner off guard when dealing with Black Walnut is sapwood. This is the lighter, usually creamy white or pale tan wood found just under the bark.
This is perfectly normal! Black Walnut lumber is typically sold “live edge” or “waney edge,” meaning it includes both the dark heartwood and the lighter sapwood.
What to Do with Sapwood:
- Embrace It: Some modern designs look fantastic contrasting the dark heartwood with the pale sapwood. If you like the look, keep it!
- Remove It: If you want the classic dark look, remove the sapwood by jointing it off until you hit the darker heartwood on both edges. This is often why high-grade Black Walnut is more expensive—it has been milled to remove all the sapwood.
- Dye It (Advanced): Technically, you can use wood dye to try and color the sapwood, but results are often inconsistent and rarely match the heartwood perfectly. I generally suggest removing it or embracing the contrast for simplicity.
Safety First When Milling Hardwoods
As your mentor, I must remind you that even though walnut mills nicely, it is still a hard material that needs respect. Safety is non-negotiable in the shop.
Please adhere to these basic safety practices when milling your lumber:
- Dust Collection is Crucial: Walnut dust is recognized as an irritant and sensitizer. Always use excellent dust collection connected to your planer, jointer, and table saw. Consider wearing a respirator rated for fine dust (CDC recommendations on wood dust exposure).
- Eye Protection: Always wear ANSI-approved safety glasses.
- Hearing Protection: Planers and jointers produce loud noise; use earmuffs or earplugs.
- Keep Body Parts Away: Never place your hands or fingers where the cutter head or blade can reach them. Use push sticks and feather boards liberally.
FAQ: Black Walnut Wood Questions for Beginners
Q1: Is Black Walnut more expensive than regular Walnut?
A: Not usually! In North America, “Black Walnut” is the standard, premium version. If a seller quotes a lower price for generic “Walnut,” you need to ask immediately if it is English or Claro Walnut, as these species might be cheaper or more expensive depending on the current import/domestic supply.
Q2: Can I use Black Walnut for outdoor projects?
A: No, Black Walnut is not considered naturally rot-resistant enough for long-term outdoor exposure without heavy sealing. It is better suited for indoor furniture, cabinetry, and decorative items.
Q3: Does Black Walnut change color over time, like Cherry?
A: Yes, it does, but it gets richer, not redder. Black Walnut heartwood darkens over time when exposed to UV light, typically deepening its chocolate hue. This is usually a desirable trait!
Q4: What grit should I sand Black Walnut to before finishing?
A: For most furniture applications, stopping at 220 grit is perfect. Going higher (like 320 or 400) can sometimes make the wood too smooth, causing oil finishes to bead up slightly or look overly “plastic.”
Q5: Is Black Walnut hard to cut with hand tools?
A: It is easier than Oak or Hickory, but it will dull your chisels and plane irons faster than woods like Pine. Keep your edges sharp! A dull edge on Walnut will result in rougher cuts and more tear-out.
Q6: How much will a small Black Walnut project cost me in material?
A: Material cost varies wildly based on your area, but expect Black Walnut to cost anywhere from $10 to $25+ per board foot for FAS (First and Seconds) grade. For a small box or cutting board, you might spend $30–$70, depending on the size. Always browse the scrap bin first for good deals!
Conclusion: Trusting Your Instincts with Walnut
We have cleared up the primary confusion: when you see “Walnut Wood” offered domestically, you are almost certainly looking at Black Walnut. This wood is the industry standard for a reason—it checks nearly every box for a beginner woodworker who wants heirloom quality results.
It finishes beautifully, machines well enough for standard home shop tools, and delivers a richness that instantly elevates any project, whether you are building a simple serving tray or your first set of kitchen cabinets. Use that rich chocolate color to your advantage, take your time acclimating the wood, and prioritize sharp tools.
Don’t let terminology intimidate you. Knowing that Black Walnut is what you want ensures you get the density and color profile that makes it so beloved. Go ahead, select that gorgeous board, and start crafting something truly special. You have the knowledge now to make the “proven best” choice for your workshop!