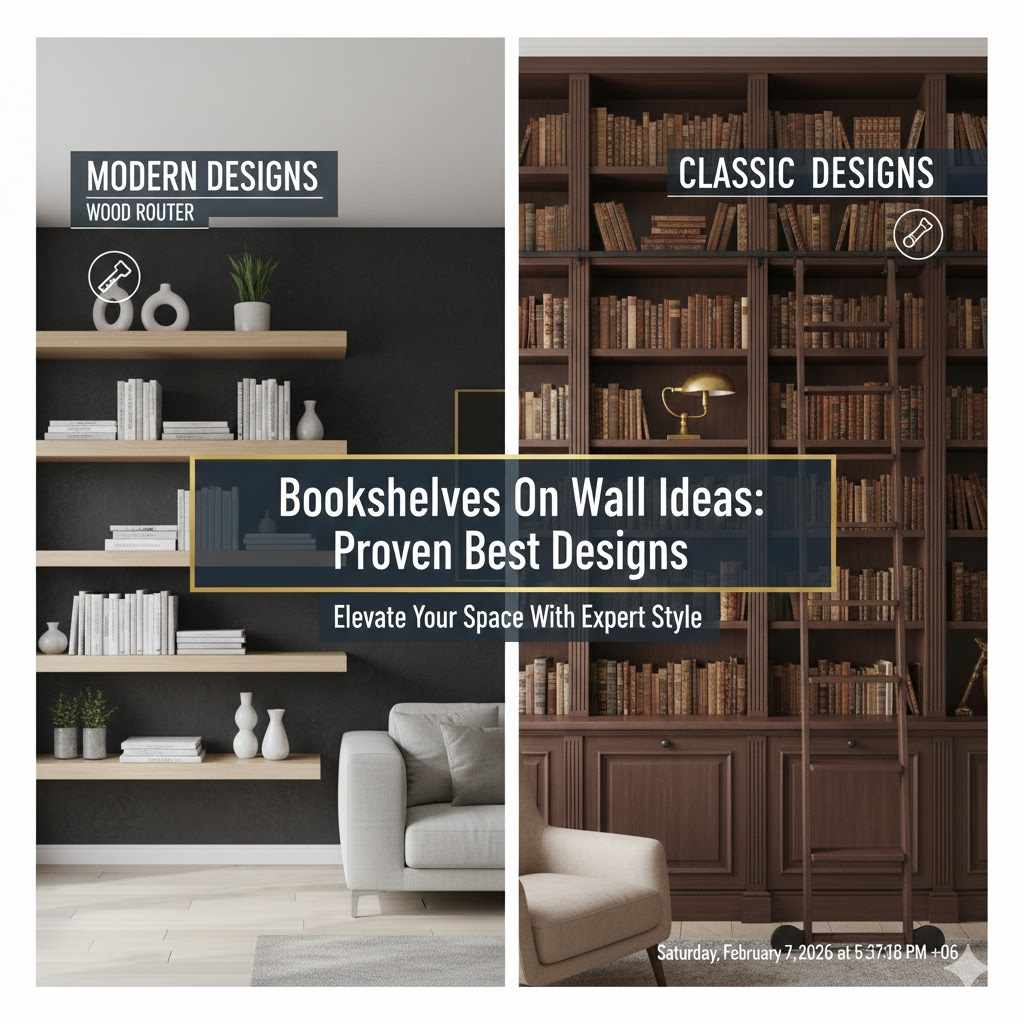
Bookshelves On Wall Ideas: Proven Best Designs
The best bookshelves on wall ideas for beginners are floating shelves for a minimalist look, industrial pipe shelves for a rustic feel, and corner shelves to maximize small spaces. These designs are stylish, save floor space, and are achievable DIY projects that you can build with basic tools and confidence.
Hello, friends! I’m Md Meraj. It’s a common problem: you love books, but you’re running out of floor space. Big, bulky bookcases can make a room feel cramped and crowded. Don’t worry, there is a simple and beautiful solution waiting for you. Wall-mounted bookshelves are the perfect way to display your favorite reads, save space, and add a touch of personal style to your home.
Feeling a little nervous about drilling into your walls? That’s completely normal. But I’m here to guide you. Together, we will explore some wonderful designs that are surprisingly easy to build. I’ll show you the best ideas, from simple floating shelves to creative corner solutions. Let’s turn those empty walls into a stunning and functional feature.
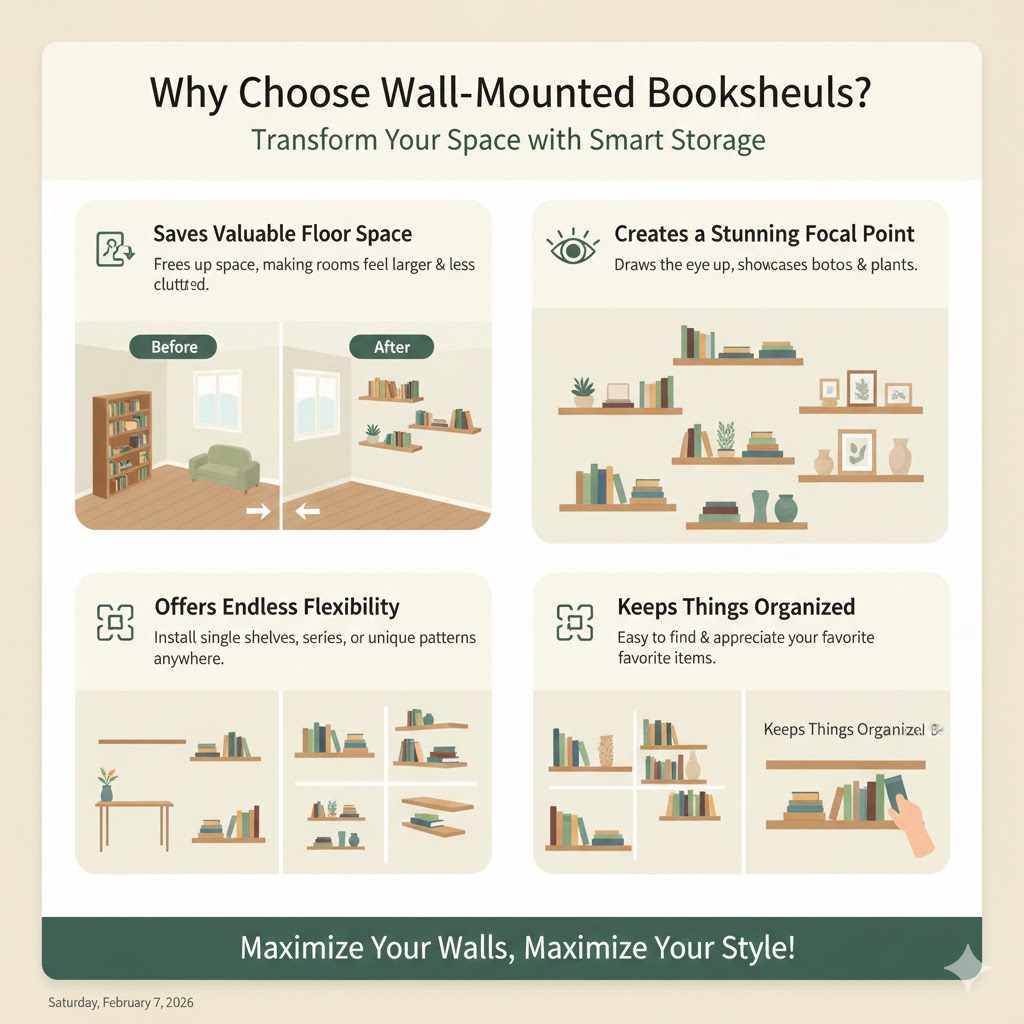
Why Choose Wall-Mounted Bookshelves?
Before we grab our tools, let’s talk about why taking your storage vertical is such a great idea. Moving your bookshelves from the floor to the wall does more than just hold your books. It completely transforms a room. It’s one of the simplest ways to make a big impact without a big budget.
Here are the biggest benefits you’ll enjoy:
- Saves Valuable Floor Space: This is the number one reason people love wall shelves. In small apartments, cozy bedrooms, or narrow hallways, every square foot counts. Wall-mounted shelves free up that space, making your room feel larger and less cluttered.
- Creates a Stunning Focal Point: A well-arranged wall shelf can be a piece of art. It draws the eye upward and allows you to create a display that shows off your personality. You can showcase not just books but photos, plants, and your favorite trinkets.
- Offers Endless Flexibility: You are not stuck with one big, heavy piece of furniture. You can install a single shelf, a series of shelves, or create a unique pattern. You can place them above a desk, beside a window, or even in an empty corner. The possibilities are truly endless.
- Keeps Things Organized and Accessible: Having your books and items neatly arranged on a wall makes them easy to find and appreciate. It encourages you to keep your space tidy and puts your favorite things within arm’s reach.
Getting Started: Tools and Materials You’ll Need
A great project starts with having the right tools and materials ready to go. You don’t need a professional workshop to build beautiful shelves. Many of these projects can be done with a handful of basic tools that you may already own. Let’s get you set up for success.
Essential Tools for the Job
Here’s a short list of must-have tools for installing wall shelves. Investing in these basics will serve you well for many home projects to come.
- Tape Measure: For accurate measurements. Remember the woodworker’s rule: measure twice, cut once!
- Pencil: For marking your measurements on the wall and on your wood.
- Stud Finder: This little device is your best friend. It helps you locate the wooden studs behind your drywall, which are the strongest points for anchoring your shelves.
- Level: To make sure your shelves are perfectly straight. A crooked shelf can be very noticeable! A 24-inch level is a great all-purpose size.
- Drill with Drill Bits: A cordless drill makes everything easier, from creating pilot holes to driving in screws.
- Screwdriver: A set with both Phillips and flat-head bits is always useful.
- Safety Glasses: Always protect your eyes from dust and debris. This is a non-negotiable rule in my workshop.
Choosing Your Wood
The wood you choose will define the look, strength, and cost of your project. For a beginner, it’s best to start with wood that is affordable and easy to work with. Here’s a quick look at some popular choices. I’ve put them into a simple table to help you decide.
| Wood Type | Cost | Ease of Use for Beginners | Best For |
|---|---|---|---|
| Pine | Low | Excellent | Painting or staining for a rustic or farmhouse look. Very forgiving for new woodworkers. |
| Poplar | Low-Medium | Excellent | Great for painting because of its smooth surface. A good step up from pine. |
| Oak | Medium-High | Good | Beautiful, strong wood with a classic grain. Best for shelves that need to hold a lot of weight. |
| Plywood (Cabinet-Grade) | Medium | Good | Very stable and won’t warp. Perfect for modern, sleek designs with clean edges. |
Top 5 Wall Bookshelf Designs You Can Build Today
Now for the fun part! Let’s look at some of the most popular and proven designs for wall-mounted bookshelves. I’ve chosen these because they are stylish, functional, and completely achievable for someone who is just starting out.
1. The Classic Floating Shelf
Floating shelves are incredibly popular, and for good reason. They offer a clean, minimalist look because the mounting hardware is hidden from view. This makes it seem like the shelf is magically “floating” on the wall. They are perfect for modern and contemporary homes.
- Pros: Sleek and modern design, highly versatile, makes a room feel open and airy.
- Cons: Installation needs to be precise, and they typically hold less weight than shelves with visible brackets.
- Best For: Living rooms, bedrooms, and kitchens where you want a clean, uncluttered look.
2. The Sturdy Industrial Pipe Shelf
If you love a rustic, modern farmhouse, or industrial vibe, this is the shelf for you. These shelves are made with common plumbing pipes and fittings, combined with wooden planks. They are incredibly strong and make a bold statement in any room.
- Pros: Extremely strong and durable, unique and stylish look, a fun project to assemble.
- Cons: Can be heavier than other designs, so secure mounting into studs is critical. The materials can cost a bit more.
- Best For: Offices, living rooms, and kitchens needing heavy-duty storage with a lot of character.
3. The Space-Saving Corner Shelf
Don’t let those empty corners go to waste! Corner shelves are a genius solution for maximizing storage in small rooms. They can be simple triangular shelves or more complex units that wrap around the corner. They turn an awkward, unused space into a beautiful and useful feature.
- Pros: Makes excellent use of otherwise wasted space, great for small rooms, can create a unique design element.
- Cons: Can be a little trickier to measure and install perfectly compared to a straight shelf.
- Best For: Small bedrooms, home offices, bathrooms, or any room where space is tight.
4. The Creative Honeycomb (Hexagon) Shelf
Want something more playful and artistic? Honeycomb or hexagon shelves are a fantastic choice. These individual geometric shelves can be arranged in any pattern you like. You can start with one or two and add more over time. They are perfect for displaying smaller items and creating a dynamic feature wall.
- Pros: Highly decorative and unique, modular design lets you customize the layout, fun to build.
- Cons: Each individual shelf holds less, so they’re better for decorative items than heavy books. Requires more cutting and joining.
- Best For: Kids’ rooms, entryways, or as a decorative accent in a living room.
5. The Simple Ledge or Picture Shelf
Sometimes you don’t need a deep shelf. A picture ledge is a very narrow shelf with a small lip on the front. It’s designed to display the front covers of books, framed photos, or small pieces of art. You can easily swap out the display for a fresh look whenever you want.
- Pros: Very easy to install, great for narrow spaces like hallways, encourages you to rotate your display.
- Cons: Not suitable for storing many books or large items due to their shallow depth.
- Best For: Above a sofa or bed, in a hallway, or a child’s room for displaying storybooks.
How to Build and Install Simple Floating Bookshelves: A Step-by-Step Guide
Ready to build something? Let’s walk through the steps for creating a classic floating shelf. This project is a perfect start for beginners and the result is so rewarding. I’ll guide you through each step. Take your time, and remember to enjoy the process!
- Plan and Measure Your Space: Decide where you want your shelves. Use your tape measure to determine the length of the shelf. A good rule of thumb is to keep single shelves between 24 and 36 inches long to prevent sagging. Use a pencil to mark where the bottom of the shelf will sit on the wall.
- Find and Mark the Wall Studs: This is the most important step for safety and stability. Turn on your stud finder and slide it along the wall where you plan to install the shelf. Mark the center of each stud with your pencil. You need to anchor your shelf brackets into these studs. According to the Consumer Product Safety Commission, anchoring furniture is critical to prevent accidents. Your shelves are no different!
- Cut and Finish Your Shelf: Carefully measure and mark your wood board to your desired length. Using a hand saw or circular saw, make a straight cut. After cutting, sand the board smooth, starting with medium-grit sandpaper (like 120-grit) and finishing with a fine-grit (like 220-grit) for a silky-smooth feel. Wipe away the dust, then apply your choice of paint, stain, or clear coat.
- Install the Floating Shelf Brackets: There are two main types of floating shelf brackets: a rod-style bracket and a flat bracket. For this guide, we’ll use the common rod style. Hold the bracket against the wall, aligning its screw holes with the stud marks you made. Use your level to ensure the bracket is perfectly straight. Drill pilot holes through the bracket holes into the studs, then secure the bracket firmly with screws.
- Mount Your Shelf: Most floating shelf boards for this type of bracket come pre-drilled or need to be drilled to match the rods on the bracket. Once your brackets are secure on the wall, simply slide your finished wooden shelf onto the support rods. Push it firmly until it sits flush against the wall. Step back and admire your work!
Safety First: Your Workshop Checklist
Even for a simple project, safety should always be your top priority. Building good habits now will keep you safe and confident for years to come. Here are a few things I never forget to do before starting any project.
- Wear Your Safety Glasses: From the first measurement to the final screw, keep your eyes protected.
- Work in a Well-Ventilated Area: This is especially important when you are sanding or using paints and stains. Open a window or work outside if you can.
- Read Your Tool Manuals: Every tool is slightly different. Take five minutes to understand how your drill or saw works before you use it.
- Secure Your Wood Before Cutting: Always use clamps to hold your wood firmly in place while you cut. This prevents it from slipping and gives you a cleaner, safer cut.
- Stay Focused: Avoid distractions while you are using power tools. Your full attention is needed to stay safe. For more detailed guidance, resources from the Occupational Safety and Health Administration (OSHA) offer excellent safety standards for woodworking.
Pro Tips for Styling Your New Wall Bookshelves
You’ve built your shelves—congratulations! Now comes the art of arranging them. Styling your shelves is what brings them to life and makes them a true part of your home decor. Here are a few simple tips to get that perfect “shelfie” look.
- Mix Books and Objects: Don’t just line up books spine-to-spine. Mix in small sculptures, framed photos, or a favorite vase to create visual interest.
- Vary Height and Direction: Stack some books horizontally and place others vertically. This simple trick breaks up the monotony and creates a more dynamic display. Place a small object on top of a horizontal stack.
- Group in Threes or Fives: The “rule of odds” is a classic design principle. Grouping items in odd numbers is naturally more appealing to the eye. Try arranging a small plant, a candle, and a photo frame together.
- Leave Some Breathing Room: Don’t feel like you need to fill every inch of space. Leaving some empty areas (or “negative space”) makes your display feel less cluttered and more curated.
- Think About Color: You can create a calm look by using items in a similar color palette, or you can create a vibrant, energetic look by adding pops of bright color. You can even arrange your books by color for a rainbow effect!
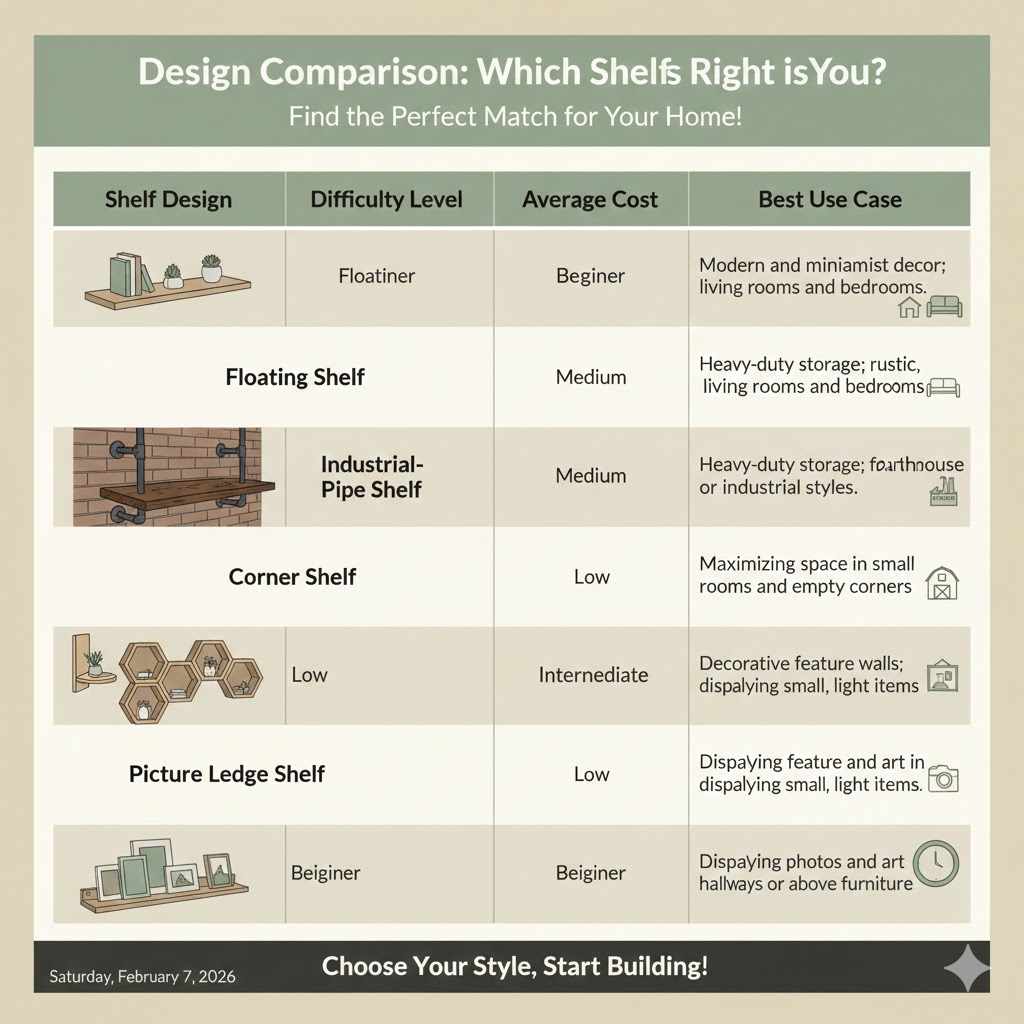
Design Comparison: Which Shelf is Right for You?
Still not sure which design to choose? Let this table be your guide. I’ve compared the five designs we talked about to help you find the perfect match for your skill level, budget, and home.
| Shelf Design | Difficulty Level | Average Cost | Best Use Case |
|---|---|---|---|
| Floating Shelf | Beginner | Low-Medium | Modern and minimalist decor; living rooms and bedrooms. |
| Industrial Pipe Shelf | Beginner-Intermediate | Medium | Heavy-duty storage; rustic, farmhouse, or industrial styles. |
| Corner Shelf | Beginner | Low | Maximizing space in small rooms and empty corners. |
| Honeycomb Shelf | Intermediate | Medium | Decorative feature walls; displaying small, light items. |
| Picture Ledge Shelf | Beginner | Low | Displaying photos and art in hallways or above furniture. |
Frequently Asked Questions (FAQ)
How much weight can a wall-mounted bookshelf hold?
The weight capacity depends entirely on the type of shelf, the brackets used, and most importantly, how it’s installed. A shelf properly anchored into wall studs with heavy-duty brackets can hold 50 pounds or more. A floating shelf might hold less, around 15-25 pounds. Always check the manufacturer’s recommendations for your brackets.
Do I always need to screw into a wall stud?
For anything that will hold weight, yes, absolutely. Wall studs provide the secure foundation needed to support your shelves and everything on them. Relying only on drywall anchors for heavy items is unsafe and can lead to the shelf falling. Use your stud finder—it’s the most important tool for this job.
What is the best wood for a beginner to use for shelves?
I almost always recommend common pine boards for beginners. Pine is affordable, widely available, lightweight, and very easy to cut and sand. It takes paint and stain well and is very forgiving if you make a small mistake. It’s the perfect wood to learn with.
How far apart should my shelf brackets be?
A good rule of thumb is to place brackets no more than 32 inches apart. For heavier loads or longer shelves, placing them 16-24 inches apart is even better. This spacing helps prevent the shelf from sagging in the middle over time.
Can I paint my wooden shelves?
Of course! Painting is a great way to customize your shelves to match your room’s decor. For best results, first apply a coat of primer. This helps the paint stick better and gives you a more even finish. Let the primer dry completely before applying two coats of your chosen paint color.
What’s the difference between floating shelves and regular shelves?
The main difference is how they are mounted. Regular shelves use visible brackets that sit underneath the shelf board. Floating shelves use hidden hardware that is concealed inside the shelf or behind it, giving the illusion that the shelf is floating on the wall without any support.
How do I make my shelves look professionally styled?
The key is balance and personality. Mix books with other objects of different shapes and sizes. Create small groupings (vignettes) instead of just lining everything up. And don’t forget to add a personal touch, like a family photo or a souvenir from a trip. Step back often to see how it looks from afar.
Your Walls Are a Blank Canvas
Building and installing your own wall-mounted bookshelves is more than just a home improvement project. It’s an opportunity to create something beautiful and functional with your own two hands. It’s a way to turn a blank wall into a space that tells your story.
We’ve covered everything from simple floating shelves to bold industrial designs. You have the tools, the knowledge, and the step-by-step plan to get started. Don’t be afraid to make a mistake—that’s how we learn. The most important thing is to begin. Choose a design that inspires you, take it one step at a time, and enjoy the pride that comes from building something yourself.
Your perfect storage solution is waiting. Now go ahead and bring it to life!