Can Fresh Cut Wood Be Sealed? (Do This Within Hours)
Yes, fresh cut wood can be sealed — but end grain needs a wax emulsion like Anchorseal within hours of cutting, while the flat faces of a board need to fully air-dry first, which takes roughly a year per inch of thickness for hardwood. Sealing the wrong surface at the wrong time either does nothing or traps moisture that causes rot. This guide covers end-grain sealing versus finish sealing, sealant choice by stage, and how to check when wood is actually dry enough for a topcoat.
Insert your Affiliate Disclosure reusable block here
The Myth That Wastes Wood: “Wait 2 to 4 Weeks Before Sealing”
Best Fresh-Cut Wood Sealer Pick
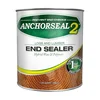
ANCHORSEAL 2 Log and Lumber End Grain Sealer
The industry-standard wax emulsion for slowing moisture loss at a fresh cut end.
- Best for: Freshly cut logs, turning blanks, and slabs within hours of cutting
- Why we picked it: Manufacturer-rated to prevent up to 90% of end checking, ready to brush on with no mixing
- Main drawback: Only slows moisture loss — it doesn’t waterproof the wood or replace a finish coat later
Compare more fresh-cut wood sealing options
 Option 1 Anchorseal Classic End Sealer
|
 Option 2 TotalBoat Penetrating Epoxy
|
 Option 3 General Tools Pin-Type Moisture Meter
|
As an Amazon Associate we earn from qualifying purchases.
This is the single most repeated piece of bad advice about fresh cut wood, and it comes from mixing up two completely different jobs. “Sealing” a cut end (the round, exposed face of a log, slab, or turning blank) and “sealing” a finished surface (the flat face of a board headed for furniture) are not the same task, and they don’t run on the same clock.
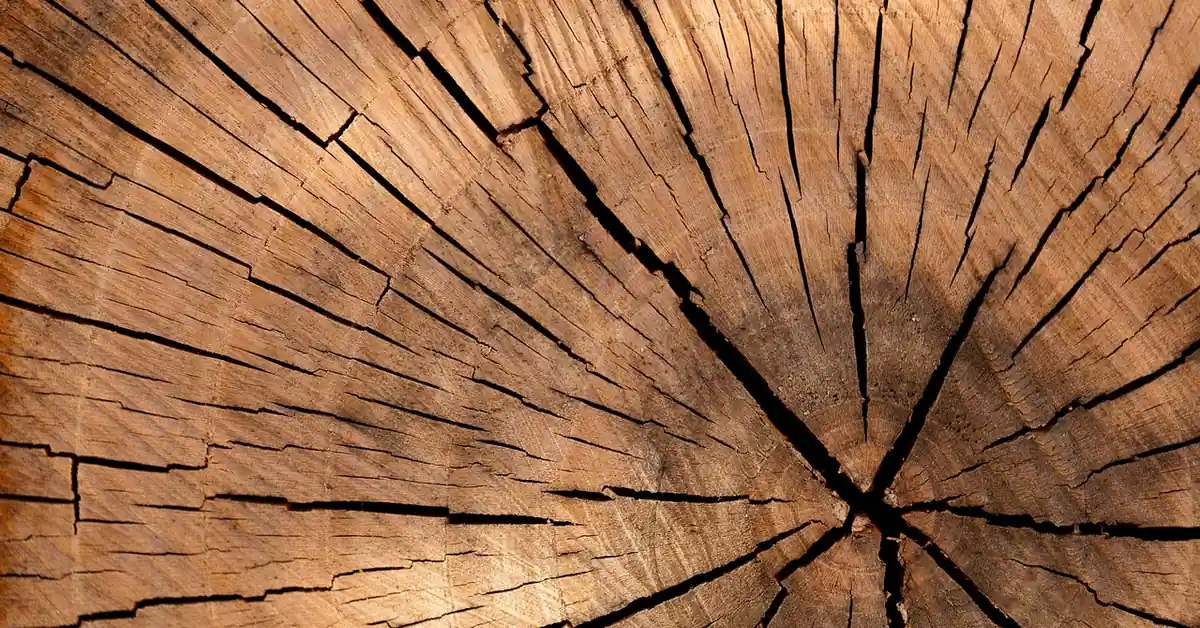
Wait 2 to 4 weeks to seal a freshly cut log end, and it has almost certainly already started to check — those radial cracks that run from the bark toward the center. Wood loses moisture through end grain roughly 10 to 15 times faster than through the flat face, because the open cell structure at a cut end acts like a bundle of exposed drinking straws. That imbalance is exactly what pulls the wood apart as the outside dries faster than the core. By the time two weeks have passed, the damage the sealer was supposed to prevent has usually already happened.
Flip the timeline for a finish coat on a board’s face, and 2 to 4 weeks isn’t nearly long enough — a 1-inch board can take close to a year to air-dry to a stable moisture content, and thicker stock takes longer still. Sealing a face that’s still wet inside traps moisture under the film, which is what leads to the mold, decay, and finish failure the old advice was trying to avoid in the first place. Same word, two different rules.
End Grain vs. Face Grain: Two Different Sealing Jobs
End grain is the surface at a cut end of a log, slab, or board — you’re looking straight into the wood fibers, which shows the growth rings and feels rougher and more porous than the rest of the piece. Face grain is the long, flat surface running with the length of the board. Because end grain releases moisture so much faster, it needs protection almost immediately after cutting. Face grain releases moisture slowly and evenly, so sealing it too early just locks that moisture in.
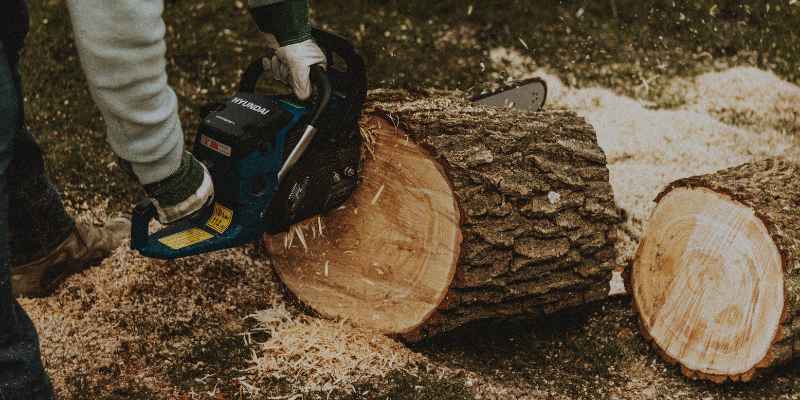
How to Seal End Grain Right Now (Do This Within Hours)
If you just cut a log, slab, or turning blank, the checking clock is already running. Here’s the sequence that actually protects it:
- Brush off loose debris: Clear sawdust and bark fragments from the cut face so the sealer contacts solid wood.
- Apply a wax emulsion sealer the same day: Brush or roll on a product like Anchorseal in a crosshatch pattern — first with the grain, then across it — until the surface is fully coated.
- Coat until it nearly runs off: A thin coat gives noticeably less protection. Two coats on a heavily cracked or high-value piece adds a real margin of safety.
- Leave the piece undisturbed for 24 hours: The wax dries to the touch in a few hours but needs a full day to form a complete moisture barrier.
- Store out of direct sun: Stack or set the sealed piece in shade with airflow around it — direct sun accelerates the exact moisture imbalance the sealer is fighting.
This end-grain step doesn’t require the wood to be dry first — it’s the opposite. The sealer’s entire job is to slow moisture loss while the wood is still green, so the core and the surface dry down together instead of the outside shrinking around a still-wet middle. For a full breakdown of sealant types by project (turning blanks vs. outdoor posts vs. small pen blanks), see our complete guide to sealing end grain.
How Long Does Fresh Cut Wood Actually Need to Dry Before a Finish?
Air-drying lumber to a stable moisture content follows a widely used rule of thumb: roughly one year per inch of thickness for hardwood, measured from the thickest dimension of the board. A 4/4 (1-inch) board of oak or maple typically needs 9 to 12 months in a covered, stickered stack before it’s ready for a finish coat; a 2-inch board takes closer to four years, since drying time doesn’t scale in a straight line as thickness increases. Softwoods like pine dry roughly 2 to 3 times faster than hardwoods of the same thickness.
| Wood Type & Thickness | Typical Air-Dry Time | Ready for Finish? |
|---|---|---|
| Pine, 1 inch (softwood) | 3 to 5 months | Check moisture content first |
| Oak or Maple, 1 inch (hardwood) | 9 to 12 months | Check moisture content first |
| Oak or Maple, 2 inches (hardwood) | 3 to 4 years | Check moisture content first |
| Kiln-dried lumber, any species | Already dry (6–8% MC) | Yes, ready to finish |
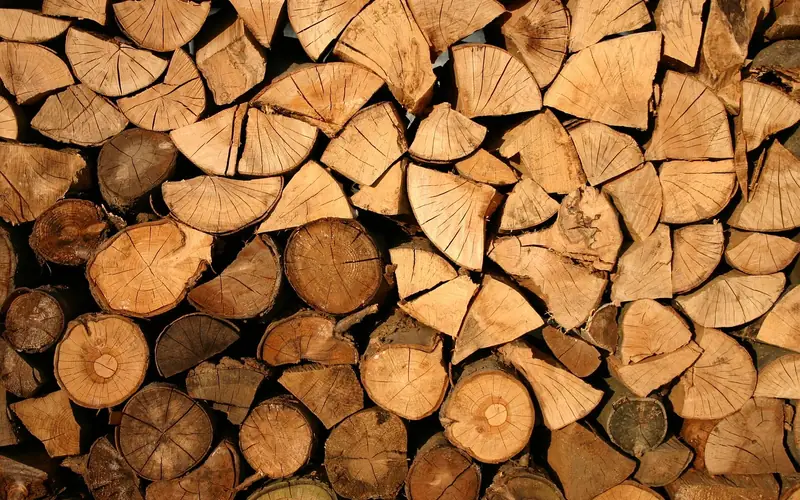
These numbers are estimates, not guarantees — climate, stacking method, and airflow all shift the timeline. That’s why the drying time table matters less than the number a moisture meter actually gives you before you commit to a finish coat, covered further down.
Choosing the Right Sealant for Each Stage
The right product depends entirely on which job you’re doing — sealing a wet cut end or finishing a dry surface. Mixing these up is the most common mistake in this whole process.
| Stage | Use This | Not This |
|---|---|---|
| Fresh-cut end grain, still wet | Wax emulsion (Anchorseal) | Polyurethane, varnish, oil finish |
| Dry outdoor post or deck-railing end | Penetrating epoxy | Wax emulsion (won’t strengthen soft fibers) |
| Fully dried furniture-grade board | Oil, varnish, or polyurethane finish | Wax emulsion (not a decorative finish) |
For a deeper breakdown of wax emulsion vs. penetrating epoxy vs. CA glue — including which to use on turning blanks versus structural timber — see the full end grain sealing guide. That guide also covers application technique in more depth than fits here.
Preparing Wood Before You Seal It
Whichever stage you’re at, preparation follows the same basic pattern: remove debris, then match the surface prep to the product.
- For end grain: Brush off sawdust and loose bark. Don’t sand — a fresh-cut, slightly rough surface actually absorbs wax emulsion better than a sanded one.
- For a finish coat: Sand progressively (120 to 220 grit), then wipe away dust with a tack cloth. A wood conditioner on blotch-prone species like pine or cherry helps the finish absorb evenly.
- Either way: Confirm the wood is dry where it needs to be dry — the end grain wet, the face grain not, depending on which product you’re applying.
Common Mistakes When Sealing Fresh Cut Wood
| Mistake | Why It Fails |
|---|---|
| Waiting weeks to seal end grain | Checking starts within hours to days — by two weeks the cracks are already there |
| Applying a finish coat to a board that “feels dry” | Surface moisture drops long before the core does — only a moisture meter confirms it |
| Sanding end grain before sealing | Smooths over the porous surface the wax emulsion needs to grip |
| Using penetrating epoxy on a green log end | Epoxy is built to harden dry, softened fibers — it doesn’t manage moisture loss the way wax does |
| One thin coat instead of a full, even one | Thin coverage gives noticeably less protection against checking |
How to Tell When Wood Is Actually Dry Enough to Finish
Guessing by feel or by the calendar is unreliable — a board can feel dry on the surface while the core is still well above a safe moisture content. A pin-type moisture meter gives a real number in seconds: press the pins into the wood (an offcut or hidden edge, since pins leave small marks) and read the percentage.
For interior furniture and cabinetry, aim for 6% to 8% moisture content, which realistically means kiln-dried lumber or several years of air-drying for anything over an inch thick. Air-dried wood in most climates levels out around 12% to 15%, which is fine for outdoor structures but too high for a piece that will live indoors near a heating or cooling system, where it can still shrink and check after the fact.
The video below walks through a real test of sealing lumber shortly after milling — useful context for seeing what happens when the timing gets pushed.
Frequently Asked Questions
Can I seal freshly cut wood?
Yes — but what you seal with depends on which surface. Seal the end grain with a wax emulsion like Anchorseal within hours of cutting to prevent checking. Wait to apply any finish coat to the flat faces until the wood has fully air-dried, which can take months to years depending on thickness and species.
What’s the difference between sealing end grain and sealing the rest of the wood?
End-grain sealing uses a wax emulsion to slow moisture loss while the wood is still green, done immediately after cutting. Sealing the flat face means applying a decorative finish like oil, varnish, or polyurethane, which only goes on after the wood is fully dry — otherwise it traps moisture underneath.
How long should I wait to seal cut wood with a finish?
For a finish coat, wait until the wood reaches a stable moisture content — roughly one year per inch of thickness for air-dried hardwood, or use kiln-dried lumber, which is already at 6% to 8% moisture content and ready to finish. This timeline does not apply to end-grain sealing, which should happen the same day the wood is cut.
Does sealing fresh cut wood prevent warping?
End-grain sealing significantly reduces checking and cracking by slowing moisture loss at the cut ends, where drying is fastest and most uneven. It reduces but doesn’t fully eliminate warping risk, since the flat faces are still drying and shrinking during that time — proper stacking with airflow and weight on top also matters.
What’s the best sealant for fresh cut wood?
A wax emulsion like Anchorseal is the standard for freshly cut end grain — it’s rated to prevent up to 90% of end checking and needs no mixing. For dry outdoor structural wood, a penetrating epoxy is a better fit since it hardens softened fibers as well as sealing them.
Conclusion
Fresh cut wood can absolutely be sealed — the mistake most guides make is treating “sealing” as one job with one timeline. Seal end grain with a wax emulsion the same day you cut it, then let the flat faces fully dry before any finish goes on, checking with a moisture meter rather than a calendar guess. Get the timing right for each surface, and you avoid both the checking and the trapped-moisture decay that the old one-size-fits-all advice was quietly causing.
Sponsored / affiliate links. As an Amazon Associate I earn from qualifying purchases. I may earn additional commission from eligible campaigns.