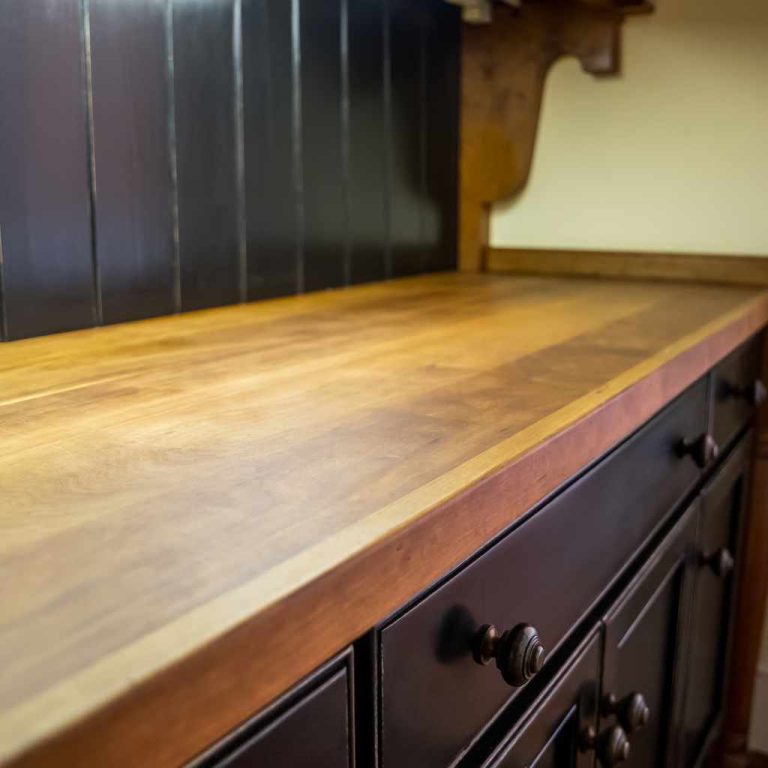
Can Water Stains Be Removed From Wood? Proven Best Ways
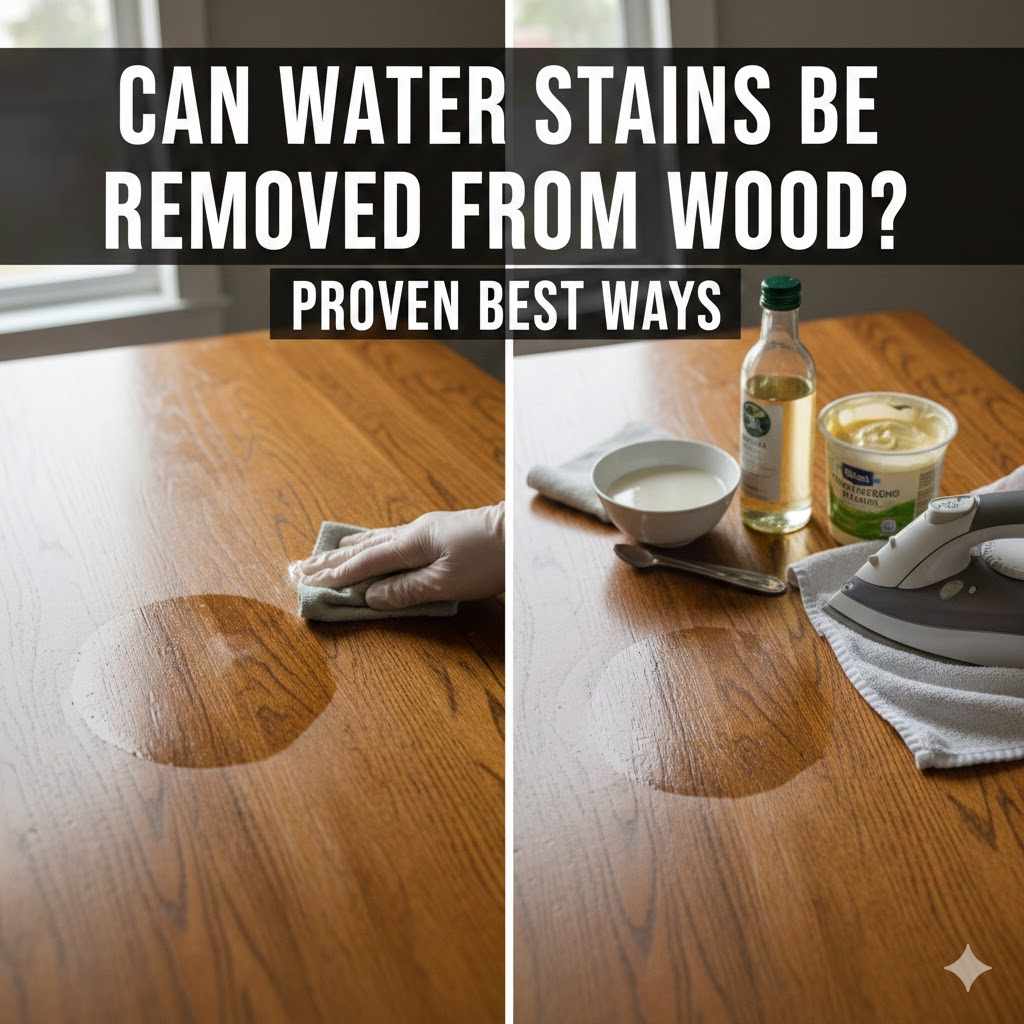
Yes, most water stains can be removed from wood. White or light-colored stains are moisture trapped in the finish and are often easy to remove with simple household methods. Dark or black stains have penetrated the wood itself, requiring more effort like sanding and treating the wood before refinishing.
Hello, friend! Md Meraj here, your guide in the workshop. Have you ever noticed that dreaded cloudy ring on your beautiful wooden table after a guest left their sweaty glass? Or maybe a small spill left a dark, ugly mark? It’s a sinking feeling, I know. But don’t worry, it happens to the best of us, and it’s almost always fixable.
Dealing with water stains on wood is one of the most common issues homeowners face. The good news is that you don’t need to be a professional to restore your furniture. With a little patience and the right approach, you can make those spots disappear. In this guide, I’ll walk you through the proven best ways to remove those stubborn stains and bring your wood back to life. Let’s get started!
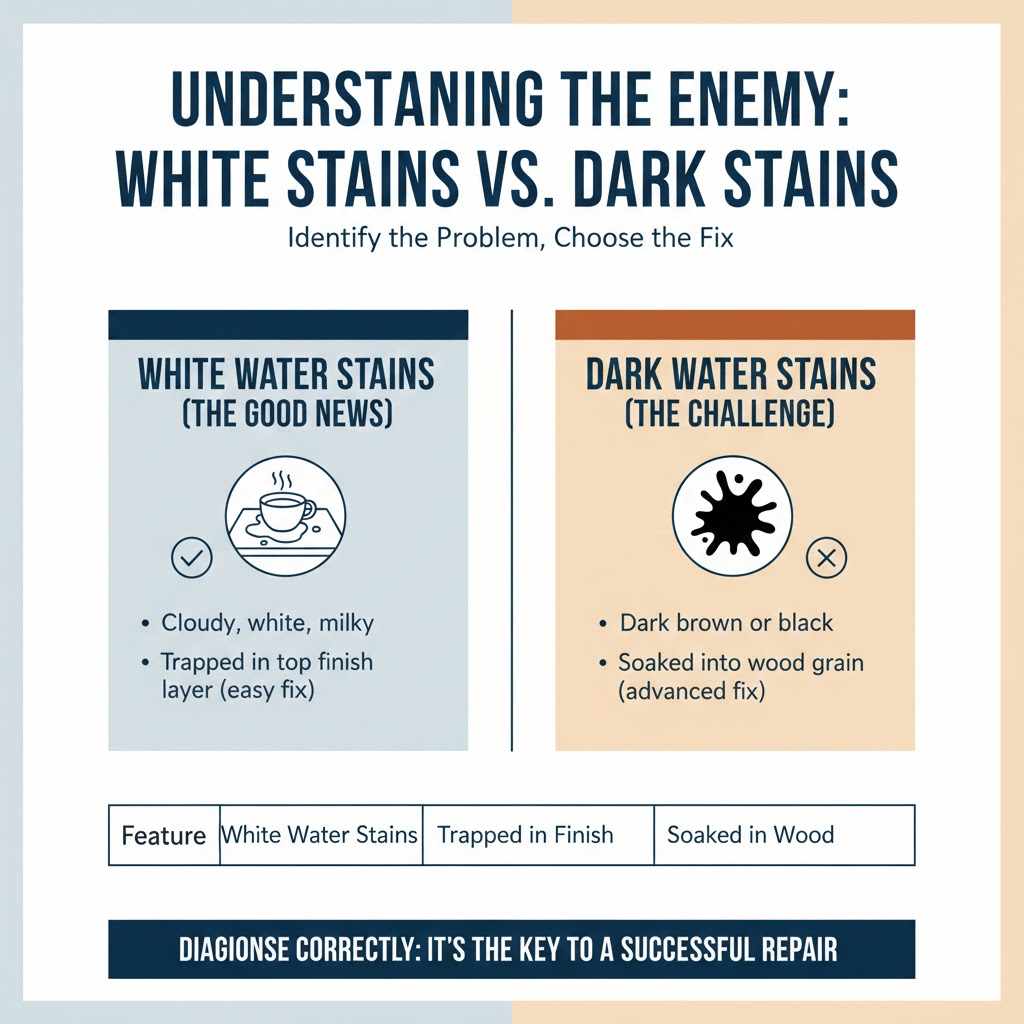
Understanding the Enemy: White Stains vs. Dark Stains
Before we grab any tools, the most important step is to identify what kind of stain you’re dealing with. The color of the stain tells you everything you need to know about how deep the problem is and how to fix it.
White Water Stains (The Good News)
If you see a white, milky, or cloudy ring on your wood surface, take a deep breath and relax. This is the most common and easiest type of water stain to fix. A white stain means the moisture is trapped in the very top layer of the wood’s finish (like shellac, lacquer, or varnish), not in the wood itself. Essentially, you’re looking at trapped water vapor. These stains are usually caused by a hot coffee mug, a steamy pizza box, or a cold, sweating glass left on the surface for a short time.
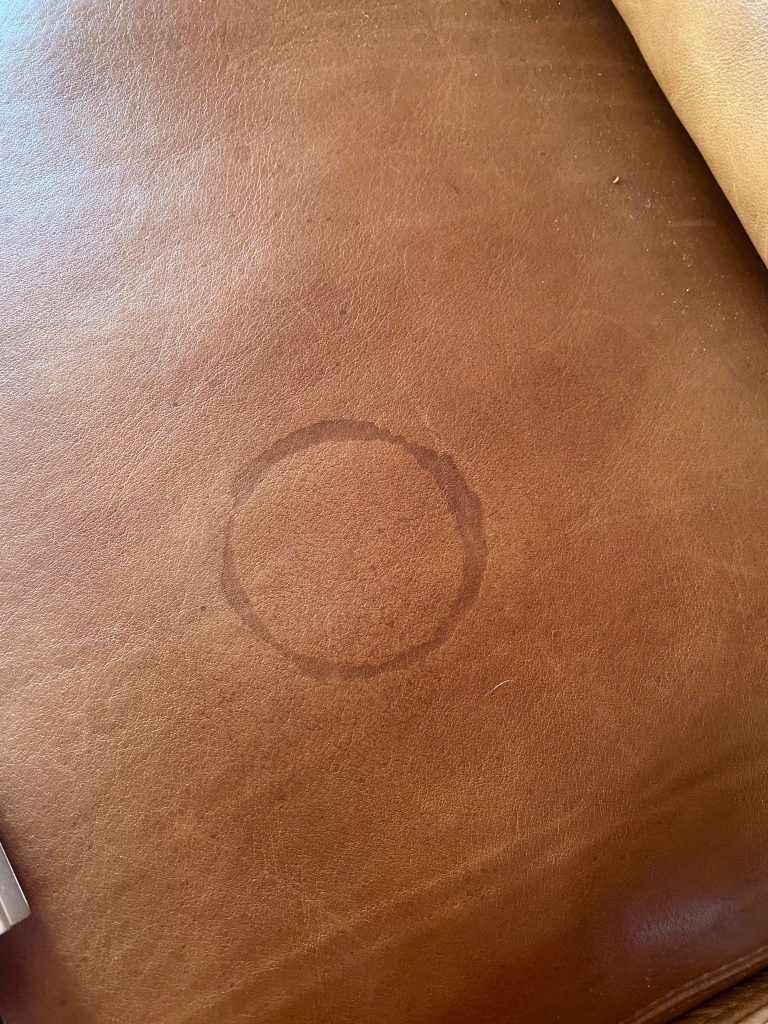
Dark Water Stains (The Challenge)
A dark brown or black stain is a bit more serious, but still manageable! This color tells you that water has soaked completely through the protective finish and has seeped into the wood grain. The dark color often comes from the tannins in the wood reacting with the water over a longer period. It can also be a sign of mold or mildew beginning to form. These stains are caused by things like a potted plant leaking over time or a spill that wasn’t cleaned up quickly. Fixing these requires removing the old finish to treat the wood directly.
Here’s a simple table to help you tell them apart:
| Feature | White Water Stains | Dark Water Stains |
|---|---|---|
| Color | Cloudy, white, milky, or light gray | Dark brown or black |
| Location of Damage | Trapped in the top finish layer | Soaked into the wood grain itself |
| Common Causes | Hot mugs, cold glasses, brief spills | Leaky pots, prolonged spills, pet accidents |
| Repair Difficulty | Easy to moderate | Moderate to advanced |
Safety First: A Quick Checklist
Even with simple repairs, it’s always wise to be safe. Before you start, please take a moment to prepare.
- Work in a Well-Ventilated Area: Open windows or turn on a fan, especially if you end up using stronger cleaners or strippers.
- Wear Gloves: Protect your hands from cleaners, oils, and wood treatments. Simple rubber or nitrile gloves are perfect.
- Protect Your Eyes: If you are sanding or working with chemicals like oxalic acid, safety glasses are a must.
- Test in a Hidden Spot: Before applying anything to the middle of your tabletop, always test your chosen method on a small, inconspicuous area, like the underside of the table or the back of a leg. This ensures it won’t damage your finish.
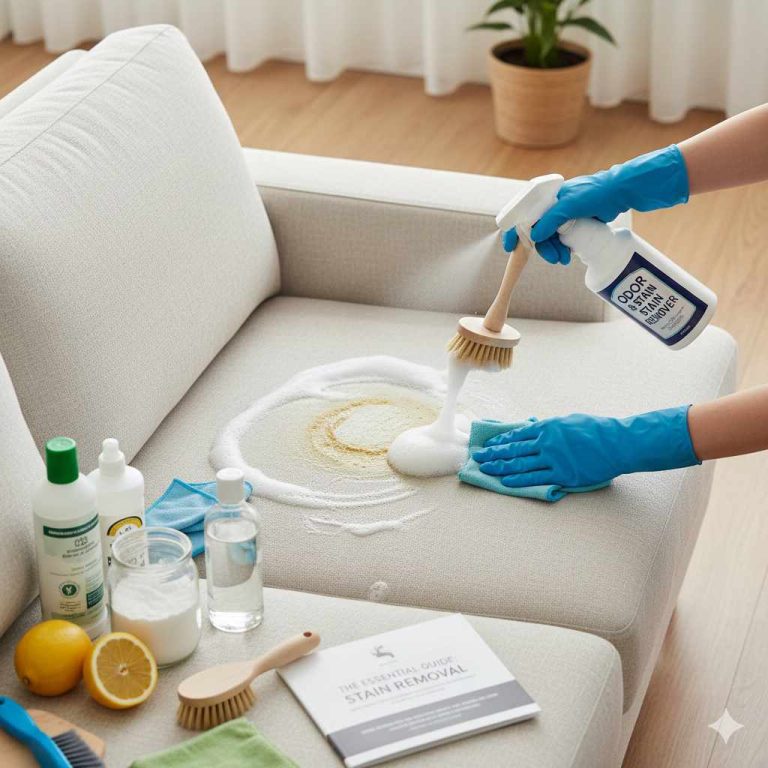
Part 1: How to Remove White Water Stains from Wood
Since white stains are on the surface, our goal is to gently release the trapped moisture without damaging the finish. We’ll start with the gentlest methods first. For any of these methods, always clean the area first with a soft, damp cloth and dry it completely.
Method 1: The Hair Dryer (The Gentlest Approach)
This sounds almost too simple to be true, but it often works like a charm! The idea is to use low, gentle heat to evaporate the trapped moisture.
- Set your hair dryer to its lowest heat setting. High heat can damage the wood finish.
- Hold the dryer several inches away from the wood surface. Keep it moving continuously in a sweeping motion over the stain. Do not hold it in one spot!
- Watch closely. You should start to see the white stain slowly fade and disappear. This can take anywhere from 5 to 20 minutes, so be patient.
- Once the stain is gone, let the wood cool completely. Then, apply a little furniture polish or oil (like lemon oil or mineral oil) to rehydrate and protect the area.
Method 2: Mayonnaise or Petroleum Jelly (The Oil Method)
This is another fantastic home remedy. The oils in mayonnaise or petroleum jelly work by seeping into the finish and displacing the trapped moisture. It’s surprisingly effective!
- Take a small spoonful of full-fat mayonnaise (not low-fat or fat-free versions) or petroleum jelly.
- Gently dab it onto the white stain with a soft cloth or your finger, covering the entire mark.
- Let it sit. For minor stains, an hour or two might be enough. For more stubborn stains, you may need to leave it on overnight.
- After letting it sit, wipe away the mayonnaise or jelly with a clean, soft cloth.
- Buff the area with another clean cloth. The stain should be gone. If a faint mark remains, you can repeat the process.
- Finish by polishing the entire surface to blend the repaired spot with the rest of the wood.
Method 3: The Toothpaste Trick (A Mild Abrasive)
For a slightly tougher white stain, a mild abrasive can help gently buff the moisture out of the finish. Regular white, non-gel toothpaste is perfect for this.
- Make sure you use a white paste, not a gel or a whitening formula with harsh chemicals. The magic is in the very gentle abrasive particles.
- Mix a small amount of toothpaste with an equal amount of baking soda to create a gentle scrubbing paste.
- Apply a small dab of the paste to a soft, damp cloth.
- Gently rub the paste onto the stain, moving in the direction of the wood grain. Use light pressure; you’re polishing, not scrubbing.
- Continue for a minute or two, then wipe the area clean with a fresh, damp cloth to remove all residue.
- Dry the spot immediately with a soft, dry cloth and check your progress. Repeat if necessary, but be gentle.
- Apply furniture polish to restore the shine.
Method 4: The Clothes Iron (Use With Caution)
This method uses heat, much like the hair dryer, but is more concentrated. It’s very effective but requires care to avoid scorching the wood or the finish.
- Empty all water from your clothes iron. You want dry heat, not steam.
- Lay a clean, dry cotton cloth (like a t-shirt or pillowcase, with no prints or colors that could transfer) over the water stain. The cloth acts as a protective barrier.
- Set the iron to a low, dry heat setting.
- Briefly press the warm iron onto the cloth over the stain for just a few seconds at a time. Lift the iron and the cloth to check your progress frequently.
- The heat passing through the cloth should draw the moisture out of the finish and into the fabric. The stain should gradually vanish.
- Do not leave the iron in one spot for too long! It’s better to use multiple short presses than one long one.
Part 2: How to Remove Dark Water Stains from Wood
Tackling a dark stain is more of a restoration project than a quick fix because you need to treat the wood itself. This process involves stripping the finish, treating the stain, and then refinishing the area. It requires more work, but the results can be stunning.
Step 1: Strip the Old Finish
You cannot treat the wood until you get past the protective finish. You’ll need a chemical stripper for this. Always work in a very well-ventilated area and wear gloves and eye protection.
- Apply a furniture stripper to the stained area according to the product’s instructions. Usually, you’ll brush it on and let it sit for a period.
- Once the finish has softened and bubbled, use a plastic scraper or putty knife to gently remove it. Be careful not to gouge the wood.
- Clean the stripped area with mineral spirits or the recommended solvent to remove any remaining residue from the stripper.
- Let the wood dry completely.
Step 2: Sand the Stained Area
Once the wood is bare, lightly sanding can help remove the surface layer of the dark stain.
- Start with a medium-grit sandpaper (around 120-grit) and lightly sand the dark spot.
- Always sand with the grain of the wood, never against it.
- Feather the edges of your sanding into the surrounding unstained wood to help with blending later.
- Wipe away the dust with a tack cloth or a cloth dampened with mineral spirits. For some very shallow dark stains, this might be enough. If the stain persists, move on to the next step.
Step 3: Treat the Stain with Oxalic Acid (Wood Bleach)
Oxalic acid is the secret weapon for removing deep-set dark water stains. It’s a type of “wood bleach” that works by reversing the chemical reaction that caused the stain. It is a chemical that requires careful handling. According to the CDC, you must wear gloves, safety glasses, and ensure good ventilation.
- You can buy oxalic acid in crystal form at most hardware stores. Mix the crystals with warm water according to the package directions to create a solution.
- Use a small brush to apply the solution directly onto the dark stain. Apply it only to the stained area, as it will lighten the wood.
- Let the solution sit on the wood and do its work. You may see the stain start to lighten within minutes, or it may take an hour or more. You can reapply the solution if needed until the stain has disappeared.
- Once the stain is gone, you must neutralize the acid. Create a solution of one tablespoon of baking soda mixed in a pint of water.
- Wipe the treated area with the baking soda solution to neutralize any remaining acid.
- Finally, rinse the area with a clean cloth dampened with plain water.
- Allow the wood to dry for at least 24 hours. The wood color may look a bit uneven at this point, but we will fix that in the final step.
Step 4: Refinish the Wood
Now it’s time to make your repair invisible and protect the wood for the future.
- Once the wood is completely dry, lightly sand the entire surface (not just the repaired spot) with fine-grit sandpaper (like 220-grit). This ensures a smooth, uniform surface for the new finish.
- If needed, apply a wood stain that matches the original color. Use a rag to apply the stain, letting it penetrate for the time recommended on the can, then wipe off the excess.
- Once the stain is dry, apply a new top coat of finish (such as polyurethane, lacquer, or oil). You may need to apply several thin coats, lightly sanding between each coat for the best result.
Quick Comparison of Water Stain Removal Methods
Feeling a little overwhelmed? Here’s a table to help you choose the best method for your situation.
| Method | Best For | Effort Level | Key Caution |
|---|---|---|---|
| Hair Dryer | Very new, light white stains | Very Low | Use low heat and keep it moving to avoid damaging the finish. |
| Mayonnaise / Petroleum Jelly | Light to medium white stains | Low | Can take several hours or overnight to work. |
| Toothpaste & Baking Soda | Stubborn white stains | Low-Moderate | Use non-gel paste; rub gently with the grain to avoid scratching. |
| Clothes Iron | Most white stains | Low-Moderate | Always use a protective cloth and low, dry heat to prevent scorching. |
| Oxalic Acid (Wood Bleach) | Dark/black stains that have penetrated the wood | High | Requires stripping the finish and careful handling with safety gear. |
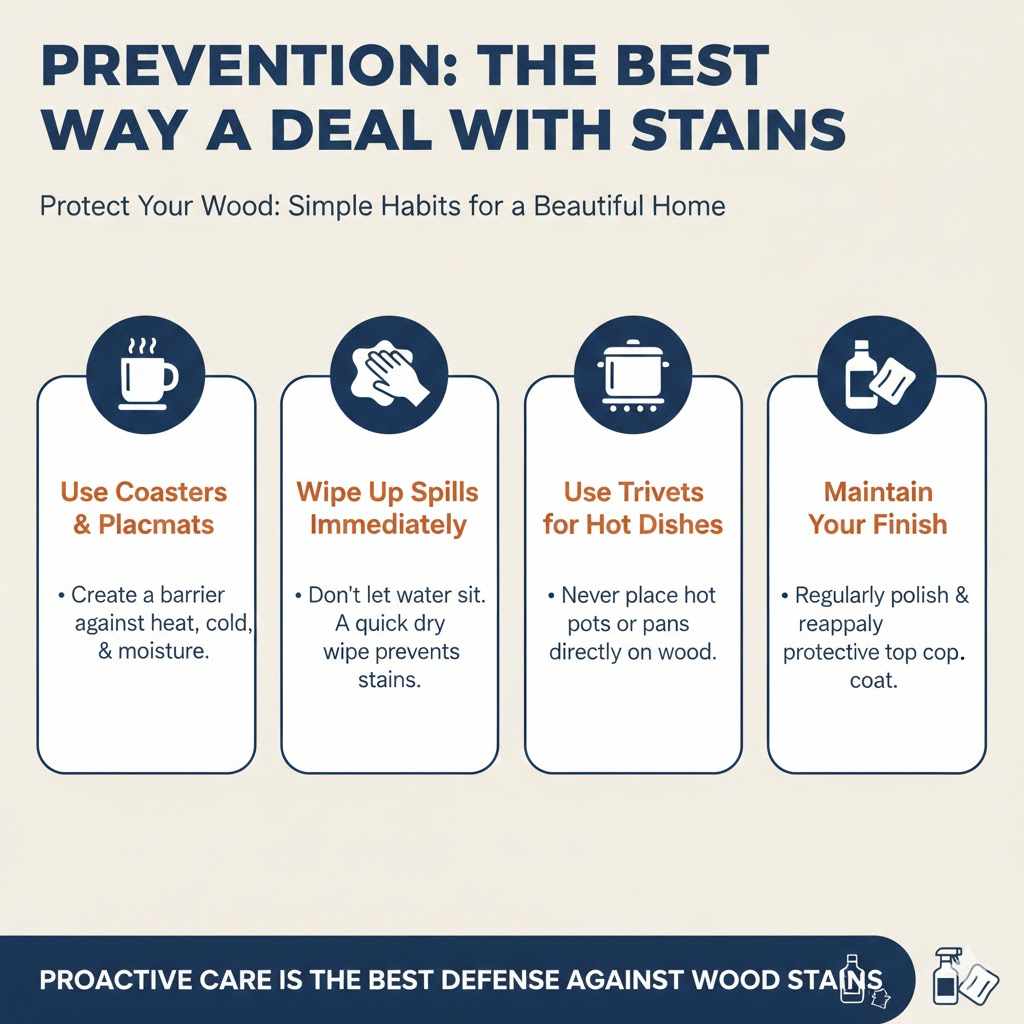
Prevention: The Best Way to Deal With Stains
Of course, the easiest stain to deal with is the one that never happens! Here are a few simple habits to keep your wood looking beautiful:
- Use Coasters and Placemats: This is the number one rule! Create a barrier between your wood and anything hot, cold, or wet.
- Wipe Up Spills Immediately: Don’t let water sit. A quick wipe with a dry cloth can prevent a stain from ever forming.
- Use Trivets for Hot Dishes: Never place hot pots or pans directly on a wood surface.
- Maintain Your Finish: A good, solid finish is your wood’s best defense. Regularly polish your furniture and reapply a protective top coat every few years as needed.
Frequently Asked Questions (FAQ)
Can I use gel toothpaste to remove a water stain?
No, you should not use gel toothpaste. Gel formulas lack the very fine abrasive minerals found in traditional white paste toothpaste. It’s those mild abrasives that do the work of gently buffing out the trapped moisture from the finish. Gel toothpaste will likely just make a mess without having any effect.
How long should I leave mayonnaise on the wood stain?
For a minor white stain, one to two hours is often enough. For a more stubborn or older white stain, you can safely leave it on overnight. The oils need time to penetrate the finish and displace the water, so giving it more time is perfectly fine and often more effective.
Will these methods work on all types of wood finishes?
These methods work best on surface finishes like lacquer, shellac, and varnish. They are less effective on penetrating oil finishes, where water is more likely to go straight into the wood. This is why it’s so important to test any method on a hidden spot first to see how your specific finish reacts.
What if the white stain doesn’t come out after trying these methods?
If you’ve tried the gentle methods for white stains and the mark remains, it could mean one of two things. Either the stain is deeper than it appears, or it has been there so long it has slightly damaged the finish itself. In this case, you might consider using a very fine grade of steel wool (#0000) with a bit of lemon oil, rubbing very gently with the grain. If that doesn’t work, refinishing the top may be the only solution.
Is oxalic acid dangerous to use at home?
Oxalic acid is a strong chemical and should be handled with respect, but it is safe for home use if you take proper precautions. Always wear rubber gloves and safety glasses, work in a well-ventilated space, and keep it away from children and pets. When you follow the directions and neutralize it properly after use, it is a very effective tool for wood restoration.
Why did my water stain turn black instead of white?
A stain turns black when water soaks all the way through the protective finish and gets into the actual wood fibers. Over time, the water reacts with tannins in the wood, causing a dark discoloration. It can also indicate the beginning of mold or mildew growth within the wood. This is why black stains require treating the wood itself, not just the finish.
Do I always have to refinish the wood after removing a dark stain?
Yes. To remove a dark stain, you have to first strip the existing finish to get to the bare wood. After treating the wood with sandpaper and/or oxalic acid, that area will be raw and unprotected. You must re-stain (if necessary to match the color) and apply a new protective top coat to seal the wood from future damage and blend the repair with the rest of the piece.
You Can Do This!
There you have it—a complete guide to erasing those pesky water stains. Seeing a mark on a beloved piece of furniture can be discouraging, but I hope you now feel confident and empowered to fix it yourself. Whether you’re dealing with a simple white ring or a more stubborn dark spot, the solution is within your reach.
Remember to be patient, start with the gentlest method first, and always test in a hidden area. Woodworking and home repair are all about learning and trying. By tackling this small project, you’re not just saving your furniture; you’re building skills and confidence for whatever project comes next. Happy repairing!