Best Way to Stain Wood Floors: The Pre-Stain Step Most Guides Skip
The best way to stain wood floors isn’t a specific brand or color – it’s testing whether your wood needs a pre-stain conditioner before you ever open the stain can, because that one step is what separates an even, rich finish from a blotchy one.
Most staining guides jump straight to “sand, then stain,” and that’s exactly how people end up with dark splotches on their stained wood floors. The real process has a diagnostic step in the middle that most people skip entirely. Here’s the full sequence, including the part that actually determines whether your floor comes out even.
Choosing the Right Wood Stain
Best Stain for a Pro-Grade Hardwood Floor Finish
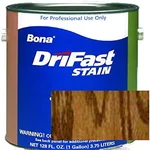 |
Bona DriFast Stain, Early American (Quart) – $31.99 A fast-drying, professional-grade floor stain built to lay down even color without the long oil-based wait.
|
Oil-Based vs. Water-Based vs. Gel
Oil-based stains soak deeper into open wood pores and give the richest, warmest color, but they take 24-48 hours to cure fully between coats and off-gas strong fumes, so you need real ventilation and time. Water-based stains dry in 2-4 hours, have far less odor, and keep the wood’s natural tone truer (less amber shift), but they raise the wood grain slightly, so a light scuff-sand after the first coat is usually needed. Gel stains sit on the surface instead of soaking in, which makes them the most forgiving option on uneven or blotch-prone wood – they’re thicker and easier to control, at the cost of showing less of the wood’s natural grain depth.
Matching Color and Finish to the Room
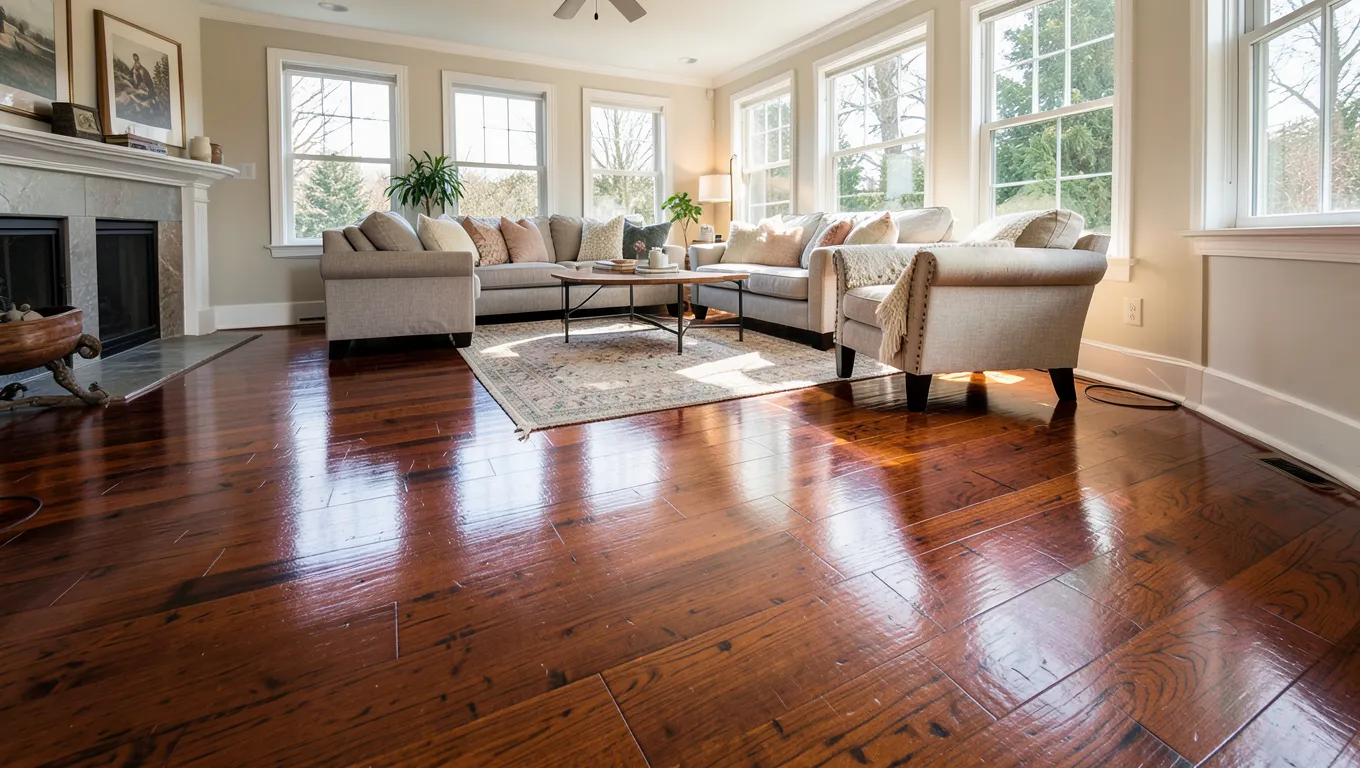
Darker stains (walnut, espresso, ebony) hide scuffs and dirt tracked in from outside better than they show them, which matters in entryways and mudrooms. Lighter and natural tones make small rooms read larger and show less dust between cleanings. Sheen is a separate decision from color: matte and satin sealants hide the fine scratches that accumulate on any lived-in floor, while high-gloss shows every scuff but gives the most dramatic depth of color.
The Wood Species Problem Most People Don’t Know About
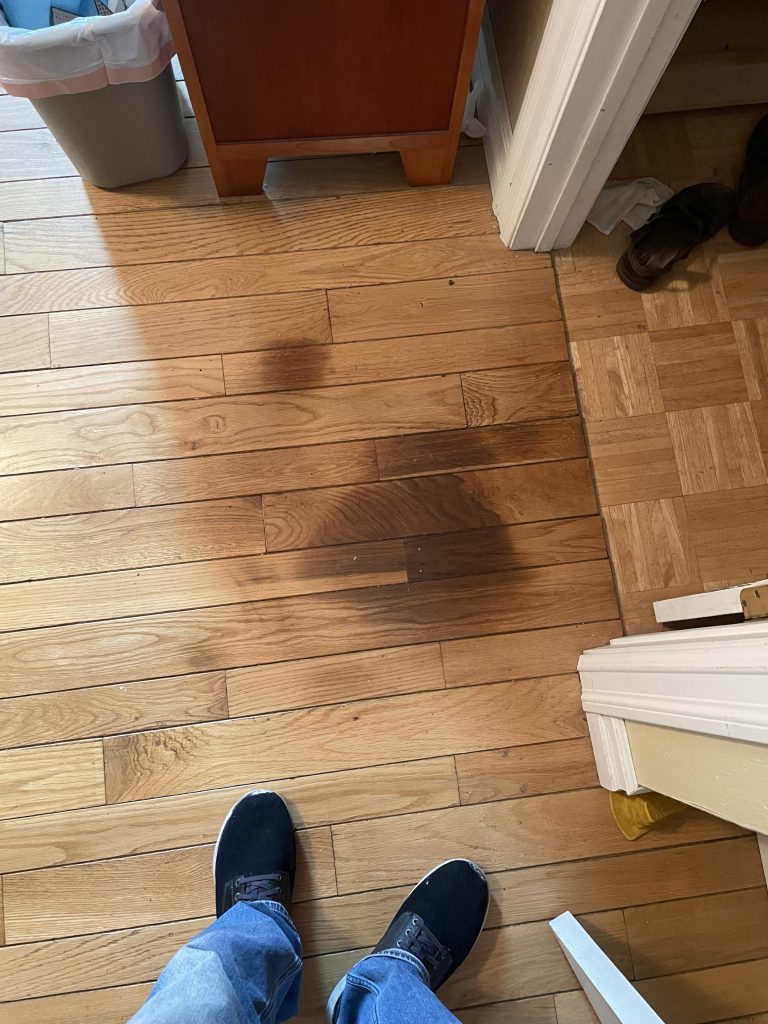
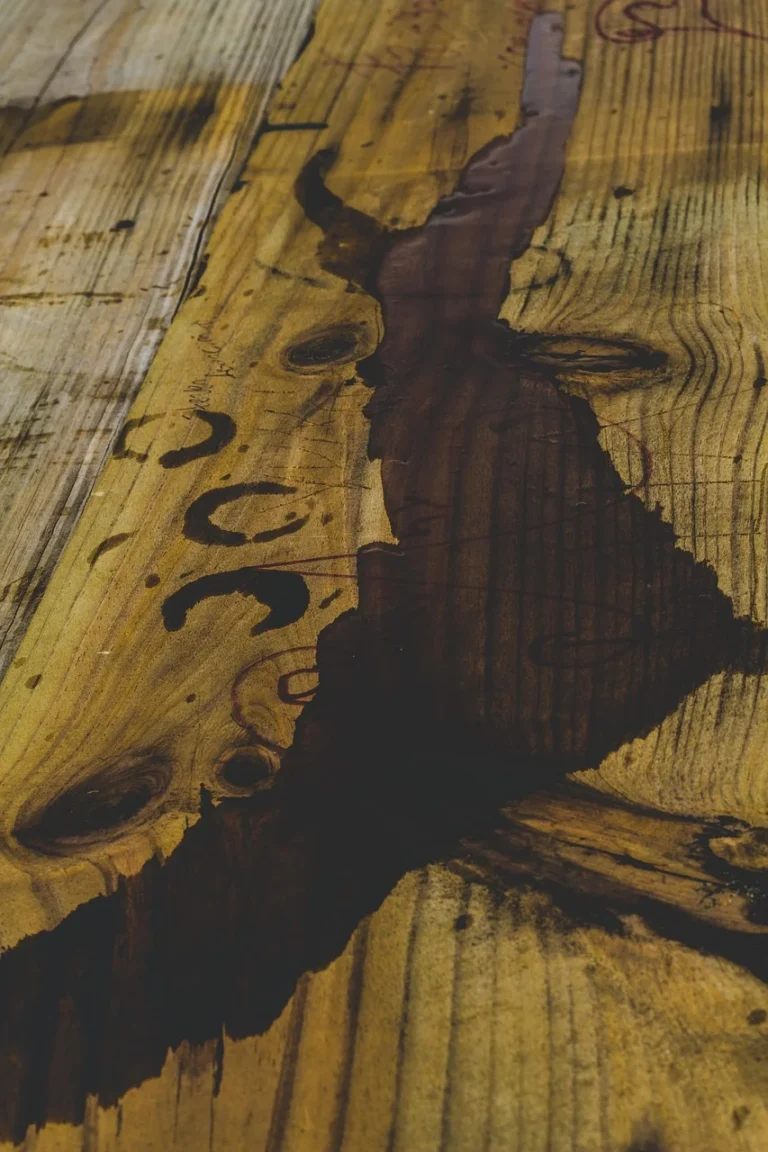
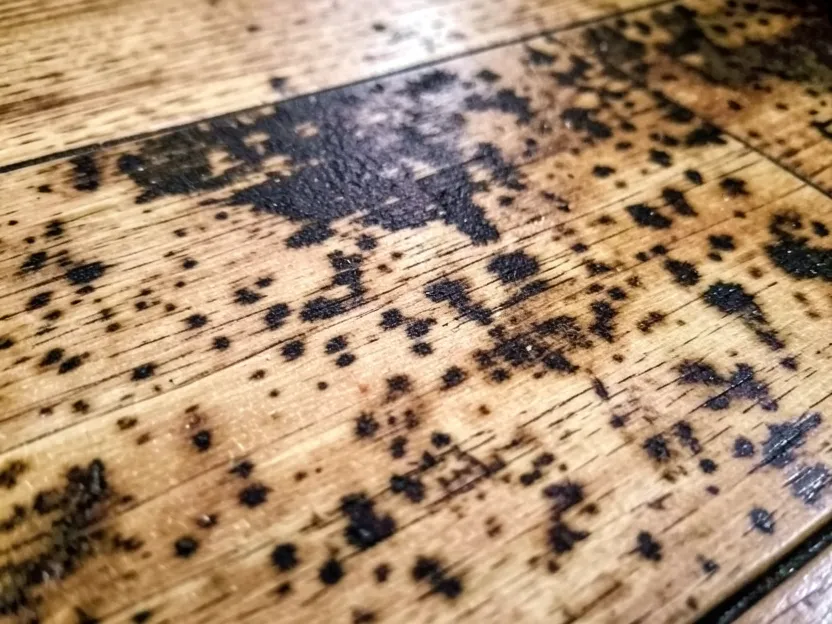
This is the part that actually causes most staining failures. Pine, maple, birch, and cherry are all “closed-grain” or tight-grain species with inconsistent density – some patches of the wood absorb stain fast and go dark, while adjacent patches barely take any color, producing the mottled, blotchy look people associate with a bad DIY stain job. It’s not a technique failure; it’s a wood-chemistry problem. Oak, ash, and hickory are open-grain woods with more uniform absorption, so they rarely blotch regardless of technique.
Preparing the Floor Surface (and the Test You Should Run First)
Cleaning and Sanding
Vacuum thoroughly, then sand with progressively finer grits, finishing around 120-150 grit for stain (finer than that and the wood becomes too smooth to absorb stain evenly; coarser and scratches show through the finish). Always sand with the grain, never across it – cross-grain scratches show up as pale lines once stain hits them, since the exposed end grain at each scratch absorbs more color than the surrounding surface.
The Conditioner Test That Prevents Blotching
Before staining any pine, maple, birch, cherry, or fir floor, apply a pre-stain wood conditioner (or a 50/50 dilution of your finish stain in mineral spirits works as a cheaper substitute) to a hidden test patch, let it sit 5-15 minutes, then apply your actual stain over it and compare the result to an unconditioned patch next to it. Conditioner partially seals the wood’s pores so it absorbs stain more uniformly. If you skip this test and skip the conditioner on a blotch-prone species, you won’t find out you needed it until the whole floor is already patchy and the stain has set.
Repairing Damage and Removing Old Finish
Fill gouges and nail holes with wood filler that’s rated to accept stain (plain wood putty often stays a different color after staining, leaving visible patches). Let filler cure fully before sanding it flush. If there’s an old finish or paint on the floor, strip or sand it off completely – any leftover film blocks stain absorption in that spot and shows up as a lighter, glossier patch once you’re done.
Applying the Stain
Tools and Materials Needed
- Pre-stain wood conditioner (if your species needs it)
- Wood stain of your choice
- Clean lint-free rags or a foam applicator pad
- Stir stick (never shake stain – it introduces air bubbles)
- 220-grit sandpaper for scuffing between coats on water-based stains
- Nitrile gloves, painter’s tape, drop cloths
Step-by-Step Application
- Stir the stain thoroughly from the bottom up – pigment settles fast, and a stir stick that only touches the top gives you inconsistent color can to can.
- Apply conditioner first if your test patch showed you need it; wait the time specified on the can (usually 5-15 minutes, then wipe off excess).
- Apply stain in a small section at a time, working with the grain, and always maintain a “wet edge” – overlapping into a section that’s already started to dry is what causes visible lap marks.
- Let the stain sit 3-10 minutes (check the can – longer dwell time means darker color) before wiping off the excess with a clean rag.
- Let it dry fully per the product’s stated time before deciding whether you need a second coat for a darker result.
Drying and Sealing
Realistic Drying Times
Oil-based stains need 24-48 hours before you can safely walk on them, and up to a week of light traffic caution before the finish is fully cured. Water-based stains are dry to the touch in 2-4 hours and recoat-ready the same day, but they still benefit from 24 hours before furniture goes back. Humidity and poor airflow can roughly double any of these times, so run fans or open windows if the room is closed up.
Choosing a Sealant That Actually Matches the Stain
Oil-based polyurethane over an oil-based stain is the most traffic-durable combination and what most professional floor refinishers default to for living rooms and hallways. Water-based polyurethane dries faster, stays clearer (doesn’t amber over time), and is the better match if you used a water-based stain and want to keep the color true. Wax finishes look beautiful but need reapplication every year or two and aren’t a realistic choice for a floor that sees daily foot traffic.
Applying Protective Coats
Two to three thin coats beat one thick one – a thick coat skins over on top while staying soft underneath, which shows up later as a soft or cloudy spot. Scuff-sand lightly between coats with fine-grit sandpaper or a maroon abrasive pad so each layer actually bonds to the one below it instead of just sitting on top.
Maintaining Stained Wood Floors
Sweep or vacuum (with a hard-floor attachment, not a beater bar) regularly, and wipe up spills immediately – standing liquid is the single fastest way to damage a stained floor’s finish. Damp-mop only, never wet-mop, with a cleaner formulated for finished wood. Felt pads under furniture legs and rugs in high-traffic paths prevent the fine scratches that dull a finish’s sheen over time. Check yearly for wear patterns near doorways; a light screen-and-recoat (an abrasive buff plus one fresh finish coat, no sanding to bare wood) can extend a stained floor’s life by years before a full refinish is needed.
Common Mistakes to Avoid
Skipping the Conditioner Test
This is the single most common cause of blotchy results, and it’s almost always avoidable – the test patch takes fifteen minutes and tells you exactly what your floor needs before you commit the whole room.
Over-Applying Stain
A thick, unwiped coat of stain doesn’t mean darker color – it means a sticky, tacky surface that never fully cures and picks up lint and footprints. Wipe off excess every time; you can always add a second thin coat for more depth.
Mixing Incompatible Products
Some oil-based and water-based products don’t bond well in sequence, especially older wax-based products under a modern polyurethane. Check that your stain and topcoat are designed to be used together, and when in doubt, stay within one product line, since sealer compatibility issues show up as peeling or fisheye spots that only appear after the finish has cured.
Frequently Asked Questions
What is the best stain type for wood floors?
Oil-based stains give the deepest, richest color and hold up best under heavy foot traffic, but they take longest to dry. Water-based stains dry faster and keep truer color, and gel stains are the most forgiving choice on blotch-prone woods like pine or maple. The “best” one depends on your wood species and how much dry time you can afford.
How do I prepare wood floors before staining?
Clean and sand progressively up to 120-150 grit with the grain, fill any damage with stainable wood filler, and fully remove any old finish. Then run a small conditioner test patch on species like pine, maple, or cherry before committing to the whole floor.
How long does wood floor stain take to dry?
Oil-based stains typically need 24-48 hours before foot traffic. Water-based stains are usually dry to the touch in 2-4 hours and ready for a topcoat the same day. Humidity and poor ventilation can roughly double either timeline.
Can I stain wood floors myself?
Yes. The steps aren’t complicated, but the conditioner test on blotch-prone wood species is the step that actually determines whether a DIY job looks professional or patchy, so don’t skip it even though it adds an extra afternoon to the project.
Conclusion
Staining wood floors comes down to two things most guides underweight: knowing whether your specific wood species needs a conditioner before you start, and applying thin, evenly-wiped coats instead of one heavy one. Get those two right and the color, sheen, and prep steps are straightforward from there.
Sponsored / affiliate links. As an Amazon Associate I earn from qualifying purchases. I may earn additional commission from eligible campaigns.