How to Remove White Water Stains From Wood Veneer
White water stains on wood veneer are moisture trapped in the finish, not damage to the wood — a dry iron on low heat lifts most rings in under a minute, but sanding is risky since veneer often runs just 0.4–0.8mm thick. Sand through that layer and you expose bare substrate, turning a five-minute fix into a full repair. This guide covers the safest household methods, when professional products help, and which fixes to avoid.
What Is Wood Veneer? (And Why It Stains Differently)
Best Veneer Restore Pick
Howard Feed-N-Wax Wood Polish & Conditioner
A beeswax-and-carnauba polish made to follow up a stain fix — it re-feeds oils into the finish once the moisture mark is gone.
- Best for: Restoring shine and re-conditioning the finish after removing a stain
- Why we picked it: No silicone build-up, safe on veneer, works on both finished and unfinished wood
- Main drawback: Strong citrus scent some users find overpowering indoors
Compare more veneer care options
 Option 1 Weiman Wood Polish & Cleaning Wipes
|
 Option 2 Guardsman Clean & Polish for Wood Furniture
|
 Option 3 MR.SIGA Microfiber Cleaning Cloths (12-Pack)
|
As an Amazon Associate we earn from qualifying purchases.
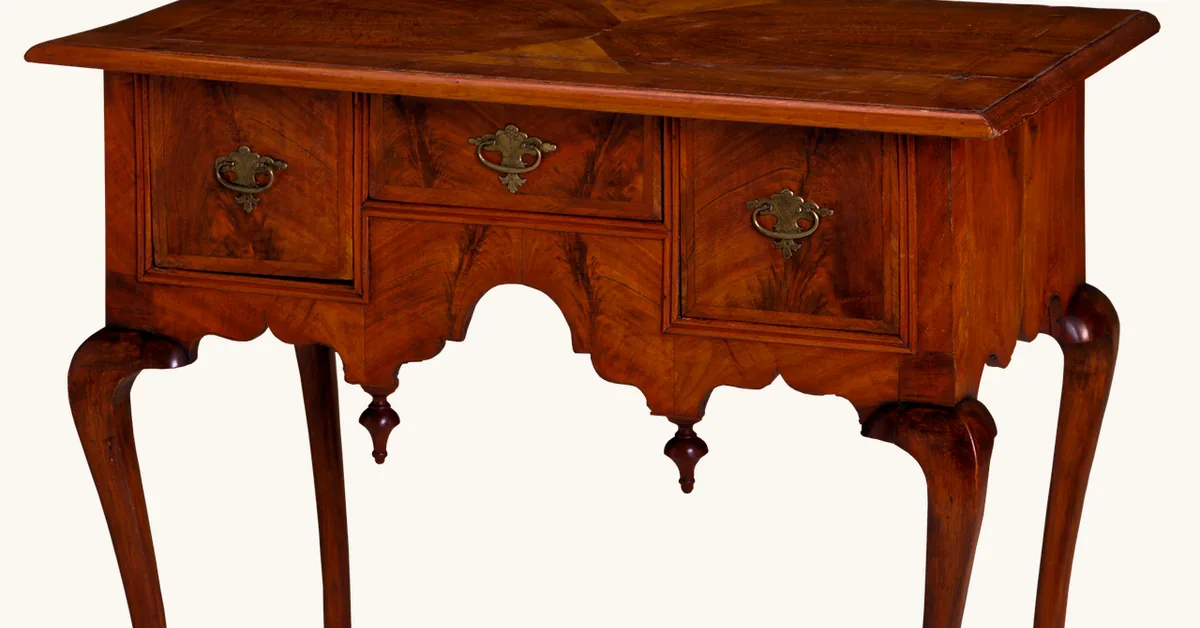
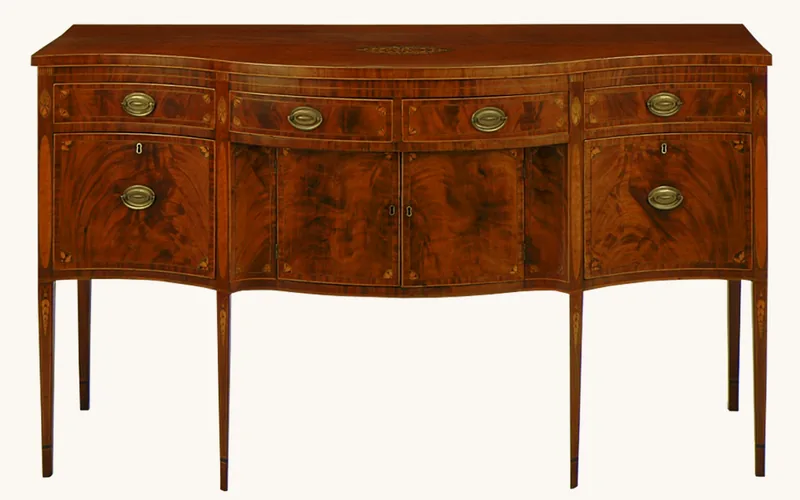
Wood veneer is a thin layer of real wood — typically 0.4 to 0.8mm thick, with 0.6mm (about 1/42 inch) the most common thickness on modern furniture — bonded to a core material like MDF, particleboard, or plywood. It gives furniture the look and grain of real wood at a lower cost and using far less material than solid lumber.
That thinness is exactly why veneer reacts to water and heat differently than a solid wood tabletop. A solid oak table can be sanded a dozen times over its life. A veneered one has one thin, finite layer of real wood sitting over the core — which is why the removal method you choose matters more here than it would on solid lumber. (If you’re working on a solid wood surface instead, our general guide to water rings on wood covers methods that would be too aggressive for veneer.) For the full picture on caring for any wood finish, see our complete wood finishing guide.
White Stain or Dark Stain? Why That Difference Matters
Before you reach for anything, look closely at the mark. The color tells you what’s actually wrong — and whether the fix takes five minutes or a weekend.
| Sign | What’s Actually Happening | How to Fix It |
|---|---|---|
| White or cloudy ring | Moisture is trapped between the finish and the veneer — a surface-level issue | Any household method below works; start with the gentlest one |
| Dark ring or black spot | Water has soaked past the finish into the wood fibers or the glue line | Usually needs sanding and refinishing — see our water-damaged veneer repair guide |
What Causes White Water Stains on Veneer
White water stains form when moisture sits on the finish long enough to get trapped beneath it, rather than evaporating off the surface. A cold glass, a wet vase, or a spill that isn’t wiped up fast enough can all leave a mark within minutes on some finishes.
Veneer surfaces are more prone to this than solid wood because the finish layer sitting over them is often thinner, and the wood underneath can still absorb some moisture through the finish if the coating has any hairline cracks or worn spots. Humidity swings make it worse: high humidity keeps moisture sitting on the surface longer, and repeated wet-dry cycles are what eventually cloud a finish even without an obvious spill.
Identify Your Finish Type Before You Start
Not every method below is safe on every finish. Furniture built before the 1990s is often finished in shellac, which softens with alcohol; most modern veneer furniture is lacquer or polyurethane, which is more chemical-resistant but responds better to heat. A quick way to check: dab a little denatured alcohol on a hidden spot with a cotton swab. If the finish softens or goes tacky, treat it as shellac and skip the vinegar and alcohol-based methods below — stick to the iron and oil-based remedies instead.
Immediate Steps After a Spill
Dry the area right away with a soft, absorbent cloth — press straight down rather than rubbing, which can grind grit into a still-soft finish. A microfiber cloth or paper towel both work; avoid a sponge, since it can hold dirt that scratches the surface as you wipe.
If the spot is already cloudy, resist the urge to blast it with a hairdryer on high. Low heat from a safe distance, kept moving, can help evaporate surface moisture before it sets — but skip this step if you plan to use the iron method next, since one heat pass is usually enough.
Household Methods That Remove White Water Stains From Veneer
These are ordered from gentlest to most involved. Try one, let it finish, and only move to the next if the stain is still visible — stacking methods on top of each other makes it harder to tell what actually worked.
The Iron Method (Best for Fresh, Light Rings)
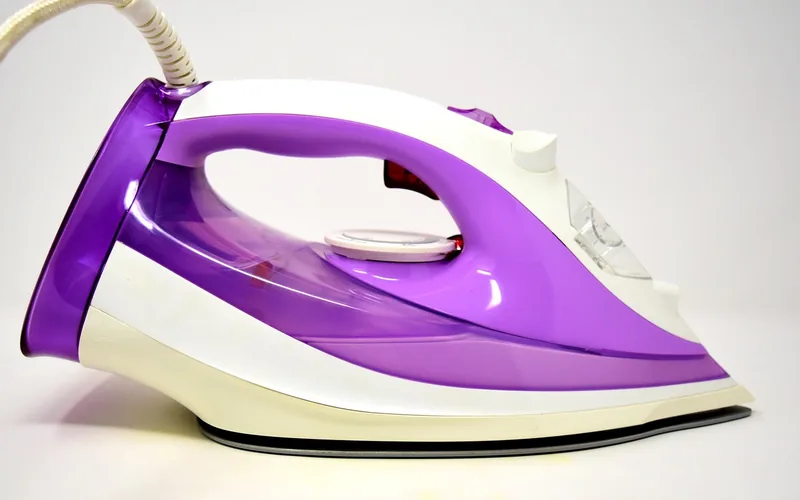
Heat evaporates the moisture trapped in the finish without you touching the surface directly, which makes this one of the safer options for veneer specifically.
- Test the iron on a hidden spot: set it to the lowest setting with steam off, and press it on an inconspicuous area for a few seconds to confirm it won’t harm the finish.
- Lay a dry, plain cotton cloth over the stain: fold it double for a light barrier between the iron and the veneer — skip colored or synthetic fabric, which can transfer dye or melt onto a softened finish.
- Press the iron on the cloth for 10 seconds: keep it moving slightly rather than resting in one spot.
- Lift the cloth and check the stain: the mark should look lighter or smaller.
- Repeat in 10-second intervals until it clears: stop the moment it’s gone — extra heat only adds risk, it doesn’t speed up the result.
For a deeper walk-through of this same technique on solid wood furniture, see our dedicated guide to the iron method.
Baking Soda or Toothpaste Paste
Mix one tablespoon of baking soda with a few drops of water to form a paste (or use a small dab of plain white, non-gel toothpaste as-is). Rub it gently into the ring in small circles with a soft cloth, let it sit about 5 minutes, then wipe clean with a barely damp cloth and dry immediately.
Mayonnaise or Petroleum Jelly
Both work the same way: the oil content displaces the trapped moisture in the finish. Rub a small amount into the stain, leave it for a few hours (or overnight for stubborn marks), then wipe away with a clean cloth and buff with a dry one.
Vinegar and Olive Oil
Mix equal parts white vinegar and olive oil and apply with a soft cloth, working in the direction of the grain. Let it sit 3–5 minutes, then wipe off and buff. Skip this one on shellac finishes — the vinegar’s acidity can soften shellac the same way alcohol does.
Denatured Alcohol Vapor (For Stubborn Haze)
For haze that survives the methods above, some finishers use an alcohol-vapor trick: dampen a paper towel with denatured alcohol, set it (not touching the wood) in a small container inverted over the stain, and leave it for about 5 minutes so the vapor — not liquid alcohol — works into the trapped moisture. This is a lacquer-and-poly-only method; skip it on shellac, where alcohol contact can strip the finish entirely.
| Method | Time Needed | Veneer Safety Note |
|---|---|---|
| Iron + dry cloth | 1–2 minutes | Safe on most finishes; never rest the iron in one spot |
| Baking soda paste | 5 minutes | Safe; mildly abrasive, use a soft cloth only |
| Mayonnaise / petroleum jelly | A few hours | Safe on any finish; slowest option |
| Vinegar + olive oil | 3–5 minutes | Avoid on shellac — acid can soften it |
| Alcohol vapor | 5 minutes | Lacquer/poly only — never on shellac |
Methods to Avoid on Veneer (Or Use With Real Caution)
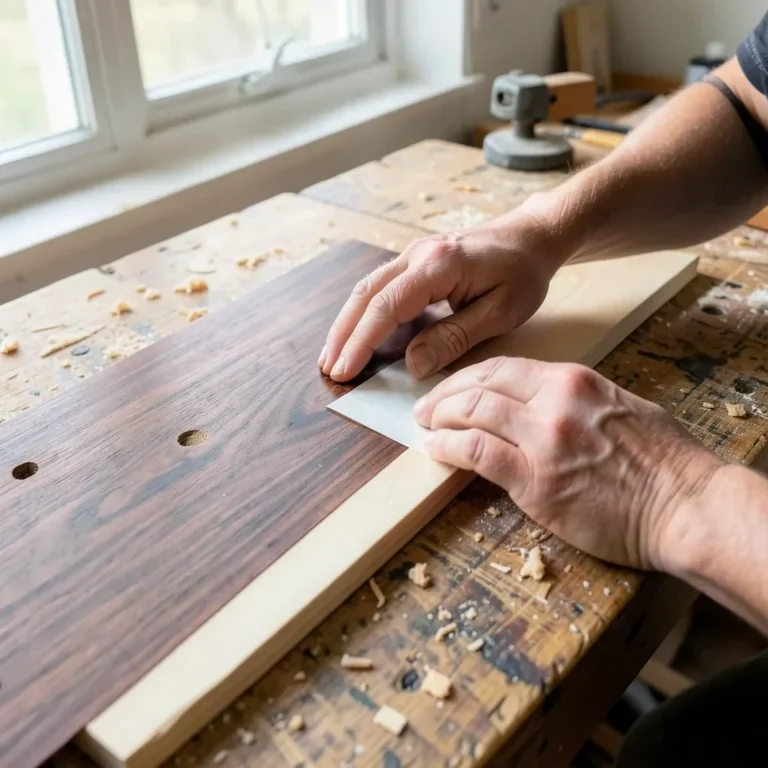
Sanding and steel wool both come up constantly in generic wood-stain advice, and both deserve more caution on veneer than they get. Fine-grit sandpaper can look harmless, but it removes real material with every pass — and veneer doesn’t have much material to spare.
📊 Modern veneer typically measures 0.4–0.8mm thick, and warning signs of sanding through include the grain starting to look blurry or a dark shadow (the glue line or core) appearing under the surface — both mean stop immediately. Source: Fine Woodworking
If you do sand, use the lightest touch possible: fine-grit paper (320 or higher), light hand pressure, always with the grain, and stop the moment you see any color or sheen change. Steel wool carries the same risk if used aggressively, and coarse solvents or paint strippers can dissolve the glue bonding the veneer to its core — not just the finish on top. For any of this, read our full guide on sanding veneer safely before you start.
Professional Products and Techniques
Commercial wood cleaners and restorers (like the polish options above) can clear stains that household remedies only partially fix, and they’re formulated not to strip the existing finish. Apply with a soft cloth, let it sit a few minutes per the label, then buff dry — always test an inconspicuous spot first, the same rule that applies to every method on this page.
For lacquer finishes specifically, some finishers reactivate the surface with a fresh light coat of lacquer or lacquer thinner, which re-melts the existing finish and lets trapped moisture escape as it dries — this is a job for someone comfortable working with solvents, not a first attempt. If the stain won’t budge or covers a large area, refinishing without sanding or a light wood-safe cleaner treatment is usually less risky than aggressive sanding.
Preventing Future White Water Stains on Wood Veneer
Coasters and trivets under anything cold, wet, or hot are still the single best prevention — most white rings start with a glass or mug that sat for less time than you’d expect. Wipe up spills immediately rather than letting them air-dry on their own.
Dust with a soft, dry cloth regularly, and use a damp (not wet) cloth only for sticky spots, drying the surface right after. Keep veneer out of direct sunlight to prevent the finish from drying out and becoming more porous over time, and apply a wood polish every few months to keep the finish’s protective layer intact.
Frequently Asked Questions
What causes white water stains on wood veneer?
White water stains form when moisture — from a cold glass, a wet vase, or a spill — gets trapped between the finish and the veneer surface rather than soaking into the wood itself. The trapped moisture scatters light passing through the finish, which is what makes the spot look white or cloudy instead of clear.
Are white water stains on wood veneer permanent?
No, in most cases. Because the moisture is trapped in the finish rather than the wood, gentle heat (an iron on low, dry heat) or oil-based remedies like mayonnaise or a wood polish will draw the moisture out or displace it, and the cloudiness clears. Dark rings, by contrast, mean water reached the wood or glue layer and are far more stubborn to remove.
Can you sand a white water stain out of veneer?
You can, but it’s risky and usually unnecessary. Modern veneer is often only 0.4–0.8mm thick, so even light sanding with fine-grit paper can cut through to the substrate underneath. Try the iron method, a baking soda paste, or a wood polish first, and treat sanding as a last resort for stains that don’t respond to anything else.
Does the iron method actually work on veneer, or will it damage the finish?
Used correctly — lowest heat setting, steam off, a dry cloth barrier, and 10-second intervals — the iron method is one of the safer options for veneer because it never touches the surface directly. The main risk is leaving the iron in one spot too long, which can scorch the cloth or overheat the finish, so keep checking every 10 seconds rather than ironing continuously.
How do you get white cloudy stains out of wood veneer without a special product?
Start with what’s likely already in your kitchen: a warm iron over a dry cloth, a paste of baking soda and water, or a dab of mayonnaise rubbed in and wiped off after a few minutes. All three work by either evaporating the trapped moisture or displacing it with oil, and none require sanding or refinishing.
What Is the Difference Between a White Stain and a Dark Stain on Wood Veneer?
A white or cloudy stain means moisture is trapped in the finish — a surface-level problem that household remedies usually fix. A dark or black stain means water has soaked past the finish into the wood fibers or the glue line underneath, which typically needs sanding and refinishing, or on badly damaged veneer, a full repair.
Conclusion
Most white water stains on wood veneer come out with something you already own — a dry iron, baking soda, or a dab of mayonnaise — because the problem is almost always moisture trapped in the finish, not damage to the wood underneath. Start with the gentlest method, work up only if you need to, and save sanding for stains that genuinely won’t respond to anything else. Once the mark is gone, a coat of wood polish and a few coasters will keep it from coming back.
Sponsored / affiliate links. As an Amazon Associate I earn from qualifying purchases. I may earn additional commission from eligible campaigns.