Can Wood Floors Be Installed Over Tile? A Beginner’s Guide
Thinking about putting wood floors over tile? It’s a common question, especially for those new to home projects. Many people wonder if it’s even possible, and if so, how to do it right. The idea of skipping the tile removal seems appealing, but you might be worried about problems down the road. Rest assured, you can absolutely install wood floors over tile. This guide will walk you through everything you need to know, making it simple and easy to tackle. Learn about the factors that influence success by examining the steps to take to make this renovation a reality. Let’s get started.
Evaluating Your Current Tile Floor
Before you get excited about new wood floors, you need to check your existing tile. The condition of your tile is a critical first step. Are the tiles level and firmly attached to the subfloor? A bumpy or loose tile job will cause trouble with your new wood floors later. Take your time to check for these issues before you start. This may mean looking at grout lines, checking for any cracked or missing tiles, and making sure the entire surface is solid.
Checking for Levelness and Stability
Levelness is super important. Wood floors need a flat surface to sit on. If your tile isn’t level, your new wood floor won’t be either. This could lead to squeaking, uneven wear, and a general lack of aesthetic appeal. To check, use a long level. Place it on the tile in different spots. If you see gaps under the level, your tile isn’t level. You might need to use a self-leveling compound to fix uneven areas before installing your wood flooring. Stability means the tiles need to be glued down securely. Gently tap each tile with a rubber mallet. If any tile sounds hollow, it’s not well-adhered, meaning it could come loose later. Any loose tiles will need to be fixed or removed before installing wood flooring.
- Using a Level: Get a long level, at least 4 feet. Place it across multiple tiles in different directions.
- Identifying Gaps: Look for any space between the level and the tile surface. These gaps show where the tile is uneven.
- Checking Tile Adhesion: Tap each tile gently with a rubber mallet or your knuckles. Listen for a solid sound, indicating a secure bond.
- Addressing Loose Tiles: Any tiles that sound hollow or move when tapped must be addressed before proceeding.
Inspecting for Cracks and Damage
Look carefully for any cracks or damage in the tiles. Even small cracks can become bigger problems under the weight of a wood floor. Damage like chips or loose grout can also cause issues. Make sure the tile surface is prepared before installing the wood flooring. Examine the grout between the tiles for any wear or deterioration. These cracks and issues will affect the wood floor. This inspection will prevent issues like a ruined floor after installation, and ensure the wood flooring lasts.
- Visual Inspection: Walk across the tile floor and visually inspect each tile.
- Examining Cracks: Look for hairline cracks and wider fissures in the tile.
- Grout Integrity: Check the grout lines for cracks, crumbling, or missing grout.
- Repairing Imperfections: Address all cracks, chips, and damaged grout before beginning wood flooring installation.
Preparing the Tile Surface for Wood Floor Installation
Once you know your tile is sound, the next stage is prepping the surface. This involves cleaning the tile thoroughly and making sure it’s ready to accept the wood flooring adhesive or underlayment. Getting this step correct is extremely important for a long-lasting wood floor. Consider the type of wood floor you are planning to install. Make sure the adhesive or underlayment is compatible with both the tile and the wood.
Cleaning the Tile Thoroughly
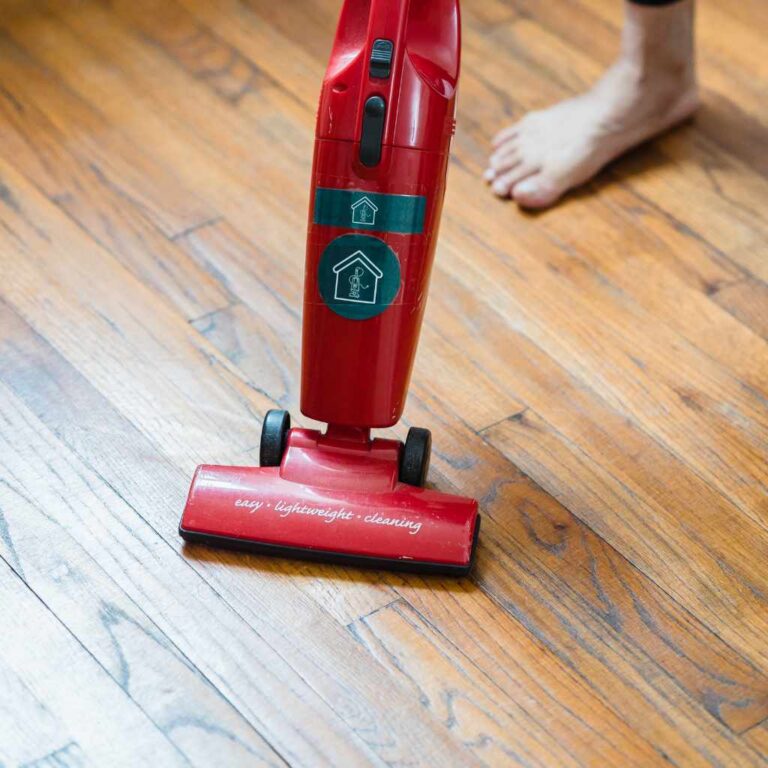
Start by sweeping or vacuuming the tile to remove dust and debris. Then, give the tile a good scrub with a cleaning solution that removes grease and grime. This is crucial for creating a clean surface for adhesion. Use a cleaner that is specifically designed for tile floors. Make sure the cleaner doesn’t leave any residue behind. Allow the tile to dry completely before going further. This helps adhesive or underlayment sticks. A clean tile is an essential step towards long-lasting wood floors.
- Sweeping and Vacuuming: Begin by removing loose debris like dust, dirt, and pet hair.
- Selecting a Tile Cleaner: Use a degreasing cleaner to eliminate any grease or grime.
- Scrubbing and Cleaning: Use a mop or scrub brush to thoroughly clean the tile surface.
- Allowing for Drying: Let the tile dry completely before proceeding to ensure proper adhesion.
Using an Underlayment or Vapor Barrier
You may need an underlayment between the tile and the wood floor. This helps with sound insulation, moisture control, and adds a bit of cushioning. A vapor barrier is another layer. If you are worried about moisture from below, this layer is very helpful. Different types of wood floors need different underlayments. For example, some laminate wood flooring options have built-in underlayment. Make sure the underlayment or vapor barrier is compatible with both your wood floor and the adhesive. Doing this will protect your flooring and reduce moisture problems.
- Sound Insulation: Underlayment can reduce noise transfer between floors.
- Moisture Protection: A vapor barrier helps prevent moisture from seeping into the wood floor.
- Cushioning: Underlayment provides a layer of cushioning.
- Compatibility: Choose underlayment compatible with your wood flooring type and adhesive.
Choosing the Right Wood Floor and Installation Method
The type of wood floor and how you install it matters. You have several choices, including solid hardwood, engineered wood, and laminate. Each type has its pros and cons. The installation method you pick will affect how well the floor stays in place and how it looks. The decision should also consider how much moisture is present in the subfloor. You will need to take this into account before you start your project. Proper planning will ensure success and give you a beautiful, long-lasting wood floor.
Selecting Solid Hardwood vs. Engineered Wood Flooring
Solid hardwood floors are made from a single piece of wood. They look great and can last a long time. They’re a good choice if you like the idea of refinishing them later. Engineered wood, on the other hand, has multiple layers, with a top layer of real wood. Engineered wood is generally more stable than solid hardwood. This means it’s less likely to expand and contract with changes in humidity. Engineered wood is a great option for installation over tile. Solid wood has more risk of shrinking or expanding with moisture, which is something you need to think about with tile.
- Solid Hardwood: Offers a classic look and can be refinished.
- Engineered Wood: More stable and less prone to moisture-related issues.
- Durability Considerations: Think about how the floor will be used and how much foot traffic it will receive.
- Installation Flexibility: Engineered wood often works better over tile due to its stability.
Choosing the Right Installation Method Over Tile
You can install wood floors over tile using a few different methods. One popular method is to glue the wood flooring directly to the tile using a special adhesive. Another option is to use a floating floor system. This is where the wood flooring clicks together and sits on top of an underlayment, without being attached to the tile. The floating method is usually the easiest for beginners. The glue-down method creates a more solid feel. Make sure to consider the product’s requirements when you are working on your floor.
- Glue-Down Method: Involves using a specialized adhesive to bond the wood flooring to the tile surface.
- Floating Floor Method: The wood flooring clicks together and rests on an underlayment, not directly attached to the tile.
- Fastening Methods: Be aware of the subfloor requirements.
- Adhesive Considerations: Use an adhesive compatible with both the wood floor and the tile.
How to Install Wood Floors Over Tile
Let’s get into the step-by-step process of installing wood floors over tile. This part will give you the practical guidance you need to complete the project. Always follow the manufacturer’s instructions for the wood floor and adhesive you choose. It is important to remember safety when you are working on your floor. Ensure you have the right tools and materials ready before you start.
Step-by-Step Glue-Down Installation
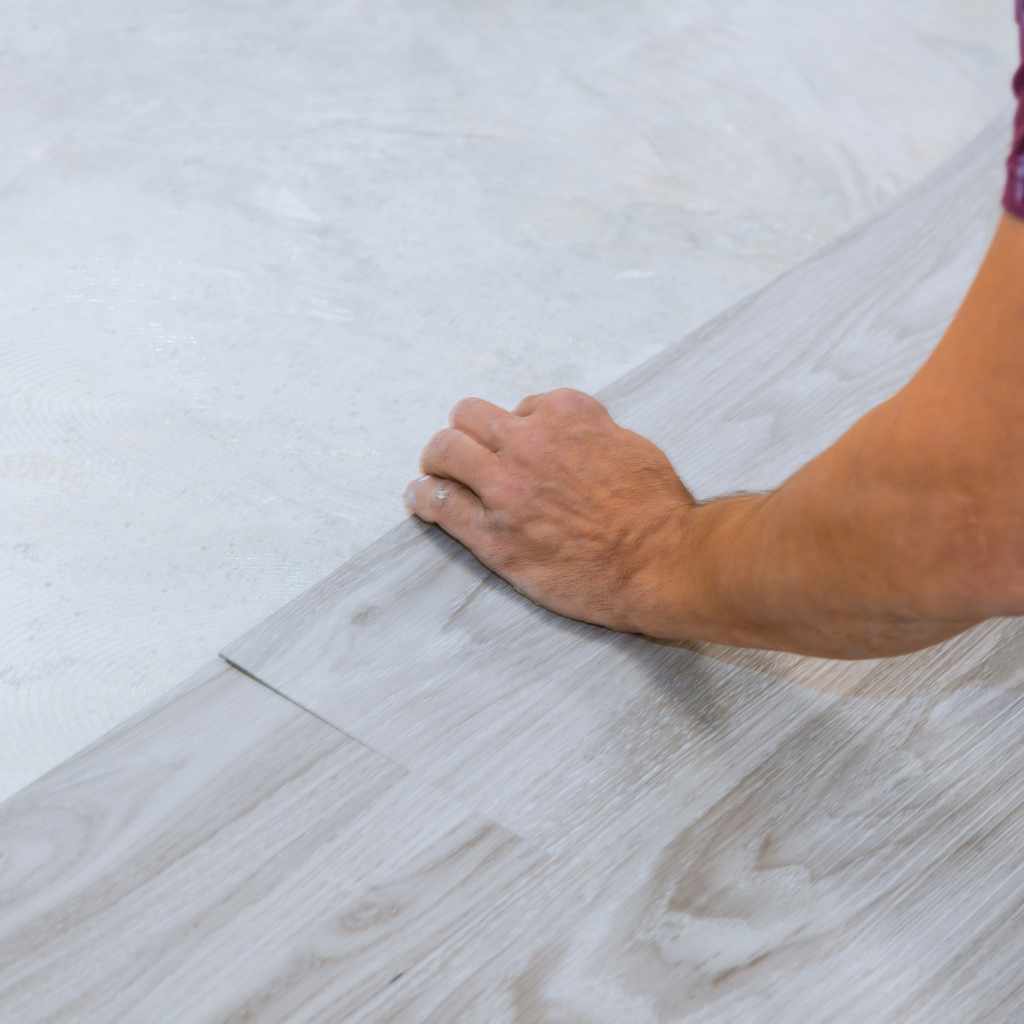
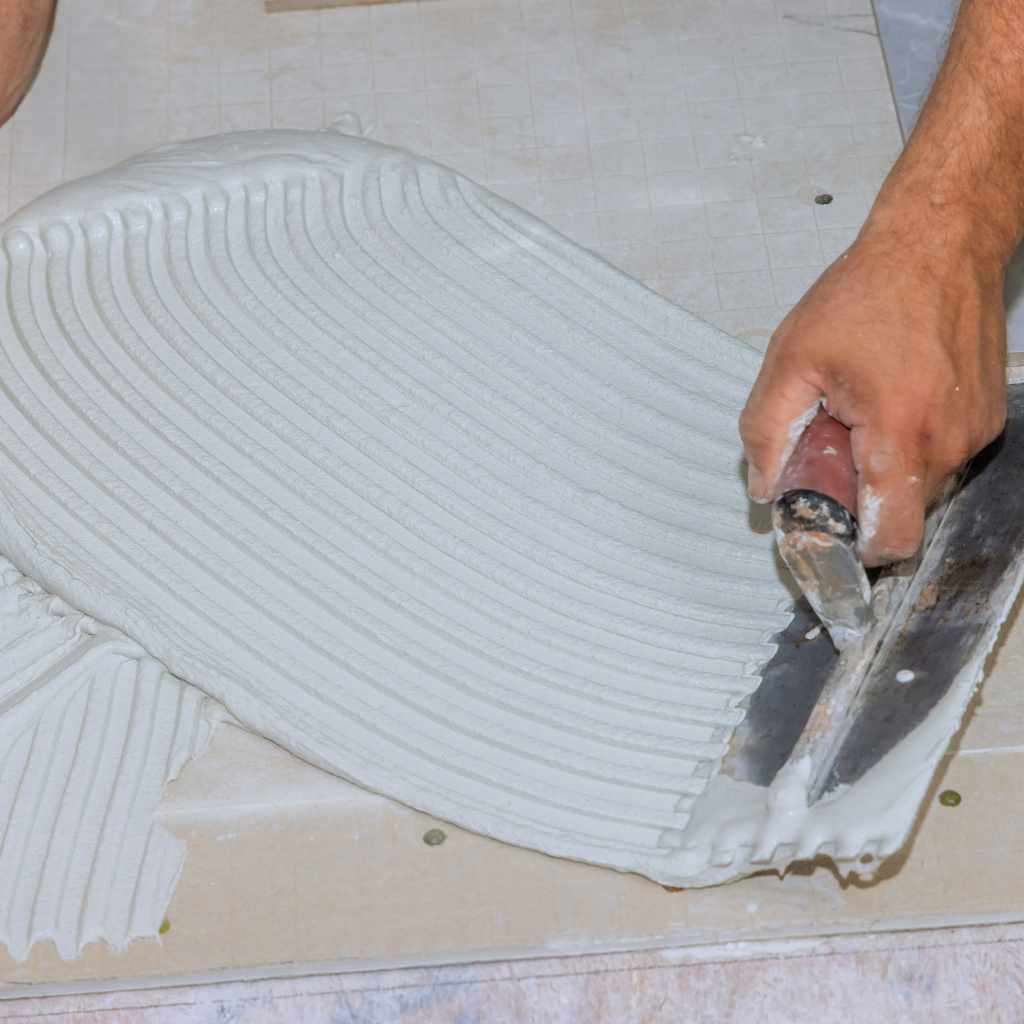
If you’re using the glue-down method, start by applying the adhesive to the tile. Use a notched trowel to spread the adhesive evenly. Then, carefully place the wood planks onto the adhesive. Use spacers along the walls to create an expansion gap. This prevents the wood floor from pressing against the walls as it expands and contracts with changes in temperature and humidity. Allow the adhesive to dry fully before you walk on the floor. Following each step correctly will lead to a beautiful, long-lasting wood floor.
- Apply Adhesive: Use a notched trowel to spread the adhesive evenly over the tile.
- Place Wood Planks: Carefully set the wood planks into the adhesive.
- Use Spacers: Insert spacers along the walls to create an expansion gap.
- Allow Drying Time: Let the adhesive dry completely.
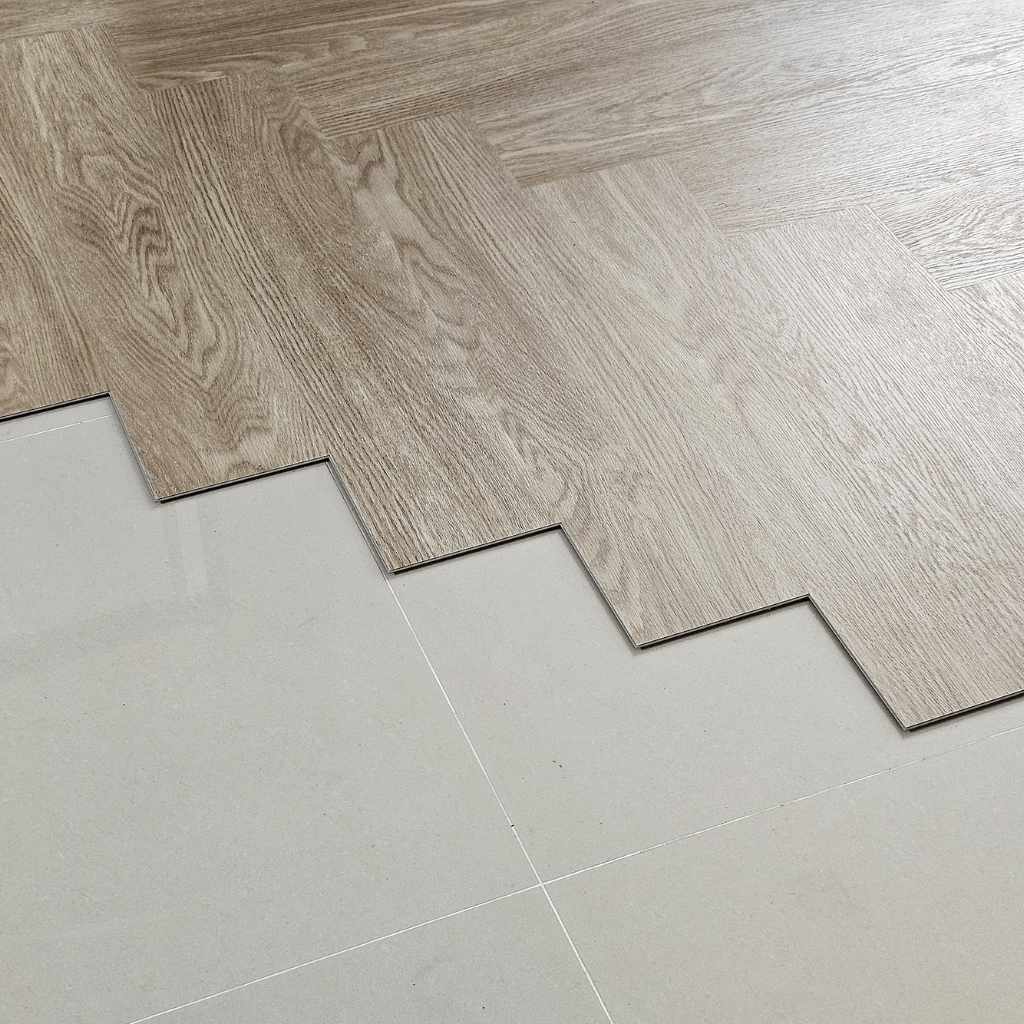
Step-by-Step Floating Floor Installation
With a floating floor, you’ll first lay down an underlayment. The underlayment acts as a barrier and cushions the floor. Then, click the wood planks together according to the manufacturer’s instructions. You don’t need any adhesive for this method. Be sure to leave the expansion gap around the edges of the room. This makes installation easier and more beginner-friendly. Once you’re done, you can install trim to cover the expansion gap along the walls. This is another option for laying your floor.
- Lay Underlayment: Cover the tile surface with the underlayment.
- Click Planks Together: Connect the wood planks according to the manufacturer’s instructions.
- Use Spacers: Insert spacers around the room.
- Install Trim: Install the baseboard and molding.
Dealing With Common Issues
Even with careful planning, you might face some hiccups during your project. Knowing how to handle these potential problems can save you time and frustration. Let’s look at some things to be aware of. We’ll address common issues, from moisture concerns to uneven tile surfaces. Remember, a little preparation can make a big difference in the long run.
Addressing Uneven Tile Surfaces
If the tile isn’t perfectly level, you’ll need to fix it. Small variations can sometimes be handled with a self-leveling compound. These compounds fill in dips and create a smooth, even surface. For more significant problems, you might need to remove and replace the uneven tiles. Check the tile floor before you begin. Having a level surface is key to a smooth wood floor installation. Taking time to address any unevenness helps your wood floor look and feel better.
- Small Imperfections: Can often be corrected using a self-leveling compound.
- Significant Issues: Consider replacing or repairing any severely uneven tiles.
- Checking with a Level: Use a long level to identify any areas needing attention.
- Smooth Surface: A level surface ensures a successful wood floor installation.
Managing Moisture and Humidity
Moisture is the wood floor’s worst enemy. It can cause the wood to warp, buckle, or even rot. Check the moisture level in the tile before installation. You can use a moisture meter for this. If you are worried about moisture, installing a vapor barrier can provide an additional layer of protection. Make sure the room stays at a stable temperature and humidity level. Proper moisture management will help your wood floor last. Controlling humidity is an important thing to think about.
- Moisture Testing: Check the tile’s moisture content before you start.
- Vapor Barrier: Use a vapor barrier to prevent moisture seeping into the wood floor.
- Climate Control: Keep the room at a stable temperature and humidity level.
- Long-Term Protection: Proper moisture management increases the life of the wood floor.
Frequently Asked Questions
Question: Is it always possible to install wood floors over tile?
Answer: It’s generally possible, but it depends on the condition of the existing tile. You’ll need to check for levelness, stability, and any damage.
Question: What’s the best type of wood flooring for installation over tile?
Answer: Engineered wood flooring is often a great choice because it is more stable and less affected by moisture changes than solid hardwood.
Question: Do I need to remove the tile before installing wood floors?
Answer: No, in most cases, you don’t need to remove the tile. The project often saves time and effort.
Question: What’s the difference between the glue-down and floating floor methods?
Answer: With glue-down, you bond the wood directly to the tile with adhesive. With a floating floor, the wood planks click together and sit on an underlayment.
Question: How do I handle uneven tile surfaces before installing wood flooring?
Answer: Small variations can be addressed with self-leveling compound. More significant issues might need tile repair or replacement.
Final Thoughts
Learning can wood floors be installed over tile? opens up many design possibilities. You have learned the importance of proper preparation, choosing the right materials, and understanding the installation methods. Whether you go with a glue-down or a floating floor system, taking the time to prepare the tile, select the appropriate wood flooring, and follow the steps carefully will bring about amazing results. You don’t have to remove the tile. It’s also important to address any issues like unevenness or moisture concerns, to ensure the new floor lasts. With the right tools and some patience, you can have a beautiful wood floor. Now, go ahead and start your project today, and enjoy the transformation of your space!