How to Restore Wood Floors: Sand, Recoat, or Resurface?
Wood floors need one of four fixes — a clean-and-buff, a no-sand recoat, a full sand-and-refinish, or a complete resurface — and using the wrong one wastes money or strips away wear layer you can’t get back. A floor sanded when it only needed a recoat loses years of usable finish for nothing. This guide’s 30-second water-drop test tells you which method your floor actually needs, plus the real time and cost for each.
How to Tell Which Wood Floor Restoration Method You Need
Best Wood Floor Restorer Pick
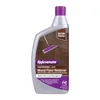
Rejuvenate Professional Wood Floor Restorer 32 Oz
A single-coat mop-on restorer that fills light scratches and rebuilds shine without sanding — the go-to first step once the water-drop test says “recoat,” not “sand.”
- Best for: Dull, lightly scratched floors that still bead water
- Why we picked it: One coat, no sanding, dries fast enough for same-day use in a room
- Main drawback: Won’t fill deep gouges or hide wear-through spots — those need sanding
Compare more wood floor restoration options
 Option 1 Rejuvenate All Floors Restorer 1 Gal
|
 Option 2 Weiman Wood Restore and Repair Kit
|
 Option 3 Parker & Bailey Wood Floor Cream 16 oz
|
As an Amazon Associate we earn from qualifying purchases.
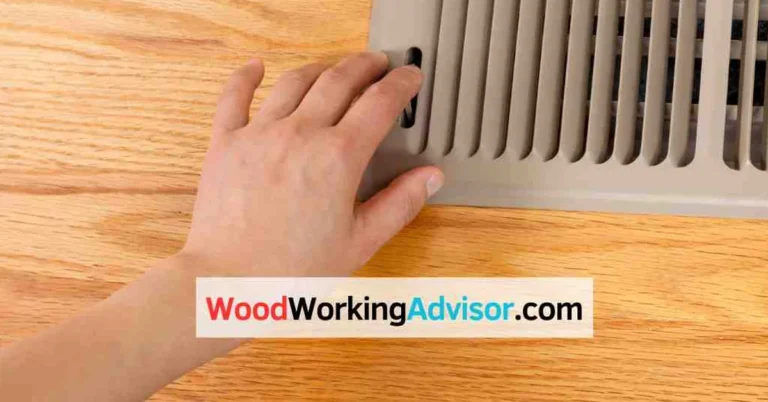
Pour a few drops of water on the floor’s dullest-looking spot. If the water beads up, the finish is still sealing the wood — you likely need cleaning or a recoat, not sanding. If the water soaks in within a minute or two, the finish has worn through to bare wood, and sanding is the only real fix.
Cupping (board edges sitting higher than the centers), visible warping, or wood that’s gone gray and fuzzy from long-term moisture won’t respond to surface products at all. Those need a full sand-and-refinish, or in severe cases, board replacement before resurfacing.
| Method | Typical Time | Typical Cost | Best For |
|---|---|---|---|
| Clean & buff | Same day | $15–$30 (cleaner) | Dull floor, water beads, no deep scratches |
| No-sand recoat | 1–2 days | $50–$150 (DIY) | Scratches live in the finish only — wood isn’t exposed |
| Sand & refinish | 3–5 days | $3–$8/sq ft (pro) | Water soaks in fast, deep scratches, worn-through finish |
| Full resurface | 4–7 days | $4–$10/sq ft (pro) | Cupping, warping, or a full color change |
If the water-drop test points to a recoat, our no-sand wood floor refinishing guide covers the exact products and steps. If it points to sanding, our step-by-step refinishing guide walks through the full process. For boards with cupping or a full color change, see how to resurface a hardwood floor, or our full refinishing vs. resurfacing comparison if you’re torn between those two.
Common Signs Your Wood Floor Needs Restoration
Scratches, Scuffs, and Dents
Light surface scratches and scuffs usually mean the finish is wearing thin in high-traffic paths — in front of sinks, hallways, and pivot points where people turn. If you can’t catch a fingernail in the scratch, it’s almost always a finish-level issue a recoat will fix.
A Fading, Dull, or Cloudy Finish
UV exposure and foot traffic wear down polyurethane’s sheen long before the wood underneath is damaged. A floor that looks gray or hazy under direct light, but still beads water, is a cleaning-and-recoat job, not a full sand.
DIY-Friendly Restoration: Cleaning, Recoating & the Right Products
Most wood floors that fail the water-drop test as “still sealed” can be brought back with cleaning, light buffing, and the right recoat product — no sander required.
Cleaning and Maintenance
- Sweep or vacuum with a bare-floor attachment first — grit trapped under a mop head is what causes new fine scratches.
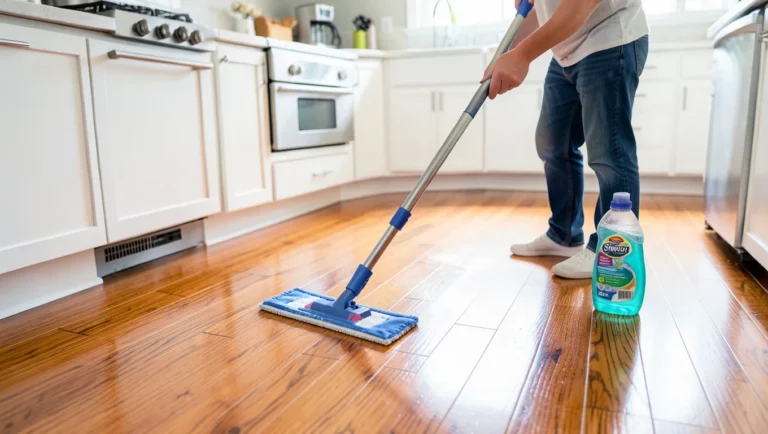
- Damp-mop with a pH-neutral wood floor cleaner, never a wet mop — standing water works into seams and edges.
- Wipe up spills immediately; even a sealed finish can let moisture through at board seams if it sits for hours.
Minor Scratch Repair
- Clean the scratched area with a mild wood floor cleaner and a soft cloth.
- For finish-level scratches, apply a color-matched touch-up marker or wax fill stick, working with the grain.
- For a whole room of light scratches instead of one spot, a full recoat gives a more even result than spot-filling dozens of marks.
Choosing a Cleaner or Restorer
Match the product to the water-drop test result: a pH-neutral cleaner alone is enough if the floor just needs de-gunking; reach for a one-coat restorer (like the picks above) once the finish looks dull or lightly scratched but still beads water.
Finishing and Sealing Products
If you do end up sanding, the sealer matters as much as the stain: oil-modified polyurethane ambers slightly and adds warmth, while water-based polyurethane stays clear and dries faster between coats. Both hold up fine on solid hardwood when applied per the can’s recoat window.
Professional Restoration: Sanding, Refinishing & Deep Stain Repair
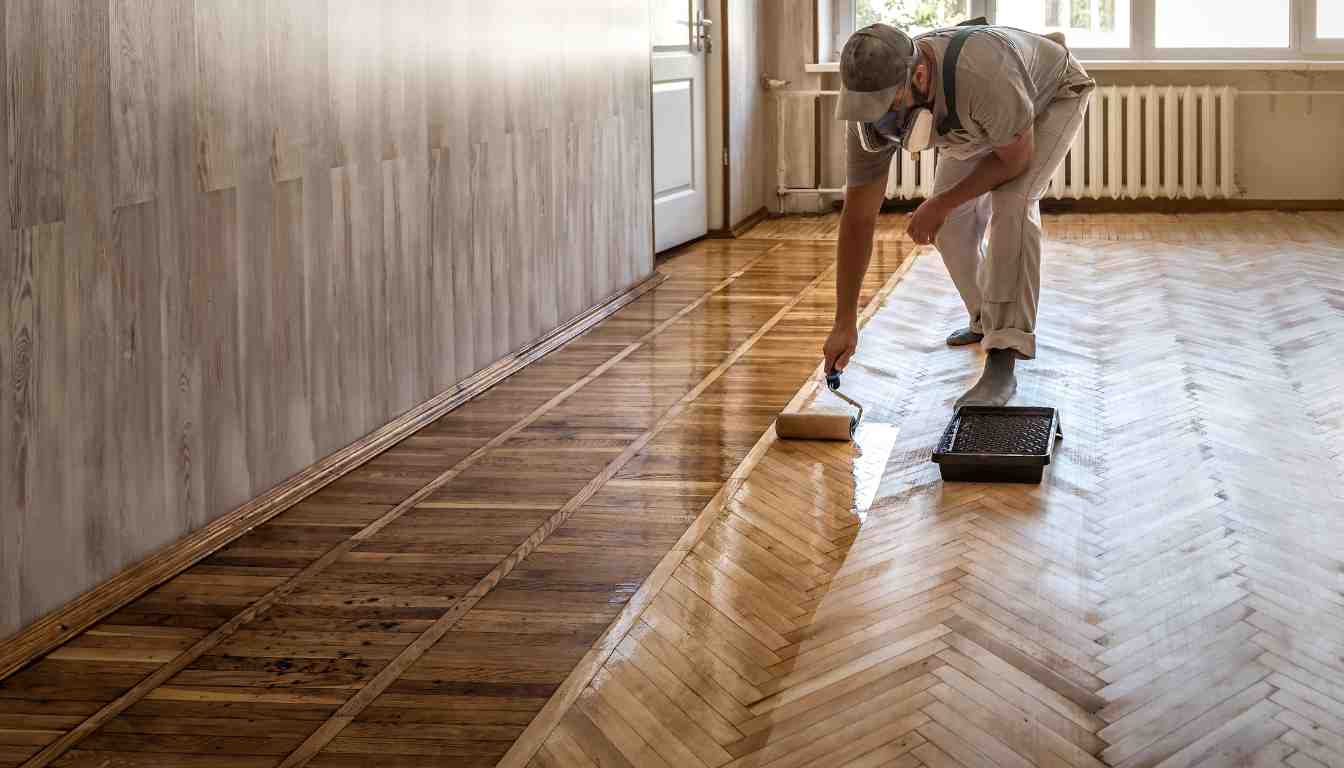
Once the water-drop test and visual check point to sanding, a drum sander strips the floor to bare wood in a set grit sequence, then stain and several coats of finish rebuild the surface. Our full refinishing guide covers the grit sequence, dry times, and a real DIY-vs-professional cost breakdown.
Repairing Deep Stains
Dark water or pet-stain rings that have soaked into the wood grain often survive a standard sanding pass. A wood-bleach treatment before staining, or replacing the affected boards outright, are the two realistic fixes — sanding alone rarely lifts a stain that’s penetrated below the surface fibers.
When to Hire a Pro Instead of DIY
A rental drum sander is unforgiving: dwelling in one spot for even a few extra seconds burns a visible dark ring into the wood that sanding again — and losing more of the wear layer — is the only fix. Multiple rooms, engineered floors with a thin wear layer, or a first-time sander are all good reasons to hire out rather than risk it.
“The #1 DIY refinishing mistake we see is lingering too long in one spot with the drum sander — it burns a dark ring into the wood that no amount of stain fully hides. Keeping the sander moving at a steady walking pace is what separates a clean refinish from a patchy one.”
Professionals also carry dust-containment systems that a rented sander doesn’t, which matters if the room connects to the rest of a lived-in house.
Maintaining Restored Wood Floors
Regular Cleaning Routine
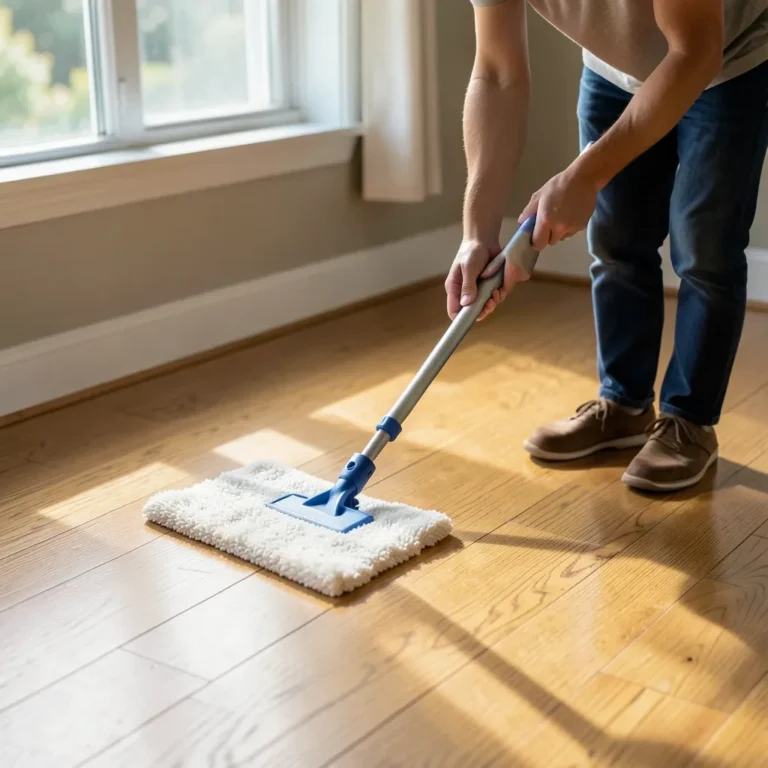
Sweep or dust-mop a few times a week and damp-mop with a wood-safe cleaner every one to two weeks. Skipping regular dusting is what lets grit grind into the new finish and shortens how long a recoat lasts.
Preventative Measures
- Felt pads under furniture legs, replaced when they wear flat.
- A doormat at every exterior entry to catch grit before it reaches the floor.
- Trimmed pet nails and window blinds or curtains to limit direct UV exposure on one patch of floor.
Frequently Asked Questions
How can I restore my wood floors?
Run the water-drop test first. If water beads, deep-clean and apply a one-coat restorer. If it soaks in, or you see cupping or warping, sand down to bare wood and refinish with a new stain and sealer.
What’s the difference between refinishing and recoating a wood floor?
Recoating cleans, lightly buffs, and adds a new topcoat over the existing finish — it takes about 1–2 days and only works when the wood itself isn’t exposed. Refinishing sands down to bare wood first, which takes longer (3–5 days) but fixes deep scratches and wear-through spots a recoat can’t touch.
Can I restore my wood floors myself, or should I hire a professional?
A recoat or minor scratch repair is realistic as a DIY project. Full sanding is DIY-possible with a rented drum sander, but the margin for error — burn marks, uneven sanding — is high enough that multi-room jobs or engineered floors with a thin wear layer are usually worth hiring out.
How long does wood floor restoration last?
A recoat typically holds up 1–3 years depending on foot traffic before it needs redoing. A full sand-and-refinish on solid hardwood generally lasts 7–10 years with normal maintenance before it needs sanding again.
What are the benefits of restoring wood floors?
Restoration removes scratches, stains, and dulled finish, which improves both appearance and resale value compared to replacement — and keeps the original wood in place instead of sending it to a landfill.
Conclusion
The water-drop test takes less time than reading this sentence, and it’s the difference between a $20 recoat and an unnecessary multi-day sanding job. Start there, match the method to what the floor actually needs, and use the wood flooring care and repair hub for the full range of cleaning, repair, and installation guides once your floors are back in shape.
Sponsored / affiliate links. As an Amazon Associate I earn from qualifying purchases. I may earn additional commission from eligible campaigns.