Can You Put a Floating Wood Floor Over Tile? Yes, and Here Is How
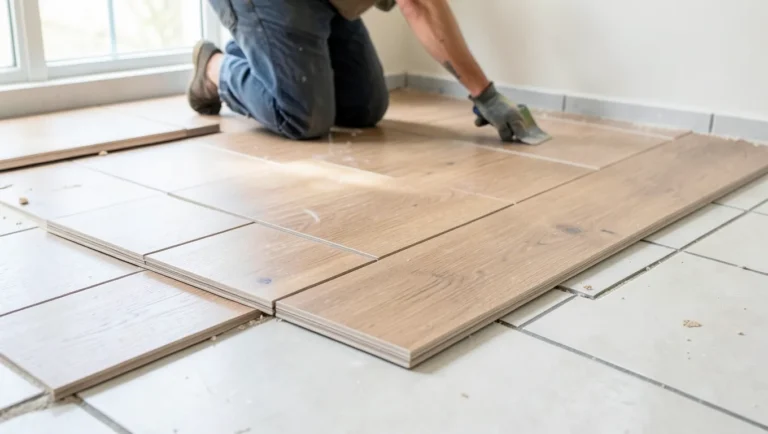
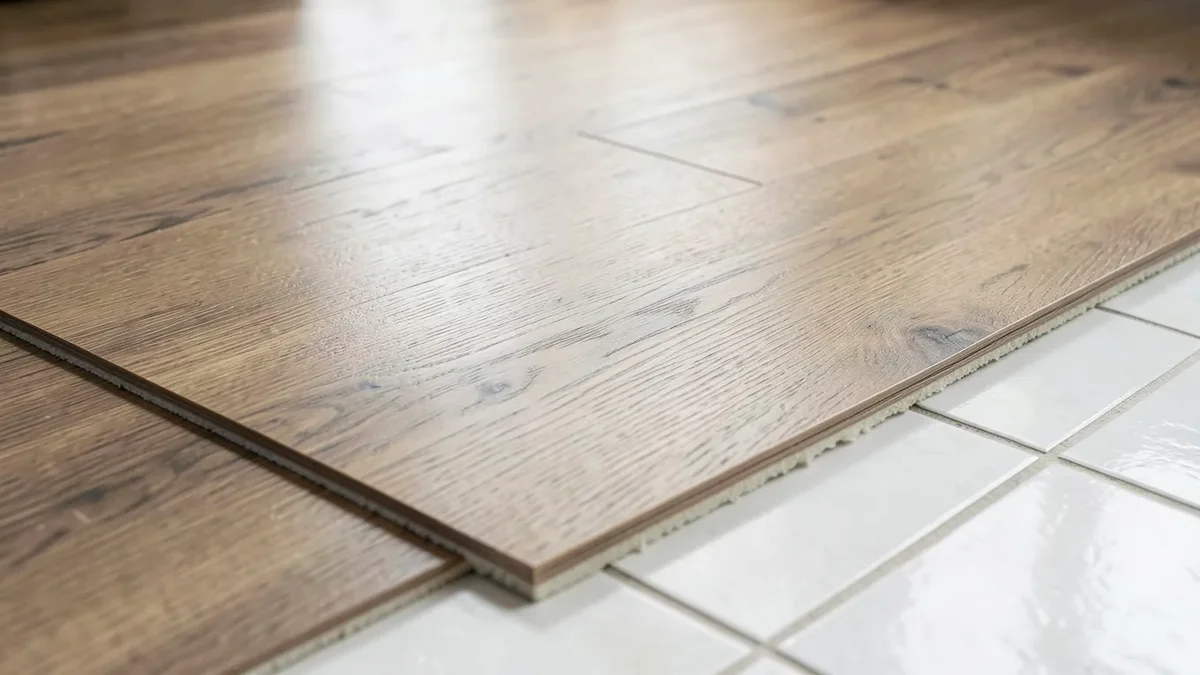
Yes, and it’s the one wood flooring type that works over tile without much fuss, because a floating floor never has to bond to the tile at all. The planks click together into one connected surface that simply rests on top of the existing floor, which sidesteps the biggest problem with nailing or gluing hardwood over tile. The tile still has to be flat, sound, and dry enough to build on, but you’re not fighting the tile itself the way you would with a fastened floor.
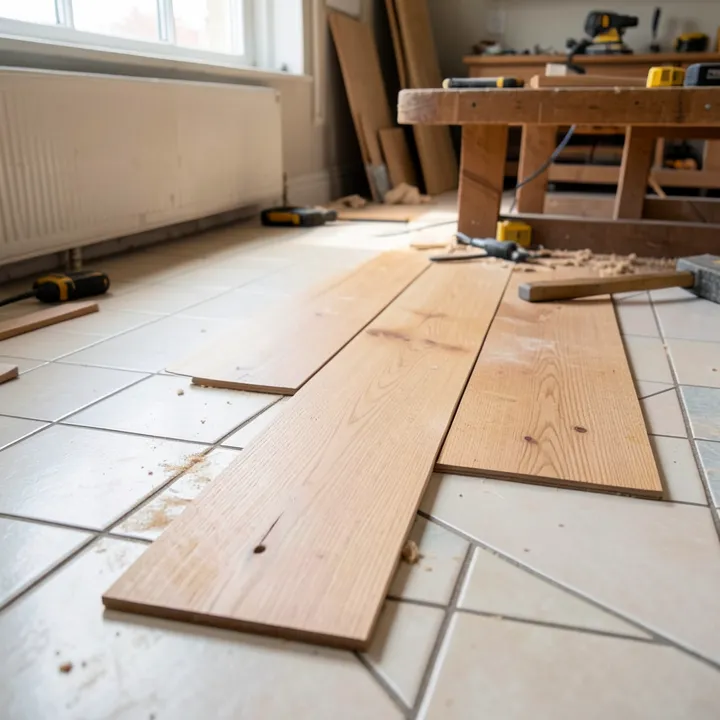
If you’re weighing floating engineered wood against nailing or gluing hardwood directly to tile, our broader guide to laying wood flooring over tile safely compares all three methods side by side. This guide goes deep on the floating-specific process: checking the tile, prepping it, and installing click-lock flooring correctly.
Check the Tile Before You Buy Flooring
Underlayment For Over Tile
 |
PRODURA 3-in-1 Underlayment, 200 sq ft – $63.99 Tile grout lines create tiny recesses that can flex under a floating floor’s click joints over time; a combined foam-and-vapor-barrier underlayment bridges that in one layer instead of two.
|
Three things determine whether your tile is ready to build on, and all three should be checked before you buy a single box of flooring:
- Flatness. Run a long level or straightedge across the floor in several directions. Manufacturers typically require the surface stay within about 3/16″ of flat over a 10-foot span (check your specific flooring’s spec sheet). A grout line that sits proud, or a tile that’s cracked and sitting slightly higher than its neighbors, is enough to create a hollow spot or a clicking joint over time.
- Soundness. Tap across the tile and listen for hollow spots, and check for any tiles that rock or shift underfoot. Loose tiles need to be reset or replaced—a floating floor doesn’t fix a substrate problem, it just sits on top of it.
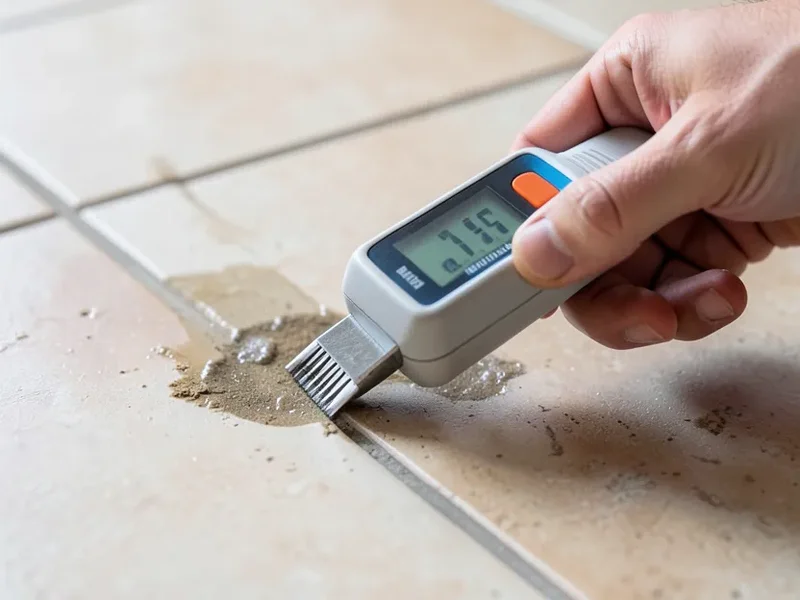
- Moisture. Test with a moisture meter rather than guessing. Most flooring manufacturers want the substrate reading under roughly 3% moisture content (check your product’s installation guide for its specific number), especially over a slab or in a below-grade room where moisture can migrate up through tile and thinset.
Fixing Grout Lines and Repairing Damage
Grout lines are usually the biggest source of unevenness, not the tiles themselves. A self-leveling compound, poured and spread with a trowel, fills grout recesses and minor low spots in one pass; a smaller patch compound handles isolated dips. Replace any cracked or loose tiles rather than leveling over them—a compound skims the surface, it doesn’t fix a tile that’s still moving underneath. Let any compound cure fully per its label before moving on; walking on it too soon can leave dents that telegraph up through the new floor.
Cleaning and Underlayment
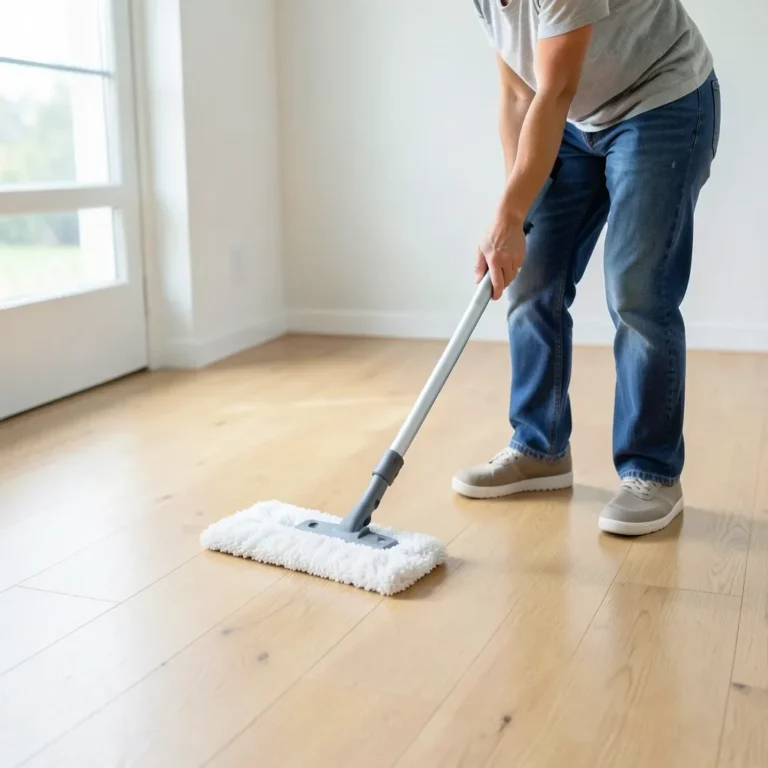
Sweep and vacuum thoroughly, then damp-mop to remove grease and grime—anything left on the tile telegraphs through the underlayment as a hard spot. Scrape off any old adhesive residue rather than flooring over it.
An underlayment isn’t optional over tile the way it might be over a wood subfloor. It cushions the floor, dampens sound, and, if it includes a vapor barrier, blocks moisture that can migrate up through grout lines and thinset from a slab below. Foam, rubber, and cork underlayments all work; the deciding factor is whether the manufacturer’s installation instructions require a vapor barrier for your specific room and subfloor. Roll it out over the cleaned, leveled tile and tape or tack it per the product’s instructions—most modern rolls have a self-sealing overlap edge that removes the guesswork.
Installing the Floor
- Measure and plan the layout. Order about 10% extra to cover waste and cuts, and run the planks parallel to the room’s longest wall in most cases—it visually stretches the space and usually minimizes cutting.
- Leave an expansion gap of about 1/4″ to 1/2″ along every wall (check your product’s spec), since the floor needs room to expand and contract with humidity without pressing against anything solid.
- Start the first row straight. Snap a chalk line along the starting wall and set the first row parallel to it before clicking anything together—every following row inherits any error in this one.
- Click subsequent rows into place, staggering the end joints between rows (commonly at least 6-8 inches) so seams don’t line up and weaken the floor visually or structurally.
- Cut planks to fit around door frames, pipes, and other obstacles with a circular or miter saw, measuring twice before each cut.
- Install transition strips at doorways and where the new floor meets a different flooring type, which also covers the expansion gap at those edges.
- Reinstall base trim or use shoe molding to hide the expansion gap along the walls once the floor is fully in.
When Floating Isn’t the Right Call
A floating floor still needs a genuinely flat, sound base—it doesn’t correct structural problems, just sit on top of a good one. Skip it and address the underlying issue first if the tile is extensively cracked or loose across large areas, if there’s active water intrusion rather than just elevated readings, or if the floor slopes enough that self-leveling compound would need to be prohibitively thick in spots. In those cases, dealing with the substrate (or removing the tile entirely) is cheaper in the long run than fighting it with underlayment and hoping.
Frequently Asked Questions
Can You Put a Floating Wood Floor Over Tile Without Removing It?
Yes, as long as the tile is flat, structurally sound, and within an acceptable moisture range. Removing the tile is only necessary if it’s badly damaged, uneven beyond what leveling compound can fix, or if removing it changes the finished floor height in a way that matters (at doorways, for example).
Do I Need Underlayment Over Tile?
In almost every case, yes. Underlayment cushions the floor, reduces sound transmission, and, with a built-in vapor barrier, blocks moisture from migrating up through grout lines. Check your specific flooring product’s installation instructions, since some engineered products come with underlayment pre-attached and don’t need a separate layer.
How Do I Know if My Tile Floor Is Too Uneven?
Run a long level or straightedge across the floor in multiple directions and measure any gaps underneath it. Most manufacturers specify a maximum variance (often around 3/16″ over 10 feet), so check your flooring’s specific installation guide rather than guessing. Anything beyond that spec needs a leveling compound before installation.
What Expansion Gap Do I Need Around the Edges?
Typically 1/4″ to 1/2″ along every wall and fixed vertical surface, though the exact figure depends on your specific product, room size, and local humidity swings. Always check the manufacturer’s installation guide rather than assuming a universal number, since getting this wrong can cause buckling as the floor expands.
Bottom Line
A floating wood floor works over tile because it never has to bond to it—check flatness, soundness, and moisture first, fix any grout-line dips with a leveling compound, add the right underlayment, then install with a proper expansion gap. Skip straight to installation without those checks, and any flaw in the tile shows up as a squeak, a click-joint that won’t stay closed, or moisture damage months later.
Sponsored / affiliate links. As an Amazon Associate I earn from qualifying purchases. I may earn additional commission from eligible campaigns.