Can You Put Darker Stain Over Lighter Stain? Quick Tips!
Yes, you can put a darker stain over a lighter stain. Ensure the lighter stain is fully cured for the best results.
Choosing the right wood stain can transform your project, enhancing both its beauty and durability. Many homeowners wonder if they can apply a darker stain over a lighter one. This technique can work well, allowing you to achieve a richer tone without stripping the existing color.
However, proper preparation is crucial. The lighter stain must be completely dry, and the surface should be clean and smooth. Testing on a small area first can help you gauge the final color. Understanding these factors ensures a successful application, making your wood surfaces look stunning while maintaining their integrity.
Introduction To Staining Wood
Staining wood changes its color and enhances its beauty. The basics of wood staining involve selecting the right stain for your project. Different wood types absorb stains differently. Lighter stains can sometimes fade over time. A darker stain can refresh and revitalize the wood’s appearance.
Choosing to restain offers several benefits. It can cover up imperfections and scratches. A darker stain often provides a richer, deeper color. This change can make the wood look newer and more attractive. Proper preparation is key to achieving a smooth finish. Always test a small area first.
Consider the environment where the wood will be used. Stains can look different in various lighting. Choose a stain that complements your home decor. This will enhance the overall aesthetic of your space.
Prepping The Wood Surface
Start by cleaning the wood surface. Use a soft cloth to remove dust and dirt. A damp cloth can help lift stubborn stains. Let the wood dry completely before moving on.
Sanding is crucial for better absorption of the darker stain. Use fine-grit sandpaper to smooth the surface. This process opens the wood pores. It allows the stain to penetrate deeply. Make sure to wipe away any dust after sanding.
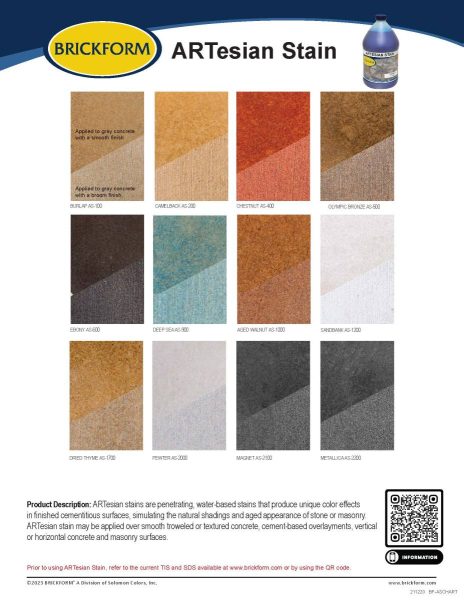
Choosing The Right Stain
Choosing the right stain is key for a beautiful finish. Different types of wood stains exist. They include oil-based, water-based, and gel stains.
Oil-based stains provide rich color and durability. Water-based stains dry quickly and are easy to clean. Gel stains work well on vertical surfaces.
Matching stains with wood types ensures a perfect look. For pine, lighter stains enhance its natural beauty. On oak, darker stains highlight its grain.
Maple takes on stains well, but choose carefully for desired effects. Mahogany looks stunning with deep, rich colors. Each wood type reacts differently to stains.
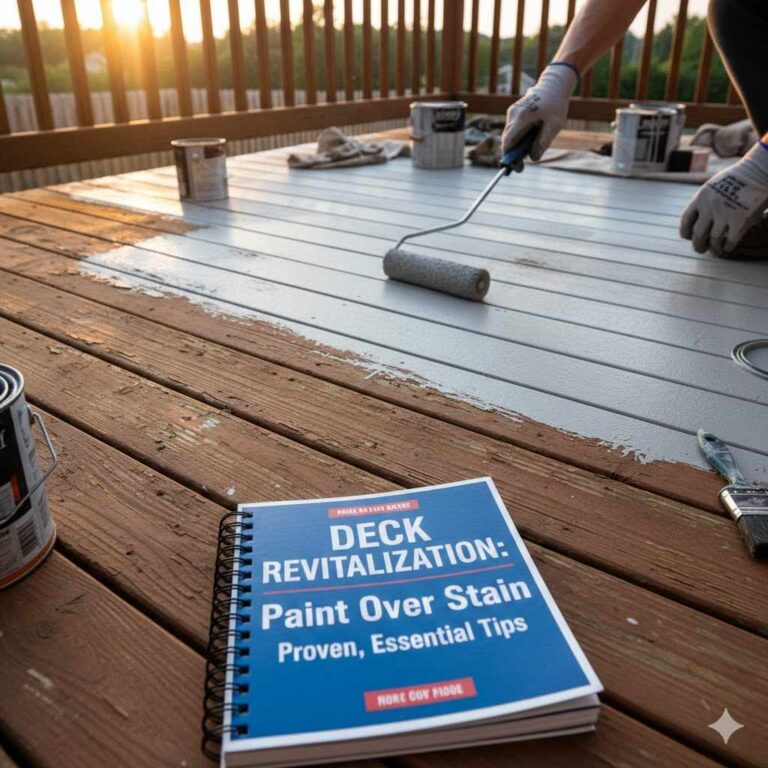
Applying Darker Stain Over Lighter Stain
Applying a darker stain over a lighter stain can be done successfully. Follow these simple steps:
- Clean the surface well. Remove dust and dirt.
- Sand the wood lightly. This helps the new stain stick.
- Test the dark stain on a small area first. Check the color.
- Apply the darker stain using a brush or cloth. Use even strokes.
- Wipe off excess stain after a few minutes. This gives a nice finish.
For an even application, keep these tips in mind:
- Work in small sections to avoid streaks.
- Use a high-quality brush for better results.
- Stir the stain well before use to mix colors.
Common Mistakes To Avoid
Over-sanding the wood can damage the surface. This mistake removes the wood’s natural finish. It can lead to uneven stain absorption. Always sand lightly to prepare the wood.
Skipping wood prep is another common error. Proper preparation helps the stain adhere better. Clean the surface to remove dust and dirt. Use a wood conditioner for even results.
The Drying And Curing Process
The drying and curing process is crucial for wood stains. Expected drying times vary based on several factors. Most lighter stains dry faster than darker ones. Usually, lighter stains take 1 to 2 hours to dry. Darker stains may need 3 to 6 hours.
Many factors affect curing. These include temperature, humidity, and wood type. Warmer temperatures speed up drying. High humidity can slow it down. Different wood types absorb stains differently. Always check the manufacturer’s instructions for best results.
Achieving The Perfect Finish
Applying a darker stain over a lighter stain can be tricky. It’s essential to choose the right top coats for the best results. Use a high-quality finish that enhances the color. This ensures that the wood remains protected and looks beautiful.
Buffing is crucial for a smooth finish. Start with a fine-grit sandpaper. Lightly sand the surface in a circular motion. This helps to remove imperfections and prepares the wood for staining. After sanding, clean the surface to remove dust. A clean surface ensures better adhesion.
| Steps for Buffing | Description |
|---|---|
| 1. Sanding | Use fine-grit sandpaper for a smooth texture. |
| 2. Cleaning | Remove all dust and debris from the surface. |
| 3. Staining | Apply the darker stain evenly for a rich look. |
Maintenance And Upkeep
Regular cleaning is essential for maintaining stained surfaces. Start by using a soft cloth or mop. Avoid harsh cleaners that can damage the finish. A gentle soap and water solution works well.
Wipe up spills immediately to prevent stains from setting. Dust surfaces regularly to keep them looking fresh. Check for signs of wear and tear, especially in high-traffic areas.
Reapplying stain may be necessary every few years. Look for areas that appear faded or worn. A fresh coat can enhance the color and protect the wood.
Consider the type of stain used. Some stains last longer than others. Always follow the manufacturer’s instructions for the best results.
Frequently Asked Questions
Can You Stain Over A Lighter Wood Stain?
Yes, you can stain over a lighter wood stain. However, it’s essential to ensure the surface is clean and dry. Darker stains will generally cover lighter ones effectively, but the final color may vary based on the wood type and previous stain.
Test on a small area first for best results.
What Happens If You Apply Dark Stain Over Light?
Applying a dark stain over a light one can create a rich, deep color. However, the original lighter stain may still show through. This can lead to unexpected color variations. Always do a sample test to see how the final shade turns out before committing to the entire surface.
How Do You Prepare Wood For Darker Stain?
To prepare wood for a darker stain, start by cleaning the surface thoroughly. Sanding the wood helps remove the old stain and opens the grain. Ensure the surface is completely dry before applying the new stain. This preparation ensures even absorption and enhances the richness of the darker color.
Can You Mix Stains For A Custom Color?
Yes, mixing stains can create a custom color. Combine a darker stain with a lighter one to achieve your desired shade. Ensure you mix them thoroughly for uniformity. Always test the mixed stain on a small area first to see how it reacts with the wood.
Conclusion
Choosing a darker stain over a lighter one can transform your wood surfaces dramatically. It’s essential to prepare properly for the best results. Test your stain on a small area first to ensure compatibility. With the right technique, you can achieve a rich, beautiful finish that enhances your space.
Happy staining!