Can You Stain Over Shellac? It Depends on the Wax
Yes, but the real deciding factor isn’t cure time – it’s whether the shellac is waxed or dewaxed. Dewaxed shellac accepts stain and topcoats with just a light scuff-sand. Standard waxed shellac (the kind in most cans, including Zinsser Bulls Eye Clear and Amber) has natural wax in it that blocks adhesion no matter how long you wait or how well you sand, unless you seal over it first.
Waxed vs. Dewaxed: The Factor That Actually Matters
THE FIX FOR AN UNKNOWN OR WAXED SHELLAC FINISH
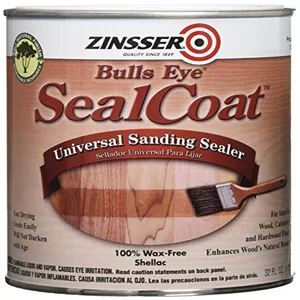 |
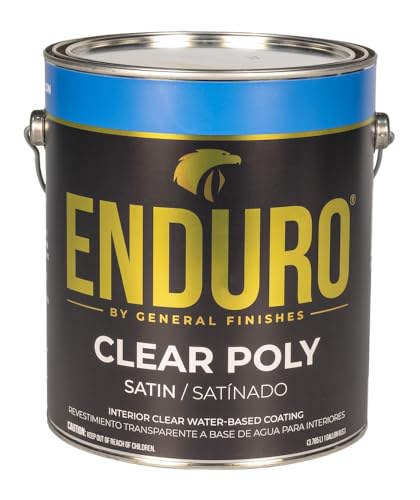
Zinsser SealCoat – $21.99 This is dewaxed shellac by formulation, which is exactly why it’s marketed as a “universal” sealer – it bonds to old finishes and accepts new ones over it.
|
Shellac flakes come off the lac bug with natural wax still in them. Most off-the-shelf liquid shellac, including standard Zinsser Bulls Eye Clear and Amber, keeps that wax. Dewaxed shellac (Zinsser’s own SealCoat, or wax-free flakes dissolved yourself) has it filtered out. That one difference determines whether anything sticks to it afterward: dewaxed shellac is compatible with virtually every stain, paint, and topcoat, while wax-containing shellac can cause peeling, fish-eye, or a stain that never really bonds, regardless of how long it cured.
If you don’t know which type is already on the piece – a common situation with older furniture or an unknown finish – you don’t have to strip it to find out. A coat of dewaxed shellac brushed or wiped over the existing finish seals in whatever wax is there and gives you a fresh, universally compatible surface to stain over. This is the actual professional fix for “unknown old finish, need to restain,” not just sanding and hoping.
How to Tell What You Have
- Check the can: Zinsser Bulls Eye Clear and Amber are waxed. Zinsser SealCoat is dewaxed. If it’s an unlabeled can of flakes, waxed flakes look slightly cloudier and won’t fully dissolve clear in denatured alcohol; dewaxed (super blonde) flakes dissolve to a clean, clear liquid.
- Unknown old finish: If you can’t confirm what’s on a piece, treat it as waxed and seal it with a coat of dewaxed shellac (like SealCoat) before staining – it’s a five-minute step that removes the guesswork entirely.
Cure Time: What’s Actually True
Shellac dries fast compared to most finishes – dry to the touch in 15-30 minutes, recoatable within an hour or two. But “dry” and “fully cured and hard enough to sand and stain” aren’t the same thing. Give it a full 24 hours minimum before scuff-sanding and staining, longer (up to 48 hours) in humid or cool conditions. You can check by pressing a fingernail into an inconspicuous spot – if it dents or feels tacky, it needs more time.
Step-by-Step: Staining Over Shellac
- Confirm or create a dewaxed surface. If the existing shellac is waxed or unknown, brush on a thin coat of dewaxed shellac (SealCoat) and let it cure 24 hours.
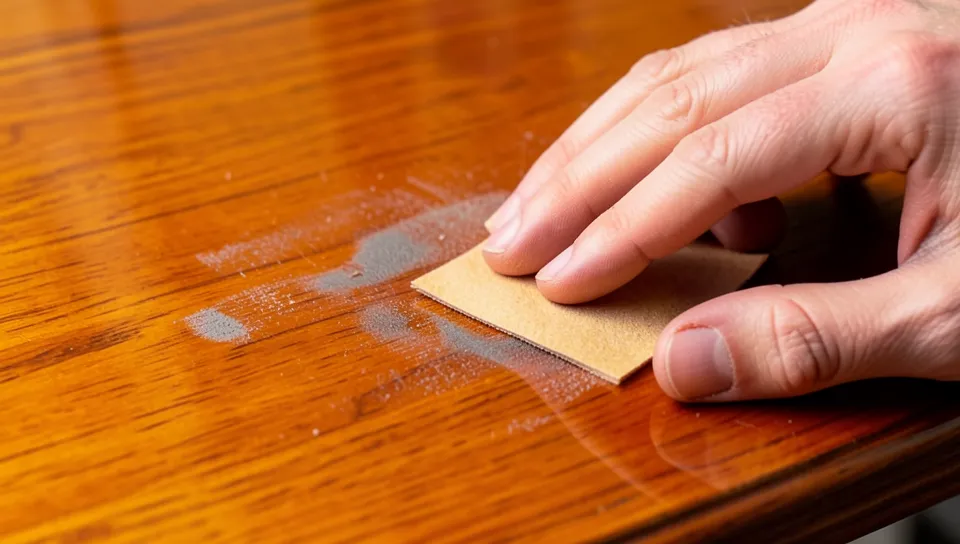
- Scuff-sand with 220-320 grit. This isn’t about removing the shellac – it’s about giving the stain something to mechanically grip, since a smooth film has nothing for stain pigment to hold onto otherwise. Sand until the sheen dulls evenly, then wipe with a tack cloth.
- Test in a hidden spot first. Apply your chosen stain to an inconspicuous area and let it sit the full recommended time – shellac underneath will change how a color reads compared to bare wood.
- Choose oil-based stain when possible. Oil-based stains bond more predictably over a scuff-sanded shellac film. Water-based stains can bead or sit unevenly on the glossy surface if the scuff-sanding wasn’t thorough enough – they’re not chemically incompatible, they just need more mechanical tooth to grip.
- Apply thin coats, wipe excess promptly. Shellac’s non-porous film won’t absorb stain the way bare wood does, so excess sitting too long can stay tacky or streak.
- Reseal with a compatible topcoat once the stain has dried fully – another coat of dewaxed shellac, or a compatible oil/water-based topcoat, locks the color in.
Common Problems and What Actually Causes Them
- Stain won’t take at all / beads up: Almost always waxed shellac without a dewaxed sealer coat first, not a cure-time issue.
- Blotchy, uneven color: Usually uneven scuff-sanding – some spots got more mechanical grip than others. Sand more evenly and re-test.
- Finish stays tacky after staining: Either the underlying shellac wasn’t fully cured before staining, or excess stain wasn’t wiped off in time.
- New topcoat looks cloudy or wrinkled: Check that the topcoat is chemically compatible – an alcohol-based product applied over an oil-based stain that hasn’t fully cured can react.
Frequently Asked Questions
Can you apply stain over shellac?
Yes, as long as the shellac is dewaxed (or sealed with a coat of dewaxed shellac first) and fully cured. Standard waxed shellac blocks adhesion regardless of cure time or sanding.
What type of stain works best over shellac?
Oil-based stains bond most predictably over a scuff-sanded shellac film. Water-based stains can work too, but need thorough scuff-sanding for mechanical grip since they don’t penetrate the film the way they would bare wood.
Do I need to sand shellac before staining?
Yes. Scuff-sanding with 220-320 grit gives the stain mechanical grip on shellac’s smooth film, which has no texture for pigment to hold onto otherwise. This matters even on dewaxed shellac.
How long should shellac dry before staining?
At least 24 hours, longer in humid or cool conditions. Shellac feels dry to the touch within 30 minutes, but that’s not the same as being cured hard enough to sand and stain without gumming up.
Bottom Line
Cure time matters, but wax content is what actually decides whether stain will bond to shellac. Confirm or create a dewaxed surface, scuff-sand for mechanical grip, and test in a hidden spot before committing to the whole piece. Skip the wax question and even a perfectly cured shellac finish can leave you with a stain that never really takes.
Sponsored / affiliate links. As an Amazon Associate I earn from qualifying purchases. I may earn additional commission from eligible campaigns.