Get Wood Grain to Show Through Stain (Raise the Grain First)
Wood grain shows through stain when you raise the grain with water before sanding and choose a transparent or semi-transparent stain — skip that step and oak, pine, and maple often blotch instead of glowing. Missing it is the most common reason a stain job looks flat. This guide covers raising the grain, picking a pre-stain conditioner, and the wipe-back technique for extra depth.
Choosing The Right Wood
Best Pre-Stain Conditioner Pick
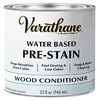
Varathane Pre-Stain Wood Conditioner – $18.29
Apply this right after the raise-and-resand step above, before your first coat of stain — it’s the water-based option this guide’s prep sequence is built around.
- Best for: pine, birch, and other porous softwoods prone to blotching
- Why we picked it: water-based, fast-drying, and matched to the water-raised-grain prep above
- Main drawback: only formulated for water-based stains, not oil-based ones
Compare more pre-stain prep options
 Option 1 Furniture Clinic Pre-Stain Conditioner – $11.95
|
 Option 2 General Finishes Oil-Based Conditioner – $49.95
|
 Option 3 Dura-Gold Sandpaper Variety Pack – $11.99
|
As an Amazon Associate we earn from qualifying purchases.
Some species show grain more dramatically than others once stain hits the surface:
- Oak: deep, prominent open grain that soaks up stain unevenly if you skip conditioning.
- Maple: tight, subtle grain — needs a lighter stain and a gentle hand to avoid blotching.
- Cherry: fine grain with warm natural color that darkens on its own over time.
- Pine: soft, porous, budget-friendly, but the most prone to blotching without a pre-stain conditioner.
Sand bare wood smooth before you do anything else, always working with the grain direction, not across it.
Selecting Your Stain
The stain base and transparency you pick decide how much grain actually shows once it dries.
| Stain Type | Grain Visibility | Best For |
|---|---|---|
| Transparent (dye/gel) | Highest — grain shows clearly | Oak, ash, open-grain hardwoods |
| Semi-transparent | Moderate — color plus visible grain | Maple, birch, most furniture projects |
| Oil-based pigmented | Good — pigment settles into pores | Pine, cherry, general use |
| Solid/opaque | Lowest — grain mostly hidden | Damaged or mismatched wood you want to cover |
Oil-based stains penetrate deeper and tend to pull more grain detail out of open-pore woods like oak. Water-based stains dry faster, clean up with soap and water, and have far less odor — a fair trade if you’re working indoors.
Prepare The Wood — And Raise The Grain First
Clean the wood with a damp cloth and let it dry fully before sanding. This is also the step most guides skip: raising the grain before you stain, not just sanding it.
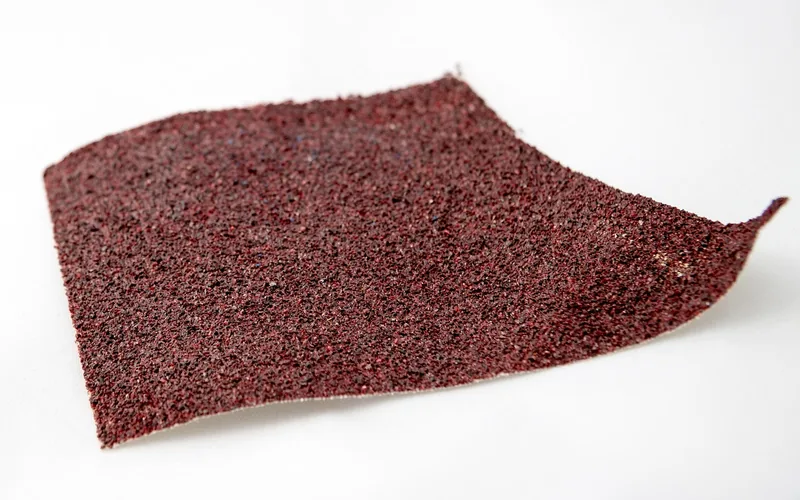
- Sand with the grain: Sand bare wood in the direction of the grain, starting at 120-grit and finishing at 220-grit.
- Raise the grain: Wipe the sanded surface with a water-dampened rag and let it air-dry for 20–30 minutes so the wood fibers swell and stand up.
- Knock down the fuzz: Lightly re-sand with 220-grit, sanding with the grain only, until the surface feels smooth again.
- Condition before staining: Apply a pre-stain wood conditioner to bare, porous woods like pine or birch and let it penetrate before your first coat of stain.
Skipping the raise-and-resand step is why stain sometimes looks fine on a test scrap but turns fuzzy or uneven on the real project — water from a wiped-on stain raises the same fibers the dry test scrap never showed you.
📊 Minwax recommends starting with #120 medium-grit sandpaper and finishing with #220 fine-grit before staining, always sanding in the direction of the grain — Source: Minwax Wood Staining Tips
“In my shop, skipping the grain-raise step is the number one reason a stain job looks flat on oak or pine — the fuzzy fibers you sand off before staining are exactly what causes blotchy, uneven color if you leave them in place.”
Applying The Stain
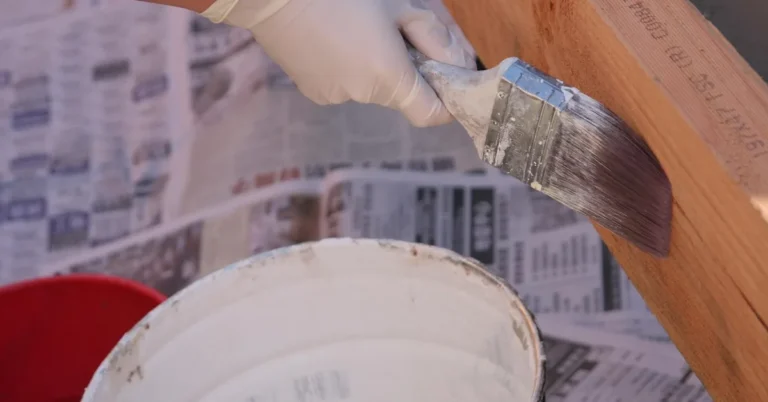
Gather a brush or lint-free cloth, rags, and protective gloves before you start.
| Tool | Purpose |
|---|---|
| Sandpaper (120–220 grit) | Prepares and re-smooths the wood surface |
| Stain brush or foam applicator | Applies the stain evenly |
| Clean rags | Wipes off excess stain before it dries on the surface |
| Protective gloves | Keeps stain off your hands |
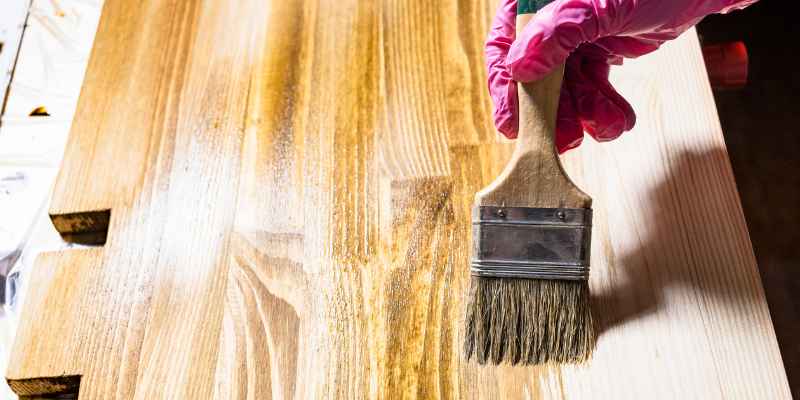
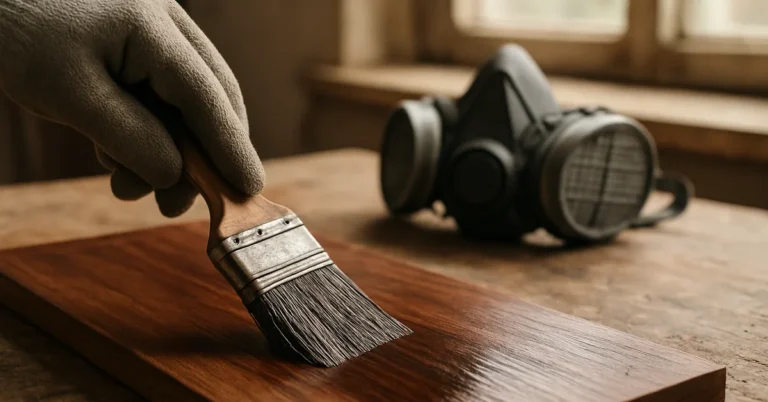
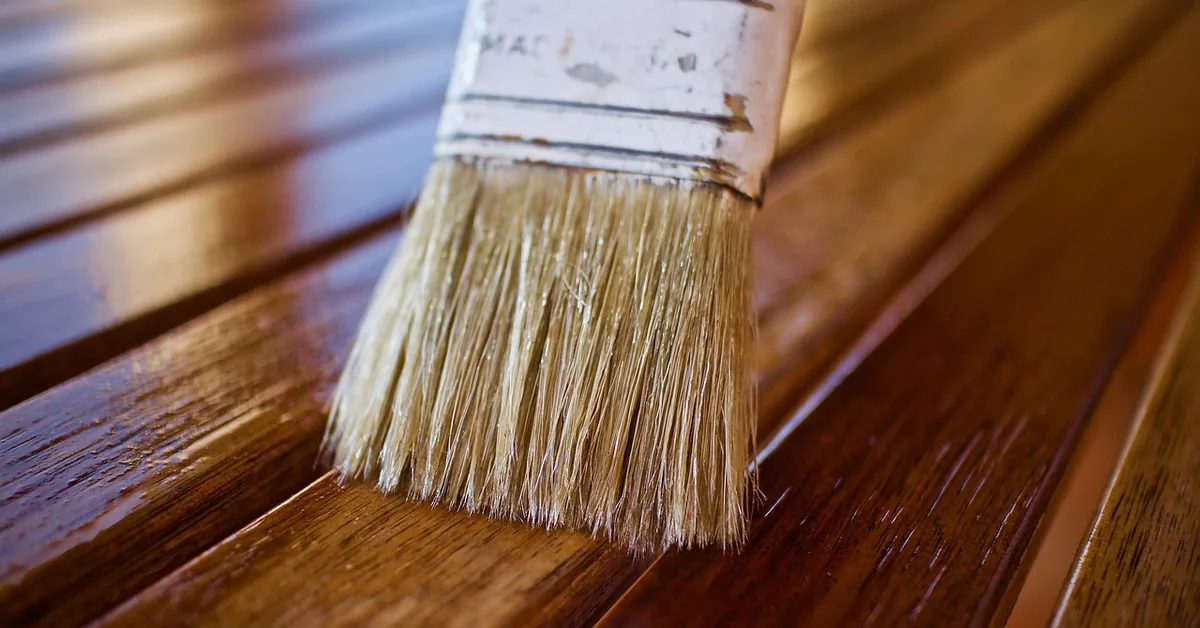
Apply the stain in thin layers, working with the grain, and let it penetrate for a few minutes before wiping off the excess with a clean rag. Repeat until you reach the color depth you want — more thin coats beat one heavy one for even grain visibility.
Enhancing The Grain
Wet sanding after the first coat has dried can bring out more depth: use fine sandpaper (400-grit or finer) dampened slightly, which opens the pores further without scratching the surface.
Grain fillers also make the pattern stand out more. They fill in the gaps in open-grain woods like oak, so the remaining grain lines read as sharper contrast against the filled areas. Match the filler to the wood tone, apply with a putty knife, wipe off the excess, and let it dry fully before staining over it.
For extra contrast, try the wipe-back technique: apply a slightly heavier coat of stain, let it sit for 5–10 minutes, then use a scraper or a fine sanding block to lightly remove stain from the raised surface only. The stain that stays behind in the open pores keeps the grain pattern crisp instead of muddy.
Finishing Touches
Sealing protects the color and the grain you just brought out. Choose a polyurethane or varnish topcoat and apply a thin, even layer once the stain has dried completely — a sealant applied over wet stain will trap moisture and cloud the finish.
| Maintenance Task | Frequency |
|---|---|
| Wipe with a damp cloth | Monthly |
| Reapply sealant/topcoat | Every 2–3 years |
Troubleshooting Common Issues
Stain not penetrating: usually means the wood is too dry or the stain is too thick for the pores. A pre-stain conditioner or a lighter, more transparent stain fixes most cases.
Uneven color and patchiness: almost always comes from applying too much stain in one spot, or skipping the raise-and-resand step above. Wipe off excess evenly and always work with the grain, not across it.
Frequently Asked Questions
How Do I Prepare Wood For Staining?
Sand the surface with 120-grit, then 220-grit sandpaper, working with the grain. Clean off dust, then raise the grain with a water-dampened rag, let it dry 20–30 minutes, and lightly resand. Pre-conditioning porous wood with a wood conditioner afterward helps the stain absorb evenly and shows the grain more clearly.
What Type Of Stain Shows Wood Grain Best?
Transparent and semi-transparent stains show grain best because they let light through the pigment instead of covering it. Oil-based stains penetrate deeper and pull out more grain detail on open-pore woods like oak; water-based stains dry faster and have less odor. Always test on a scrap piece first.
How Can I Enhance Wood Grain After Staining?
Apply a clear topcoat like polyurethane or varnish once the stain is fully dry — it adds depth and shine without hiding the pattern. The wipe-back technique (applying a heavier coat, then scraping the raised surface) also keeps grain lines crisp.
Can I Stain Over Painted Wood To Show Grain?
Not effectively if the paint is opaque — it blocks the grain entirely. You need to strip the paint down to bare wood first. Once the surface is bare, sand, raise the grain, and stain as normal to reveal the pattern beneath.
Does Wetting Wood Before Staining Help The Grain Show More?
Yes — wetting bare wood with a damp rag raises the grain fibers so you can sand them flat before staining, instead of after. Skip this step and those same fibers rise when a water-based stain wets the wood, leaving a slightly fuzzy, uneven surface that reads as blotchy color.
What Grit Sandpaper Should I Use Before Staining For The Best Grain Visibility?
Start with 120-grit to smooth the raw surface, then finish with 220-grit before your first coat — the progression Minwax recommends for showing grain clearly. Going much finer than 220-grit can burnish the wood and make it resist stain absorption instead of helping it.
Conclusion
Getting wood grain to show through stain comes down to prep, not the stain itself: raise the grain, sand it flat again, condition porous wood, then apply thin coats and wipe back for extra depth. Skip the raise-and-resand step and even the right stain will look flatter than it should.
Sponsored / affiliate links. As an Amazon Associate I earn from qualifying purchases. I may earn additional commission from eligible campaigns.