Can You Stain Pine? Why It Blotches and How to Fix It
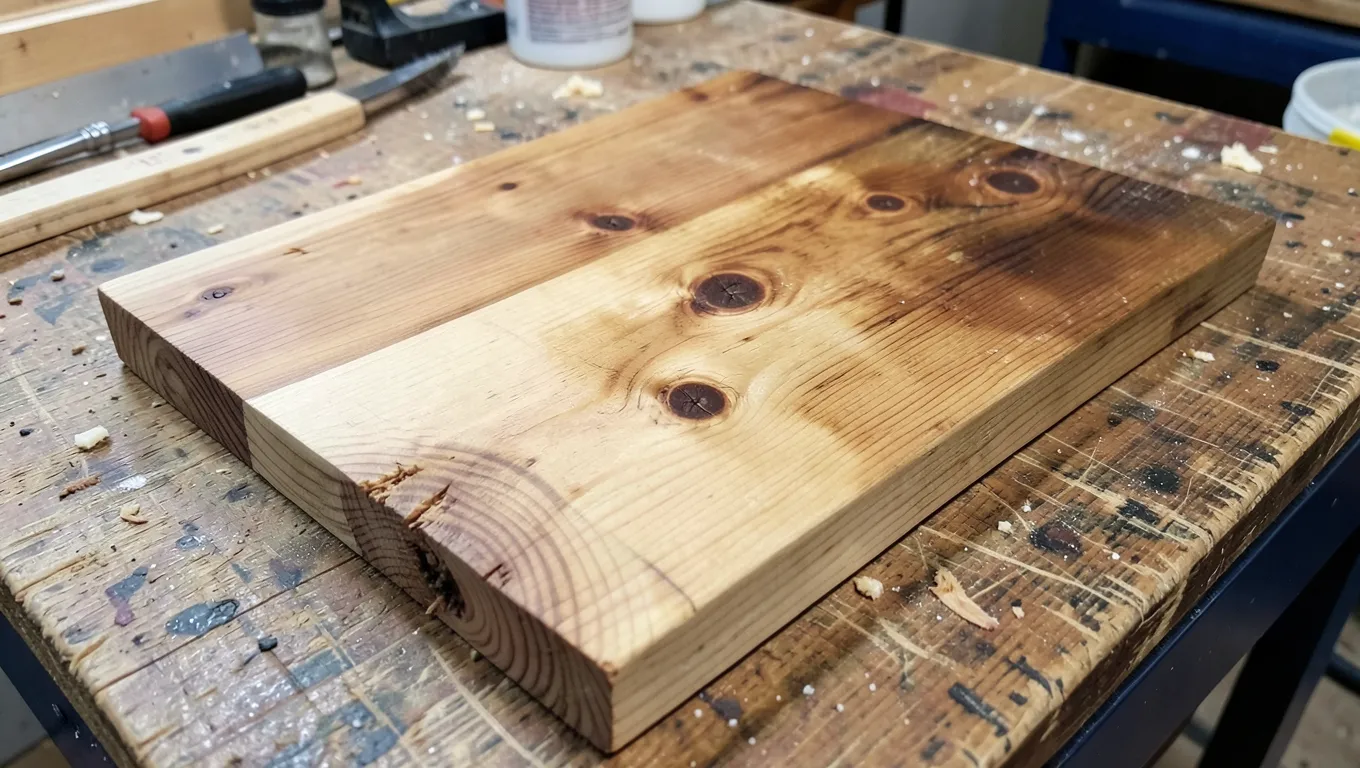
Yes, you can stain pine — but pine is also the wood most likely to turn a stain project into a blotchy, disappointing mess if you skip the prep step almost every stain-can label buries in small print. The wood itself is the problem, not the stain, and there’s a specific reason why.
Why Pine Blotches When Other Woods Don’t
Best Fix For Blotchy Pine
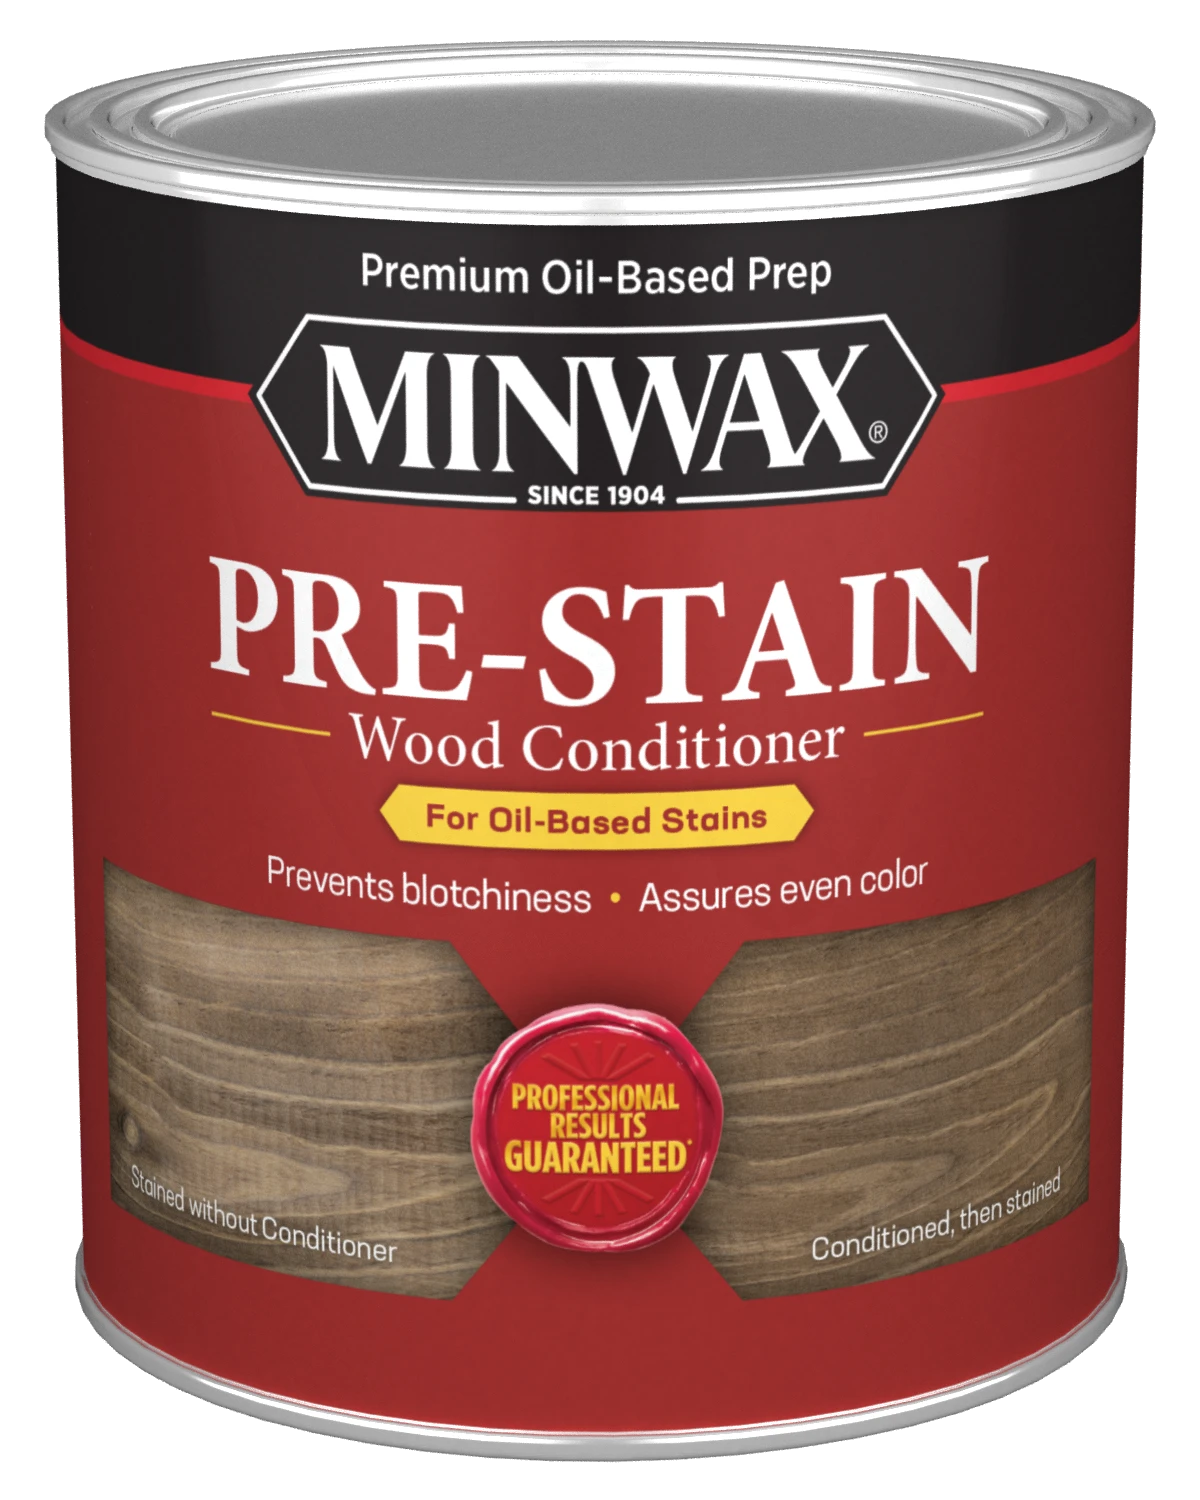 |
Minwax Pre-Stain Wood Conditioner – $19 Seals pine’s soft, porous grain before staining so it doesn’t soak up dramatically more color than the denser grain right next to it.
|
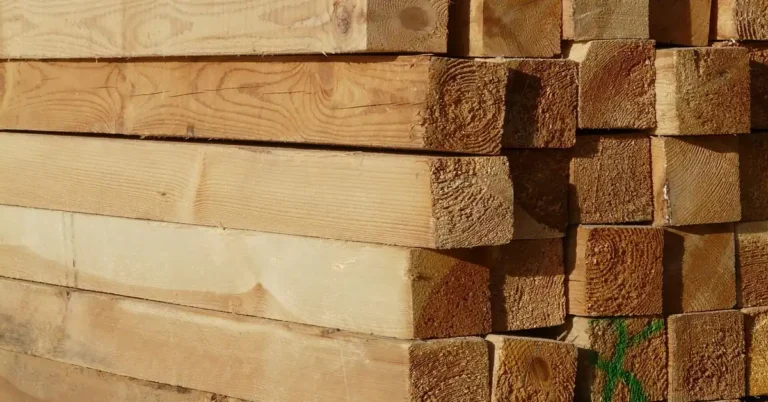
Pine’s growth rings alternate between soft, porous earlywood and dense, tight latewood. Stain is absorbed by capillary action into open wood cells — so the soft, porous sections soak up far more stain than the dense sections sitting right next to them. On a tight-grained hardwood like maple or cherry, that density difference is small enough to barely matter. On pine, it’s dramatic enough to create dark, uneven blotches that have nothing to do with how carefully the stain was applied.
This is also why two pieces of pine from the same board can stain differently — the ring pattern exposed on the surface varies board to board, which is exactly why testing on a scrap piece from the same batch of wood (not just “a scrap of pine”) matters more on this species than almost any other.
The Fix: Condition the Wood Before You Stain It
A pre-stain wood conditioner is a thinned sealer that partially fills pine’s more porous cells before the stain goes on, evening out how much color each area of the board can absorb. It doesn’t eliminate all color variation — pine will still show more character than a hardwood — but it’s the difference between natural grain variation and dark, patchy blotches.
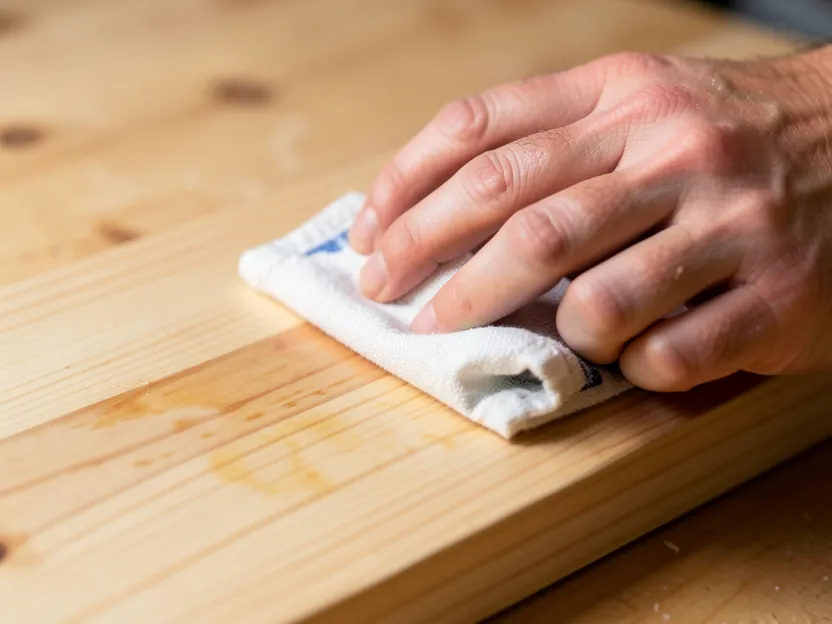
Apply the conditioner, wait the time the label specifies (typically 5–15 minutes, not longer — over-drying reduces its effect), then stain within the conditioner’s working window, usually within about two hours. Skipping straight from raw pine to stain is the single most common cause of the blotchy pine finish people search the internet trying to fix after the fact.
A diluted dewaxed shellac wash coat works as an alternative to a bottled pre-stain conditioner and gives some woodworkers more predictable, repeatable results — it’s a slightly more advanced technique but worth knowing if a project’s pre-stain conditioner still leaves blotching on a particular batch of pine.
Sand to the Right Grit, Not the Finest One
More sanding isn’t automatically better before staining. Progress through the grits without skipping steps (100 or 120, then 150, then 180 or 220), and stop there. Sanding pine past roughly 220 grit burnishes and partially closes the wood’s surface pores, which reduces and unevens out stain absorption — the opposite of the smooth, even result the extra sanding was meant to achieve. Save the finer grits (320+) for between coats of finish, not for prepping bare wood before stain.
Gel Stain: The Lower-Risk Option for Pine
Gel stains behave differently from traditional penetrating liquid stains — instead of soaking into the wood at whatever rate each area’s density allows, a gel stain sits more on the surface and colors more uniformly across dense and porous sections alike. It’s a genuinely lower-risk choice on pine specifically, at the tradeoff of showing less of the wood’s natural grain depth than a well-conditioned penetrating stain does. For a first pine project, or a piece where an even, predictable result matters more than maximum grain depth, gel stain is worth considering over a standard liquid stain.
Don’t Forget the Knots
Pine’s knots contain concentrated resin that can bleed through a finish months or years after a project looks finished, showing up as a sticky or discolored spot around the knot. A dab of shellac-based sealer directly over each knot before staining blocks that resin the same way a stain-blocking primer blocks tannin bleed-through on painted plywood — a small extra step that prevents a problem that otherwise shows up long after the project is done.
Frequently Asked Questions
Why does pine look blotchy after staining?
Pine’s growth rings alternate between soft, porous wood and dense, tight wood. The porous sections absorb far more stain than the dense sections next to them, creating uneven dark patches that aren’t related to how the stain was applied.
Do you need pre-stain wood conditioner for pine?
Yes, it’s the single most effective step for preventing blotching. It partially seals pine’s more porous cells so they don’t absorb dramatically more stain than the denser areas around them.
What grit should you sand pine to before staining?
Stop around 180-220 grit. Sanding pine finer than that burnishes and closes the wood’s surface pores, which reduces and unevens out stain absorption rather than improving it.
Is gel stain better than liquid stain for pine?
Gel stain sits more on the surface and colors more evenly across pine’s soft and dense areas, making it a lower-risk choice for avoiding blotching. A well-conditioned liquid stain shows more of the wood’s natural grain depth, so the tradeoff is evenness versus depth.
Sponsored / affiliate links. As an Amazon Associate I earn from qualifying purchases. I may earn additional commission from eligible campaigns.