Can You Tile on Plywood? Yes, With the Right Layer Underneath
Yes, you can tile directly on plywood, but not bare plywood – the plywood has to meet a deflection standard, and it needs a cement board, uncoupling membrane, or liquid waterproofing membrane between the wood and the tile. Skip that layer and the assembly will crack within a year or two, no matter how good the tile job itself was, because wood and tile move differently and something has to absorb that difference.
The Real Requirement: Deflection, Not Just Thickness
Best for Waterproofing Over Plywood
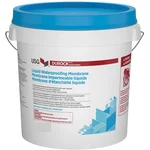 |
USG Durock Liquid Waterproofing Membrane (1 Gal) – $16.99 A roll-on membrane that waterproofs and adds crack-isolation directly over plywood without adding much height to the floor.
|
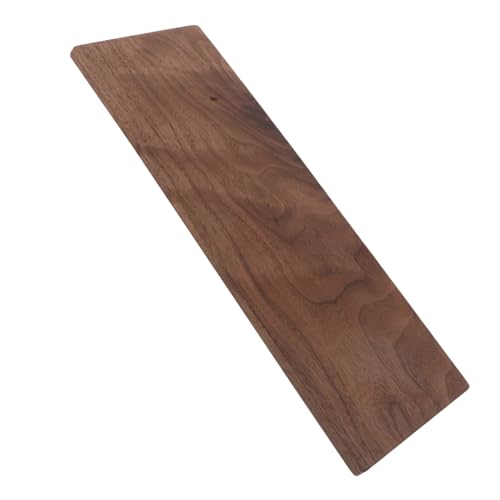
Most guides stop at “use 3/4-inch exterior-grade plywood,” which is true but incomplete. The tile industry’s actual standard (from the Tile Council of North America) is a deflection limit of L/360 for standard tile and L/720 for stone or large-format tile – meaning under load, the floor can’t flex more than 1/360th (or 1/720th) of the span between joists. A 3/4-inch plywood subfloor over joists spaced 16 inches apart typically meets L/360, but the same plywood over 24-inch joist spacing often doesn’t, no matter how thick it feels underfoot. If your joist spacing is wide or your floor has any noticeable bounce when you walk across it, that’s a structural issue a membrane won’t fix – it needs additional blocking, sistered joists, or a thicker subfloor layer before tile goes anywhere near it.
Beyond deflection, use exterior-grade or marine-grade plywood specifically – not construction-grade OSB or standard interior underlayment, which use different glue formulations that break down faster under the moisture a tile assembly inevitably sees over time, even in a “dry” room like a kitchen.
Choosing Between Cement Board, Membrane, or Uncoupling Mat
There are three common approaches, and they’re not interchangeable – each solves the wood-movement problem a different way:
- Cement backer board (screwed and thin-set to the plywood): adds real thickness and rigidity, which helps if your deflection is borderline. It’s the most labor-intensive option – fastening every board takes time – but it’s the most forgiving for a first-time tiler because the surface it gives you to work on is completely flat and stable.
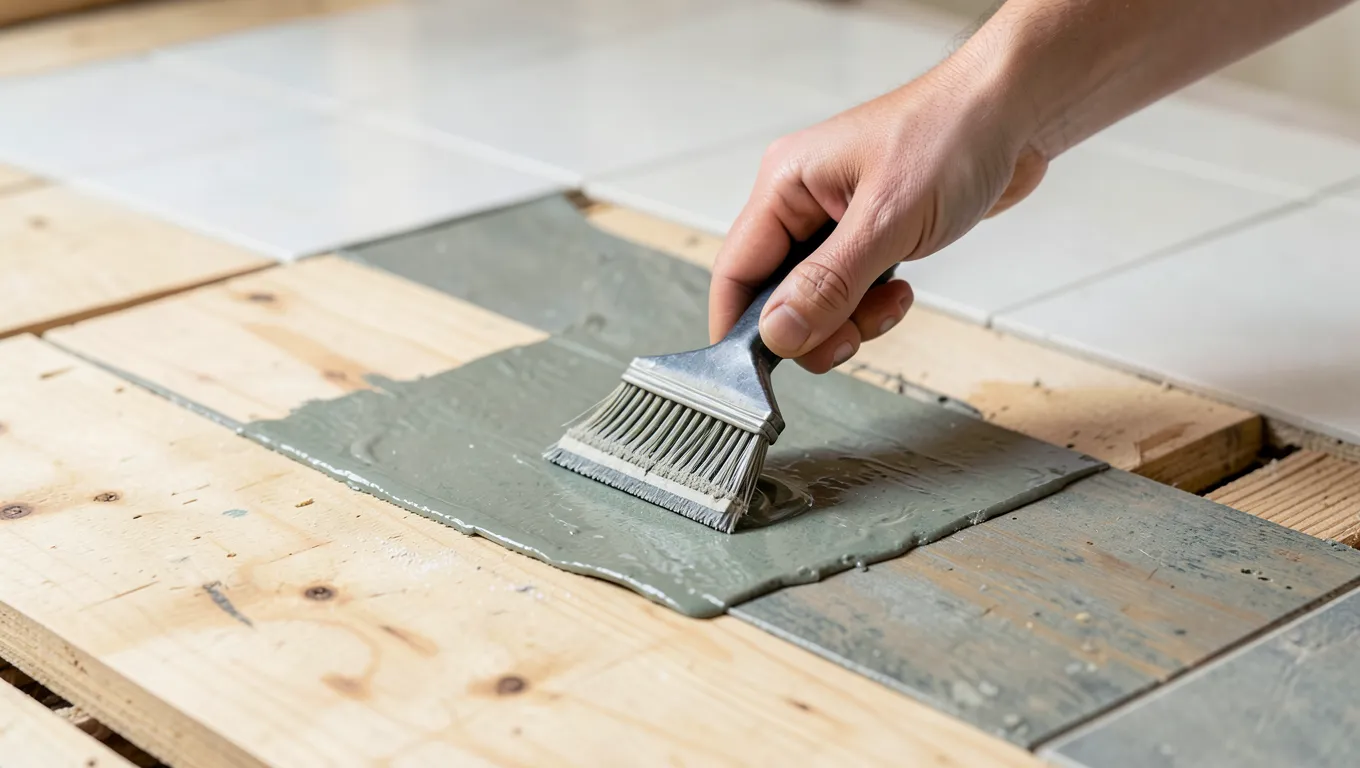
- Liquid-applied waterproofing/crack-isolation membrane (rolled or troweled directly onto the plywood): fastest to install and adds essentially no height to your floor, which matters when tile meets an adjoining hardwood floor at a doorway. It waterproofs and absorbs minor plywood movement, but it doesn’t add structural rigidity, so it only works if your deflection is already within spec.
- Uncoupling membrane (a thin plastic sheet with a fleece backing and cavity structure, like Schluter DITRA): specifically engineered to let the tile layer and the wood layer move independently of each other, which is the actual mechanism that prevents cracking from wood expansion/contraction with seasonal humidity changes. It’s a middle-ground cost and thickness between the other two options.
For a bathroom or any wet area, whichever underlayment you choose, it needs to be paired with an actual waterproofing step (many uncoupling membranes and some backer boards are waterproof rated on their own; plain cement board is not – it’s just water-resistant and still needs a separate waterproofing membrane over it in a shower or tub surround).
Thin-Set Mortar and Trowel Size
Use a modified thin-set mortar (the polymer additive helps it flex slightly and bond better over an underlayment layer instead of directly to concrete). Porcelain tile in particular needs a modified thin-set – unmodified mortar doesn’t bond porcelain’s dense, low-absorption surface reliably.
Trowel notch size follows tile size, not personal preference: a 1/4-inch square notch suits mosaic and small tile, 3/8-inch handles most standard 12×12 tile, and large-format tile (anything over about 15 inches on a side) needs a 1/2-inch notch or larger, plus back-buttering the tile itself so there’s full mortar contact and no hollow spots underneath that crack under point-load weight later.
Laying the Tile
Dry-lay the full pattern before mixing any mortar – this is the step that catches an awkward sliver of cut tile ending up right in the doorway instead of tucked against a wall where it’s barely noticeable. Snap chalk lines from the room’s center point so your layout is symmetrical, then work outward.
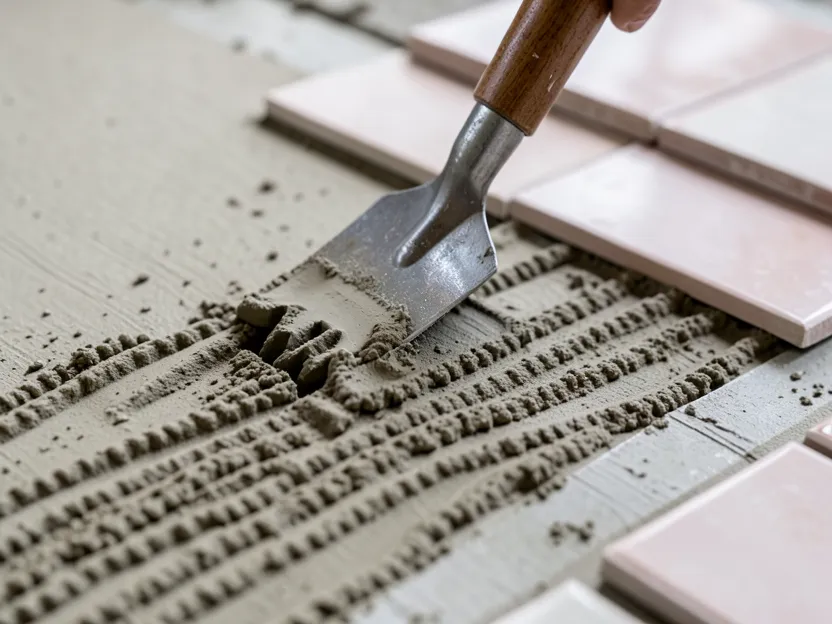
Spread mortar with the flat side of the trowel first to fill the pores of the underlayment, then comb it into ridges with the notched edge. Set each tile with a slight twisting motion rather than just pressing straight down – this seats it into the ridges instead of leaving air gaps under the center of the tile, which is where cracks under a dropped pan or a heavy chair leg tend to start. Use spacers for consistent grout lines and check each tile against a level as you go; catching a high tile now is a five-second fix, catching it after the mortar cures means chiseling it out.
Grouting and Sealing
Let the thin-set cure fully before grouting – usually 24 to 48 hours, check the bag. Sanded grout suits joints 1/8 inch and wider; unsanded grout is for narrower joints and won’t scratch soft or polished tile surfaces the way sanded grout can. Work the grout float at a 45-degree angle across the joints so the edge doesn’t dig grout back out of lines you just filled, then clean excess with a barely-damp sponge in a diagonal motion before the grout haze sets on the tile face.
Seal the grout once it’s fully cured (check the product’s timeline, often 48-72 hours) – unsealed grout in a kitchen or bathroom stains and takes on mildew far faster than sealed grout, and resealing every year or two in wet areas is cheap insurance against a much bigger regrouting job down the line.
This guide covers tiling a new plywood subfloor from the joists up. If you’re covering an existing wood or hardwood floor during a renovation instead of building a new subfloor, the prep is different — see our guide on tiling over an existing wood floor for the fastening, flatness, and height-clearance checks that apply there.
Frequently Asked Questions
Do I need cement board if I already have 3/4-inch plywood?
Yes, in almost every case. The 3/4-inch plywood is the structural subfloor that meets deflection requirements; cement board (or a membrane) is a separate layer that isolates the tile from the wood’s natural movement. Thick plywood alone, without an isolating layer, still cracks tile over time from seasonal wood expansion.
Can I tile directly onto OSB?
It’s not recommended. OSB’s glue and layered-strand construction handles moisture and localized stress differently than plywood, and most tile and membrane manufacturers specifically exclude OSB from their warranty coverage as an acceptable substrate.
What’s the difference between a waterproofing membrane and an uncoupling membrane?
A waterproofing membrane’s main job is blocking moisture from reaching the wood below. An uncoupling membrane’s main job is letting the tile and the subfloor move independently so wood movement doesn’t transfer stress into the tile. Some products do both; check the specific product’s rating rather than assuming one implies the other.
How much floor bounce is too much for tile?
Any noticeable bounce or give when you walk across the floor is worth investigating before tiling, since it usually means the joist spacing or span exceeds what your plywood thickness can support at the L/360 deflection standard tile needs. Adding blocking between joists or sistering an undersized joist addresses this at the structural level – no membrane or backer board compensates for it.
Sponsored / affiliate links. As an Amazon Associate I earn from qualifying purchases. I may earn additional commission from eligible campaigns.