Cedar Chest Paint Ideas: Fresh Colors Without Losing the Cedar Scent
The real reason people keep a cedar chest instead of a plain wooden trunk is the smell. That aromatic cedar scent isn’t decoration — it’s the wood’s natural oils working as a moth repellent for the sweaters, quilts, and linens stored inside. Here’s the good news: you can paint a cedar chest a completely new color without losing that scent, as long as you follow one rule and prep the wood correctly first. Get either wrong and you’ll either end up with a chest that smells like nothing, or one where reddish stains bleed through your new paint job within a few months.
The One Rule: Paint the Outside, Never the Inside
On almost every cedar chest, the aromatic wood is a thin lining on the inside — the outer shell is usually a secondary wood or cedar veneer that’s meant to be finished. That’s why you can repaint the exterior in any color you want and the chest will smell exactly the same as before: the oils doing the moth-repellent work are sealed away inside, untouched by anything happening to the outer panels. The mistake that actually ruins a cedar chest is painting or sealing the interior lining. A coat of paint or polyurethane on that raw cedar closes its pores, and the wood stops releasing the aromatic oils that make it useful in the first place — you’re left with a nice-looking box that no longer does the one job you bought it for. If you want more background on why that lining works the way it does, this guide to cedar chest uses covers it in more depth. For this project, the rule is simple: exterior gets primer and paint, interior gets left bare.
Our Pick for Blocking Cedar Stain Bleed-Through
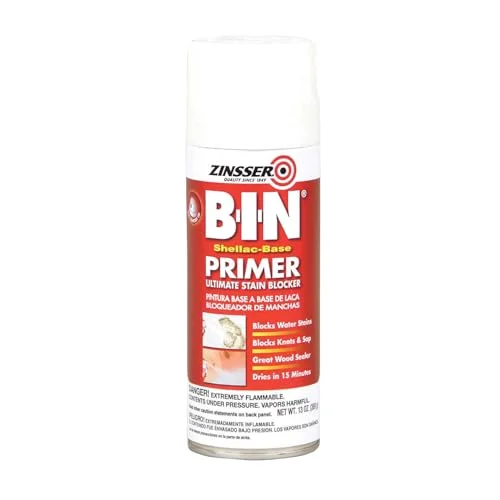 |
Zinsser B-I-N Shellac-Base Primer Spray – $19.39 This is the exact type of primer this guide recommends before painting cedar — it locks in tannin and resin bleed-through in one fast-drying coat.
|
Why Cedar Bleeds Through Paint (and the Primer That Stops It)
Cedar is a resinous, oily wood — the same natural compounds that give it that scent and rot-resistance also cause problems for painters. Left untreated, the tannins and oils in cedar migrate through most latex and acrylic paints over weeks or months, showing up as yellow-brown blotches or streaks even through a perfectly applied topcoat. This is the step most “sand and paint” tutorials skip, and it’s the difference between a paint job that still looks good in a year and one that needs to be redone. The fix is a dedicated stain-blocking primer — specifically a shellac-based primer (like Zinsser B-I-N) or a good oil-based stain-blocking primer, not a standard latex primer, which won’t reliably lock the tannins in place. Shellac-based primers dry fast, seal knots and sap streaks as well as tannin bleed, and give plain latex or chalk paint something stable to grip.
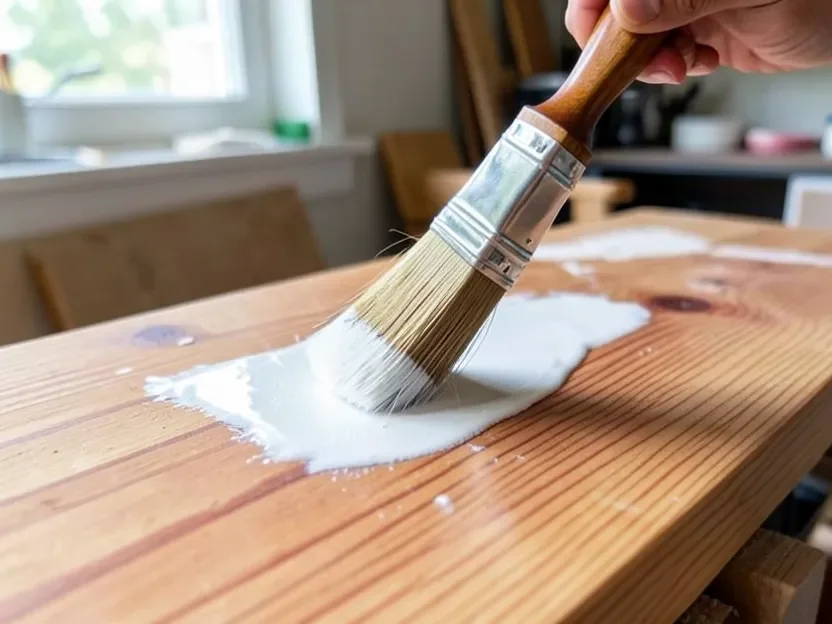
One coat of a shellac-based primer, applied thin and even after sanding, is usually enough to stop bleed-through completely. Skip it and even a $60 quart of premium paint won’t hold the line against cedar’s natural oils.
Choosing the Right Paint and Finish
Once the primer is handling the stain-blocking, the paint itself is mostly a style decision. Chalk paint and milk paint are the most popular choices for a cedar chest makeover because they go on without extensive sanding, dry to a flat, vintage-friendly finish, and are forgiving for a first-time furniture painter. Acrylic latex is the safer all-purpose pick if you want a smoother, more modern look — it’s low-odor, cleans up with water, and comes in nearly any sheen. Oil-based enamel is the most durable option and worth considering if the chest gets daily use as a bench or coffee table, but it has a stronger odor and a longer cure time, so plan for good ventilation and a few extra days before it goes back into a bedroom.
- Chalk or milk paint: minimal prep, flat vintage finish, easiest to distress at the edges for a worn look.
- Acrylic latex: low odor, wide range of sheens, good middle-ground durability for a bedroom or living room piece.
- Oil-based enamel: the hardest, most scratch-resistant finish, best for a chest that doubles as a bench or table.
Color Ideas That Actually Work on a Cedar Chest
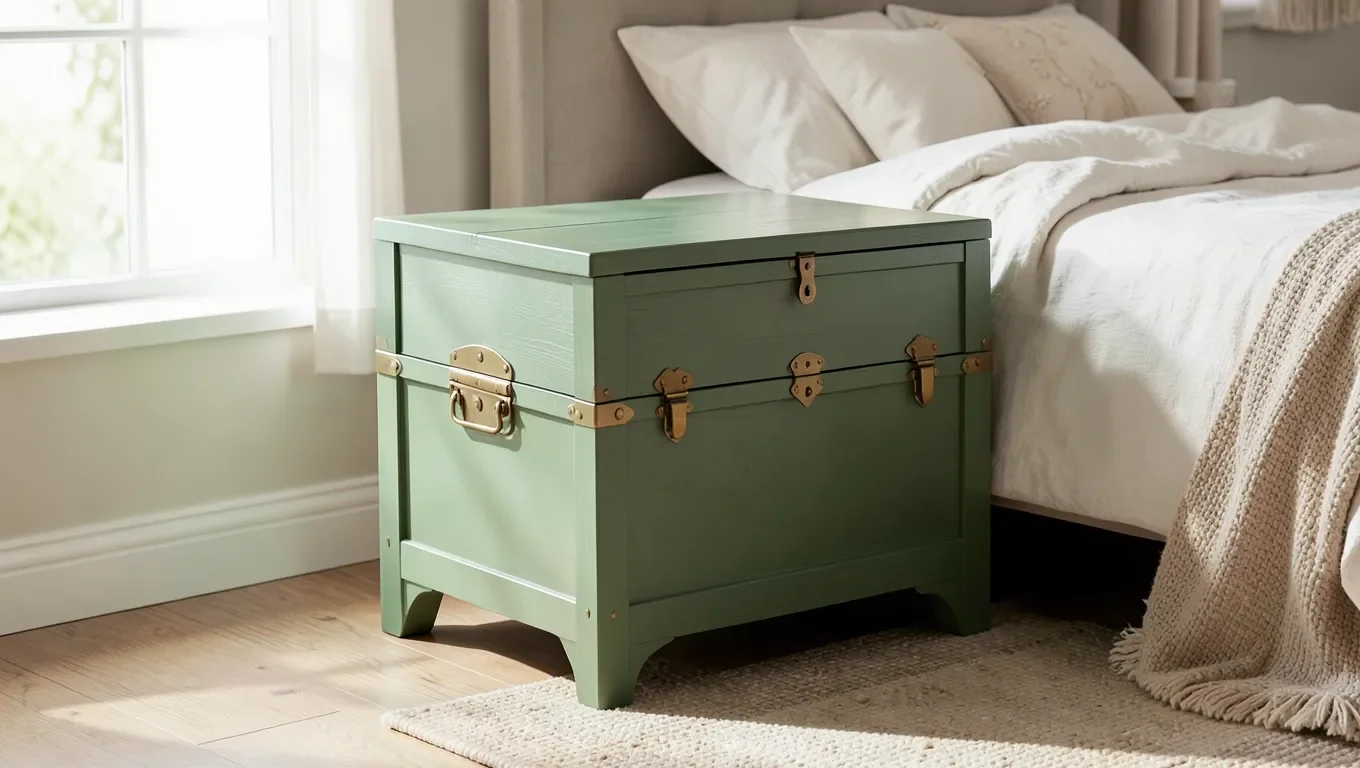
A cedar chest’s boxy, hardware-heavy shape tends to look best in colors with some depth rather than a stark white. Sage green and muted teal have been the most requested furniture-makeover colors the last couple of years — they pair naturally with brass or antique hardware and read as intentional rather than “leftover paint.” Deep navy or charcoal works well if the chest sits at the foot of a bed as a visual anchor. For a lighter room, a warm off-white or dusty rose keeps the vintage character of the piece without disappearing into the wall color behind it. Whichever color you choose, a satin finish is the most practical sheen for a chest people sit on or set drinks on — it hides fingerprints better than gloss and wipes clean more easily than flat.
Step-by-Step: How to Paint a Cedar Chest
With the primer question settled, the actual painting process is straightforward. Work through these steps in order and resist the urge to skip the primer coat to save a day — it’s the step that determines whether this paint job lasts.
- Clean and remove hardware. Wash the exterior with mild soap and water, let it dry fully, then unscrew handles, hinges, and the lock plate so you’re painting a clean shell, not working around them.
- Sand the exterior only. Start with 120-grit to knock down any old finish, then 220-grit to smooth it out. Sand with the grain, and wipe every surface down with a tack cloth — leave the interior lining alone entirely.
- Apply a shellac-based stain-blocking primer to the exterior. One thin, even coat, left to dry per the can’s instructions (shellac-based primers are typically ready to sand in about 30–45 minutes). Lightly sand and wipe away dust before painting.
- Paint two thin coats. Brush detail areas and edges first, then use a roller or wide brush for the flat panels, working top to bottom. Let each coat dry fully before the next — rushing this step is the most common cause of visible brush marks.
- Seal with a topcoat, then reattach hardware. A clear water-based polyurethane protects the color from scuffs. Once it’s cured, screw the hinges, handles, and lock back on — new hardware is an easy upgrade here if the old pieces are worn.
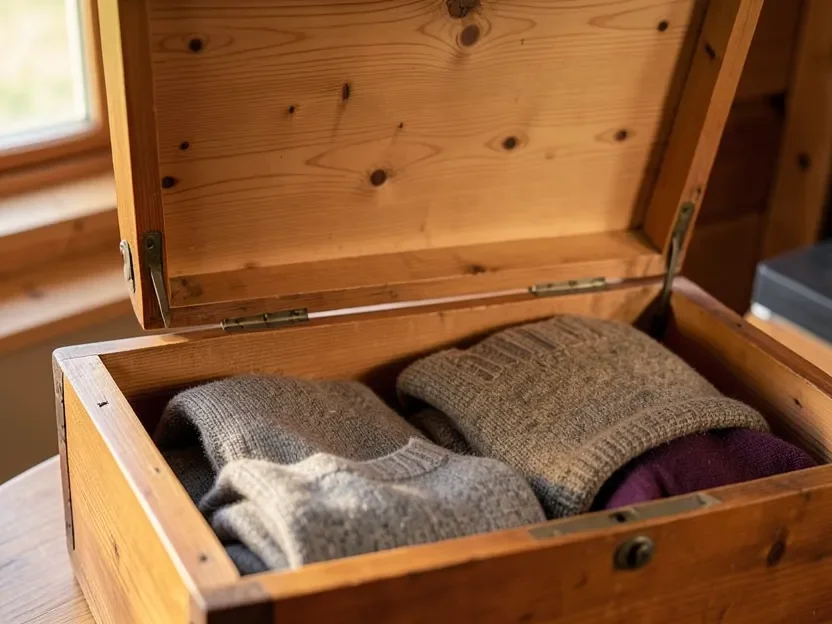
Once everything is reassembled, give the paint and topcoat a full week to cure before loading the chest back up with folded textiles. The exterior will look brand new, and because the interior lining was never touched, it will still smell exactly like the cedar chest you started with.
Frequently Asked Questions
Does painting a cedar chest ruin the cedar smell?
Only if you paint the inside. The aromatic cedar lining that produces the scent is almost always on the interior, so painting the exterior shell doesn’t affect it at all. Sealing the interior with paint or polyurethane is what blocks the aroma, so leave the inside bare.
Why does my paint keep showing yellow or brown stains after I paint a cedar chest?
That’s tannin and resin bleed-through, common with cedar and other oily woods. A standard latex primer usually can’t stop it. Switch to a shellac-based or oil-based stain-blocking primer before you paint, and the discoloration won’t come through.
What kind of primer is best for a cedar chest?
A shellac-based stain-blocking primer, such as Zinsser B-I-N, is the most reliable option. It seals knots, sap, and tannins in a single fast-drying coat and gives both chalk paint and standard acrylic latex a stable surface to grip.
Do I need to sand a cedar chest before painting?
Yes, on the exterior. Sanding with 120-grit and then 220-grit removes any old finish and gives the primer something to bite into. Skip sanding the interior lining — it doesn’t need paint or primer at all.
How many coats of paint does a cedar chest need?
Two thin coats of paint over one coat of stain-blocking primer is standard. Two coats give even color coverage without the drips or heavy brush marks that come from trying to get full opacity in a single thick coat.
Final Thoughts
A cedar chest makeover comes down to two things most tutorials leave out: prime the exterior with a real stain-blocking primer so the color holds, and leave the interior lining completely bare so the chest keeps doing the job it was built for. Handle those two details and you can repaint the outside in any color you like — sage green, navy, warm off-white — without giving up the aromatic cedar scent that made the piece worth keeping in the first place.
Sponsored / affiliate links. As an Amazon Associate I earn from qualifying purchases. I may earn additional commission from eligible campaigns.