Chip Carving vs Relief Carving: Which Should You Learn First?
Learn Chip Carving first if you want the fastest path to knife control, flat geometric work, and a low-cost setup; choose Relief Carving first only if your goal is sculptural depth and you are ready for V-tools, gouges, clamping, and layout for depth. Starting with the wrong style usually means slower progress, rougher results, and avoidable safety issues. This guide compares tools, wood, setup, safety, and early results so you can choose the better first step.
| Factor | Chip Carving | Relief Carving | Winner |
|---|---|---|---|
| Tool count | 1 knife can carry you through the first projects; small chisels are optional. | Usually needs V-tools, gouges, and often a mallet or strong hand pressure. | Chip Carving |
| Setup time | Low. A blank board, a transferred pattern, and a secure bench are enough. | Higher. You need layout for depth, background access, and a firmer way to hold the work. | Chip Carving |
| Wood cost | Low to moderate. Basswood sheets or blocks are easy to find and forgiving. | Also low to moderate, but good relief work often benefits from thicker blanks. | Chip Carving |
| Cut-risk | Higher risk of slips if you push across grain or let the knife run past a corner. | Higher risk of background undercutting and deeper tool slips while clearing spaces. | Tie |
| Pattern difficulty | Begins with triangles, borders, and symmetric geometry. Layout is simpler. | Needs depth planning, foreground/background separation, and more shape judgment. | Chip Carving |
| Cleanup time | Usually quick. Chips come off in small, contained cuts. | More cleanup. Background removal leaves tool marks that need later refinement. | Chip Carving |
| Portability | Excellent. A knife, pattern, and small board fit easily into a compact kit. | Poorer. Gouges, V-tools, and clamping make the setup less portable. | Chip Carving |
| Fastest visible results | Very fast. Even a small border pattern reads clearly after a few clean cuts. | Slower. Raised forms take more steps before the image reads clearly. | Chip Carving |
| Absolute beginner | Best first choice for knife control, geometry, and low-cost practice boards. | Best only if the learner wants sculpture and accepts more setup and tools. | Chip Carving |
| Pattern-focused hobbyist | Best for borders, rosettes, and repeated motifs. | Less direct unless the goal is figurative or scenic panels. | Chip Carving |
| Future relief carver | Good first step for knife control and layout discipline, but not the full workflow. | Best if the learner wants to move toward depth, modeling, and background work now. | Relief Carving |
How chip and relief carving differ in skill and outcome
Chip Carving removes small chips from a flat surface, often in triangular cuts and repeating geometric or free-form patterns. Relief Carving removes background wood to leave raised forms, so the main challenge shifts from clean chip removal to depth control, background planning, and shape modeling.
What each style removes or leaves behind
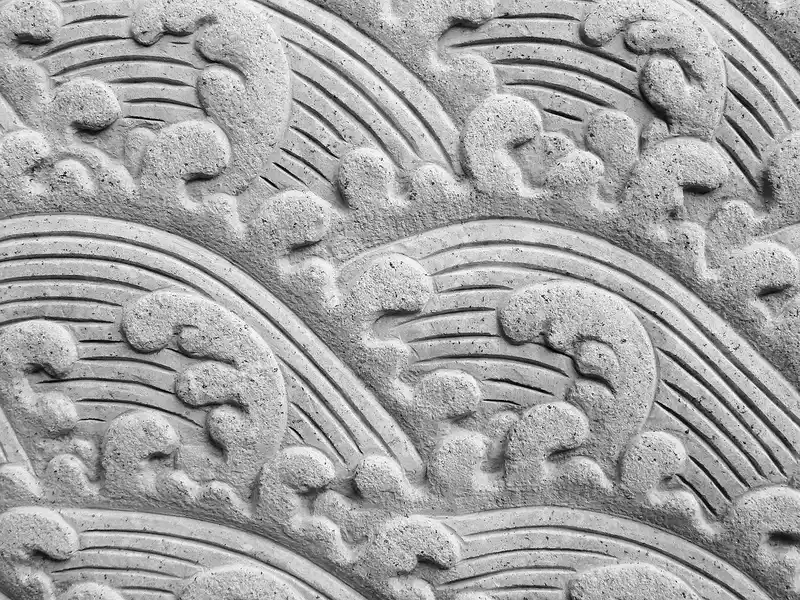
Chip Carving leaves the surface plane intact except for the carved cuts that create pattern and shadow. Relief Carving leaves a raised subject standing above a lowered background, so the work reads more like a shallow sculpture.
That difference changes the learning curve. Chip work trains blade control and layout accuracy first; relief work asks for planning, depth judgment, and tool changes sooner.
The core beginner trade-off: knife control versus depth control
If you want visible progress with one sharp knife, Chip Carving is the faster route. If you want a carved leaf, face, bird, or scene with depth, Relief Carving better matches that goal, but it brings V-tools, gouges, and extra steps.
A common first project is a roughly 6-inch square practice board with a triangle border. Chip Carving gives you a clear result after a short session. Say your first goal is a shallow plaque with a raised oak leaf. Relief Carving fits that aim, but the background must be cleared and the form modeled.
Learn this first
This table turns the choice into a skill-path decision. Chip Carving wins on fewer tools, faster setup, and quicker visible results; Relief Carving wins only when your first goal is raised imagery and you accept a more demanding setup.
Tool count, setup time, wood cost, and portability
Chip Carving can often start with a sharp chip carving knife and a practice board. Relief Carving typically needs at least a V-tool and one or more gouges, and the workpiece often needs firmer clamping and more layout time.
Cut-risk, pattern difficulty, cleanup time, and fastest visible results
Chip Carving is simpler to read because the pattern sits on a flat field. Relief Carving can produce stronger depth, but beginners face more ways to make the background ragged or leave the raised form uneven.
Recommendation for learner type
Absolute beginners usually do better with Chip Carving. Pattern-focused hobbyists also tend to learn faster there. Future relief carvers should move to Relief Carving first only if they want to build depth control from day one.
What tools do you need first?
Chip Carving starts with fewer tools, usually just a sharp chip carving knife and a way to hold the board steady. Relief Carving needs a broader set, including V-tools and gouges, and beginners often add a mallet once the cuts get deeper or the wood resists hand pressure.
Chip carving knife options
A chip carving knife usually has a short blade that gives you close control at the tip. Single-bevel blades can help with predictable slicing on one side, while double-bevel blades can feel more familiar for general knife handling.
The important point is sharpness. A dull edge forces extra pressure, which increases slip risk and leaves ragged chip edges instead of crisp facets.
Relief carving tools
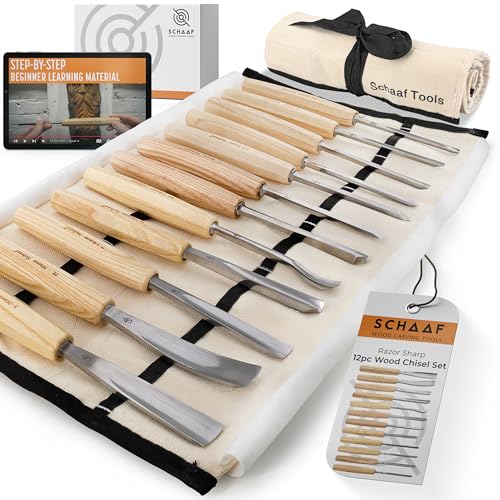
Relief Carving depends on V-tools for line work and gouges for clearing and shaping. Beginner sets often include a few common sweeps rather than a large assortment, because a small set used well matters more than a big unused kit.
A mallet matters when hand pressure is not enough to keep cuts controlled. For shallow work in soft wood, some cuts can still be pushed by hand, but background removal usually moves faster with the right gouge and a solid hold.
Minimum purchases for each path
- Chip Carving: one chip carving knife, a flat practice board, a pencil or transfer method, and a way to secure the wood.
- Relief Carving: at least one V-tool, at least one gouge, a flat or slightly thicker blank, and a clamping method suited to background work.
That minimum-buy difference matters. If you want the fewest purchases before the first clean project, Chip Carving is the leaner path.
What wood should you start with?
Basswood is the usual beginner choice for both styles because it is soft, fairly consistent in grain, and widely available in sheets and blocks. It cuts cleanly with sharp tools and gives beginners a better chance at predictable results than harder, coarser woods.
Why basswood is the usual beginner pick
For Chip Carving, basswood lets the knife slice chips cleanly with less force. For Relief Carving, it also gives gouges a friendlier cutting feel, especially on shallow forms and practice plaques.
Board form works well for chip patterns, while blocks or thicker blanks suit relief work. Thin stock is fine for decorative chip patterns; relief work often benefits from extra thickness so the background can be lowered without punching through.
Where butternut, pine, and mahogany fit
Butternut can be a pleasant next step because it is still workable and shows more visual character than basswood. Pine is less forgiving because grain changes and resin pockets can cause tear-out, especially in relief backgrounds. Mahogany can carve cleanly, but its grain and hardness variation can make it a poor first wood for beginners who are still learning knife angle and grain direction.
How grain direction changes tear-out risk and finish quality
Grain direction matters more in Relief Carving because background clearing often crosses changing grain. In Chip Carving, grain still affects corner cleanliness and the look of the cut faces, but the cuts are smaller and easier to control on a practice board.
A common first-timer mistake is choosing a pretty board with wild grain and then blaming technique for torn corners. Straight, even grain makes the learning curve easier on both paths.
Which style is safer for beginners?
Chip Carving is usually safer at the start because the cuts are smaller, the work stays flat, and hand position is easier to manage around a practice board. Relief Carving can be safe too, but deeper cuts, background removal, and extra tools raise the number of chances to slip.
Cut direction, hand position, and bench support
Keep the cut moving away from the holding hand whenever possible. Support the work on a bench or carving board so the tool does not have to fight movement, and keep the non-cutting hand well clear of the blade path.
Paring control matters in both styles. Push only as much as needed for a clean slice, and reset the grip before the next cut instead of forcing a long, wandering stroke.
Glove use and paring control
A carving glove can add a layer of protection for the holding hand, especially while the learner is still building habit and control. It does not replace good blade direction or stable bench support.
For a beginner, a roughly 4-inch triangle border can be used, with the board held loosely in one hand. The knife has less control, the cut wanders, and the corner can chip out. Clamping the board and shortening the cut often solves that before technique gets blamed.
Common beginner mistakes
Chip Carving failures often show up as chipped corners, broken symmetry, and fuzzy edges when the knife meets grain poorly. Relief Carving failures more often show up as undercut backgrounds, uneven heights, and torn fibers around the raised shape.
If the first goal is clean control rather than depth, Chip Carving gives clearer feedback. The learner sees right away whether the line, angle, and spacing are right.
Which style fits your first project?
Chip Carving fits the first project if you want a practice board, a border, or a repeated triangle motif that teaches line accuracy. Relief Carving fits the first project if you want a small plaque, a shallow leaf, or a simple raised figure and are ready to clear background wood.
Chip carving projects
- Triangle borders on a roughly 6-inch practice board are commonly used as a chip carving project.
- Simple rosettes with repeated geometric cuts
- Square grid exercises for symmetry and spacing
These projects teach pattern layout fast. A pencil grid, clean transfer, and consistent spacing matter more than fancy motifs at this stage.
Relief carving projects
- Small plaques with one leaf or flower
- Low-relief animals with shallow background removal
- Simple scenic panels with limited depth layers
These projects teach depth control, but they also demand more planning before the first cut. A beginner who skips that planning often spends more time fixing the background than shaping the subject.
Pattern layout changes the learning curve
Chip Carving rewards a grid or transfer method because symmetry and spacing show up immediately in the finished pattern. Relief Carving depends more on drawn value areas, contour lines, and clear separation between the raised subject and the background.
Choose Chip Carving if… / Choose Relief Carving if…
Choose Chip Carving if you want the fastest visible progress, the fewest tools, and a clear way to build knife control through geometric patterns. Choose Relief Carving if your real goal is a raised image with depth, and you are ready for more tools, more layout, and background work.
- Choose Chip Carving if you want to start with one knife and a practice board.
- Choose Chip Carving if you care most about borders, rosettes, and clean geometric repetition.
- Choose Relief Carving if you want figures, leaves, or scenic forms that stand off the background.
- Choose Relief Carving if you are willing to learn V-tools, gouges, and depth planning from the start.
First 30 days for Chip Carving
- Days 1-7: sharpen the knife, make straight slicing cuts in basswood, and practice triangle chips on scrap.
- Days 8-14: transfer a simple border pattern to a practice board and cut the same motif in repeat.
- Days 15-21: work on symmetry, spacing, and corner cleanliness using a grid layout.
- Days 22-30: cut a small finished board with one border and one rosette, then review where corners chipped or lines drifted.
First 30 days for Relief Carving
- Days 1-7: learn safe hand positions, tool orientation, and shallow push cuts on scrap basswood.
- Days 8-14: practice V-tool lines and gouge sweeps before clearing any full background.
- Days 15-21: carve a simple leaf or shape in low relief and keep the background shallow.
- Days 22-30: finish a small plaque with one raised subject, then inspect for fuzzy grain, undercut edges, and uneven depth.

What is the difference between chip carving and relief carving?
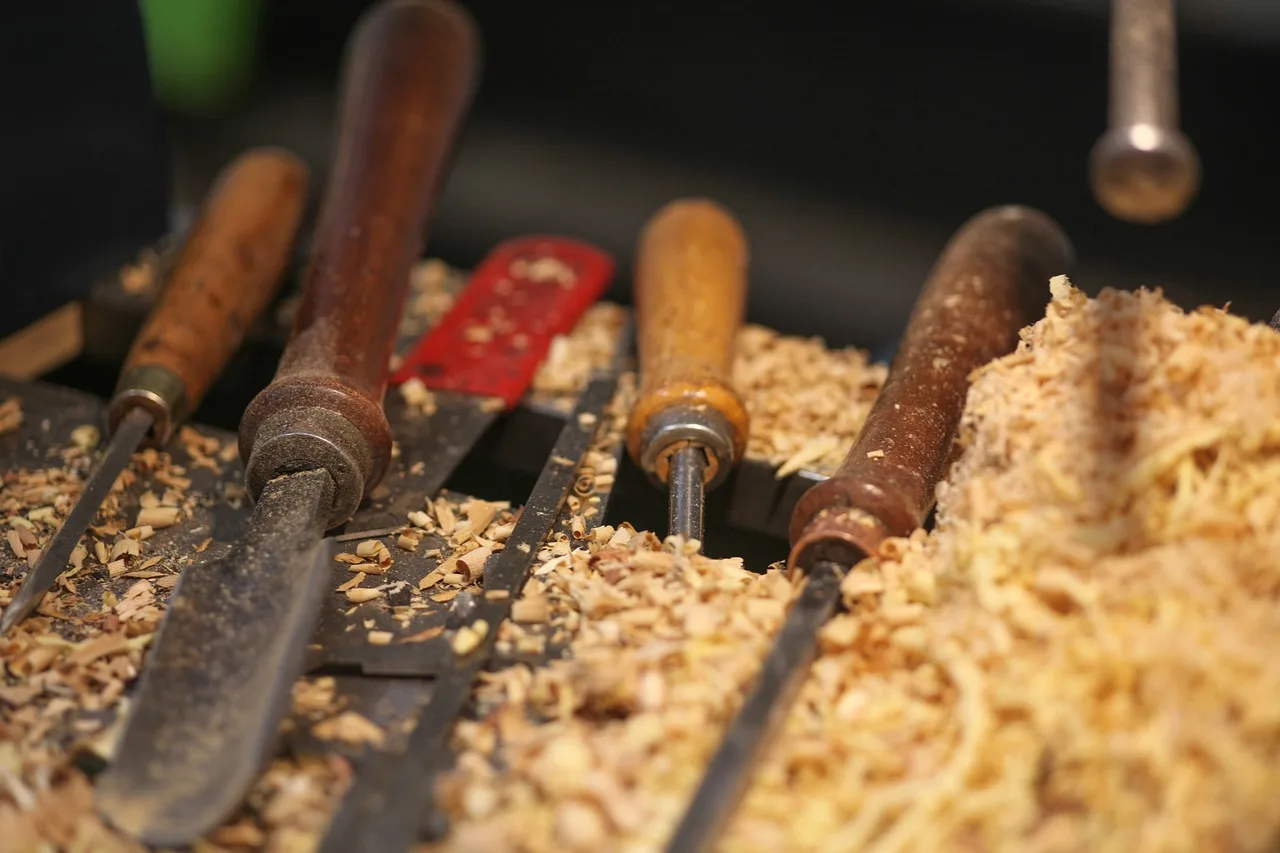
Chip Carving removes small chips from a flat surface, usually with knives or small chisels, and it often relies on geometric layouts. Relief Carving removes wood around a subject so the subject stays raised, which makes depth, background work, and tool variety much more important.
How the visual result differs
Chip Carving reads as pattern first. Relief Carving reads as form first. That difference drives tool choice, wood choice, and the amount of layout work you need before the first cut.
How the beginner workflow differs
Chip Carving usually starts with transfer, a secure board, and repeated knife cuts. Relief Carving usually starts with a drawn design, then background removal, then shaping, then cleanup.
Frequently asked questions
Should I learn chip carving or relief carving first?
Learn Chip Carving first if you want fewer tools, faster progress, and a direct way to build knife control. Choose Relief Carving first only if your main goal is raised figures or scenic plaques and you are ready for more setup and more tool handling.
Is chip carving easier than relief carving for beginners?
For most beginners, yes. Chip Carving usually has lower setup overhead, fewer tools, and clearer results on a flat practice board. Relief Carving can be the right first step for sculptural goals, but it usually asks for more planning and more background cleanup.
What tools do I need for chip carving versus relief carving?
Chip Carving can begin with a sharp chip carving knife, a pencil or transfer method, and a way to hold the board steady. Relief Carving usually needs V-tools, gouges, and sometimes a mallet, especially once you start clearing background wood.
What kind of wood is best for chip carving beginners?
Basswood is the usual first pick because it is soft, fairly consistent, and forgiving of small mistakes. Butternut can work well too. Pine is less predictable, and mahogany is generally a tougher first choice because its grain and hardness can complicate beginner cuts.
Can chip carving knives be used for whittling or general carving?
Yes. A chip carving knife can be used for whittling and some general carving tasks, but its short blade and tip geometry are especially suited to controlled slicing cuts. It is best for pattern work, not for every carving job.
How much practice does chip carving take compared with relief carving?
Chip Carving often gives useful results faster because the learner can practice one repeatable cut pattern on a flat board. Relief Carving usually takes longer to produce a readable first project because the learner must manage depth, background removal, and surface planning.
Sponsored / affiliate links. As an Amazon Associate I earn from qualifying purchases. I may earn additional commission from eligible campaigns.