Simple Stick Carving Patterns: Easy Designs for Beginners
The easiest real stick-carving patterns for a beginner are the spiral bark-peel, chip-carved diamonds, and simple ring/bead cuts — all three need only a single sharp knife, work on any straight green or dry stick, and don’t require freehand drawing skills to get a clean result.
Choosing Your Wood
Best Beginner Whittling Kit
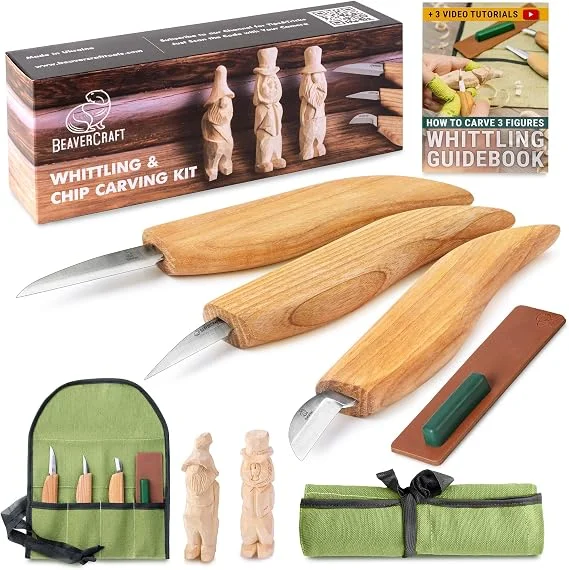 |
BeaverCraft S15 Whittling Kit – $39.99 Includes a detail knife and a sloyd knife plus a strop, everything this guide’s three patterns need in one kit.
|
- Basswood is the standard beginner carving wood for a reason: soft, consistent grain with almost no knots, and it holds fine detail well. If you’re practicing patterns rather than working with a found stick, start here.
- Green (freshly cut) sticks from willow, hazel, or sumac carve easily and are what most traditional spiral/bark-peel patterns are actually done on, since the bark needs to still be pliable to peel cleanly.
- Pine and cedar carve easily but have soft/hard grain bands that can catch your blade and tear rather than cut cleanly – go slow across grain transitions.
- Hickory, oak, and maple are harder to carve but far more durable, which is why they’re preferred for a walking stick that needs to survive real outdoor use rather than sit on a shelf.
Pattern 1: The Spiral Bark-Peel
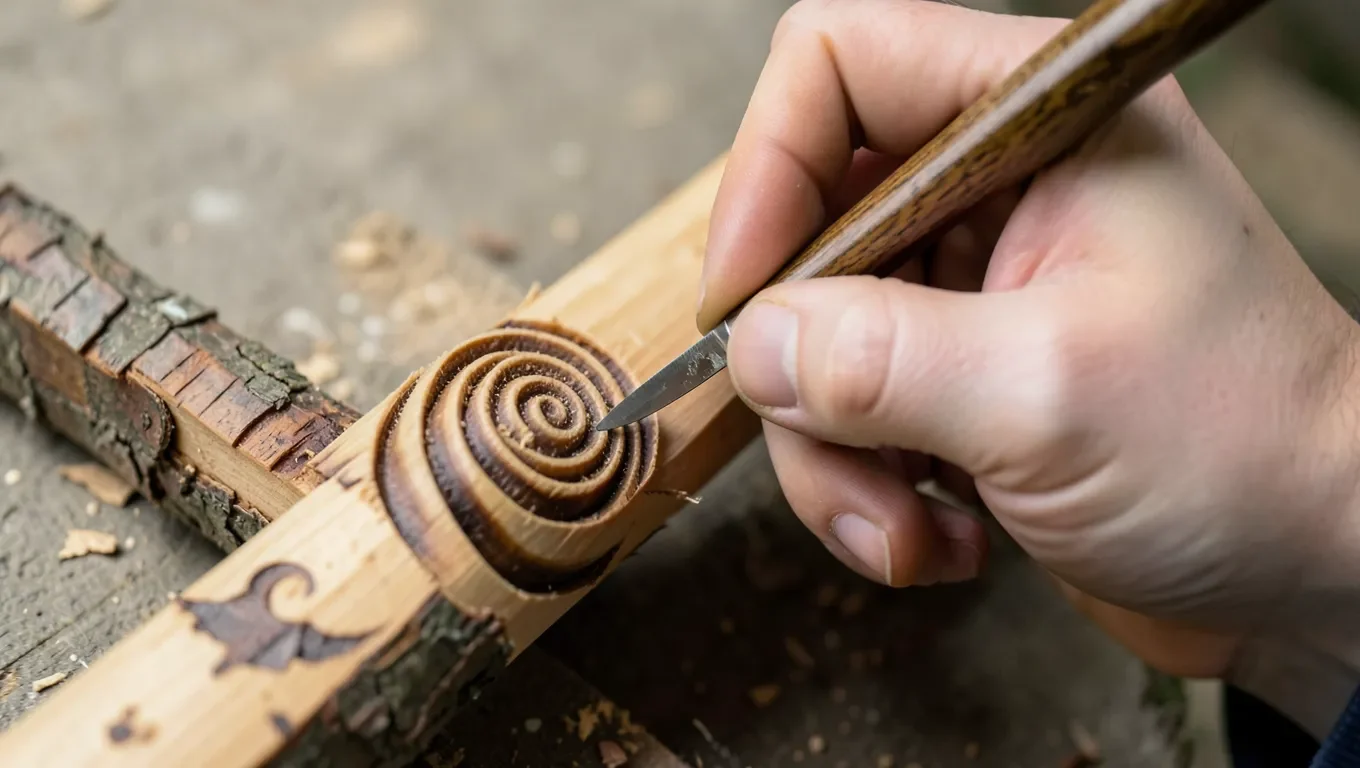
This is the classic “twisted cane” look, and it only works on a green stick with the bark still on.
- Use a marker or string wrapped around the stick to mark a consistent spiral line from one end to the other.
- With a sharp knife, cut along both sides of your marked line, angling the blade slightly to undercut the bark on each side.
- Peel the bark away between the two cuts, leaving a spiral strip of bark still attached and a spiral channel of bare wood beneath it.
- As the stick dries, the exposed wood darkens differently than the bark-covered strip, making the spiral pattern permanent and visible even after the stick fully cures.
Pattern 2: Chip-Carved Diamonds And Triangles
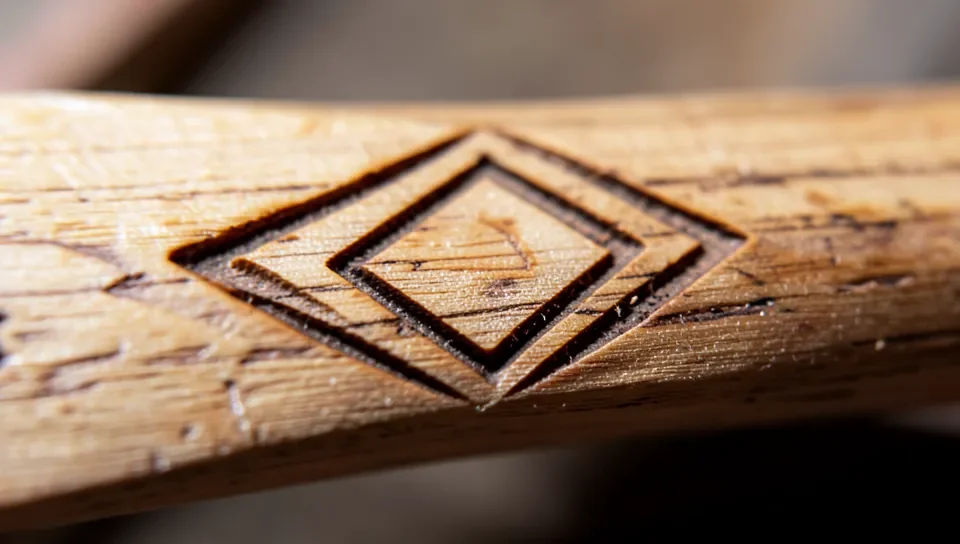
Chip carving removes small wedge-shaped chips to create geometric patterns, and it works on dry, debarked sticks unlike the bark-peel method above.
- Mark a grid of triangles or diamonds around the stick using a pencil and a straightedge.
- For each triangle, make three stop cuts (straight knife cuts along each edge, angled toward the center) meeting at a shared center point.
- Make a fourth angled cut from each edge toward that same center point to pop the wedge-shaped chip free.
- Repeat around the stick – a repeating diamond or triangle band is one of the most recognizable traditional stick-carving patterns and one of the more forgiving for a first attempt, since each chip is a small, self-contained cut.
Pattern 3: Ring And Bead Cuts
Simple V-shaped rings cut perpendicular to the stick’s length create a “beaded” segmented look, and it’s the fastest pattern to learn since it’s really just one repeated cut.
- Mark evenly spaced rings around the stick with a pencil.
- At each mark, make two angled cuts meeting in a V, removing a thin ring of wood.
- Space the rings closer together for a tighter “beaded” look, or farther apart for a more subtle segmented effect.
Essential Tools
- A sharp sloyd or detail carving knife – the single most important tool; a dull blade is both less effective and more dangerous, since it needs more force and is more likely to slip.
- A chip-carving or hook knife for the diamond/triangle pattern’s angled cuts.
- A leather strop and honing compound to keep the edge sharp between carving sessions.
- A cut-resistant glove or thumb guard, since stick carving pulls the blade toward your supporting hand far more than carving flat stock.
Safety Basics
- Always cut away from your body and any hand holding the stick.
- Keep your blade sharp – dull blades require more force and slip more often, causing more injuries than sharp ones.
- Take breaks – fatigue is one of the most common causes of slips in hand carving.
- Work over a stable surface and keep your carving area clear of clutter.
Finishing Your Carving
Sand lightly with fine-grit paper only on flat carved areas – avoid sanding the bark-peel spiral, since sanding removes the color contrast that makes the pattern visible. A coat of boiled linseed oil deepens the wood tone and protects against moisture without building up a thick film that would obscure fine chip-carved detail. Let a green-wood project air-dry slowly over a week or two before finishing, since green wood can crack if it dries too fast.
Frequently Asked Questions
What Is The Easiest Stick-Carving Pattern For A Beginner?
Ring and bead cuts are the fastest to learn since they’re a single repeated V-cut. Chip-carved diamonds are only slightly harder and give a more recognizable traditional pattern. The spiral bark-peel looks the most impressive but only works on a green, freshly cut stick.
What Wood Is Best For Practicing Carving Patterns?
Basswood is the standard choice for practicing patterns – soft, consistent grain, and minimal knots. For a real walking stick meant to hold up outdoors, hickory, oak, or maple carve less easily but last far longer.
Can I Do The Spiral Pattern On A Stick That’s Already Dry?
No – the bark-peel spiral needs the bark to still be pliable enough to lift and peel cleanly, which only works on a green (recently cut) stick. On dry wood, use chip carving or ring cuts instead.
What Do You Seal A Carved Walking Stick With?
Boiled linseed oil is the most common choice since it penetrates without building a thick film that hides fine carved detail. Polyurethane or clear lacquer work too if you want more moisture resistance and don’t mind a bit more sheen.
Conclusion
Three patterns cover most of what a beginner needs: ring/bead cuts for the fastest results, chip-carved diamonds for a real traditional look with simple stop-cuts, and the spiral bark-peel for the most visually striking effect on a green stick. Start with basswood or a soft green stick, keep your knife genuinely sharp, and build up from there.
Sponsored / affiliate links. As an Amazon Associate I earn from qualifying purchases. I may earn additional commission from eligible campaigns.