How to Make a Wooden Bathtub: Wood, Staves and Leak-Proofing
You can build a wooden bathtub from cedar, hinoki or teak, but the wood alone will not keep it watertight. Traditional tubs hold water because the staves swell tight against each other, and the common “just seal it” advice tends to fail on a tub that is filled with hot water again and again.
This guide covers the two real ways to build one, how the common species compare on hardness and rot resistance, how much water weight your floor has to carry, the stave angles for a round tub, and the drain and electrical points you should hand to a licensed professional. It is a planning guide built from published wood data and basic geometry, not a report of a tub I built.
Two Ways to Build a Wooden Bathtub
Best Stave Glue-Up Clamp Pick
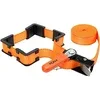 |
Pony Jorgensen 1215 Band Clamp, 15-foot strap, $28.99 A round tub is a ring of tapered staves, and a band clamp is the simplest way to pull that ring together for a dry fit and to hold it while you check the joints.
|
There are two basic constructions, and they have very different leak behavior.
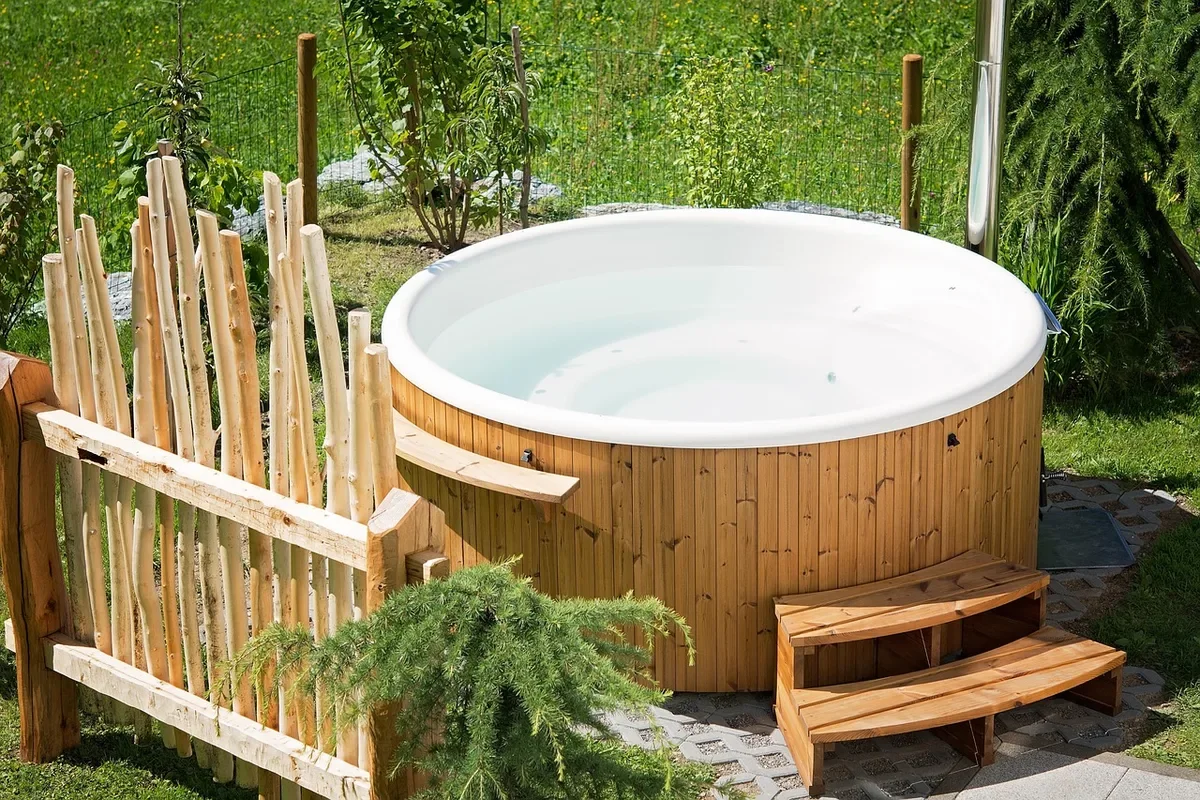
- Stave-built (coopered) tub. Tapered boards stand on end in a ring, held by hoops, with a bottom panel captured in a groove. This is how a Japanese ofuro or a barrel is built. It relies on the wood swelling when wet, not on glue or sealant, to close the seams.
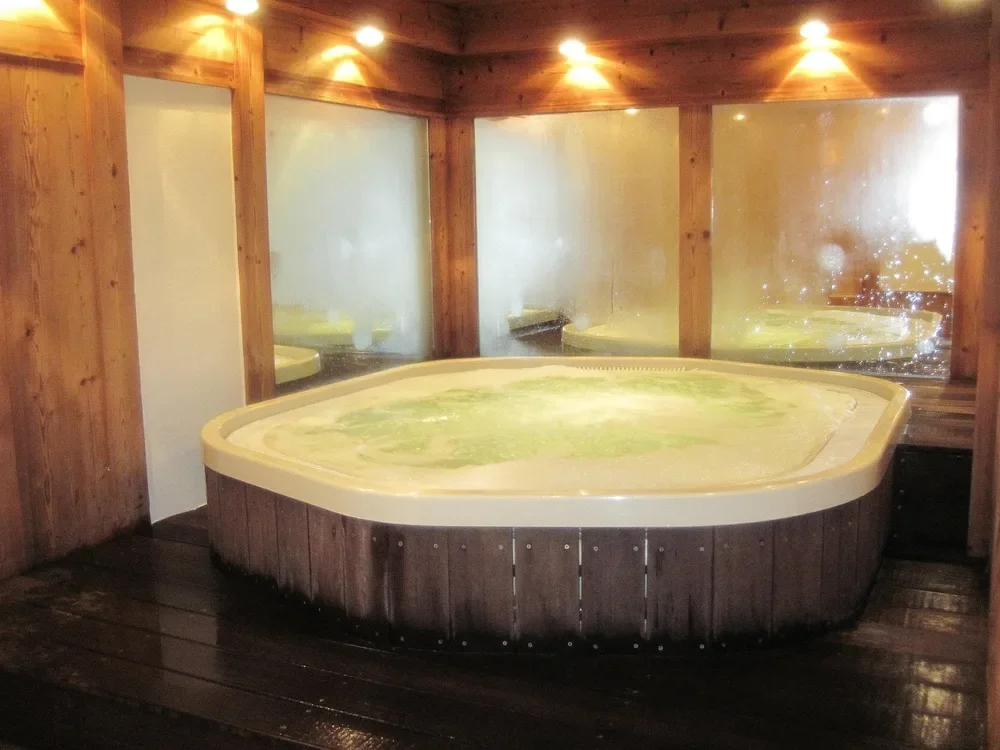
- Wood shell around a waterproof liner. The wood is the outer skin and the water sits in a separate shell, such as an acrylic or fiberglass tub. Commercial wood-clad tubs are commonly built this way, and it is the easier route if you cannot risk a leak.
The myth worth correcting is that a rot-resistant wood plus a coat of varnish makes a watertight tub. Rot resistance means the wood resists decay over time. It says nothing about whether water passes through a seam. On a stave tub the seams are the whole problem, and a film finish over them can crack as the wood swells and shrinks, so the joints have to be tight because the wood is doing the sealing.
Best Wood for a Wooden Bathtub: Real Numbers
These figures come from the Wood Database entries for each species. Janka hardness is the force in pounds-force needed to embed a steel ball into the wood, and density is dried weight.
| Species | Janka hardness | Dried density | Decay resistance (Wood Database) |
|---|---|---|---|
| Western red cedar | 350 lbf | 23 lb/ft3 | Durable to very durable |
| Alaskan yellow cedar | 580 lbf | 31 lb/ft3 | Durable to very durable |
| Port Orford cedar | 590 lbf | 29 lb/ft3 | Durable to very durable |
| Teak | 1,070 lbf | 40.9 lb/ft3 | Very durable; called the gold standard for decay resistance |
Hinoki, the classic ofuro wood, does not have a page I could pull numbers from in this pass, so I have left its figures out rather than guess. It is traditionally chosen for Japanese baths and tends to be hard to find and pricey outside Japan, but confirm that with your lumber supplier before you design around it.
A few practical points that the raw numbers hide:
- Western red cedar is the softest, so it dents easily, and the Wood Database notes it can sand unevenly. Its heartwood contains plicatic acid, which has an elevated allergy rate, so wear a respirator when you cut and sand it.
- Port Orford cedar is reported to cause skin irritation and asthma-like symptoms in some people. Use dust collection and a mask.
- Teak contains up to 1.4 percent silica, which dulls blades fast, and it is oily. It usually glues well but may need a solvent wipe first. See our guide to gluing oily woods like teak.
- Fasteners: iron-based fasteners can stain western red cedar in wet conditions, so use stainless steel hardware anywhere it touches the tub.
Plan Your Size and Check the Water Weight
Water weighs about 8.34 pounds per US gallon, and a tub is measured in cubic inches, so gallons equal cubic inches divided by 231. This is the number most plans skip, and it decides whether your floor is a concern. The table shows a full tub, before you add the weight of the wood, the hoops and a person.
| Tub design | Water volume | Water weight |
|---|---|---|
| Round, 36 in inside diameter, 20 in water depth | 88 gal | 735 lb |
| Rectangular, 48 x 28 in, 18 in water depth | 105 gal | 873 lb |
| Round, 40 in inside diameter, 22 in water depth | 120 gal | 998 lb |
A tub holding close to 1,000 pounds of water sits on a small footprint, so on a wood-framed floor have a structural professional or your local building department confirm the joists can carry it. A ground-level slab or an outdoor pad is a much easier place for a first tub.
Stave Angles for a Round Wooden Tub
For a straight-sided round tub, each stave is a long, narrow trapezoid. Each long edge is cut at a bevel of 180 divided by the number of staves, measured from square. The inside face width of each stave is 2 x r x tan(bevel), where r is the inside radius to a flat. Outer faces are wider by the stave thickness: use r plus thickness in the same formula.
| Number of staves | Edge bevel | Inside face width (36 in inside diameter) |
|---|---|---|
| 8 | 22.5 degrees | 14.9 in |
| 10 | 18 degrees | 11.7 in |
| 12 | 15 degrees | 9.6 in |
| 16 | 11.25 degrees | 7.2 in |
| 20 | 9 degrees | 5.7 in |
More staves means narrower boards, which are easier to find in clear, straight-grained stock and swell less individually, but it also means more seams to fit. Twelve to sixteen is a sensible range for a tub around three feet across. Always dry-fit the ring before you commit to glue.
How to Build the Tub
- Mill the staves. Plane them to a uniform thickness and cut them to length. Choose clear heartwood with straight grain and no through knots.
- Cut the bevels. Set the saw to the bevel from the table, cut one edge, flip the board and cut the other. Test on scrap and check the ring before cutting all of them.
- Cut the groove for the bottom. A shallow groove along the inside near the bottom edge of each stave captures the bottom panel. It must line up around the ring, so use a fence and take identical passes.
- Make the bottom. Glue up boards edge to edge into a disc slightly larger than the groove circle, then trim to fit. Use a glue rated for wet use; our waterproof wood glue guide compares the options.
- Dry-fit and hoop. Stand the staves in a ring, drop in the bottom, and pull the ring tight with band clamps. Add hoops of stainless steel or another corrosion-resistant band, spaced near the bottom and top and tightened evenly.
- Sand and finish. Sand the inside smooth and ease the top edge, since the rim is where a bather sits. See rounding edges without a router.
- Soak test. Fill it outdoors or over a floor drain and leave it. Seepage at the seams is normal at first, and it should slow as the wood swells. Do not plumb or install it until it holds water.
Waterproofing That Actually Works
If a stave tub is built tight, the sealing job is done by swelling, and the finish is mostly about skin feel and water resistance on the wood surface. Where builders want more insurance, the options are:
- Leave it bare or lightly oiled. This is the traditional approach for a hinoki ofuro. It needs to stay wet or damp to stay tight.
- Add a liner. A separate waterproof shell inside the wood is the most reliable way to prevent leaks, but the water no longer touches the wood.
- Coat the inside with a bathing-safe coating. Some builders use epoxy or a marine finish. Coatings on a surface that flexes with wet and dry cycles can crack, and you would be bathing in it, so check the maker guidance on cure time and skin contact for the exact product and let it cure fully. Treat this as a question for the product manufacturer, not a general rule.
For paneling and vanities around the tub, our wood waterproofing guide for bathrooms covers the splash zone, and choosing a wood sealer compares finishes. If you find rot in an older wooden tub, see wood rot repair with epoxy.
Drain, Plumbing and Electrical Safety
This is the section to slow down on. Water and electricity in a bathroom is where a DIY mistake stops being a cosmetic problem.
- Drain: a tub drain needs a trap and a vented waste line that meets your local plumbing code. Use a proper through-wall drain fitting with a gasket, and have a licensed plumber connect it, or at least inspect it, before you use the tub.
- Electrical: skip DIY pumps, jets and lights. Anything that runs on power near a tub should be installed by a licensed electrician on a GFCI-protected circuit.
- Hot water: a full tub of hot water is a scald risk, particularly for children and older adults. Test the temperature before getting in. Consumer safety guidance commonly recommends a water heater setting of 120 degrees Fahrenheit or lower.
- Slips: a wet wooden floor is slippery. Add a bath mat outside the tub and a grab bar if anyone needs it.
- Permits: a permanent fixture may need a permit, so ask your local building department first.
Care and Maintenance
- Rinse and drain after each use, and leave the room ventilated so the wood dries on the surface without drying out the seams.
- Do not leave a stave tub empty for weeks in dry heat. If it dries, refill it slowly to let it swell back.
- Clean with mild soap and a soft brush, and avoid harsh chemicals that can strip the wood.
- Look at the hoops and stainless hardware every so often, and re-tighten hoops if a seam starts to weep.
Frequently Asked Questions
How long does it take to make a wooden bathtub?
There is no honest single number, because it depends on the design and your shop. A hooped stave tub needs milling, bevel cutting, a dry fit, a bottom panel, hoops and a soak test, and the soak test alone can take several days. Most first-time builders should plan on several weekends of work plus the swelling period, not a quick one-weekend project.
What wood is best for a wooden bathtub?
Rot-resistant softwoods are the usual choice. Hinoki is the traditional Japanese wood for an ofuro, and western red cedar, Port Orford cedar and Alaskan yellow cedar are more available options in North America. Teak is rated very durable by the Wood Database, but it is expensive and its silica content dulls cutting edges quickly.
Will a wooden bathtub leak?
A traditional stave tub can seep at first until the wood swells and closes the joints, which is why it should be filled and tested before it is used or plumbed in. A tub that is allowed to dry out for long periods can leak again. A separate waterproof liner inside a wood shell avoids this but is a different kind of build.
Can I put a wooden bathtub inside my house?
Yes, but plan it like any other bathtub. It needs a proper drain and trap, a floor that can carry the weight of the water, and any electrical work such as pumps or lights done by a licensed electrician on a GFCI-protected circuit. Check local plumbing and building codes before you start.
Conclusion
A wooden bathtub is a real woodworking project, but the leak-proofing decision comes before the wood choice. Pick a stave tub if you want the traditional swelling seal and can test it, or a wood shell around a liner if you cannot risk a leak. Check the weight, get the drain and electrical work done properly, and do the soak test before you install it.
Sponsored / affiliate links. As an Amazon Associate I earn from qualifying purchases. I may earn additional commission from eligible campaigns.