Wood Carving Ideas for Beginners: First Projects to Try
The best wood carving ideas for beginners are 30-minute spoon blanks, simple whittled mushrooms, relief-carved coasters, and soap practice, chosen by one rule: match the project to the knife, gouge, or rotary tool you already own. Pick a project that asks too much of your tool, and you burn time, wear out your hands, and stop before you learn what a clean cut feels like. This guide sorts first projects by tool, time, hand strength, and how forgiving they are when mistakes happen.
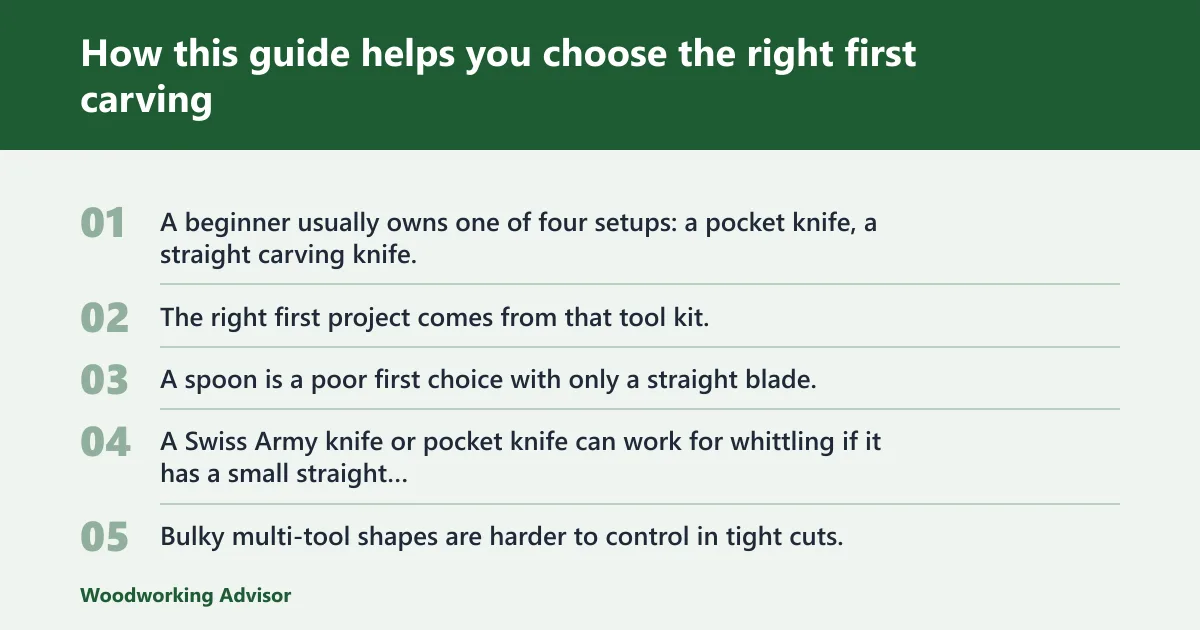
How this guide helps you choose the right first carving


Choose by tool set, not by the prettiest project photo
A beginner usually owns one of four setups: a pocket knife, a straight carving knife, a knife plus gouge, or a spoon knife setup. The right first project comes from that tool kit. A spoon is a poor first choice with only a straight blade, while a mushroom or comfort bird fits knife-only work far better.
A Swiss Army knife or pocket knife can work for whittling if it has a small straight blade. Bulky multi-tool shapes are harder to control in tight cuts. Schaaf Tools lists a 3pc Whittling Knife Set as a beginner tool option, which lines up with what I see most often, people start with one plain knife and learn from there.
Choose by time: 30 minutes, one evening, or one weekend
Time changes the right project more than most lists admit. In a short first session, simple rounded forms beat anything with thin parts, recesses, or layout lines that must stay exact.
If the wood is soft, tools are sharp, and the shape stays simple, a beginner may be able to finish a mushroom, corner wizard, or soap practice figure in one sitting. A spoon, relief tile, or coaster can often fit into one evening. A shallow bowl, fork, or simple decoy usually belongs in weekend territory.
Choose by forgiveness: what a beginner can recover after a mistake
Forgiving projects share the same traits: thick walls, short grain exposure, low detail, and shapes that still look intentional after extra material comes off. A snapped mushroom cap can become a shorter cap. A comfort bird can get smaller and still work. A spoon handle carved too thin is often done.
That is the central filter used below. Popularity matters less than recoverability.
What are the easiest wood carving ideas for beginners?
The easiest wood carving ideas for beginners are soap practice shapes, whittled mushrooms, comfort birds, simple corner figures, and mouse carvings from small basswood blocks. These projects stay thick, follow easy grain paths, and let beginners fix over-cuts by shrinking the form instead of throwing the piece away.
The five lowest-failure starter projects
- Soap practice shape: cheapest, fastest, and very forgiving for learning cut direction.
- Whittled mushroom: one stem, one cap, little layout, easy to shorten if symmetry drifts.
- Comfort bird: rounded body, no thin legs, and Crafty Twisty says it can be made from one basswood block and one straight carving knife.
- Corner wizard or corner gnome: attached to a board corner, so there are fewer fragile parts.
- Simple mouse: Family Handyman suggests a pocket knife mouse can start from a small block of basswood.
Why simple silhouettes beat detailed animals at first
Beginners lose more projects to thin outlines than to hard cutting. Long ears, tails, beaks, and necks break because grain runs out at the weak point. A chunky bird or mouse keeps more wood behind the shape, so cuts can be corrected without sudden snap-off.
Simple silhouettes train the habits that matter first. In my own shop, they let a new carver feel grain change under the edge, brace the thumb properly, and end a cut where intended before trying eyes, feathers, or fur lines.
One clear first-project recommendation
If only one first project makes the cut, it is the whittled mushroom in basswood. It asks for a knife, a small block, and basic push cuts. Mistakes are recoverable. The form still looks right if it ends up shorter, fatter, or more rounded than planned.

What wood should a beginner use for carving?
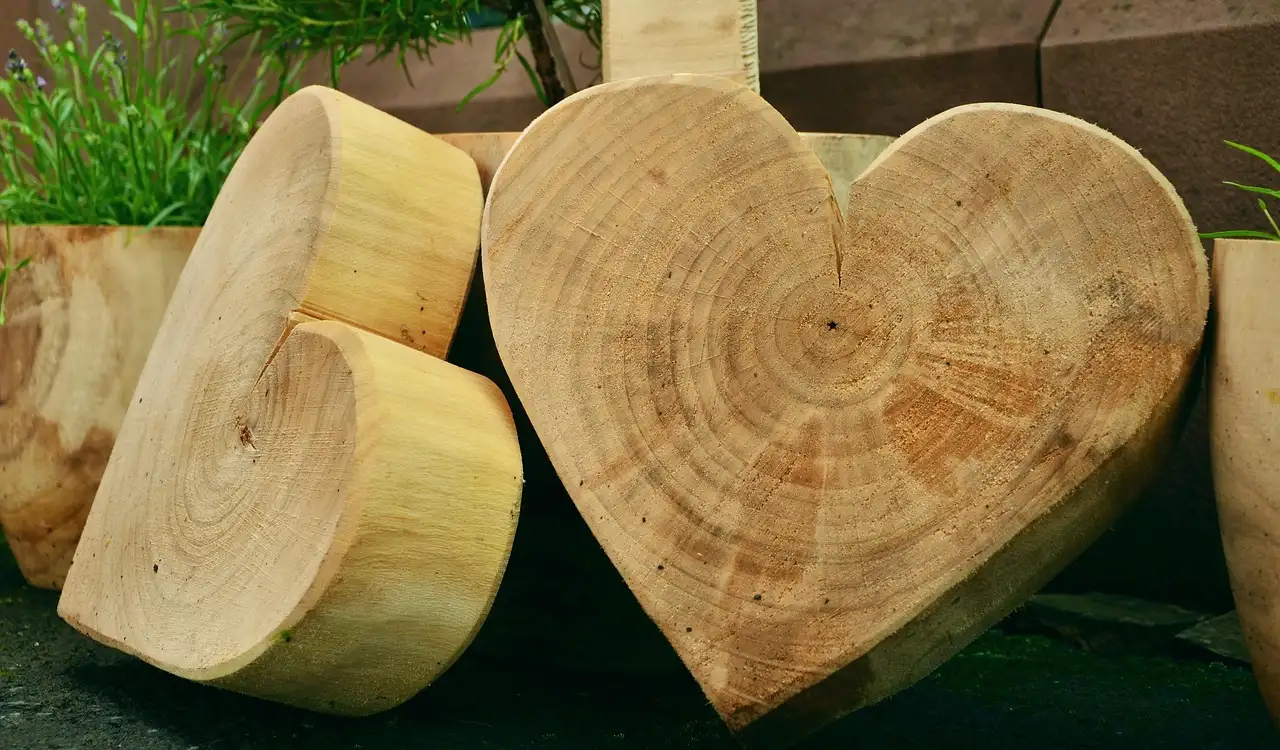
Basswood is the default beginner choice because the knife enters it with light pressure, the grain usually stays even from one pass to the next, and small blanks are easy to buy for first projects. Aspen is a good knot-free backup for simple utensils and straight-grain practice. Pine can work when it is knot-free and straight-grained, but growth rings often cut unevenly.
Basswood: soft cutting, common blank sizes, and finish options
Family Handyman recommends basswood as “the best wood for beginners.” That matches how most beginner projects are sold and taught. Basswood cuts with low resistance, shows knife lines cleanly, and does not fight every change in grain direction.
For small carvings, beginners usually do best with modest blanks rather than large blocks. A mouse, mushroom, or comfort figure often starts from a small basswood piece. Family Handyman says a pocket knife mouse can start from a small block of basswood, and Crafty Twisty says a comfort bird can be made from one basswood block and one straight carving knife.
Basswood also takes several finishes well. It can be left knife-finished, sanded lightly, painted, or waxed. For food-contact pieces, use mineral oil or a mineral oil and beeswax blend rather than film finishes.
Family Handyman says basswood is the best choice for carving duck decoys, which is another sign of how workable it is when a beginner wants to move from tiny forms to larger rounded shapes.
Aspen: knot-free alternative for simple utensils and straight-grain practice
Aspen is worth buying when basswood is unavailable and the board or branch is clean and straight-grained. It is a sensible first wood for plain utensils because it is often sold knot-free and cuts more evenly than random construction lumber.
Family Handyman says a wooden fork can start from an aspen branch about 10 inches long and about two inches in diameter. That gives beginners a real reference point: utensil work needs longer stock than a pocket carving, and straight grain matters more as the handle length grows.
Pine: when knot-free boards work and when they fight you
Pine is easy to find and cheap enough for practice, but only buy pieces that are knot-free and straight-grained. The soft earlywood and harder latewood rings can make a knife dive, skid, or leave a washboard surface.
For blocky ornaments, mushrooms, or simple signs, pine can be a fine substitute. For spoons, animals with thin parts, or any piece that needs clean detail, beginners usually have an easier time with basswood or aspen.
Can I start wood carving with just a knife?
Yes, a beginner can start wood carving with just a knife if the project stays simple and the blade is small, straight, and easy to control. Mushrooms, mice, comfort birds, and corner figures fit knife-only work. Spoons, bowls, and relief backgrounds usually improve once gouges or a spoon knife join the kit.
What a Swiss Army knife or pocket knife can realistically carve
A pocket knife is enough for whittling small decorative forms. The best use case is short-grain, palm-sized work with no deep hollows. A Swiss Army knife or pocket knife with a small straight blade gives better control than a thick, wide multi-tool blade.
Family Handyman suggests a pocket knife mouse from basswood, which is a realistic first target. Small faces, deep stop cuts, and undercut details are better left for a dedicated carving knife later.
When a dedicated carving gouge changes the job
A carving gouge is the tool that opens up shallow bowls, relief backgrounds, and rounded transitions a knife struggles to leave clean. Family Handyman recommends a 1/2-inch wide curved carving gouge for the wooden spoon bowl. (familyhandyman.com)
That curved blade shape matters beyond spoon work. A gouge can level relief backgrounds, soften a bird’s back, clean the inside of a shallow dish, and remove waste with more control than repeated knife slicing. Schaaf Tools lists a 12pc Beginner Set for simple relief and gouge projects, and also notes that a carving mallet can be used for controlled cuts.
When a hook knife or spoon knife is worth buying
For spoons and scoop cuts, the answer is simple: buy the right tool. Crafty Twisty says a wooden spoon uses a hook knife, also called a spoon knife. That curved edge cuts the bowl where a straight blade only scrapes and chatters.
Crafty Twisty gives a typical spoon knife price of about $12-15. That is a small buy if spoons are the main goal. If spoons are only a maybe, start with decorative knife projects first and delay the extra tool.
Beginner project matrix: 15 ideas scored by tools, time, and failure risk

How the scoring works
The matrix below is a decision guide, not a beauty contest. Lower scores are easier. Tool score rates how specialized the minimum tool is. Wood size score rates how fussy stock selection becomes. Grain and breakage scores show where beginners usually lose projects. Costs are rough starter-shop estimates for blank, finish, and the minimum added tool when needed.
| Project | Minimum tool | Tool req. 1-5 | Wood size 1-5 | Grain diff. 1-5 | Breakage risk 1-5 | Finish time | Rough materials cost | Forgiveness rank |
|---|---|---|---|---|---|---|---|---|
| Soap practice shape | Pocket knife | 1 | 1 | 1 | 1 | 30-45 min | roughly $1 | 1 |
| Whittled mushroom | Pocket knife | 1 | 1 | 1 | 1 | 30-60 min | roughly $2-4 | 2 |
| Comfort bird | Straight carving knife | 1 | 1 | 2 | 1 | 45-90 min | roughly $2-5 | 3 |
| Corner wizard | Straight carving knife | 1 | 2 | 2 | 1 | 45-90 min | roughly $2-5 | 4 |
| Simple mouse | Pocket knife | 1 | 1 | 2 | 2 | 45-90 min | roughly $2-4 | 5 |
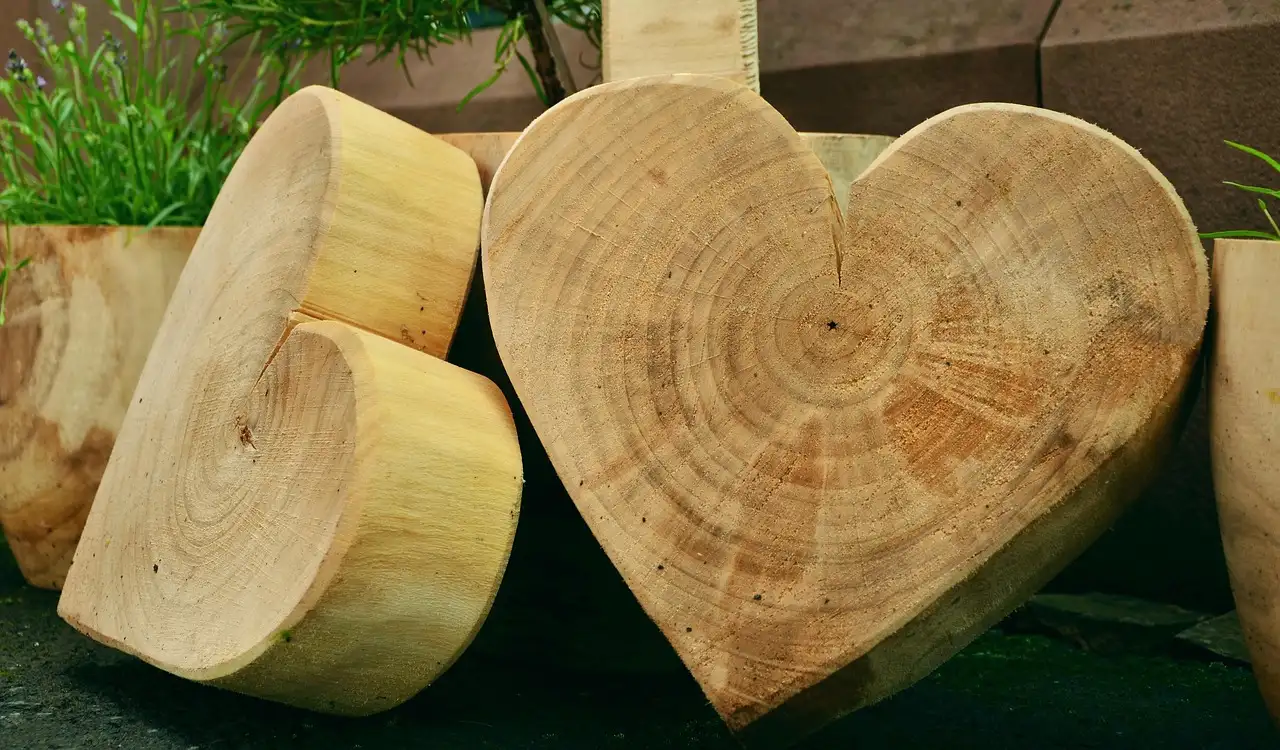
| Heart token | Straight carving knife | 1 | 1 | 2 | 2 | 45-75 min | roughly $2-4 | 6 |
| Simple bird silhouette | Straight carving knife | 1 | 2 | 2 | 2 | 1-2 hr | roughly $3-5 | 7 |
| Relief coaster | Knife + gouge | 2 | 2 | 2 | 1 | 1-2 hr | roughly $4-8 | 8 |
| Leaf relief tile | Knife + gouge | 2 | 2 | 3 | 1 | 1-3 hr | roughly $4-8 | 9 |
| Simple ornament disc | Knife + gouge | 2 | 2 | 2 | 2 | 1-2 hr | roughly $3-6 | 10 |
| Spoon blank only | Straight knife | 1 | 3 | 3 | 2 | 45-90 min | roughly $3-6 | 11 |
| Finished cooking spoon | Hook knife + straight knife | 3 | 3 | 3 | 3 | 2-4 hr | roughly $15-22 | 12 |
| Simple spatula | Knife + gouge or rotary tool | 3 | 3 | 3 | 3 | 2-3 hr | roughly $6-12 | 13 |
| Wooden fork | Knife + gouge | 3 | 4 | 4 | 4 | 3-5 hr | roughly $5-10 | 14 |
| Shallow bowl | Gouge + mallet | 4 | 4 | 4 | 3 | 4-8 hr | roughly $10-20 | 15 |
Best knife-only ideas from the matrix
The knife-only winners are soap practice, mushroom, comfort bird, corner wizard, and mouse. They all keep the form thick and avoid deep hollows. If the beginner owns only a pocket knife, stay in that lane for the first few projects.
Best spoon-knife and gouge projects from the matrix
The best gouge entry point is the relief coaster because the work stays shallow and flat-backed. The best spoon-knife entry point is a spoon blank first, then a finished spoon after the beginner learns how to sweep the bowl without digging the rim.
Best giftable and kid-suitable picks from the matrix
For gifts, the strongest picks are heart tokens, comfort birds, ornament discs, and relief coasters. For kids, the safest options are soap practice, sanded basswood hearts, and adult-supervised mushrooms with very limited knife work.
How do I choose a beginner wood carving project by tool level?
Choose by the minimum tool that can finish the shape cleanly. Knife-only projects should stay solid and rounded. Knife-plus-gouge work can include shallow recesses and flat backgrounds. Spoon-knife projects need scoop cuts. Rotary-tool-friendly projects help sore hands, but they trade muscle effort for dust, noise, and a faster mistake rate.
Knife-only projects
- Mushrooms
- Comfort birds
- Corner figures
- Simple mice
- Heart tokens
These rely on paring cuts, thumb-braced cuts, and small stop cuts. They are the right place to learn how wood reacts before adding more specialized edges.
Knife plus gouge projects
- Relief coasters
- Leaf relief tiles
- Rounded dish forms
- Simple ornament discs
A curved gouge is useful for bowl cleanup, relief backgrounds, and rounded transitions. Family Handyman recommends a 1/2-inch wide curved carving gouge for spoon bowl work, and that same width is handy for many shallow decorative cuts.
Spoon-knife projects
- Finished spoons
- Scoops
- Simple spatulas with shallow dish areas
Crafty Twisty says a wooden spoon uses a hook knife, also called a spoon knife. Start here only if the goal is utensils. Otherwise, the added tool and new cut mechanics make the learning curve steeper than it needs to be.
Rotary-tool-friendly options if hand strength is limited
Beginners with sore hands often do well with relief coasters, shallow signs, and broad comfort-bird shaping done partly with a rotary tool. Keep detail low. Rotary tools remove wood fast and can wash out edges before the beginner notices.
What wood carving ideas can I finish in one evening?
In one evening, most beginners can finish a mushroom, comfort bird, mouse, heart token, relief coaster, or spoon blank if the stock is basswood or clean aspen. The key is to avoid thin handles, deep hollows, and any outline that depends on perfect symmetry to look finished.
30 to 60 minute projects for a first session
- Soap practice figure
- Whittled mushroom
- Simple corner figure
- Heart token
These teach tool control fast. They also expose grain direction early, which matters more than speed.
One-evening gift projects that still look clean
- Comfort bird
- Relief coaster
- Ornament disc
- Mouse carving
The best gift projects are small enough to finish, but large enough that sanding and finish do not erase the shape. I usually prefer a knife-finished surface here, because heavy sanding quickly rounds over the very curves that make these pieces read cleanly.
Weekend projects that teach more without spiking failure rate
- Finished spoon
- Leaf relief tile
- Simple bird silhouette
- Small shallow bowl
These projects add either recess work or longer grain paths. They teach more, but a beginner should expect more tool marks and more time spent correcting cut direction.
Which projects are safest for beginners, kids, and tired hands?
Safest beginner projects use thick stock, short cuts, and forms that keep the support hand away from the blade path. Soap shapes, mushrooms, comfort birds, and relief coasters fit best. For kids, adult-supervised soft-material carving beats knife-only wood projects, and sore hands usually do better with larger grips or light rotary shaping.
Safer project shapes with fewer slip-prone cuts
Look for shapes without deep V-cuts, inside corners, or long slicing passes toward the holding hand. Rounded forms are safer because the blade exits gradually. Flat-backed relief work is also safer because the board can sit on a bench or non-slip mat.
Kid-suitable carving ideas
Kids should not be treated as small adult beginners. Safer choices are soap practice, basswood pieces that adults pre-shape, or sand-and-finish projects with only a few supervised knife cuts. If a knife is used, the project should stay palm-sized and blunt-ended.
Projects for limited grip strength or sore hands
Relief coasters, shallow plaques, and lightly shaped comfort birds are easier on the hands than spoons or forks. Thick handles on tools help. So does softer wood. Basswood is usually the first pick here because it cuts with less force than pine boards from the home center.
How to avoid the mistakes that ruin first carvings
Hand placement, cut-resistant gloves, and glove fit tradeoffs
Schaaf Tools lists cut-resistant safety gloves as part of beginner whittling gear. The glove usually goes on the support hand, the one holding the wood. That adds a margin when a cut runs long.
Fit matters. A loose glove bunches at the fingertips and reduces dexterity. A tight glove improves control but can feel stiff. The safer choice is the smallest size that still lets the thumb and fingers pinch the work securely.
Use chest-lever cuts only when the elbows are anchored and the blade path ends in empty space, not in the hand. For paring cuts, brace the thumb of the knife hand against the wood or the other thumb so the blade moves in a short, controlled arc.
Reading grain direction before the first cut
Grain direction is plain once a beginner knows what to watch. If the knife glides and leaves a shiny, clean surface, the cut direction is likely right. If fibers lift, fuzz, or tear ahead of the edge, the grain is rising into the cut and direction should reverse.
Torn grain often shows as ragged patches near curves or end grain transitions. Stop there. Turn the piece around and take smaller cuts from the opposite side.
How to save snapped tips, torn grain, and over-carved spots
A snapped beak can become a rounder face. A mushroom stem cut too thin can become a shorter mushroom. Over-carved symmetry problems are often fixed by reducing the fuller side to match the leaner side.
Torn grain can be pared back below the damaged fibers, then blended with lighter cuts. If a handle or fork tine gets too thin, salvage is less likely. That is why forks rank near the bottom of the matrix for first projects.
When to sand, what grit range to use, and when to stop
Sandpaper is a selective tool, not a requirement. On beginner carvings, a practical range is roughly 120 through 320 grit. Start coarse only if tool marks are deep. Otherwise, jump in at a finer grit.
Sanding works best for a few specific jobs: knocking down raised pine grain, cleaning a relief background after gouge work, and taking utensil handles from slightly faceted to comfortable in the hand. It hurts crisp knife facets, small noses, carved eyelids, and narrow ridges. Stop sanding once the surface feels even. More passes usually round over the details the beginner worked to keep.
Finishing beginner carvings without overworking them
Mineral oil and beeswax for spoons and utensils
For food-contact carvings, mineral oil is the simple first finish. It is easy to renew and leaves no hard film. A beeswax and mineral oil blend gives a slightly fuller feel and a softer sheen.
Use oil alone when the utensil still needs a dry, low-build surface. Use the oil-wax blend when a bit more body and water resistance are wanted. Let the carving absorb what it will, then wipe the excess.
Simple finish choices for decorative carvings
Decorative carvings can stay bare, get a wax coat, or take paint after a light sanding. Basswood accepts paint well because the grain stays quiet. Aspen also finishes cleanly. Pine can blotch or show raised grain after finishing, so test first on scrap.
How finish changes the look of basswood, aspen, and pine
Basswood shifts from pale and flat to slightly warmer with oil or wax. Aspen usually stays light, with a cleaner grain look than many pine boards. Pine darkens more around growth rings, which can either add character or make beginner knife work look rougher than it is.
Frequently asked questions
What wood carving project should I start with first?
Start with a basswood mushroom. It needs only a knife, uses a small blank, and forgives uneven shaping. If one side gets over-cut, the whole form can be reduced and still look intentional. That makes it a better first project than a spoon, fork, or thin animal profile.
Which beginner carving projects are best for gifts?
Comfort birds, heart tokens, ornament discs, and relief coasters make the best beginner gifts because they finish cleanly without fragile parts. They also accept simple wax, paint, or light sanding well. Finished spoons can be gifted too, but only after the carver is comfortable using a spoon knife.
What are some easy wood carving projects for kids?
Soap practice shapes, adult-prepared basswood hearts, and heavily supervised mushrooms are the safest easy options for kids. Keep projects palm-sized and blunt. Avoid forks, spoons, and detailed animals, since those need deeper cuts, more force, and better grain reading than most young beginners have.
What size wood block should I use for beginner carvings?
Use small stock for small forms and longer stock for utensils. A mouse or mushroom works from a small basswood block. Family Handyman says a wooden fork can start from an aspen branch about 10 inches long and about two inches in diameter, which shows how much stock utensils need.
What wood carving projects are safe for beginners?
The safest beginner projects are thick, rounded shapes and flat-backed relief pieces. Mushrooms, comfort birds, soap practice, and relief coasters keep cuts short and reduce breakage. They also let the support hand stay farther from the blade path than spoons, forks, or narrow animal forms.
Can I start wood carving with just a knife?
Yes, if the knife has a small straight blade and the project stays simple. A Swiss Army knife or pocket knife can manage mushrooms, mice, and other small whittling pieces. Once the work needs a hollow, relief background, or spoon bowl, a gouge or hook knife becomes the better tool.
Sponsored / affiliate links. As an Amazon Associate I earn from qualifying purchases. I may earn additional commission from eligible campaigns.