Crown molding calculator: measure cuts and materials
Measure the room first, then feed the crown profile and corner data into the calculator. That gives you cut settings you can use and a buy list with real numbers, instead of a rough footage guess.
According to Crown Molding 101 – All You Need to Know – Bob Vila — Large hardwood crown can cost as much as $30 a foot.
How is this calculated?
Press Calculate to see the math with your numbers.
What you’ll need before you calculate
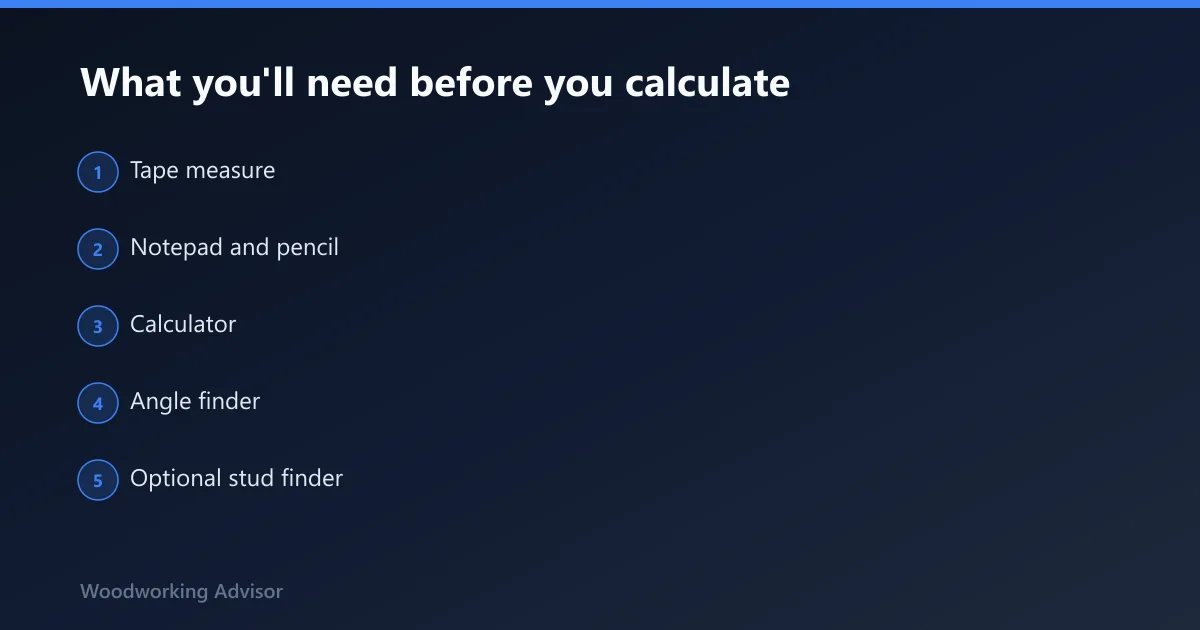



- Tape measure
- Notepad and pencil
- Calculator
- Angle finder
- Optional stud finder
- Room dimensions
- Corner count
- Crown molding profile sheet with spring angle
- Material type: wood, MDF, PVC, polyurethane, polystyrene, or plaster
How a crown molding calculator works
A crown molding calculator turns room perimeter into linear footage, then uses spring angle, wall-to-ceiling angle, and corner type to set the cuts. Add waste for test cuts, trim ends, and layout mistakes, or the first real corner can leave you short and force a rushed splice.
What the calculator needs as inputs
Crown molding is the trim that runs where the wall meets the ceiling. It separates those two planes and adds architectural character, and stock widths range from 1-½ inches to 7-½ inches. The calculator has to know the profile size because a taller, wider crown changes the cut math and the way it sits in the room.
What the calculator should output
The useful result is not footage alone. It should output total linear feet, estimated waste, stick count, and corner cut settings for inside and outside corners. For PVC, polyurethane, or polyethylene crown, 45-degree miter joints are used on both inside and outside corners.

How do you measure the room perimeter?
Room perimeter drives the purchase quantity. Measure each wall at the ceiling line, add every wall length, and include alcoves, bump-outs, and short return walls. If the room is irregular, break it into segments and total them separately before you calculate waste.
- Measure each wall from corner to corner along the ceiling line.
- Record inside corners, outside corners, and any alcoves.
- Add all wall lengths for total linear footage.
- Subtract only openings that truly stop crown runs, such as open stair voids or missing walls.
- Separate odd sections so the buy list reflects the real layout.
Why openings and short runs matter
A straight perimeter estimate can miss a small wall that still needs a full cut sequence. In a room with bump-outs, the extra corner count often matters more than the extra inches. That is where calculators fail if they only total length and ignore layout.
How do you convert measurements into cut settings?
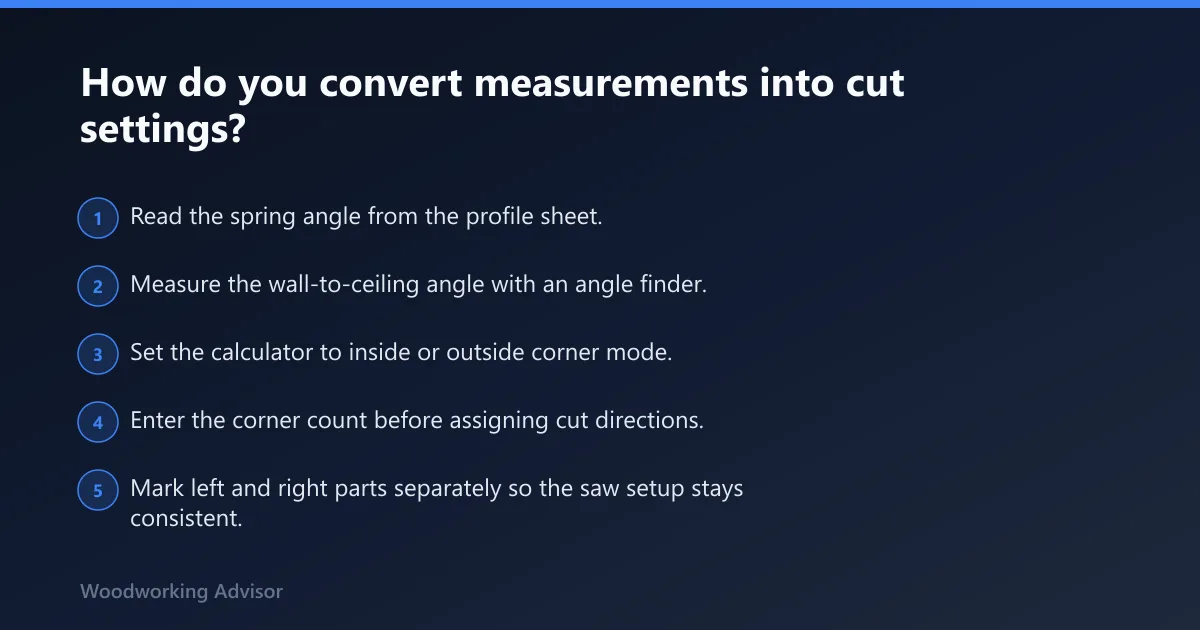
Enter the spring angle from the molding profile, then use the actual wall-to-ceiling angle instead of assuming a perfect 90 degrees. That geometry determines the miter setting and, in some setups, the bevel as well. Inside and outside corners need opposite cut directions, so the calculator must separate them.
Spring angle and wall angle
Spring angle is the main crown molding geometry input. It tells the calculator how the crown sits between wall and ceiling, and it changes the saw settings. The wall-to-ceiling angle matters too, because many rooms are not perfectly square or plumb.
Inside and outside corner cuts
An inside corner needs a matched pair of complementary cuts, one left and one right. An outside corner uses the same idea, but the face of the joint is exposed, so accuracy matters more. Miter joints are common for two trim pieces meeting at a corner, especially when the profile is being cut from stock rather than coped.
- Read the spring angle from the profile sheet.
- Measure the wall-to-ceiling angle with an angle finder.
- Set the calculator to inside or outside corner mode.
- Enter the corner count before assigning cut directions.
- Mark left and right parts separately so the saw setup stays consistent.
What should the calculator do for tricky corners?
The calculator should flag out-of-square inside corners, adjust outside corners for visible joint accuracy, and keep corner counts separate from straight-run footage. L-shaped rooms and bathrooms usually need extra layout checks because short walls, returns, and repeated turns create more chance for an off-angle cut.
Out-of-square inside corners
Inside corners are often the hardest part of the job. When walls are out of square, a coped joint may fit better than a simple miter. The calculator should flag that corner so the cut list does not assume a clean 90 degrees where none exists.
Outside corners and layout changes
Outside corners show gaps faster than inside corners. The calculator should treat them as visible joints and allow a little more waste around them, especially in bathrooms, foyers, and L-shaped rooms where the layout turns often.
How do I calculate crown molding for a room?
Start with total perimeter, then add waste, then convert the result to purchase quantity using stick lengths and cut layout. The practical formula is room perimeter plus waste allowance, adjusted for corner count and profile complexity. If the room has many turns, use a larger waste factor than a simple square room.
- Measure all wall runs at ceiling level.
- Count inside and outside corners separately.
- Enter spring angle and wall-to-ceiling angle.
- Add waste for test cuts, trim ends, and mistakes.
- Round up to whole sticks before buying.
Download the worked calculation table
Use the table below as a downloadable calculation sheet. It shows linear footage needed, waste allowance, and corner-cut inputs for three common layouts. A calculator should be able to produce the same fields, not just a generic footage total.
| Scenario | Room layout | Linear footage needed | Waste allowance | Corner-cut inputs |
|---|---|---|---|---|
| 10×12 room | Perimeter room with 4 inside corners | 44 ft | 10% = 4.4 ft | 4 inside corners; spring angle per profile; wall-to-ceiling angle measured at 90° or actual |
| L-shaped room | Two connected rectangles with 6 corners total | 58 ft | 12% = 7.0 ft | 4 inside corners, 2 outside corners; mark turn sequence before cutting |
| Bathroom | Small room with one door return and one outside bump | 28 ft | 15% = 4.2 ft | 3 inside corners, 1 outside corner; extra test piece for moisture-safe finish checks |
For a download-ready sheet, copy the table into your shop notes and add columns for stick length and leftover offcuts. That makes the calculator useful at the store, not only at the bench.
How much does crown molding cost per foot?
Cost per foot depends on material and detail level. Plain pine crown can start around $1 per foot, MDF crown can cost between $1 and $7 a foot, PVC and polyurethane crown ranges from around $2 to $4 a foot, polystyrene crown starts under $1 per foot, large hardwood crown can cost as much as $30 a foot, and plaster crown can cost up to $30 a foot.
How to turn price per foot into budget
Multiply the linear footage needed by the per-foot material price, then add waste before you compare options. A 10% waste allowance can move a project enough to matter, especially on hardwood or plaster. Wood crown molding is the industry standard, but it is not always the cheapest once finish work and waste are counted.
What crown molding material is best for bathrooms or humid rooms?
For bathrooms and other humidity-prone rooms, PVC or polyurethane are the safer choices because they handle moisture better than wood or MDF. Material choice also affects cost per foot and cutting behavior, so the calculator should keep the material field tied to both budget and installation plan.
Material notes by room condition
Wood crown molding is the industry standard, but it asks more from the installer and the finish schedule. MDF is cheaper and paints well, yet it does not belong in damp conditions. Polystyrene is light and inexpensive, while plaster and hardwood push both cost and skill demand higher.
Common mistakes
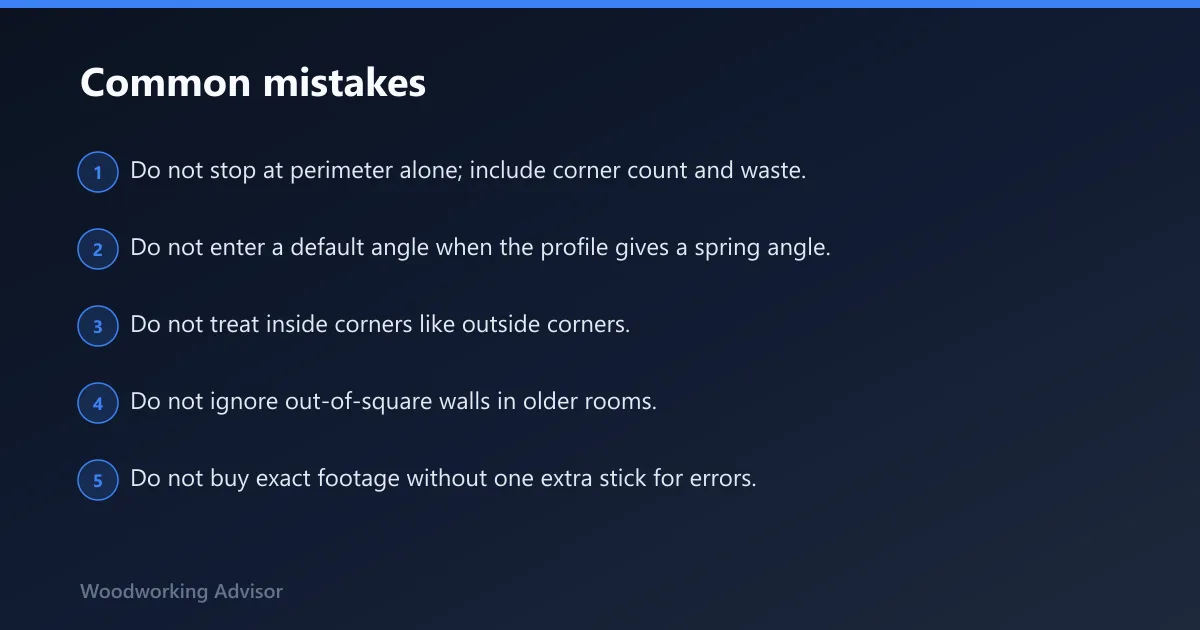
Most bad cut lists come from three errors: skipping waste, using the wrong spring angle, and assuming every corner is square. A fourth mistake is buying exact footage with no backup stock, which leaves no room for test cuts or a damaged stick.
- Do not stop at perimeter alone; include corner count and waste.
- Do not enter a default angle when the profile gives a spring angle.
- Do not treat inside corners like outside corners.
- Do not ignore out-of-square walls in older rooms.
- Do not buy exact footage without one extra stick for errors.
If that didn’t work, try this next
- Re-measure the longest wall at the ceiling line and compare it to the opposite side.
- Open the angle finder path: Measure corner > record angle > compare to 90°.
- Re-enter the spring angle from the actual molding profile, not from memory.
- Separate inside corners from outside corners in the cut list and recalc waste.
Prevention: write the profile spring angle on the back of the first stick before layout starts.
Frequently asked questions
How much crown molding do I need for my ceiling perimeter?
Take the total perimeter and add waste based on the room shape. A simple square room may need only a modest allowance, while an L-shaped room or bathroom needs more because of extra corners, test cuts, and layout changes.
What angle do I cut crown molding corners?
Corner angle depends on the profile’s spring angle and the room’s actual wall-to-ceiling angle. For PVC, polyurethane, or polyethylene crown, 45-degree miter joints are used on both inside and outside corners. Other materials still need angle setup tied to the profile.
What is the correct miter angle for crown molding?
The correct miter angle comes from the crown’s spring angle, not from a one-size-fits-all setting. A calculator should convert the spring angle and wall angle into the saw setting before any cuts are made. That is the difference between a fit and a gap.
How do I figure crown molding height and projection?
Use the profile sheet and the stock width range as the starting point. Crown molding comes in stock widths from 1-½ inches to 7-½ inches, and larger profiles need more visual space. In low rooms, a smaller profile usually reads cleaner than a tall one.
Do I need a spring angle for crown molding calculations?
Yes. Spring angle is the geometry input that lets the calculator translate the installed position into cut settings. Without it, the miter and bevel math is guesswork, especially on inside and outside corners where the two sides must meet cleanly.
Sponsored / affiliate links. As an Amazon Associate I earn from qualifying purchases. I may earn additional commission from eligible campaigns.