Dado Joint Calculator: Size, Depth, and Fit
For a slip fit, make the dado 0.002 to 0.010 in. wider than the panel thickness; for a glued fit, match thickness closely. Too much clearance leaves weak, sloppy casework; too little forces splitting, burning, or heavy sanding. This guide shows how to calculate dado width, depth, and cutter setup for table saws, routers, and dado stacks.
How is this calculated?
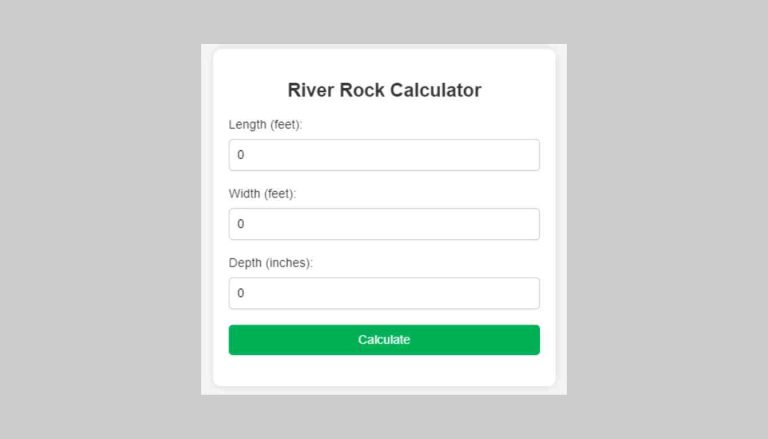
Press Calculate to see the math with your numbers.
What a dado joint
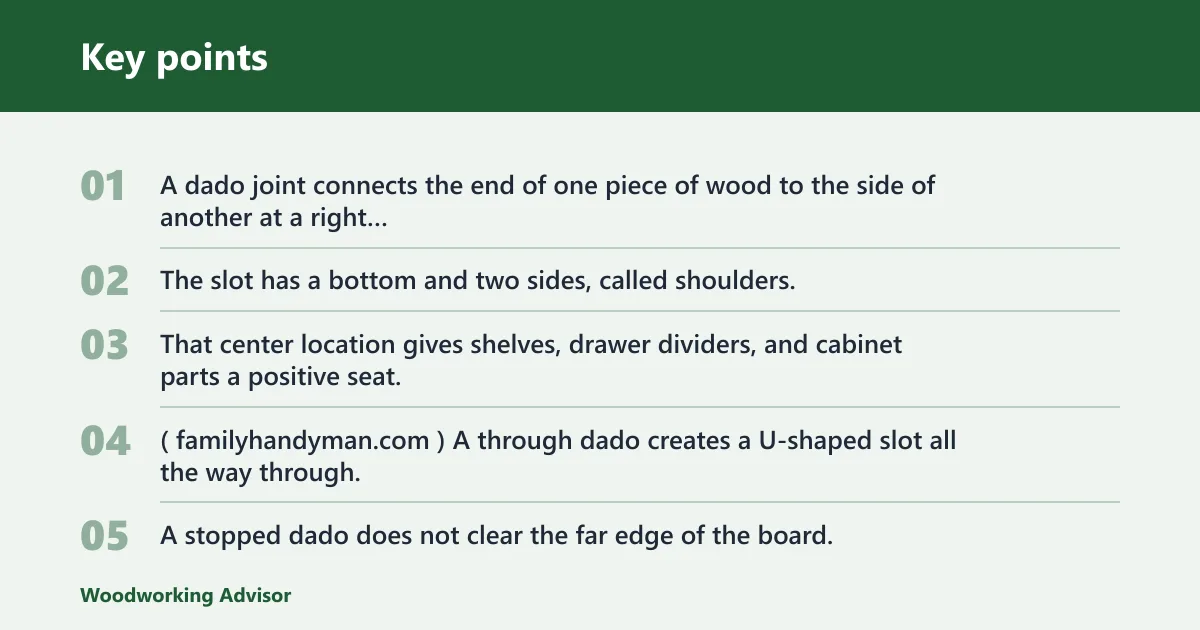


A dado joint connects the end of one piece of wood to the side of another at a right angle. The slot has a bottom and two sides, called shoulders, and it usually falls within the center of the material. That center location gives shelves, drawer dividers, and cabinet parts a positive seat. (Familyhandyman)
A through dado creates a U-shaped slot all the way through. A stopped dado does not clear the far edge of the board, so the cut stays hidden on the outside face. Stopped cuts need more layout care because the end of the groove has to stop cleanly before the edge breaks through.
For casework, the main job is support and registration. A panel seated in a dado resists racking better than a simple butt joint, and the joint helps locate the part during assembly. The fit still matters. A loose slot shifts under clamp pressure, and an overly tight slot can bow the panel or split the shoulder.
Where dados fit in shelves and cabinets
Dado joints are commonly used in bookshelves and drawer dividers. They also fit well in cabinet carcases, fixed shelves, and partitions where you want the part to register at a known height. Because the board lands in a groove, layout errors show up immediately at assembly.
How do you calculate dado width?
Start with the mating board thickness, then set the dado to that thickness plus a small fit allowance. For a slip fit, 0.002 to 0.010 in. over the panel thickness is a practical target. For a glued fit, stay close to the measured stock size and confirm it on scrap before cutting the real part.
Use nominal size only as a starting point. Plywood often measures off-size, and that matters more than the label on the sheet. A 3/4 in. panel may be a little thinner or thicker, so the safest workflow is: measure the actual panel, cut a test groove, and adjust the cutter setup to that measurement.
Say your plywood measures 0.742 in. instead of a full 0.750 in. If you cut a nominal 3/4 in. dado with no test, the fit may feel too tight. Adjust the setup to the actual board, then sneak up on the final width with a scrap strip from the same sheet.
Scrap-test adjustment for plywood
Use a scrap test whenever the sheet stock does not match the target size. If the strip starts but stops short, open the dado slightly. If it rattles or rocks, narrow the cut on the next test piece. Keep the adjustment small, then lock the setup only after the scrap slides without force.
How deep should a dado be?
Depth is a design choice, but it must leave enough support and shoulder area for the part being housed. Too shallow reduces bearing surface and can make the assembly depend too much on glue. Too deep weakens the board because it removes more material from the parent panel.
For many furniture parts, the depth only needs to be enough to register the mating board and hold it square during assembly. Thin stock needs special caution. If the panel is already thin, a deep groove can leave a fragile wall above or below the dado and reduce screw-holding or clamp resistance near the cut.
A common first-timer mistake is making the dado deep because the cutter can reach that depth. The tool’s capacity is not the design target. Set the depth from the part’s thickness, its load, and how much material must remain on both sides of the slot.
Router setup and pass count
Routers can make dado joints. A straight bit does the cutting, and the width comes from the bit diameter plus the guide arrangement or multiple passes. For wider dados, use more than one pass instead of forcing a single cut that can overheat the bit or wander off layout.
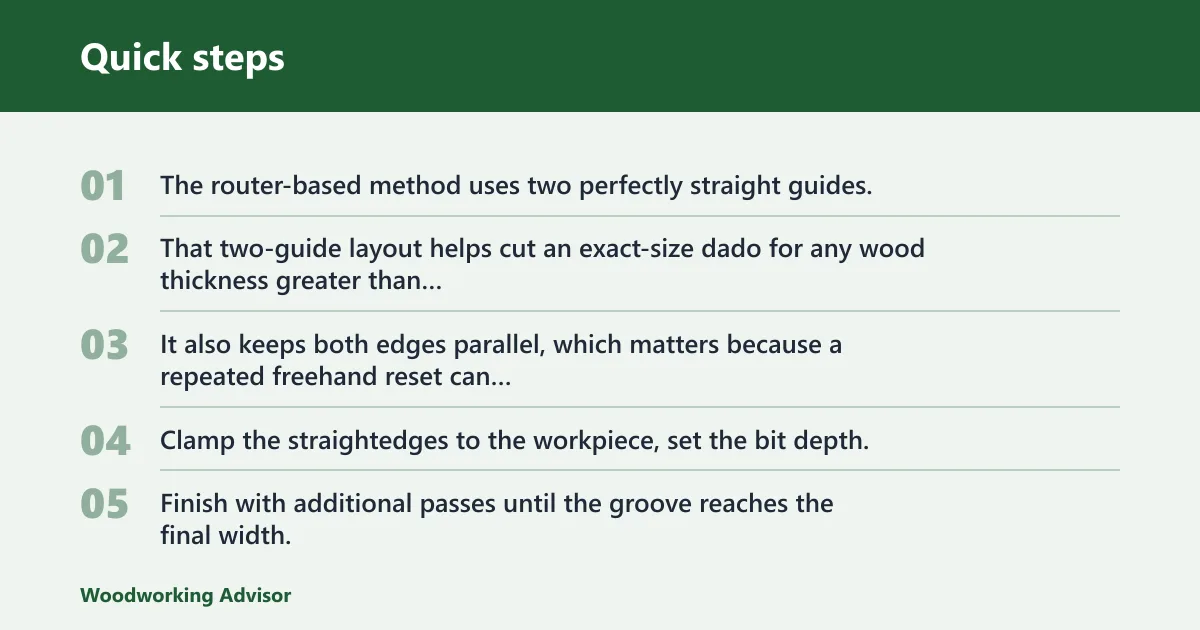
The router-based method uses two perfectly straight guides. That two-guide layout helps cut an exact-size dado for any wood thickness greater than the bit diameter. It also keeps both edges parallel, which matters because a repeated freehand reset can create a tapered groove.
How to cut a dado joint with a router
Clamp the straightedges to the workpiece, set the bit depth, and make the first pass with the router riding the guides. Inside cuts are commonly routed clockwise. Finish with additional passes until the groove reaches the final width, then test the fit on scrap before touching the workpiece again.
Use a router straightedge jig that leaves clamp clearance along both edges of the cut. The guides must sit far enough away for the router base to travel without hitting clamps or toggle hardware. If the jig shifts between passes, the slot can taper even when each pass looks clean.
How to cut dado joint without a dado blade
If you do not have a dado set, a router is the most direct alternative. A straight bit can cut a clean flat-bottomed recess, and a bearing-guided pattern bit can help follow a template for repeated cuts. For very wide grooves, multiple router passes are the normal method.
Use the bit diameter to plan the passes. A 1/2-inch diameter bit with 1-inch-long cutters can make a little less than 3/4-inch-wide dado in two passes. Wider cuts take more passes. The goal is not speed. It is a straight groove with square shoulders and no burn marks. (Familyhandyman)
How to avoid tapered cuts and exit tearout
Taper usually comes from moving one guide, changing the offset, or failing to keep the router seated the same way on every pass. Exit tearout is more common when the bit breaks out at the far edge of the work. Keep the guides fixed, route in controlled passes, and stop short of the final edge when the design allows it.
Suppose a 3/4 in. dado on a cabinet side looks correct at the near edge but opens up slightly at the far end. That usually points to guide shift or uneven pressure during one pass. Recheck the clamp spacing and route the last cleanup pass only after the setup is locked.
Table saw or router?
A table saw dado set is like a blade sandwich, and it cuts the full width in one setup on a compatible saw. A router is slower, but it handles stopped dados well and works when the table saw is not practical because of part size, location, or shop limits. Tool choice changes both speed and cleanup.
Choose a dado set when the saw accepts it and the cut is a straightforward through dado or a long run in the middle of a panel. Choose a router when the workpiece is already installed, when the dado must stop before the edge, or when the board is too large to manage safely on the saw.
When a dado set is the faster choice
Use the table saw for repeat cuts in matching stock, especially when several parts need the same width and depth. Because the stack cuts the width in one setup, it is efficient for cabinet runs and shelf parts. It is still essential to confirm the stack width before the first real cut.
When a router is the better option
Use a router when you need a stopped dado, when the board is too large for the saw setup, or when the saw lacks a compatible dado insert. Routers also let you clean up to a line more easily after a rough layout cut. They require more passes, but they are more flexible.
Dado sizing table
This table turns stock thickness into a setup plan. The width targets assume the dado should match the actual board thickness closely, with a small allowance only when the fit needs to slide. For plywood that measures undersized, use the scrap-test adjustment column before cutting the final parts.
| Stock size | Recommended cut width | Target depth | Router passes | Setup notes | Scrap-test adjustment for undersized plywood |
|---|---|---|---|---|---|
| 1/2 in. | 0.502 to 0.510 in. | 1/8 in. to 1/4 in. | 2 passes with a 1/2-inch bit | Good for light shelves and thin dividers; verify shoulder support before final assembly. | If the sheet measures thin, narrow the cut to the actual thickness and retest on a scrap strip. |
| 5/8 in. | 0.627 to 0.635 in. | 3/16 in. to 1/4 in. | 2 to 3 passes | Works well for case parts where you want a firmer seat than 1/2 in. stock. | Open the dado in small steps until the scrap slides in with hand pressure only. |
| 3/4 in. | 0.752 to 0.760 in. | 1/4 in. to 5/16 in. | 2 passes with a 1/2-inch bit, sometimes 3 for cleanup | Common cabinet and bookshelf size; a little less than 3/4-inch-wide dado can be reached in two passes with a 1/2-inch bit. | If the plywood is undersized, set the final width to the measured thickness, not the label size. |
| 18 mm | 18.0 mm to 18.3 mm | 4 mm to 6 mm | 2 to 3 passes | Metric sheet goods often vary slightly; confirm the actual thickness before setting the guides. | Use a scrap test from the same sheet and trim the width to the measured panel size. |
| 1 in. | 1.002 to 1.010 in. | 1/4 in. to 3/8 in. | 3 or more passes | Best for heavier parts; check router bit length and table saw capacity before setup. | If the panel runs thin, reduce width to the actual measurement and avoid forcing a deep, tight fit. |
Frequently asked questions
How do I calculate a dado joint width?
Measure the mating board, not the label. Then set the dado a few thousandths wider for a slip fit, or very close for a glued fit. A practical target is 0.002 to 0.010 in. over the actual thickness, followed by a scrap test to confirm the fit before cutting the finished part.
How deep should a dado joint be?
Make the depth deep enough to register and support the part, but not so deep that the remaining wall feels weak. For many case parts, 1/8 in. to 1/4 in. is a practical range, with thicker stock able to accept a little more depth if the design still leaves enough material.
How do I cut a dado joint with a router?
Clamp two straight guides to the workpiece, set the bit depth, and make controlled passes until the groove reaches full width. Keep the router riding the same reference edge on every pass. Test the fit on scrap first, then make the final cut only after the width is confirmed.
Can routers make dado joints?
Yes. Routers are a common way to cut dados, especially when you need a stopped dado or do not have a compatible table saw setup. A straight bit, a guide system, and a planned pass sequence are the key parts of the setup. A bearing-guided bit can help with template work.
What is the difference between a rabbet and a dado joint?
A rabbet is an edge cut with one side open, while a dado sits in the center of the material with both sides enclosed. That difference changes the layout and the look of the finished part. Rabbet and dado can also be combined in a rabbet-dado variation when the design calls for it.
How do I cut a stopped dado?
Lay out both the start and stop points clearly, then cut carefully so the groove does not clear the far edge of the board. A stopped dado often pairs with a notch at the mating part end. Because the cut ends inside the board, use extra attention at the stop line to avoid breakout.
Sponsored / affiliate links. As an Amazon Associate I earn from qualifying purchases. I may earn additional commission from eligible campaigns.