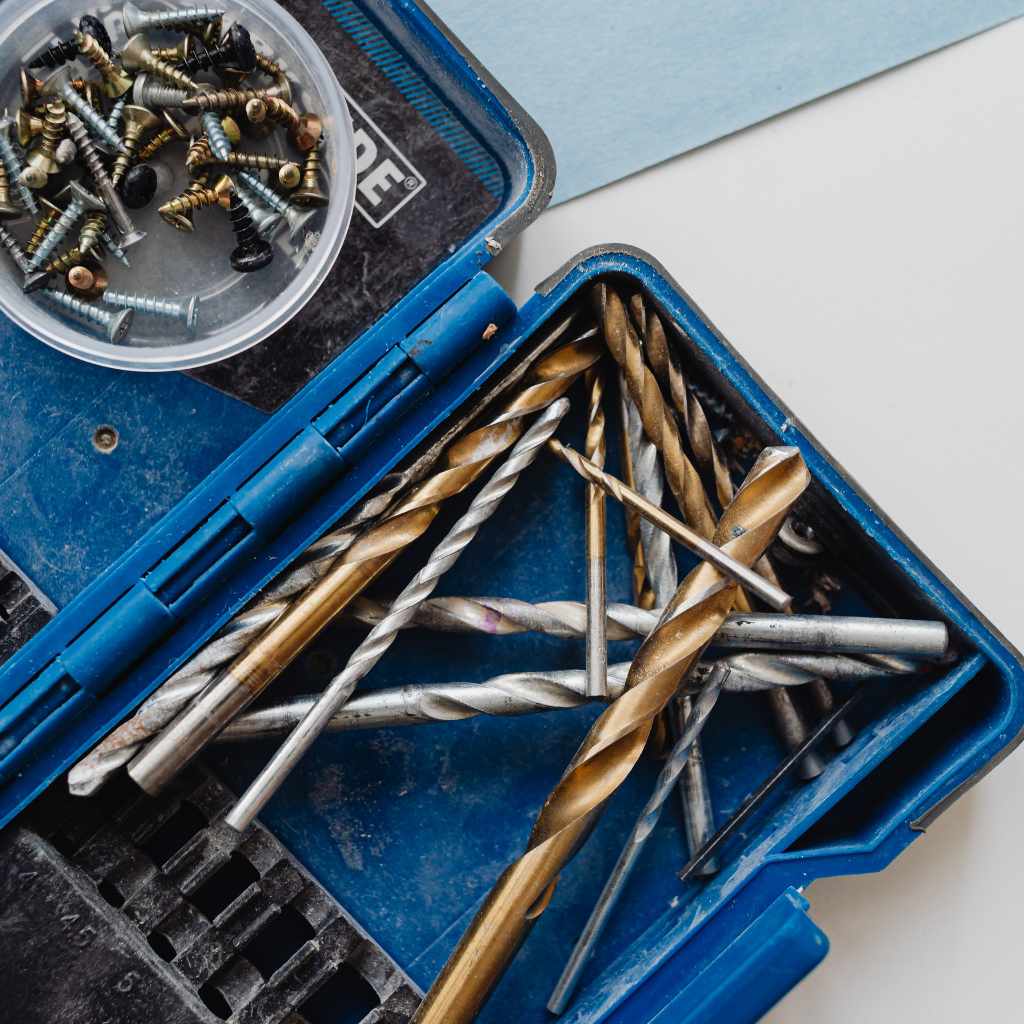
DIY Drill Bit Sharpener Jig: Build One in 20 Minutes
A DIY drill bit sharpener jig is a simple angled guide — built from scrap wood, a hinge, and a bolt — that holds a bit at a fixed 118° or 135° angle against a bench grinder wheel, restoring a factory-sharp edge in under a minute per bit. Skip the jig and freehand grinding, and most bits come out lopsided within three or four tries. This guide covers building the jig itself, dialing in the right angle for your bit type, and the exact grinding steps that keep a bit from overheating.
Quick Answer
Build a DIY drill bit sharpener jig from a hinged wood block set at 59° per side (118° total, or 67.5° per side for 135°), clamp the bit in it, and touch the tip to a running bench grinder wheel for 2-3 seconds at a time, rotating a quarter-turn between passes. Dip the bit in water after every pass — overheating is what ruins the temper on most home-sharpened bits, not a slightly off angle.
What You Need to Build a DIY Drill Bit Sharpener Jig
Best DIY Drill Bit Sharpener Jig Pick
Drill Bit Sharpening Guide Jig Set (90/118/135 Degree)
A no-power guide jig set that locks a bit at 90°, 118°, or 135° against your bench grinder wheel — the cheapest way to get a repeatable DIY sharpening angle without buying an electric sharpener.
- Best for: anyone building the DIY jig setup described below, using a bench grinder they already own
- Why we picked it: covers all three common bit angles (118° general-purpose, 135° split-point, 90° for soft plastics) in one set
- Main drawback: still requires a separate bench grinder or rotary tool to actually grind — it’s a guide, not a standalone sharpener
Compare more drill bit sharpening options
 Option 1 WEN BG625V 6-Inch Variable Speed Bench Grinder
|
 Option 2 Drill Doctor DD350X Electric Drill Bit Sharpener
|
 Option 3 Dremel 4000-2/32 Rotary Tool Kit
|
As an Amazon Associate we earn from qualifying purchases.
The jig itself costs almost nothing if you have scrap lying around — it’s the grinder or rotary tool doing the actual sharpening that’s the real purchase. Here’s the full parts list:
- A 6-inch or 8-inch bench grinder with a fine-grit wheel (60-80 grit), or a rotary tool with a grinding stone attachment for bits under 1/4″
- A scrap block of hardwood or a metal angle bracket, roughly 4″ x 2″ x 1″
- A hinge or a pivot bolt, so the block can tilt to a fixed angle
- A protractor or angle gauge to set 59° (for 118° bits) or 67.5° (for 135° split-point bits)
- Safety glasses, hearing protection, and a cup of water for cooling the bit
If you’d rather skip building the wood version, a manual guide jig set does the same job out of the box — see the pick below.
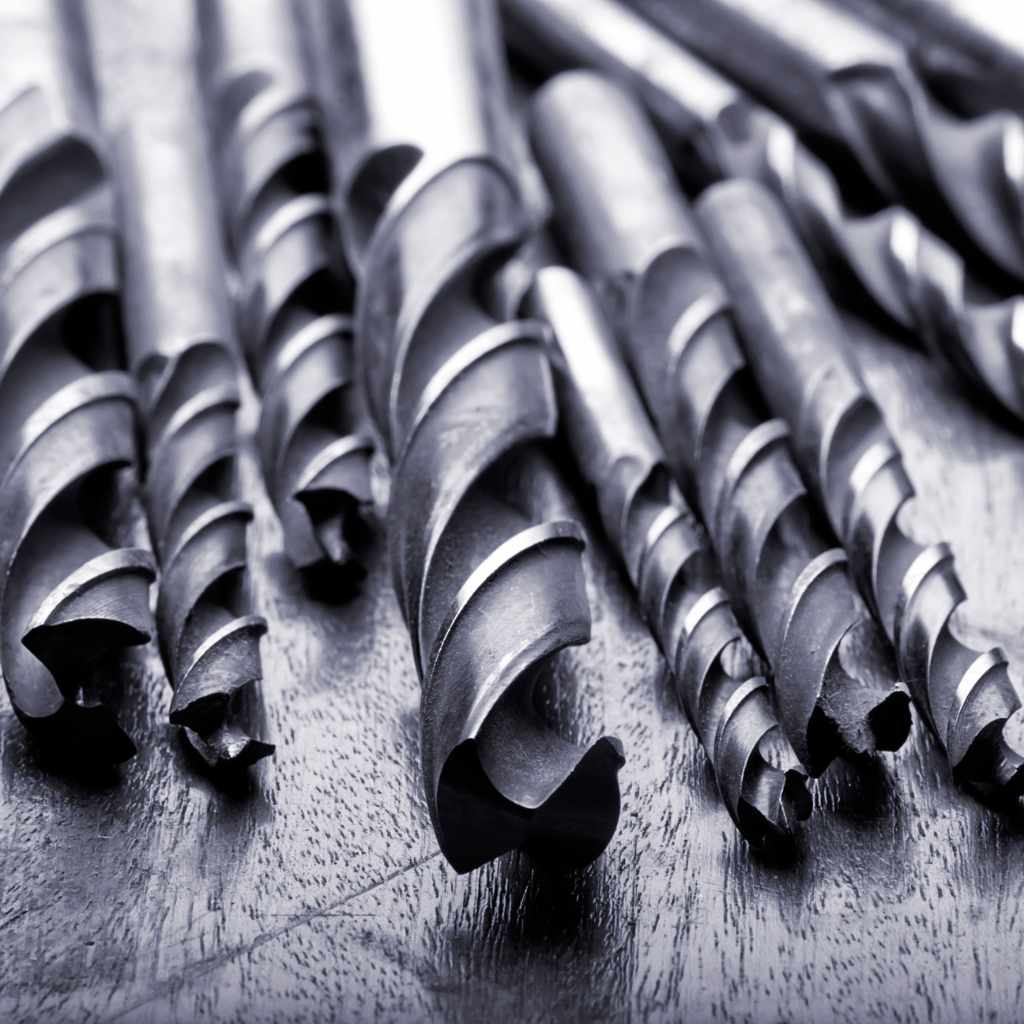
How to Build the Jig, Step by Step
- Cut the base block: Cut a 4″ x 2″ hardwood block. This is the platform the bit rests against while you push it into the wheel.
- Add the pivot: Mount the block to a fixed base with a hinge or bolt so it can tilt. This tilt is what sets your grinding angle — without it you’re freehanding, which is where most uneven edges come from.
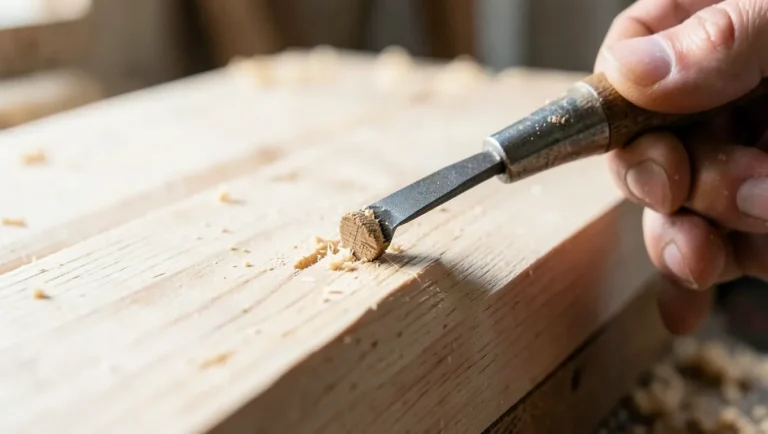
- Cut a V-groove: Cut a shallow V-groove down the center of the block with a router or hand chisel. This groove cradles the round shank of the bit so it doesn’t roll while you grind.
- Set the angle: Tilt the block to 59° from the wheel face for a standard 118° point, or 67.5° for a 135° split-point bit (common on cobalt and titanium-coated bits). Lock it with a wing nut or clamp.
- Mark a stop line: Mark a line on the block showing exactly how far the bit tip should protrude toward the wheel. This keeps every bit ground to the same length, which matters for a matched set.
| Bit Type | Point Angle | Jig Angle (per side) | Best Grind |
|---|---|---|---|
| General-purpose twist bit (wood, soft metal) | 118° | 59° | Standard bench grinder wheel |
| Split-point bit (hardened steel, stainless) | 135° | 67.5° | Fine-grit wheel, slower passes |
| Masonry / carbide-tipped bit | 90°-118° | 45°-59° | Diamond wheel only — standard wheels won’t touch carbide |
| Bits under 3/16″ | 118° | 59° | Rotary tool with a fine grinding stone, not a full-size grinder |
Grinding: How to Sharpen the Bit in the Jig
- Inspect first: Look at the tip under good light. A bit that’s chipped, cracked, or overheated (blue-black discoloration) needs more material removed than a bit that’s just dull.
- Seat the bit: Set the bit in the V-groove with the cutting edge flat against the jig’s stop line, flute facing the wheel.
- Touch, don’t push: Bring the tip to the spinning wheel for no more than 2-3 seconds. Pull back, dip the tip in water, and check the edge.
- Rotate and repeat: Rotate the bit a quarter turn (180° for a standard two-flute bit) and repeat the same light touch on the second cutting edge. Both edges need to come out the same length, or the bit will wander off-center when drilling.
- Check the edges visually: Hold the bit tip-up under light. Both cutting edges should be even length and meet at a sharp point, not a rounded one.
- Test on scrap: Drill a test hole in scrap wood or metal. A properly sharpened bit cuts cleanly with even curls of material coming off both flutes — uneven curls mean one edge is still longer than the other.
Common Mistakes That Ruin a DIY Sharpening Job
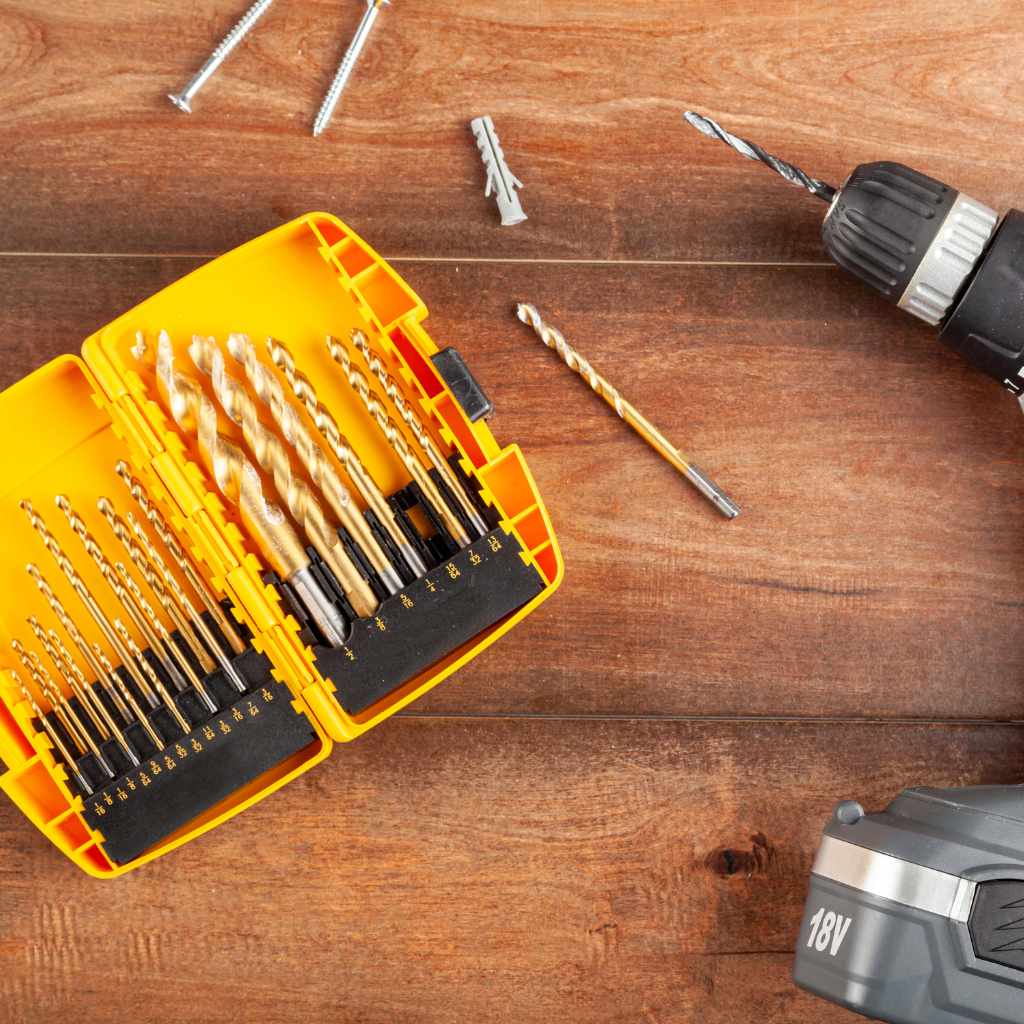
Overheating the tip is the single most common mistake — it’s a heat-treated tool steel that loses its temper (and its edge-holding ability) if it turns blue at the point. Grind in short 2-3 second touches and cool the bit in water between every pass, not just at the end.
Grinding one edge longer than the other is the second most common. If the two cutting edges aren’t equal length, the bit will drill an oversized, wobbly hole even though it looks sharp. A fixed-angle jig fixes this by giving you the same reference point on every pass — freehand grinding almost never produces two matched edges.
Using the wrong wheel grit also causes problems. A coarse wheel (36 grit) removes material fast but leaves a rough edge that dulls again quickly. Finish with an 80-120 grit wheel for a cleaner, longer-lasting edge, especially on smaller bits.
Keeping Bits Sharp Longer After You Sharpen Them
A freshly sharpened bit dulls fast if it’s tossed loose in a toolbox drawer, knocking against other steel every time the drawer opens. Store bits in an organized index or roll where each size has its own slot — this alone roughly doubles how long an edge stays usable between sharpenings. Wipe bits dry before storage; a drop of light oil on high-speed steel bits prevents the surface rust that dulls an edge from the inside out.
“The jig fixes the one thing freehand sharpening can’t: repeatability. Once the angle is locked, every bit you touch to the wheel comes out matching the last one — that’s the whole trick.”
Don’t have a bench grinder or the parts to build a jig? See our guide to sharpening a drill bit entirely by hand with a file — no jig, grinder, or angle math required, just slower and less consistent than the jig method above.
Frequently Asked Questions
What angle should a DIY drill bit sharpener jig be set to?
Set the jig to 59° per side for a standard 118° twist bit, or 67.5° per side for a 135° split-point bit. Most general-purpose bits sold in home-improvement stores use the 118° angle, while cobalt and titanium-coated bits are usually 135°. Check the bit’s original point shape before sharpening if you’re not sure which it was.
Can I sharpen a drill bit without a bench grinder?
Yes. A rotary tool with a grinding stone attachment works for bits under about 1/4″, and a flat file works freehand for larger bits in a pinch, though a file is much harder to keep symmetrical than a jig-guided grinder. A belt sander set to the correct angle is another workable substitute if that’s what you already own.
How often do drill bits need to be sharpened?
Sharpen a bit as soon as it stops cutting cleanly — typically when it starts squealing, smoking, or leaving rough-edged holes instead of clean curls of material. Bits used in hardwood or steel dull faster than bits used only in softwood or drywall, so frequency depends more on material than a fixed schedule.
Can carbide or masonry bits be sharpened the same way?
No, not with a standard grinding wheel. Carbide-tipped masonry bits need a diamond wheel — a regular aluminum-oxide wheel won’t cut carbide and will just wear itself down. If you don’t have a diamond wheel, it’s usually cheaper to replace a dull masonry bit than to sharpen it.
A DIY drill bit sharpener jig turns a 10-minute build project into bits that stay sharp for years of reuse instead of a one-way trip to the hardware store every time a bit dulls. Get the angle right, keep the passes short and cool, and check that both cutting edges match before you call it done.
Sponsored / affiliate links. As an Amazon Associate I earn from qualifying purchases. I may earn additional commission from eligible campaigns.