DIY Push Block for a Table Saw: Plywood Beats Solid Wood, and Here’s Why
Build a table saw push block from plywood or MDF, not solid lumber — solid wood has a single grain direction it can split along under the lateral force of a cut, and a push block that splits mid-cut is worse than no push block at all. Plywood’s cross-laminated layers have no single weak grain line to fail along. Beyond that one material choice, the design details that matter are the heel notch that hooks the workpiece and a handle angle that keeps your hand well above and behind the blade.
Why Plywood or MDF, Not Solid Wood
Prefer to Buy Instead of Build?
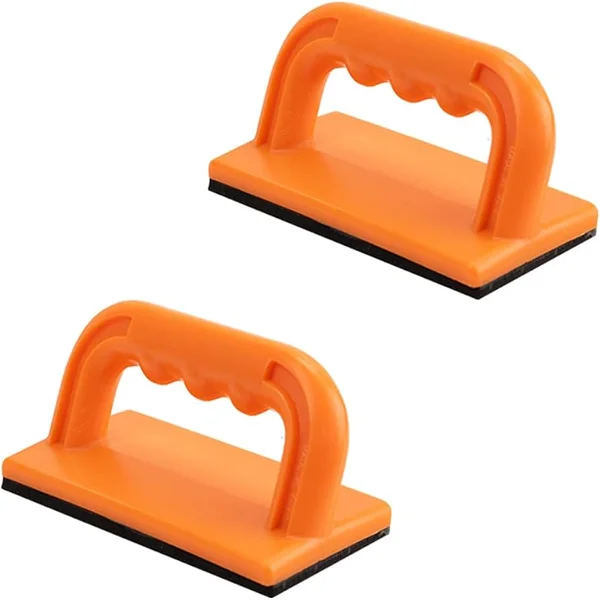 |
POWERTEC 71032 Push Block, 2-Pack – $14.99 A rubber-padded, ready-made option for anyone who wants a push block today instead of building one this weekend.
|
A solid-wood push block relies on face grain running the length of the heel to hold together — exactly the kind of thin cross-section that can shear off along the grain if the block catches or binds mid-push. Half-inch or three-quarter-inch plywood has alternating grain direction in every layer, so there is no single plane it can split along under load. MDF works too and is even more dimensionally stable, though it dulls a blade faster and produces more fine dust when you cut it to shape. Either beats a solid pine or plywood-scrap block cut with the grain running the wrong way, which is the most common mistake in a first shop-made push block.
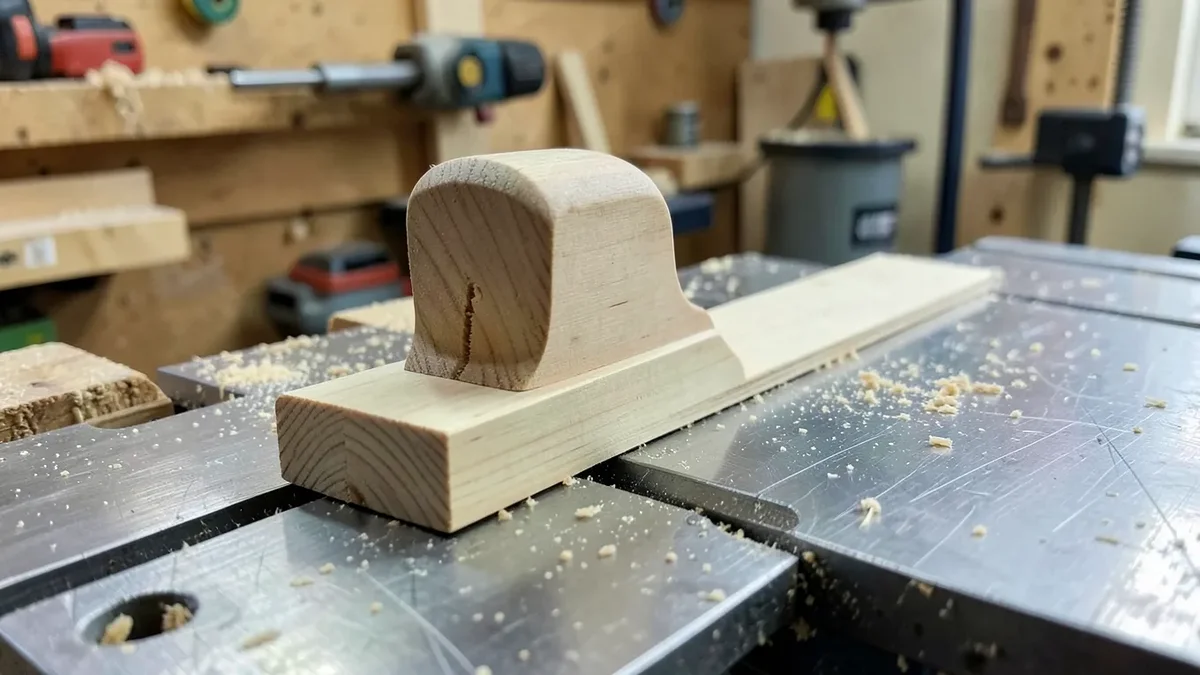
The heel — the notch or step cut into the underside of the push stick that catches the workpiece’s back edge — should be about 3/8 to 1/2 inch deep. Shallower than that and the heel can ride up and slip off the workpiece under pressure; deeper than about 5/8 inch and you start removing enough material to weaken the heel itself. Cut the heel so it sits roughly 3/4 inch back from the trailing edge of the board you’re pushing, which keeps enough push stick contact behind the blade’s path.
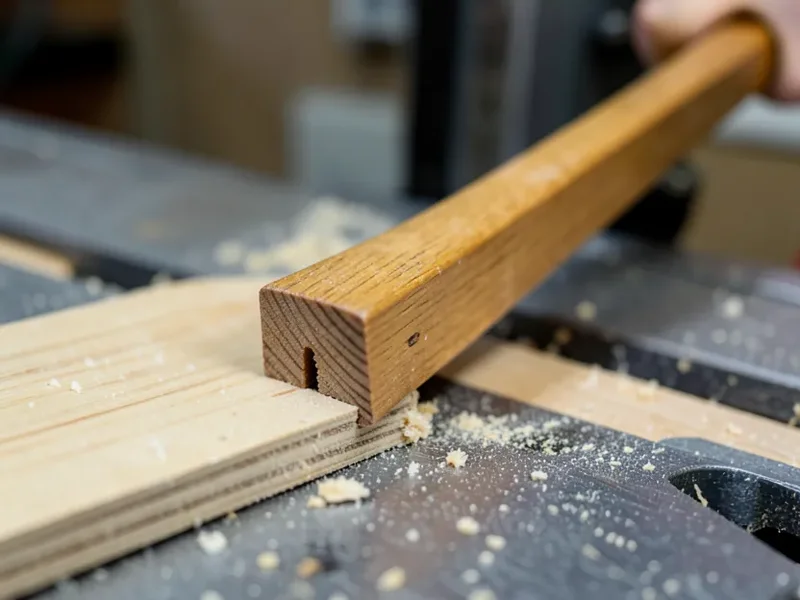
Handle Height and Angle
A handle angled around 60 degrees off the base gives a comfortable push angle while keeping your hand roughly 4 to 6 inches above the table surface — high enough that your hand clears the blade guard and the top of a raised blade with margin to spare. A handle that’s too vertical (closer to 90 degrees) puts your wrist in an awkward position and tempts you to grip lower on the block, closer to the blade, than you should. A handle that’s too shallow doesn’t lift your hand far enough off the table.
Building the Basic Push Stick
- Cut a piece of 1/2-inch plywood roughly 6 inches wide by 14 to 16 inches long — long enough that your hand stays well behind the blade for the entire cut.
- Mark and cut the heel notch 3/8 to 1/2 inch deep, about 3/4 inch from the trailing end.
- Cut a handle shape into the top — a simple angled top edge works, or jigsaw a hand-hole for a more secure grip.
- Sand all edges, especially the heel notch, so there are no splinters or sharp corners against your palm.
- Optional: glue a thin strip of self-adhesive rubber or sandpaper to the underside near the heel for extra grip on the workpiece.
When a Push Stick Isn’t Enough
A notched push stick is built for rips down to about 2 inches wide. Narrower than that, even a well-made push stick puts your hand closer to the blade than is comfortable, and a dedicated table saw gripper — a hybrid push block with a grip surface built specifically for thin-rip control — is the safer tool for the job. Keep both in the shop: a shop-made stick for general rips, and a commercial gripper for anything under 2 inches.
Maintenance and Replacement
Inspect the heel notch before every session for cracking or crushed fibers — plywood delaminating at the heel is the main failure mode, and it happens gradually rather than all at once. Replace a push stick the moment you see delamination starting, not after it fails mid-cut. A shop-made push stick is cheap and fast enough to build that there’s no reason to keep using one that shows wear.
Frequently Asked Questions
What’s the Best Material for a DIY Push Block?
Half-inch or three-quarter-inch plywood or MDF. Both resist splitting under lateral force better than solid wood because they don’t have a single grain direction to fail along.
How Deep Should the Heel Notch Be?
About 3/8 to 1/2 inch deep, cut roughly 3/4 inch back from the trailing edge of the workpiece. Shallower and it can slip off the workpiece; deeper and it weakens the heel itself.
Can I Use a Push Stick for Very Narrow Rip Cuts?
Down to about 2 inches wide, yes. Narrower than that, a dedicated commercial push block or gripper designed for thin-rip control keeps your hand farther from the blade than a shop-made stick can.
How Do I Know When to Replace a Push Stick?
Inspect the heel notch before each use for cracking or crushed, delaminating layers. Replace it as soon as you see wear starting — a shop-made push stick takes only minutes to build, so there’s no reason to keep using a compromised one.
Bottom Line
Plywood or MDF, a 3/8 to 1/2 inch heel notch, and a roughly 60-degree handle angle are the three details that separate a push block that actually protects your hands from one that just looks like it does. Build a fresh one whenever the heel shows wear — it costs almost nothing and takes less time than a trip to the hardware store.
Sponsored / affiliate links. As an Amazon Associate I earn from qualifying purchases. I may earn additional commission from eligible campaigns.