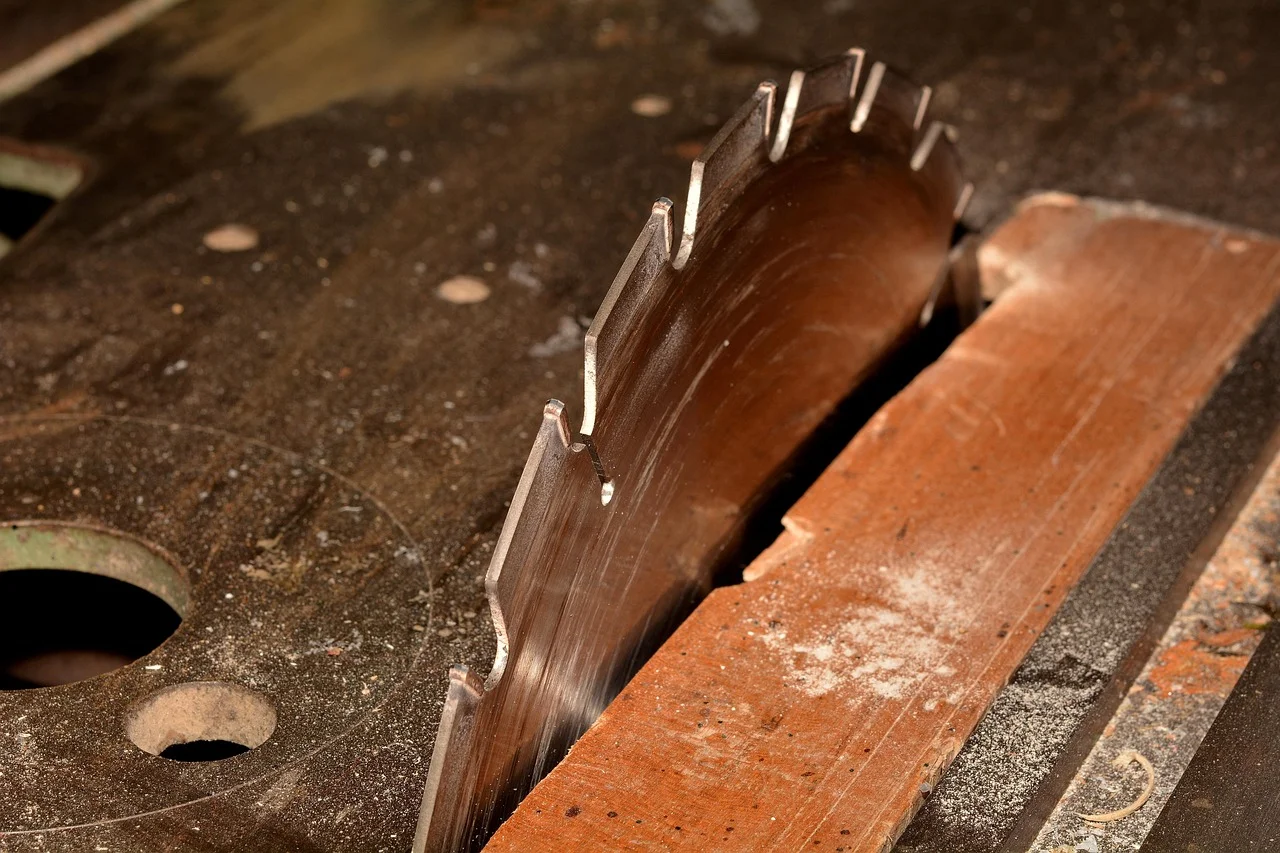
DIY Table Saw Extension: Build a Flush Outfeed Wing
A table saw extension only works if its surface sits exactly flush with the saw’s cast-iron table – within about 1/32 inch. Too low and a workpiece catches the edge mid-cut; too high and it lifts the wood off the blade, both of which can cause a kickback. Get that one measurement right and a $30 sheet of MDF does the same job as a $300 factory extension.
Sizing the Extension to Your Actual Work
Best for Sealing a Shop-Built Extension
 |
Minwax Helmsman Spar Urethane – $23.49 Sealing both faces of the MDF extension panel keeps it from absorbing shop humidity unevenly and bowing, exactly the failure mode that throws off the flush-fit this guide is built around.
|
A 24×24-inch extension is enough for most general shop use, but if you regularly break down full 4×8 sheets alone, size it to support at least half the sheet’s width past the blade – roughly 24-30 inches of depth and the full length of your saw’s rail capacity. Undersizing the extension is the most common regret after the first build: it’s easy to assume a small wing will be “enough” until a full sheet of plywood proves otherwise on the first real cut.
Fence Rail Length Sets Your Ceiling
Most stock contractor saws ship with rails rated for 24-30 inches of rip capacity to the right of the blade – upgrading to aftermarket rails (52 inches is a common upgrade size) before or alongside building the extension lets the fence itself travel across the new surface, not just the table. Building an extension wider than your rail’s travel range still works for infeed/outfeed support, but it won’t let you rip a wide panel to a fence-set width past where the rail ends.
Choosing the Extension Surface
3/4-inch MDF is the standard choice, not plywood. MDF has no internal voids and stays flatter over time, which matters more here than plywood’s extra screw-holding strength – you’re supporting a workpiece, not building a load-bearing shelf. Seal the underside with a coat of shellac or polyurethane before installing it; MDF absorbs shop humidity unevenly and will bow if only the top face is finished. Skip particleboard – it sags under its own weight over a 2-foot unsupported span.
Two Ways to Mount It
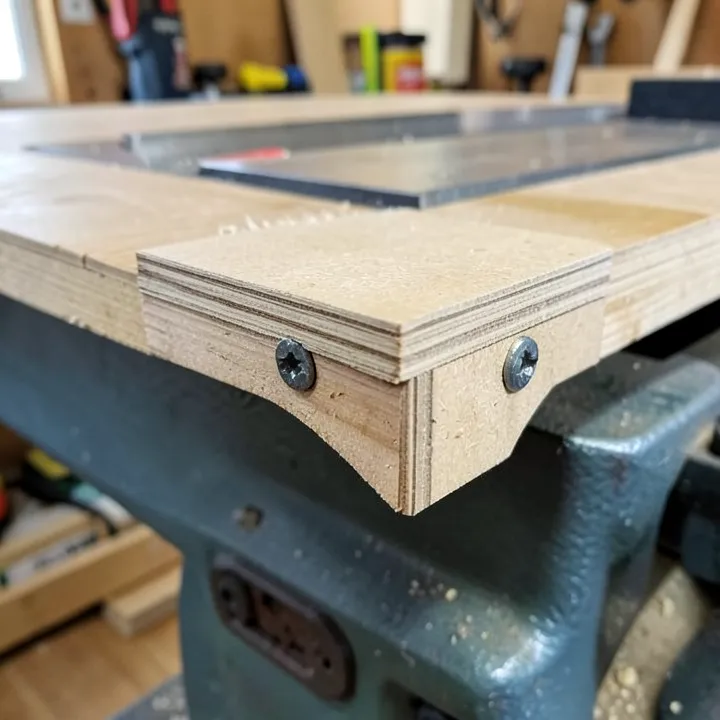
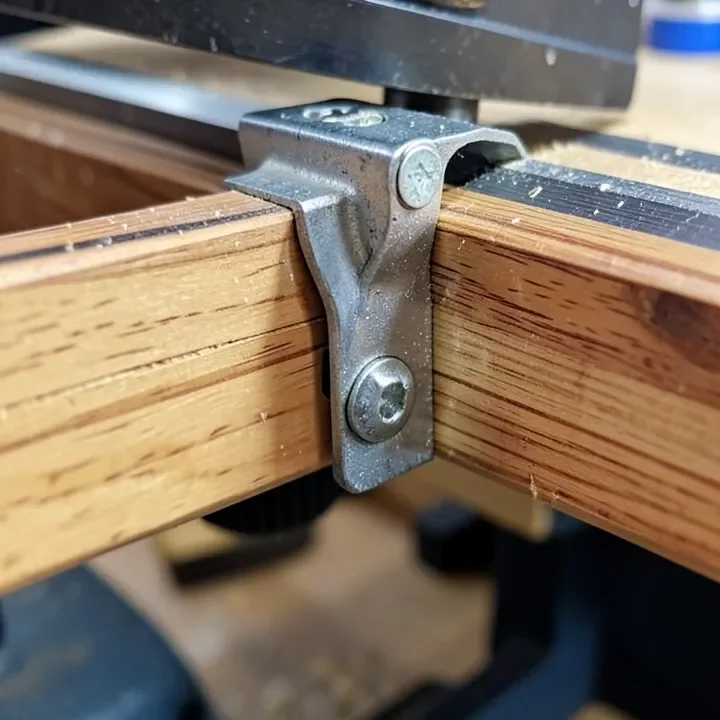
Bolted to the existing fence rails is the stronger, more common approach on contractor and cabinet saws: most rails have a standard slot pattern that accepts a simple angle-iron or plywood bracket, and the rail itself does the leveling work since it’s already parallel to the table. Site-built legs are the fallback for saws with no extendable rail (many benchtop and jobsite saws) – in that case, the extension needs its own adjustable feet, because leveling four independent legs to 1/32 inch accuracy is genuinely harder than it sounds and is where most DIY builds go wrong.
Leveling It Flush
Lay a 4-foot level or a straightedge across the seam between the saw table and the new extension. Shim or adjust until there’s no visible gap and a fingernail doesn’t catch when dragged across the joint in either direction. Check it at both ends of the seam, not just the middle – an extension can be flush at the near corner and a sixteenth low at the far corner if the mounting bracket isn’t square. Re-check after the first few uses; MDF settles slightly once it’s carrying real weight.
Matching Extension Height on Multi-Wing Builds
If you’re building extensions on more than one side of the saw (a common setup: one wing for rip capacity, another as an outfeed/assembly surface), cut all the support legs or brackets from the same reference measurement rather than measuring each wing independently against the saw table. Small measurement differences between two independently-built wings are a common reason one side ends up 1/16 inch higher than the other, which is a real problem where a wide panel crosses from one extension to the next during a rip cut.
Rollers vs. a Fixed Panel
A fixed flat extension is the right call for ripping sheet goods, since the workpiece needs continuous flat support right up to the blade. A roller stand or a hinged flip-down extension makes more sense if floor space is tight and the saw sees mostly narrow stock – rollers support the tail end of a long board without needing a permanent table addition, though they’re a worse choice for wide panels since the rollers can let a sheet tip sideways mid-cut.
Adding Storage Underneath
The space below a fixed extension is dead space unless you build it in from the start – a shallow drawer or open shelf for push sticks, blade wrenches, and featherboards keeps small accessories where you’ll actually use them instead of scattered across a nearby bench. Keep any drawer shallow enough that it can’t be pulled out into the path of the blade or a moving workpiece, and skip drawer slides that would compromise the leg structure supporting the flush surface above.
Adding a Miter Track for Jigs
Routing or inlaying a standard 3/4-inch by 3/8-inch T-track into the extension surface, aligned with the saw’s own miter slots, lets crosscut sleds and other shop-made jigs ride across the full width of the new surface instead of stopping at the original table’s edge. This is easiest to add during the build, before the panel is sealed and installed – retrofitting a track into an already-mounted extension means removing it, routing the slot, and resealing the cut edges before reinstalling.
Common Build Mistakes
Skipping the underside seal coat is the single most common failure – a bare MDF panel installed flush on day one can develop a visible hump or dip within a few months as it absorbs shop humidity unevenly, undoing the exact flush-fit the whole project depends on. The second most common mistake is under-bracing: a cantilevered extension with support only at the saw-side edge will sag slightly under a heavy sheet’s weight, which reintroduces the same non-flush problem a sealed, properly leveled panel was built to solve. Add a leg or diagonal brace at the outer corner on anything wider than about 20 inches.
When to Just Buy a Factory Extension Instead
A shop-built extension makes the most sense for a saw whose manufacturer doesn’t sell a matching factory accessory, or when the budget genuinely doesn’t stretch to a $150-300 factory wing. If the exact factory-matched extension is available and reasonably priced, it removes the leveling and fabrication work this guide walks through entirely, since it’s engineered to bolt on already flush – worth comparing the time cost of a DIY build against that option before committing a weekend to the project.
Frequently Asked Questions
What thickness should a table saw extension be?
3/4-inch MDF or Baltic birch plywood. Thinner material flexes under a heavy workpiece and won’t hold a flush edge over time.
Does the extension need to be perfectly flush with the table?
Yes, within about 1/32 inch. A gap or step at the seam is a real kickback risk on wide panels, not just a cosmetic issue.
Can I use plywood instead of MDF?
Yes, Baltic birch plywood works well and resists moisture better than MDF, though standard construction plywood can have voids that create an uneven surface.
Related: for a mobile base to carry the whole saw rather than extending its table, see our guide to building a table saw stand.
Sponsored / affiliate links. As an Amazon Associate I earn from qualifying purchases. I may earn additional commission from eligible campaigns.