DIY Refinish Hardwood Floors: Solid vs Engineered, Sand to Finish
Before you rent a drum sander, check one thing: is your floor solid hardwood or engineered? Solid hardwood can be sanded and refinished many times over its life, but engineered flooring has a thin real-wood veneer – usually 2mm to 6mm – that can typically only survive one to three light sandings before you sand through to the plywood core underneath.
That single check determines whether a DIY refinish is even the right move. If your veneer is thin or you’re not sure, a screen-and-recoat (light abrasion plus a fresh topcoat, no aggressive material removal) is the safer option. If you’ve confirmed solid hardwood or a thick engineered veneer, here’s the full sand-stain-finish process that gets a professional-looking result.
Getting Ready for Your DIY Hardwood Floor Refinish
BEST BEGINNER-FRIENDLY FLOOR SANDER
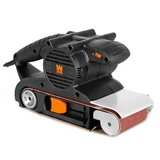 |
WEN HB424V Variable Speed Belt Sander – $82.32 A more forgiving alternative to a rented drum sander for edges, small rooms, or touch-up passes between coats.
|
Refinishing lives or dies on prep. Rushing this stage is the most common reason a DIY refinish looks patchy or takes twice as long as planned.
Gathering Your Supplies
You’ll need a sander, sandpaper in multiple grits, safety gear, a finish, and a handful of smaller supplies – skimping on any of these shows up in the final result.
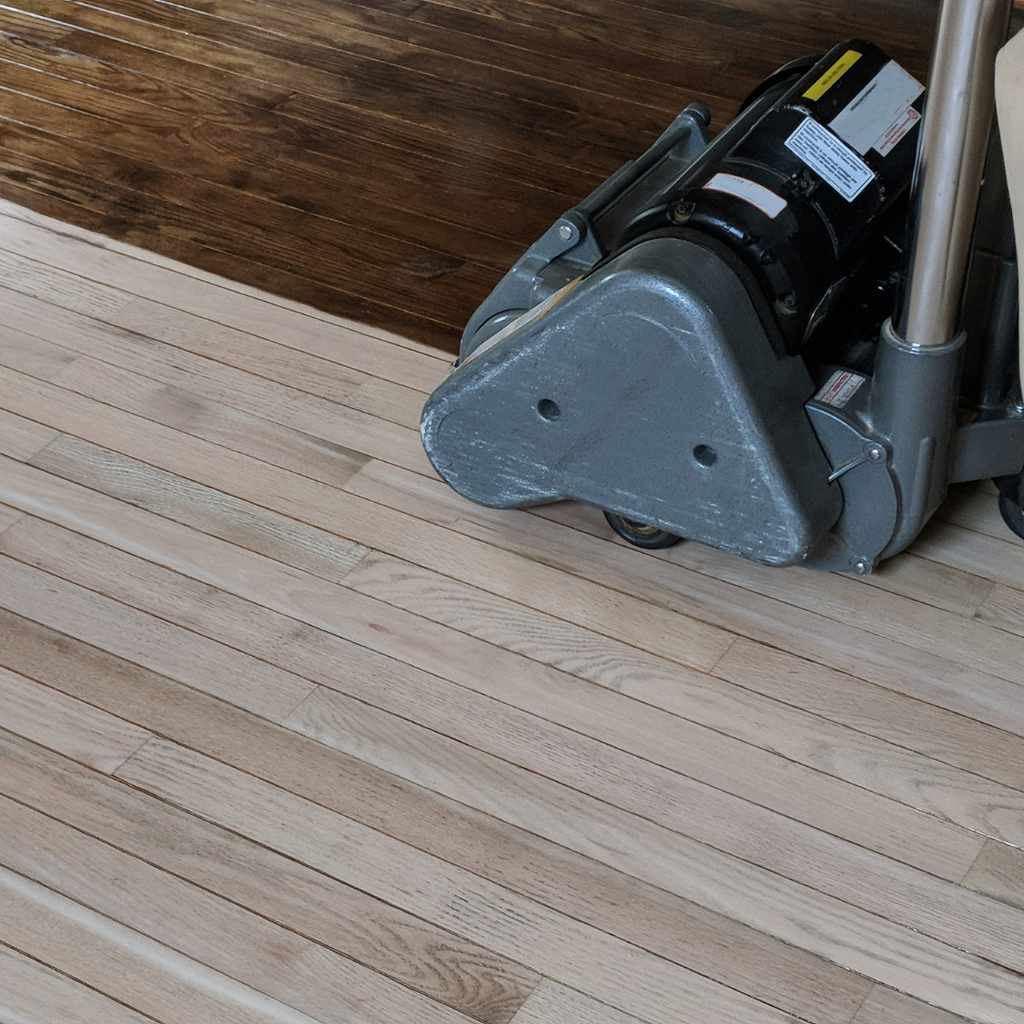
Sander: A rented drum sander removes material fast on large, flat rooms but is unforgiving – stop moving for even a second and it digs a visible trench. A random orbital floor sander is slower but far more forgiving for a first-timer, moving in both circular and orbital patterns to minimize swirl marks. Most rental counters will talk you through which one fits your floor and skill level.
Sandpaper: Plan on three grit stages – a coarse 24- to 36-grit to strip the old finish and level the boards, a medium 60- to 80-grit to erase the coarse-grit scratches, and a fine 100- to 120-grit to prep the wood for finish. Buy more than you think you need; dull paper burns the wood instead of cutting it, and rental shops rarely take returns on opened packs.
Safety Gear: A properly rated dust mask (not a paper comfort mask), safety glasses, and gloves aren’t optional here – a drum sander throws a genuinely large volume of fine wood dust, and old finishes can contain silica or other irritants you don’t want to breathe for an entire weekend.
Finish: Oil-based polyurethane cures to a warm amber tone and shrugs off scratches well, but it has a strong odor and a long dry time between coats. Water-based polyurethane dries fast, stays clear rather than ambering, and off-gasses far less – most homeowners doing their own refinish lean water-based specifically for the faster turnaround.
Other Supplies: A shop vacuum, tack cloths, a putty knife and wood filler for gouges, and a quality applicator (lambswool pad or natural-bristle brush, matched to your finish type) round out the list. Missing any one of these turns a small annoyance mid-project into a trip back to the store with wet finish drying on your brush.
Clearing the Room
Empty the room completely – furniture, rugs, curtains if they hang low, everything. Cover doorways to adjoining rooms with plastic sheeting and painter’s tape, since sanding dust travels through a house far more readily than most people expect, especially with central air circulating it. Give the bare floor a thorough vacuum before you start; grit left on the surface gets ground into the wood by the sander’s own weight.
Sanding Your Hardwood Floors: The Key Step
Sanding is where the floor’s final look is actually decided – the stain and finish just protect and tint the surface sanding creates.
Sanding Techniques
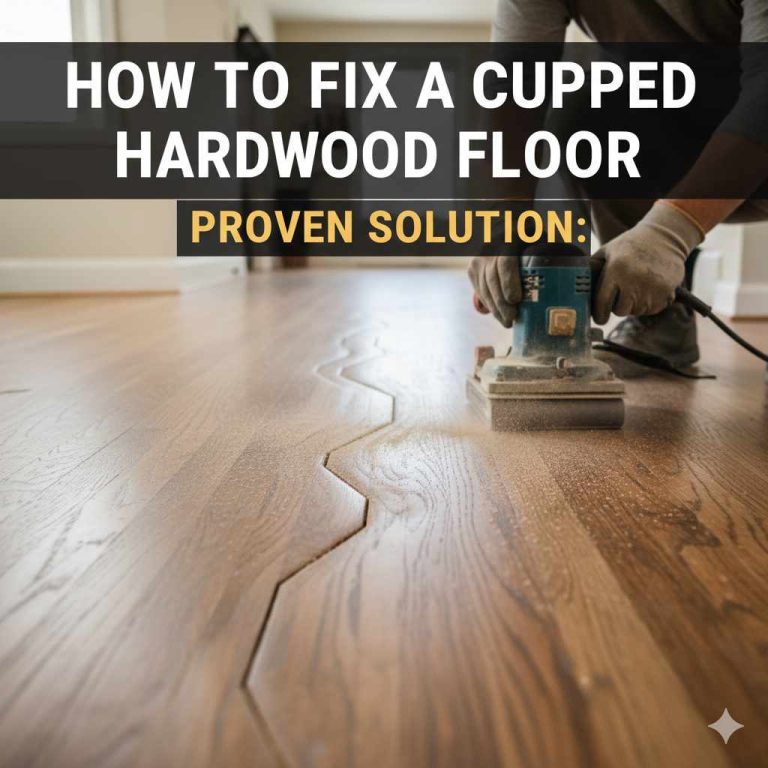
Work through your three grits in order, moving with the wood grain and overlapping each pass by a few inches so no strip goes untouched. The single most important rule with a drum sander: never let it sit still while running, even for a second – tip it up onto its wheels before you stop moving, since a stationary spinning drum gouges a trench into the floor almost instantly. Vacuum thoroughly between grits; leftover coarse-grit dust dragged under a finer paper scratches the floor right back up.
Dealing With Problems
Gouges from a momentary stop get filled with wood filler after sanding is otherwise complete – sand the area smooth first, fill, let it cure fully, then re-sand level with your finest grit. Swirl marks, usually left by a drum sander’s circular motion, come out with a final light pass from a random orbital sander running with the grain. Missed spots near baseboards and in corners, which no floor machine reaches, need hand-sanding with a sanding block before you move on – check for these under raking light (a flashlight held low and angled across the floor) before calling sanding done.
Staining and Finishing Your Refinished Floors
With bare, sanded wood in front of you, staining is optional but finishing is not – raw wood has zero protection against moisture, scratches, or UV fading on its own.
Staining Your Floors (Optional)
Skip this step entirely if you like the wood’s natural tone – a clear finish alone looks great on most species. If you do stain, test the actual color on a scrap piece or a hidden closet section of the same floor first; stain reads differently on vertical scrap than it does soaking into a horizontal floor. Apply with a rag, brush, or pad working with the grain, then wipe off the excess within the time window on the can – leaving stain to sit too long before wiping causes a blotchy, uneven color rather than a richer one.
Applying the Finish
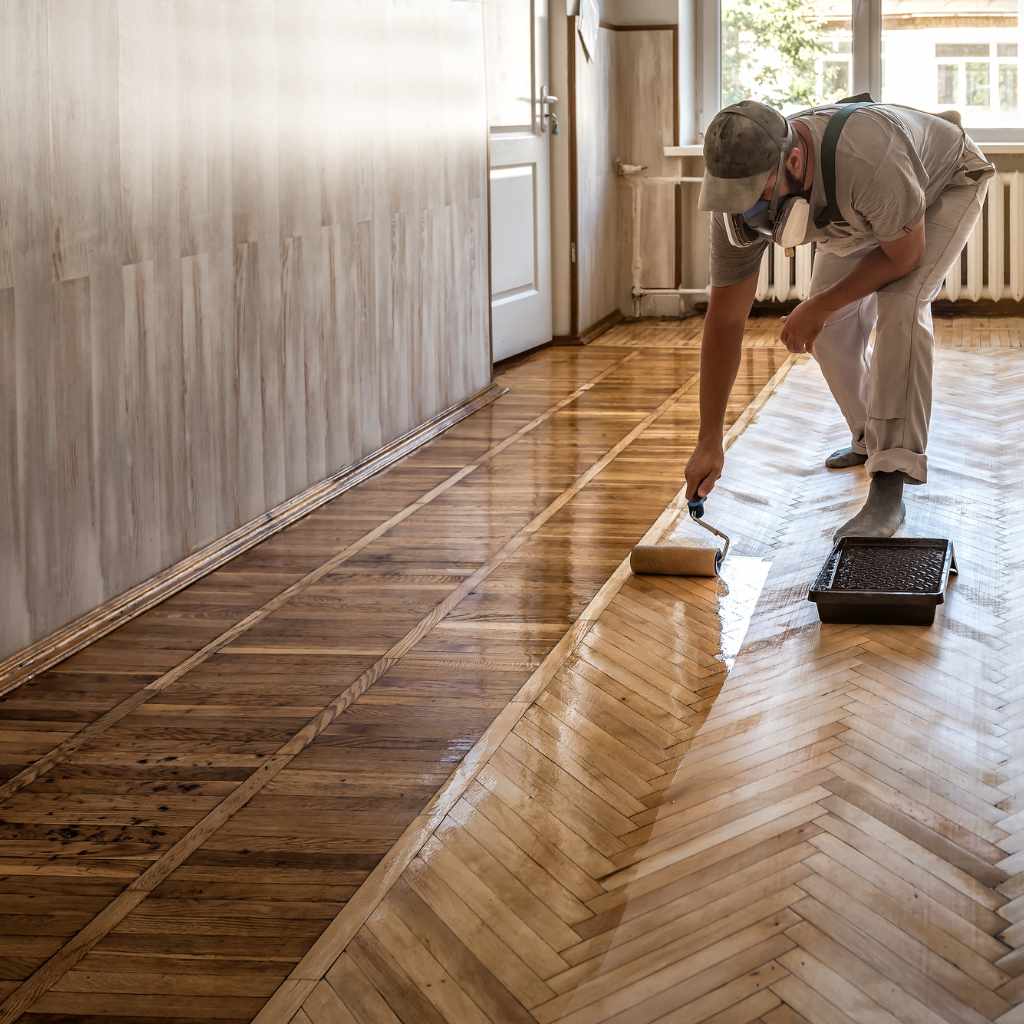
Apply your chosen finish in thin coats working with the grain – a thick coat looks tempting as a shortcut but takes far longer to cure and is more likely to trap bubbles or dust. Let each coat dry fully per the can’s instructions, then scuff it lightly with fine-grit sandpaper and vacuum before the next coat; this “nib sanding” step is what gives a professional refinish its glass-smooth feel, and skipping it is the most common reason a DIY finish feels slightly rough compared to a pro job. Plan on a minimum of three total coats for durability.
| Feature | Oil-Based Polyurethane | Water-Based Polyurethane |
|---|---|---|
| Appearance | Amber tone, warm | Clear, non-yellowing |
| Durability | High | High |
| Odor | Strong | Low |
| Drying Time | Slow (8-24 hrs between coats) | Fast (2-4 hrs between coats) |
| Ease of Use | More difficult to apply evenly | Easier to apply |
Professional hardwood floor refinishing typically runs $3 to $8 per square foot depending on region, wood condition, and finish choice – doing it yourself mainly saves the labor portion of that, while materials (sandpaper, finish, and sander rental) usually run well under $1 per square foot for a straightforward job. The National Wood Flooring Association has cited hardwood flooring adding roughly 2.5% to 5% to a home’s resale value, which is part of why refinishing tends to pay for itself at resale even beyond the immediate visual improvement.
Frequently Asked Questions
How Often Should I Refinish My Hardwood Floors?
High-traffic areas typically need refinishing every 5 to 7 years, while lower-traffic rooms can go 10 to 15 years between refinishes. Solid hardwood can handle several refinishing cycles over its lifetime; engineered flooring is limited by its thin veneer, usually to just one to three light sandings total.
What’s The Best Type Of Finish For Floors With Pets?
Oil-based polyurethane holds up well to claws and scratches, but several water-based polyurethanes are now specifically formulated and rated for high-traffic, pet-friendly use with comparable scratch resistance. Either works well; check the product’s specific durability rating rather than assuming oil-based is automatically tougher.
Can I Refinish My Hardwood Floors Myself?
Yes, for solid hardwood or engineered flooring with a thick enough veneer to sand safely. Confirm which type you have before renting a drum sander, since sanding through an engineered floor’s veneer exposes the plywood core and can’t be undone. Take a test pass in an inconspicuous area if you’re ever unsure.
What Do I Do If I Make A Mistake While Applying The Finish?
Catch it while wet and you can often smooth it out immediately with your applicator. Once it’s dried, lightly sand the affected area with fine-grit paper and recoat; for a more serious issue like a drip or bubble that’s fully cured, sand back down to bare wood in that section and restart the finishing steps there.
Do I Need To Remove All The Old Finish Before Refinishing?
For a full sand-and-refinish, yes – new finish won’t bond properly over old, and skipping this leads to peeling or an uneven look (if the floor has sticky adhesive residue from an old rug pad rather than just worn finish, see our guide on how to remove adhesive from a hardwood floor first). If the existing finish is only lightly worn, a screen-and-recoat (light abrasion, no full sanding) can refresh it without removing everything, and is the safer route on a thin-veneer engineered floor. And if a board is loose or squeaking rather than just dull, that’s a bonding issue, not a finish issue – see our guide on how to repair a glued hardwood floor.
Final Thoughts
A DIY hardwood floor refinish comes down to knowing what you’re working with (solid vs. engineered), respecting the sanding stage as the step that actually determines the final look, and being patient through the grit progression and coat-by-coat finishing. Done right, it’s one of the highest-value DIY projects a homeowner can take on – both for how the room looks and, per the National Wood Flooring Association’s numbers, for resale value too.
\n\n\n\n\nSponsored / affiliate links. As an Amazon Associate I earn from qualifying purchases. I may earn additional commission from eligible campaigns.