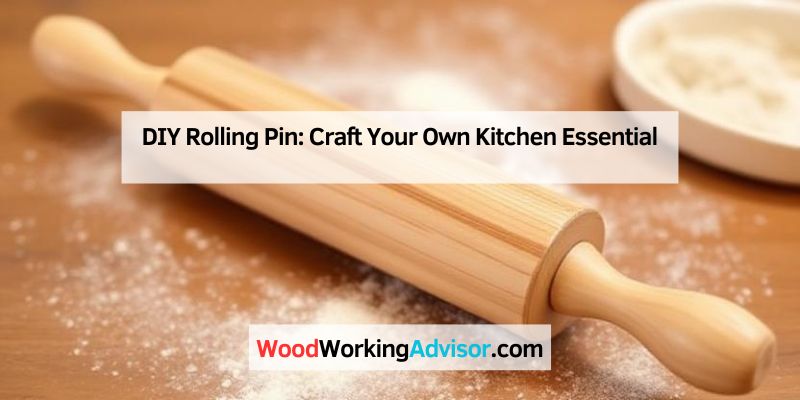
DIY Rolling Pin: Craft Your Own Kitchen Essential
Rolling pins are essential in baking. They help create smooth, even dough.
Making your own DIY rolling pin can be fun and rewarding. Creating a rolling pin at home allows you to customize it to your needs. You get to choose the size, shape, and material. It’s a great project for those who enjoy woodworking and baking.
Plus, homemade rolling pins can be a unique addition to your kitchen. They also make excellent gifts for friends who love to bake. In this blog post, we will explore the steps to make your own rolling pin. Whether you are a beginner or an experienced DIY enthusiast, this guide will help you create a rolling pin that suits your style and needs. Let’s get started!

Credit: www.twofeetfirst.net
Materials Needed
Gather wood, sandpaper, a saw, and wood glue. Get a drill, clamps, and a ruler for precise measurements. Finish with food-safe oil for protection.
Types Of Wood
Choose a hardwood for your rolling pin. Maple, oak, and walnut work well. These woods are strong and durable. They will last a long time. Softwoods are not a good choice. They can dent and scratch easily. Hardwoods stay smooth and do not bend. Maple is a popular choice. It is easy to find and affordable. Walnut is darker and looks elegant. Oak is very strong but can be heavy. Pick the wood that suits your needs.
Essential Tools
Gather these tools for your project. You need a saw to cut the wood. A lathe is helpful to shape the pin. Sandpaper smooths the surface. A drill makes holes for handles. Clamps hold the wood in place. A wood finish protects the pin. These tools make the job easier. You can find them at a hardware store. Borrow from friends if needed.
Credit: m.youtube.com
Choosing The Right Wood
Hardwood is strong and durable. Oak, maple, and walnut are great options. Hardwood rolling pins last longer. They resist dents and scratches. Softwood is lighter. Pine and cedar are examples. Softwood is easier to work with. Softwood rolling pins are less durable. They may dent and scratch easily.
Sustainable wood is good for the planet. Bamboo is a great option. It grows fast. Bamboo is strong and light. Reclaimed wood is another choice. It uses old wood. This helps reduce waste. Look for wood with eco-friendly certifications. FSC and PEFC are examples.
Preparing The Wood
Choose a piece of wood that is straight and smooth. Mark the length of the rolling pin. Use a saw to cut the wood to size. Be careful and cut straight.
Start with rough sandpaper to smooth the edges. Sand the entire piece evenly. Switch to finer sandpaper for a smooth finish. Make sure there are no rough spots.
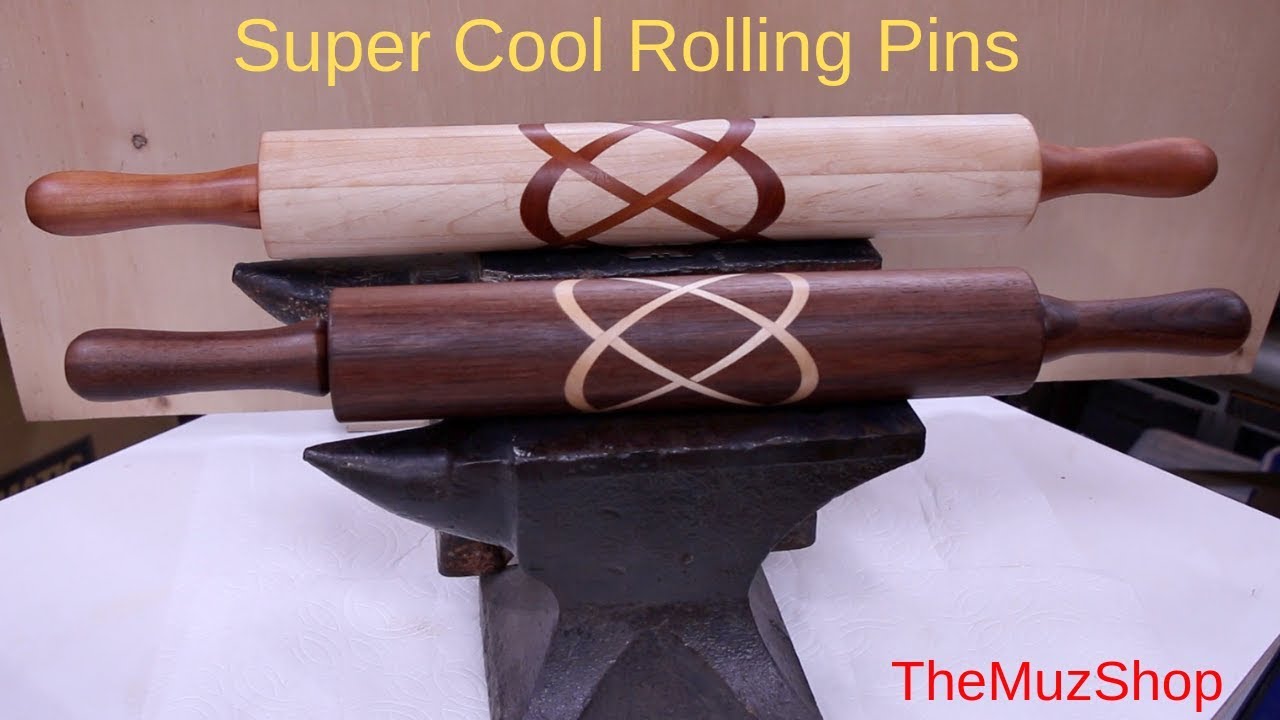
Shaping The Rolling Pin
A lathe helps shape wood evenly. Secure the wood on the lathe. Turn the lathe on. Use tools to carve the wood. Make it smooth and round. Check the size often. Ensure it fits your needs.
Hand carving gives a personal touch. Use a sharp knife. Carve slowly and carefully. Remove small pieces of wood. Shape the pin gradually. Sand it to smooth out rough spots. Check your work often.
Finishing Touches
Sanding is key to a smooth rolling pin. Begin with coarse sandpaper. This removes rough spots. Next, use medium grit. Sand until the wood feels smooth. Finally, use fine sandpaper. This gives a silky finish. Always sand along the grain. This prevents scratches.
Choose a food-safe finish. Mineral oil works well. Apply a thin coat. Let it soak in. Wipe off the extra oil. Repeat if needed. This protects the wood. It also makes the pin last longer. Let the finish dry completely.
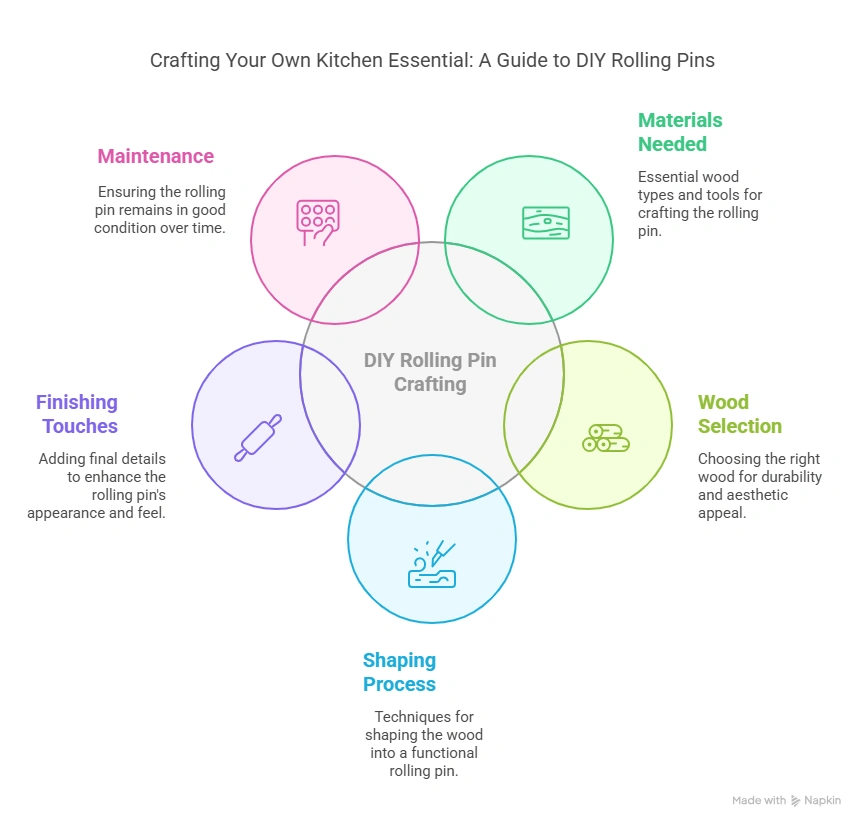
Maintaining Your Rolling Pin
Use warm water to clean your rolling pin. Avoid soaking it in water. This can damage the wood. Instead, use a damp cloth to wipe it down. Dry it immediately with a clean towel. Never use harsh chemicals or abrasive scrubbers. These can scratch the surface. Occasionally, you can oil the pin to keep the wood in good condition. Use food-safe mineral oil. Apply a small amount and rub it in. Let it soak overnight and wipe off any excess.
Store your rolling pin in a cool, dry place. Keep it away from direct sunlight. Sunlight can cause the wood to crack. A drawer or cupboard is a good spot. Make sure it is clean and dry before storing. You can also hang it using a hook or rack. This keeps it off the counter and saves space. Ensure it is secure to prevent it from falling.
Troubleshooting Common Issues
Cracks in your rolling pin can be a problem. Use wood filler to fill the cracks. Let it dry well. Sand the area smooth. Repeat if needed. Make sure the surface is even before use.
Uneven surfaces make rolling dough hard. Sand the rolling pin gently. Use fine-grit sandpaper. Check the surface often. Keep sanding until smooth. Wipe with a damp cloth to remove dust. Let it dry before using.

Credit: carvewright.com
Benefits Of A Diy Rolling Pin
You can make the rolling pin just the way you want. Choose the size, shape, and material. Personalize it to fit your needs. Make it unique.
Creating your own rolling pin can save money. Store-bought rolling pins can be pricey. You can make one for less. Use materials you already have. Spend less and get more.
Frequently Asked Questions
What Else Can I Use If I Don’t Have A Rolling Pin?
Use a wine bottle, smooth glass, or cylindrical water bottle as a rolling pin substitute.
Can I Make My Own Rolling Pin?
Yes, you can make your own rolling pin. Use a smooth, hardwood dowel or repurpose a cylindrical object. Sand it well.
How To Improvise A Rolling Pin?
Use a wine bottle or cylindrical glass to improvise a rolling pin. Ensure it’s clean and smooth.
What Material Is Best For A Rolling Pin?
Wood is the best material for a rolling pin. It provides a good grip and even pressure. Marble is another excellent choice, offering a cool surface ideal for pastry. Stainless steel and silicone options are durable and easy to clean.
Choose based on your baking needs and preferences.
Conclusion
Creating your own rolling pin can be both fun and rewarding. It’s a simple project that adds a personal touch to your kitchen tools. You will save money and have a unique item to use. Plus, it’s a great way to spend an afternoon.
Try making your own rolling pin today. You’ll be glad you did. Enjoy baking with your new tool!