How to Build a Wooden Suitcase: A Complete DIY Build Guide
A wooden suitcase is a box joint away from a jewelry chest and a hinge choice away from a steamer trunk – the difference between “nice craft project” and “case that survives being carried” comes down to a handful of decisions most tutorials skip. This guide covers the ones that actually matter: which plywood won’t warp under the lid, which joint holds up at the corners where a suitcase takes the most abuse, and which hinge style keeps the lid from racking after a year of use.
You don’t need a full cabinet shop to build one. A table saw or circular saw with a guide, a router (or a hand rabbet plane if you’d rather skip power tools), clamps, and an afternoon of glue-up time will get you a case that’s sturdier than most vintage suitcases you’ll find at an antique store – because those were built to be light, not to last.
What You’ll Need: Tools, Materials, and Hardware
Beyond wood and glue, the hardware is what turns a plywood box into something that reads as a “suitcase” – hinges, a latch, and corner protection at the four points that take the hardest knocks. Buying these as a matched set keeps the finish consistent instead of mixing a modern latch with vintage-style hinges.
Best Latch & Hinge Kit for a DIY Suitcase
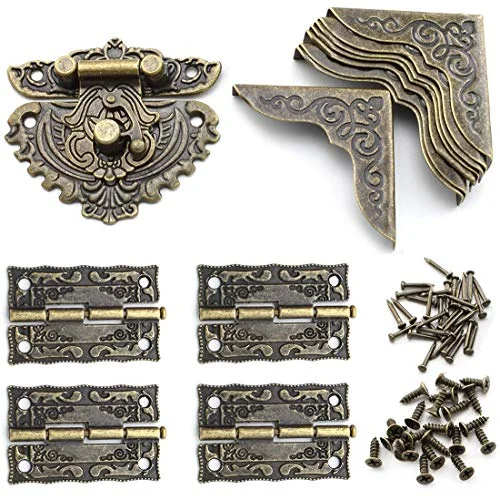 |
Antique Engraved Latch Hasp, Hinges & Corner Protector Kit – $11.99 One matched set gives you the hasp latch, four hinges, and eight corner protectors this build needs, so every piece of hardware on your case shares the same finish.
|
Wood and panel materials:
- 1/2 in. Baltic birch plywood for the case sides, lid, and base (5-ply and 7-ply sheets are far more stable than cabinet-grade plywood)
- 3/4 in. solid hardwood – poplar, oak, or walnut – for the corner battens and any exposed edge banding
- Wood glue (PVA or Titebond III for moisture resistance) and 18-gauge brad nails for clamping while the glue sets
Essential tools:
- Table saw or circular saw with a straightedge guide
- Router with a 1/4 in. or 3/8 in. straight bit (for rabbet or box joints) or a hand rabbet plane
- Drill/driver, bar clamps, a combination square, and 120/220-grit sandpaper
Choosing the Right Wood – and Why Plywood Beats Solid Panels
Most tutorials tell you to “pick lightweight wood” and move on, which skips the one decision that determines whether your suitcase stays flat or cups within a season. Solid wood panels wider than about 6 in. expand and contract across the grain with humidity – a 12 in.-wide solid pine panel can move as much as 1/4 in. between a dry winter and a humid summer. On a suitcase lid or side panel, that movement shows up as bowing, gaps at the joints, or a lid that stops closing flush.
Baltic birch plywood sidesteps the problem because each ply runs perpendicular to the one beneath it, which cancels out cross-grain movement almost entirely. Use 1/2 in. plywood for the case walls, lid, and base – thick enough to hold hardware screws without splitting, light enough that a full case doesn’t feel like carrying a tool chest. Reserve solid hardwood for the corner battens and any trim you actually want to show grain on, since those pieces are narrow enough that movement isn’t a problem.
If you’d rather build entirely in solid wood for the look, keep individual panel widths under 6 in. and join them with a breadboard end or a frame-and-panel approach that lets the panel float in a groove – don’t glue a wide solid panel rigidly into a case frame.
Suitcase Joinery: Which Corner Joint to Use
The corner joint matters more on a suitcase than on almost any other box you’ll build, because a suitcase gets set down, dragged, and bumped into doorframes – all stress concentrated right at the corners. Three options, in order of strength and difficulty:
- Rabbet joint (beginner-friendly): cut a rabbet half the thickness of your plywood into the end of each side panel so the adjoining panel seats into a shoulder instead of a butt joint. Glue and pin with brads. Fast to cut with a router or table saw, and strong enough for a light case when paired with the corner protectors from the hardware kit above.
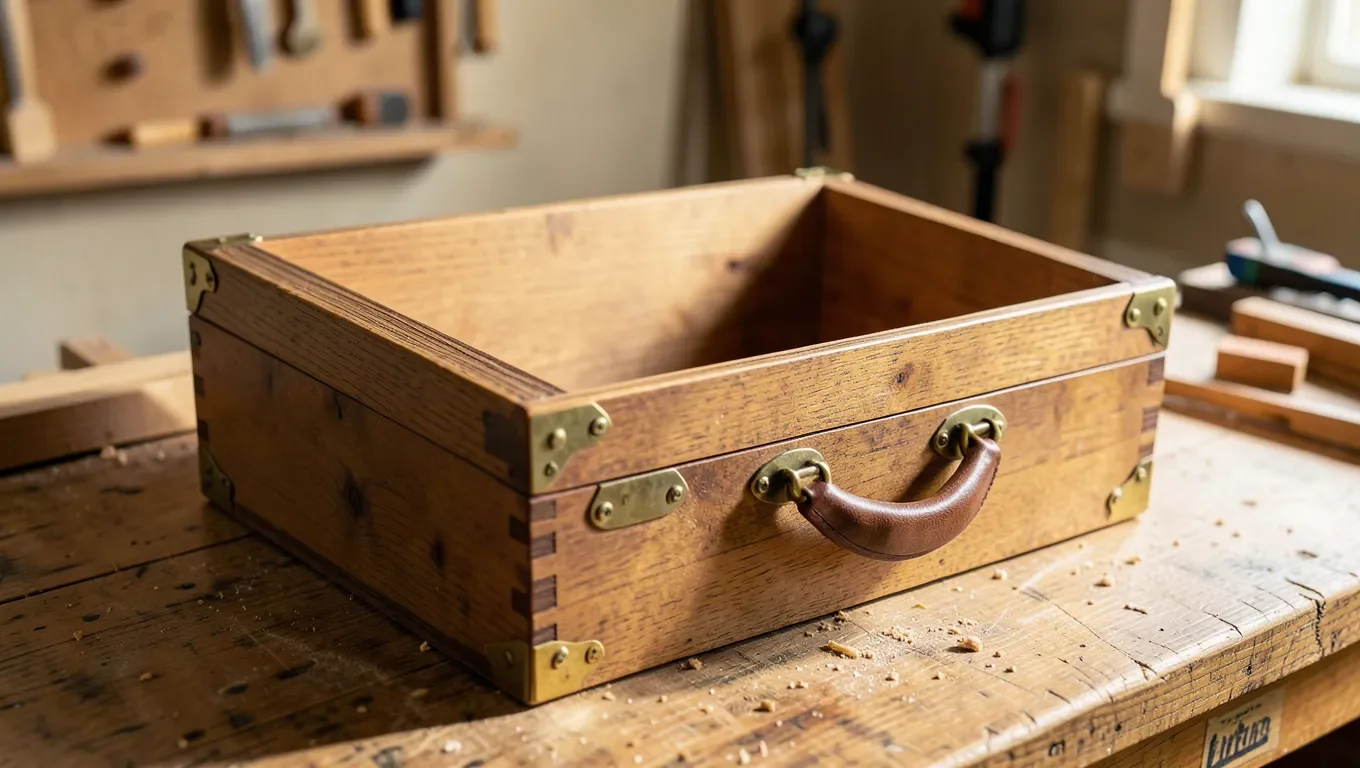
- Box joint / finger joint (intermediate): interlocking fingers, typically 3/8 in. to 1/2 in. wide, cut on a table saw with a box-joint jig or on a router table. Roughly triples the glue surface area of a butt joint, which is why it’s the standard joint on real steamer trunks.
- Through-dovetail (advanced): angled pins and tails that mechanically lock even before glue sets. Overkill for a first build, but it’s what you’ll see on high-end wooden cases and vintage tool chests, and it needs no metal corner bracing at all.
If you’re building your first case, cut rabbet joints and let the corner protectors from the hardware kit do the reinforcing – it’s a fraction of the setup time of box joints and still holds up to normal use.
Assembling the Suitcase Body
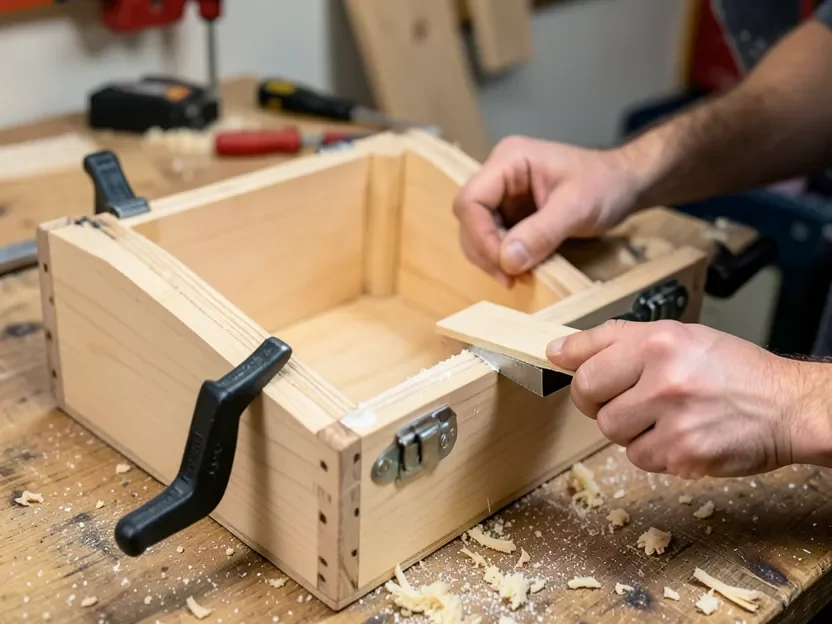
Cut the base panel first and build the walls around it – it’s easier to keep everything square when the base sets your outer dimensions instead of trying to fit a base into finished walls. Dry-fit all four sides and the base before any glue touches wood; a suitcase frame that’s out of square by even 1/8 in. will show as a lid that doesn’t sit flat.
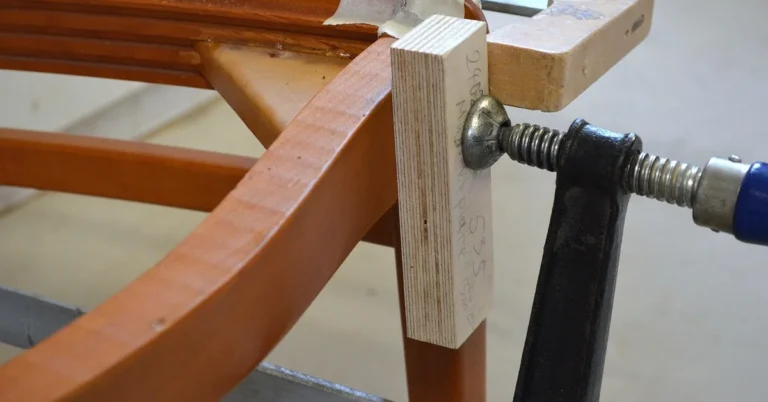
Glue and clamp one corner at a time rather than all four at once – if you’re working without a full clamp set, painter’s tape pulled tight across a corner while the glue sets works as a temporary clamp. Check each corner with a combination square as you go, and measure both diagonals of the assembled box – if they match, the frame is square. Let the glue cure fully (24 hours for PVA glue) before cutting the lid free.
Once the body is solid, cut the lid free from the top of the case with a circular saw set to the exact depth of the plywood thickness, guided by a straightedge clamped to the case. This is the trick that gets you a lid that matches the case perfectly in grain and color, because it was one continuous piece until this cut.
Fitting the Lid and Choosing Hinges
Hinge choice matters more than most builders expect. Two small plate hinges (the type included in most decorative hardware kits) work fine on a small case, but on anything wider than about 18 in. the lid will rack – twist slightly out of square – between the two hinge points over time, since nothing supports the middle of the hinged edge. A continuous “piano” hinge, cut to the exact width of the case and screwed along the entire back edge, eliminates racking completely because the load is spread across the whole length instead of two points.
Either way, mount the hinge barrel slightly proud of the case back so the lid can swing past 90 degrees without the lid’s front edge binding on the case front – test the swing before driving every screw. Countersink hinge screws flush; a screw head that stands even 1mm proud will telegraph through fabric lining and catch on clothing packed inside.
Adding the Interior Lining
A lined interior protects both the case and whatever you pack in it. Cut thin batting or upholstery foam (1/4 in. works well) to fit each interior panel, then cover it with cotton twill or felt cut about 1 in. oversized on each edge. Spray adhesive tacks the batting to the wood; fold the fabric over the batting and staple the excess to the panel back before it goes into the case, so no visible staples show on the finished interior.
If the case will see any exposure to damp conditions – a garage, a car trunk, checked luggage in transit – line the wood itself first with a thin coat of shellac or a water-resistant wood sealer before adding fabric, so moisture that gets past the lining can’t swell the plywood from the inside.
Installing the Latch, Handle, and Corner Hardware
Center the hasp latch on the front edge and mark screw locations before drilling – a latch mounted even slightly off-center is one of the most common giveaways of a rushed build. Install the corner protectors last, after finishing, so they cap the exposed end grain at every corner: that end grain is the weakest point on the entire case, and it’s exactly where a dropped or bumped suitcase splits first. A leather or webbing handle mounted through the lid’s front-center, backed with a metal plate on the inside for load distribution, holds up far better than a handle screwed straight into 1/2 in. plywood alone.
Finishing: Stain, Sealer, and Protecting the Wood
Sand through 120 then 220 grit before finishing – skipping the 120-grit pass and jumping straight to 220 is the most common reason a stain comes out blotchy on plywood, since the face veneer needs the coarser grit to open its pores evenly. Apply a wiping stain with a cloth, working with the grain, and wipe off the excess after 5-10 minutes rather than letting it sit.
Once the stain is fully dry (24 hours), seal with two to three coats of wipe-on polyurethane or a paste wax if you want a lower-sheen, more vintage look. Let each coat cure and scuff-sand lightly with 320-grit between coats for an even final sheen. This finish step is also when to double-check whether your chosen paint or finish is actually water-resistant if the case will travel – not every attractive finish holds up to weather.
Maintenance and Care
Wipe the exterior with a soft, barely-damp cloth – never soak the wood – and dry it immediately. Check hinge and latch screws every few months; they loosen with repeated opening and closing faster than most owners expect, and a loose hinge screw is what eventually causes hinge-plate cracking if it’s left unaddressed.
| Task | Frequency |
|---|---|
| Wipe down exterior | Monthly, or after each trip |
| Check hinge/latch screws | Every 3 months |
| Reapply wax or wipe-on poly coat | Every 6-12 months |
Frequently Asked Questions
How do I start building a wooden suitcase?
Start with the base panel and build the four walls around it using 1/2 in. Baltic birch plywood, joined with rabbet joints if it’s your first build. Dry-fit everything and check the diagonals for square before gluing, then clamp one corner at a time rather than all four together.
What tools do I need for a wooden suitcase?
A table saw or circular saw with a guide, a router for cutting rabbet or box joints, a drill/driver, bar clamps, a combination square for checking corners, and 120/220-grit sandpaper. A box-joint jig is only needed if you’re going beyond a basic rabbet joint.
How can I make my wooden suitcase waterproof?
Seal the bare wood with shellac or a water-resistant wood sealer before adding any fabric lining, then finish the exterior with two to three coats of wipe-on polyurethane. Pay extra attention to the joints and screw holes, since that’s where moisture gets in first – a finish that looks fully sealed on the flat panels can still leak at an unsealed corner joint.
Should I use plywood or solid wood for a suitcase?
Plywood, for the main panels. Solid wood panels wider than about 6 in. expand and contract across the grain with humidity and can cup or crack a case’s flat sides over a season, while Baltic birch plywood’s cross-grain layers stay stable. Save solid hardwood for narrow trim pieces and corner battens where movement isn’t a problem.
Conclusion
A wooden suitcase built with stable plywood panels, a corner joint sized to how hard it’ll be used, and a real continuous hinge will outlast the “learn to dovetail” projects most builders start with – and it’s a lot more useful sitting by the door. Get the joinery and hinge choices right and everything else, from lining to latch, is just finishing work.
Sponsored / affiliate links. As an Amazon Associate I earn from qualifying purchases. I may earn additional commission from eligible campaigns.