How to Make Wooden Checkers (Real Dimensions + Best Wood Pairing)
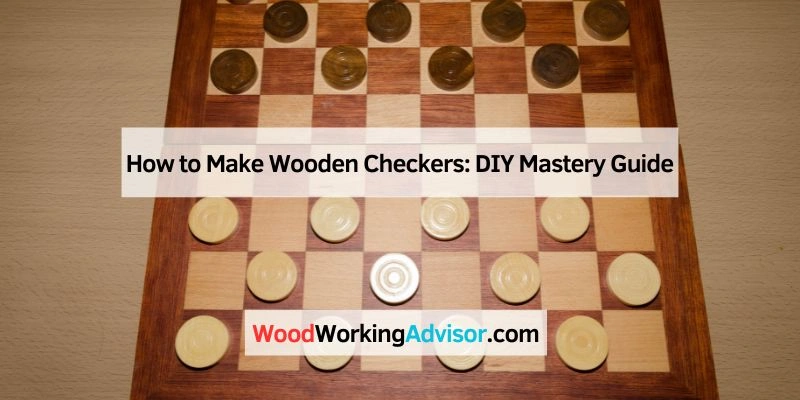
To make wooden checkers, cut 1half-inch discs from a hardwood dowel (or bore them out of flat stock with a Forstner bit), then sand and finish two contrasting sets one light wood like maple, one dark wood like walnut. For the board, glue up an 8×8 grid of 2-inch squares in the same two woods, for a finished board roughly 16 to 17 inches square.
Wooden checkers are a genuinely beginner-friendly project no complicated joinery, just clean cuts, a lathe or drill press, and some sanding. This guide covers real dimensions (the ones official-size sets actually use), which two woods give the best contrast without needing paint, and how a real hobbyist build came together so you have a proof-of-concept to work from, not just theory.
⚡ Quick Answer
Standard checkers pieces are 1.5 inches in diameter and 0.5 inches thick. A standard board has 64 squares at 2 inches each, for a 16×16-inch playing field (about 17-18 inches with a border). Use two contrasting hardwoods maple/walnut is the classic pairing instead of paint for pieces that won’t chip or fade.
Tools and Materials You’ll Need
Choosing the right wood matters more for checkers than almost any other small project, because the two colors ARE the game board’s readability. Hardwoods hold a crisp edge and won’t dent under normal play the way a softwood like pine will.
- Light wood: hard maple is the standard choice pale, tight-grained, and it takes a clear finish without blotching.
- Dark wood: walnut is the classic pairing partner; mahogany or wenge also work if you want a stronger contrast.
- Saw: a bandsaw or jigsaw for rough-cutting stock, or a hole saw/Forstner bit if you’re boring discs directly out of flat board.
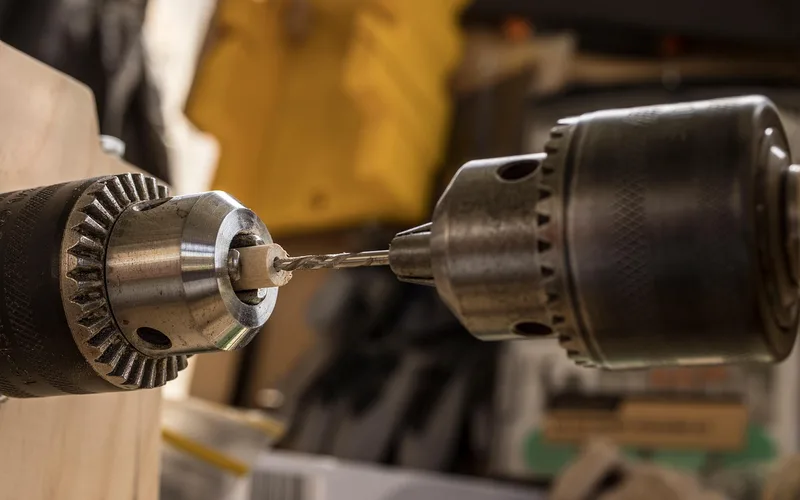
- Drill press or lathe for clean, consistent rounds a drill press with a Forstner bit is the easiest route for a first attempt.
- Sandpaper (120 through 220 grit) and a finish a wipe-on hardwax oil protects better than plain sanding sealer for something that gets handled constantly.
Real Dimensions: How Big Should Checkers Be?
This is the part most DIY guides skip, and it’s the difference between a set that plays properly on any board and one that’s guesswork. Official checkers pieces are 1.5 inches in diameter and about 0.5 inches thick sized to sit comfortably inside a 2-inch board square with room to slide a finger under for jumps. The board itself is an 8×8 grid of 2-inch squares (per FIDE-style sizing standards used across checkers and chess), which puts the playing field at 16×16 inches, or roughly 17 to 18 inches including a 0.5-1 inch border.
📊 Reference dimensions: a real hobbyist checkerboard build documented by Woodcraft’s DIY blog finished at 16-3/4 inches square by 5/8 inch thick, with checker pieces at 1-1/2 inches diameter by 1/2 inch thick right in line with standard sizing, giving you a real-world target to build to rather than a rough guess.
Cutting the Checker Pieces
There are two practical ways to get 24 identical round discs (12 per color):
- From dowel stock: buy 1.5-inch diameter hardwood dowel and crosscut it into 0.5-inch-thick discs on a miter saw or bandsaw with a stop block for consistency. This is the fastest route since the diameter is already set.
- From flat stock with a Forstner bit: bore 1.5-inch discs out of 0.5-inch-thick board using a Forstner bit in a drill press, then pop them out and clean up the edge on a sander. This wastes more material but lets you use offcuts you already have.
Wear safety glasses for either method, and keep fingers well clear of the blade or bit small round stock likes to spin or kick if it isn’t clamped or stopped securely.
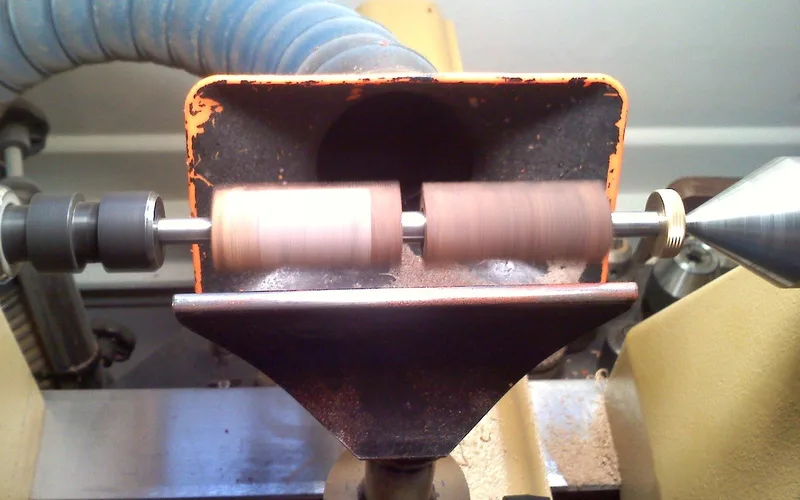
Sanding and Finishing the Pieces
Sand each disc through 120, then 180, then 220 grit. A light bevel on the top edge (done with a router table, a chisel, or just careful hand-sanding) keeps corners from chipping during play and feels noticeably better between your fingers.
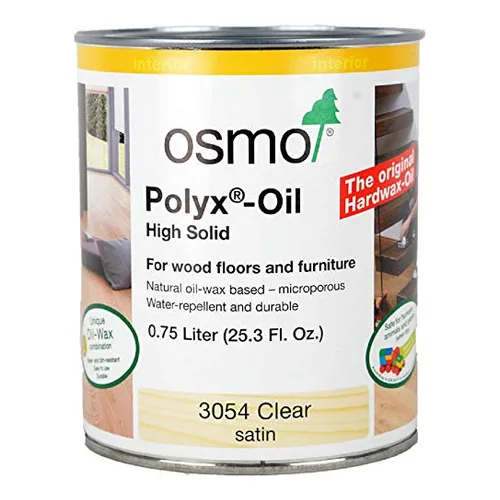
For the finish, avoid paint the contrasting wood species are doing the color work, so all you need is protection. A hardwax oil like Osmo Polyx is a common choice among woodworkers building game boards specifically because it holds up to constant handling better than a sprayed lacquer, and it doesn’t need to be reapplied as often as straight wax.
Building the Checkerboard
Glue up alternating strips of your light and dark wood, then crosscut and re-glue the strips (a standard basket-weave / cutting-board technique) to produce the 8×8 checkerboard pattern without having to individually place 64 separate squares. Keep every square at exactly 2 inches consistency here matters more than the overall board size, since pieces are sized to that 2-inch grid.
Once the panel is glued and sanded flat, a shallow decorative groove routed around the playing-field border (about 0.25 inch wide, centered half an inch from the edge) gives the board a finished, furniture-grade look and hides any small gaps at the outer glue line.
How to Play (Quick Rules Refresher)
Each player starts with 12 pieces on the dark squares of the three rows closest to them. Pieces move diagonally forward one square at a time, and jump over (and capture) an opponent’s piece when there’s an empty square directly beyond it. Capturing is mandatory when a jump is available. A piece that reaches the far row becomes a king and can then move diagonally in either direction. The game ends when one player has no legal moves left.
Care and Maintenance
Wipe pieces and the board with a soft, dry cloth after use. For deeper cleaning, use a barely-damp cloth with mild soap and dry immediately standing water is the main enemy of a glued-up board, since it can work into the seams between wood species and cause them to separate over time. Store the set away from direct sunlight, which fades wood color contrast faster than almost anything else.
“Twelve in walnut, and twelve in curly maple for defining opposing player contrast… the final board will measure 16-3/4 inch square by 5/8 inch thick. The checker pieces are 1-1/2 inches in diameter by 1/2 inches thick.”
Recommended Tools and Materials
Our Picks for Building Wooden Checkers
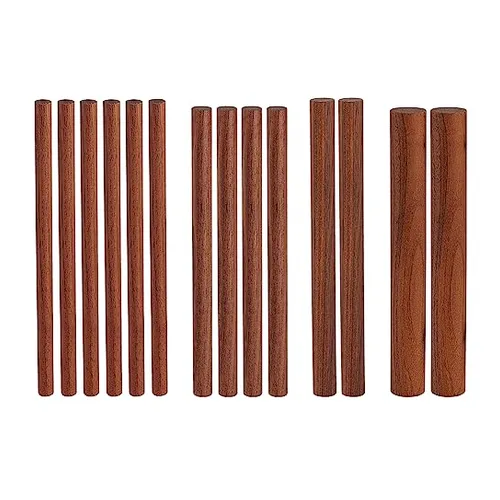
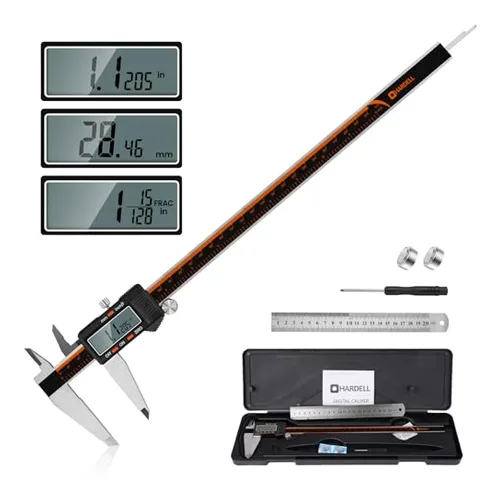
Pre-sized hardwood dowel means every dark piece comes out the same diameter with zero layout work just crosscut to thickness.
Check Price on Amazon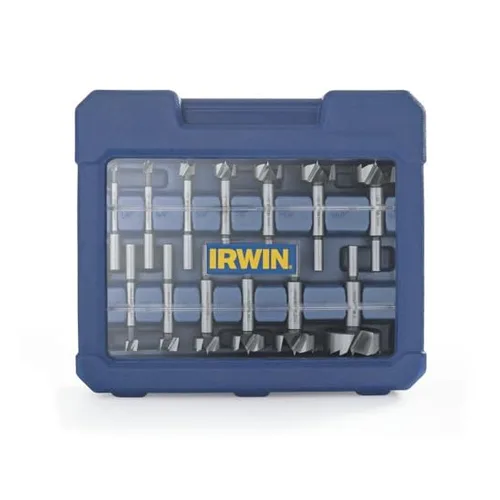
Frequently Asked Questions
How Do I Start Making Wooden Checkers?
Start with 1.5-inch diameter hardwood dowel (or bore 1.5-inch discs from flat stock with a Forstner bit), then crosscut into 0.5-inch-thick pieces. Sand through 120-220 grit and finish with a hardwax oil rather than paint two contrasting wood species do the color-coding for you.
What Two Woods Work Best for a Checkerboard?
Maple and walnut is the most common pairing maple’s pale, tight grain contrasts cleanly against walnut’s dark tone, and both are hard enough to resist dents from normal play. Curly maple paired with walnut is a popular upgrade for extra visual interest.
How To Finish Wooden Checkers Properly?
Sand smooth through at least 220 grit, then apply a hardwax oil finish in two coats, letting each dry fully. Hardwax oil holds up to constant handling better than a sprayed lacquer and is easier to spot-repair years later than a film finish.
What Size Should a Homemade Checkerboard Be?
Keep each square at 2 inches for a standard 16×16-inch playing field (roughly 17-18 inches including a border), which matches the 1.5-inch piece diameter used across standard checkers sets.
Conclusion
A wooden checkers set is one of the most approachable projects in the shop a dowel, a saw, some sandpaper, and an afternoon gets you a set that outlasts anything from a store. Build to the real 1.5-inch/2-inch sizing above and it’ll play correctly on any board, homemade or not.
Sponsored / affiliate links. As an Amazon Associate I earn from qualifying purchases. I may earn additional commission from eligible campaigns.