DIY Wood Filler: How to Make Your Own (Sawdust + Glue Method)
You can make effective wood filler at home with just two ingredients – sawdust and wood glue – for a fraction of what a store-bought tub costs.
The real advantage isn’t just price. Mixing sawdust from the exact same wood you’re repairing gives you a filler that matches the surrounding grain color far more closely than any tinted store-bought product, since it’s literally made from that wood. This guide covers the real mixing ratio, how to apply it without it shrinking or cracking as it dries, and an honest look at where a DIY mix falls short of a commercial filler so you know when to reach for one instead.
If you don’t have matching sawdust on hand, our guide to making wood filler without sawdust covers flour, epoxy, and other pantry-shelf substitutes that work almost as well.
Introduction To DIY Wood Filler
The Binder Your DIY Filler Needs
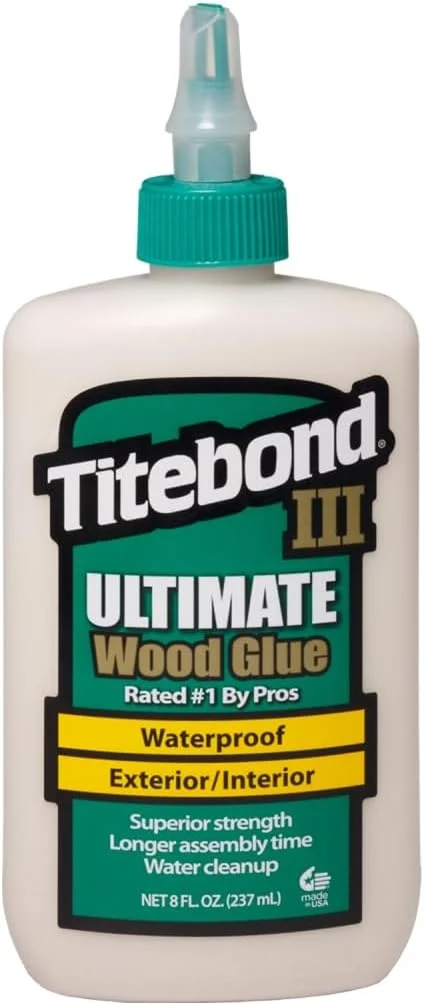 |
Titebond III Ultimate Wood Glue, 8 oz A waterproof PVA glue that mixes into a much more durable, crack-resistant DIY filler than a household white glue, and holds up outdoors if the repair is exposed to weather.
|
Wood filler is a paste that hardens as it dries, used to fill nail holes, cracks, and gouges before sanding, staining, or painting. Store-bought fillers like DAP Plastic Wood or Minwax High Performance run roughly $6-12 for an 8-16 oz tub. A homemade sawdust-and-glue mix costs almost nothing beyond a bottle of glue you likely already own for other projects, since the sawdust itself is a byproduct of sanding or cutting.
The bigger benefit is color matching. A tinted commercial filler is mixed to a generic shade like “natural” or “red oak,” which rarely matches your specific board once it’s stained. A DIY filler made from sawdust collected off the exact piece you’re repairing dries close to that board’s own color and takes stain more predictably, because it’s the same wood fiber, not a synthetic pigment trying to imitate it.
Materials Needed
You will need fine sawdust, wood glue, and a small mixing container for DIY wood filler. A putty knife handles application, and a scrap piece of the same wood is worth keeping nearby to test the color match before you commit to filling the actual repair. If you are wondering whether a kitchen-made glue such as flour paste could be the binder instead, our guide to making glue at home explains why it is not.
Essential Ingredients
The base ratio that works for most repairs is roughly 2 parts fine sawdust to 1 part wood glue by volume – fine sanding dust mixes into a smoother paste than coarse sawblade shavings, which tend to leave visible flecks once the filler dries. PVA wood glue (yellow glue) is the standard binder; a waterproof formula is worth using even indoors, since it resists cracking from humidity swings better than a basic white craft glue.
Optional Additives
A drop of matching wood stain or a pinch of dry pigment powder can fine-tune the color if the raw sawdust dries lighter than expected – sawdust almost always dries a shade or two lighter than the source wood once the moisture evaporates out of the glue. A few drops of water can loosen a mix that’s gone too stiff to spread, but add it sparingly, since too much water weakens the cured filler’s hardness.
Preparing The Surface
Wipe the damaged area clean with a damp cloth to remove dirt and dust, then let it dry completely – filler applied over damp wood won’t bond properly and can loosen later. Sand the area lightly with medium-grit sandpaper in small circular motions; this roughens the surface slightly so the glue in your filler has something to grip rather than sliding over smooth, sealed wood.
Wipe away the sanding dust with a dry cloth before mixing your filler – but don’t throw that dust away. If it came from the same board you’re repairing, save it. It’s your best possible color match for the mix in the next step.
Mixing The Wood Filler
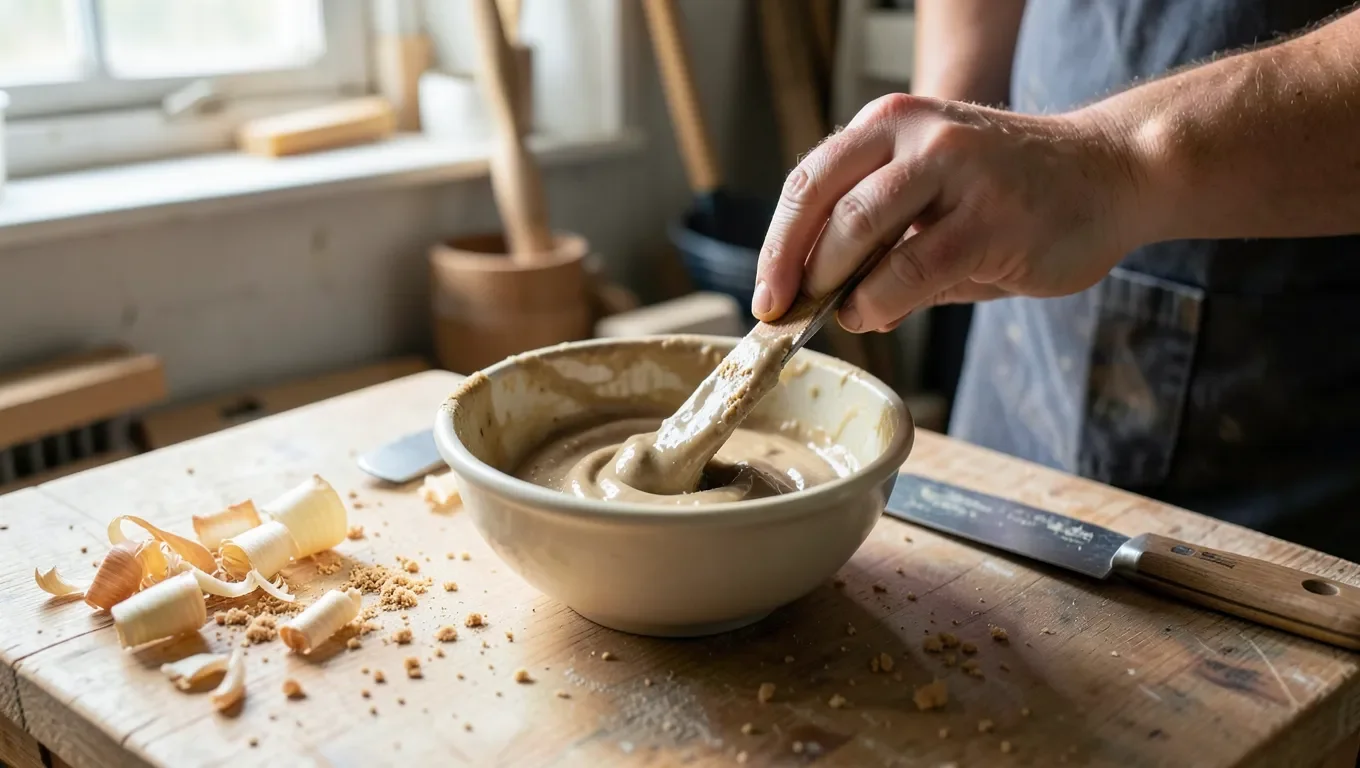
Start with roughly 2 parts sawdust to 1 part glue by volume, then adjust from there – this ratio holds together well without being so glue-heavy that it stays rubbery once cured. Combine them in a small bowl and stir until the mixture pulls together into a stiff, uniform paste. If it’s crumbly and won’t hold shape, add glue a few drops at a time; if it’s runny or won’t hold a peak on the stirring tool, add more sawdust.
The right consistency spreads like stiff peanut butter – firm enough to hold its shape in a gap, soft enough to press into a crack without cracking itself. Test a small amount on your scrap piece first: press it into a test notch and check that it doesn’t slump or drip. Keep in mind the mix shrinks slightly as it dries, roughly 5-10% in volume for a typical batch, so slightly overfilling a deep hole compensates for that shrinkage rather than leaving a shallow dip once it cures.
Applying The Wood Filler
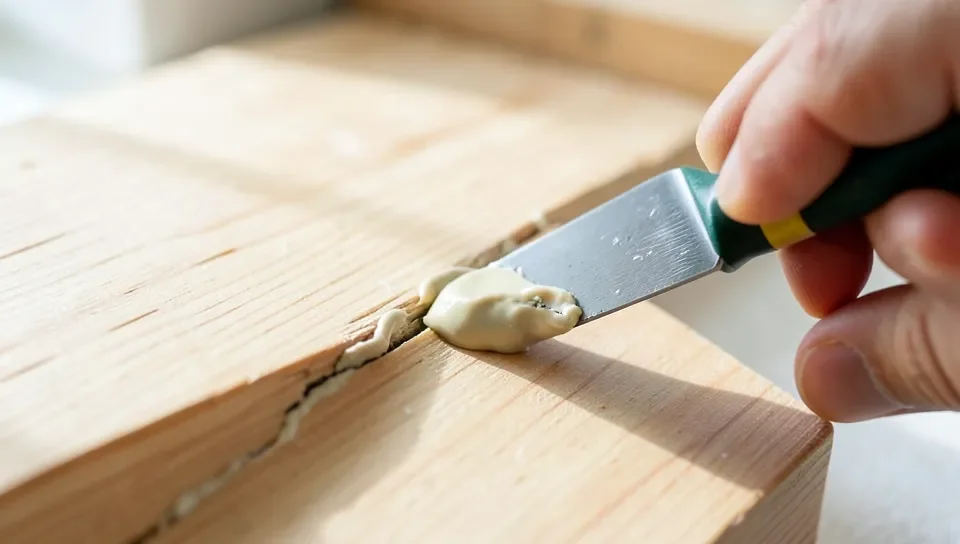
Scoop a small amount of filler onto the putty knife and press it firmly into the crack or hole, working it in rather than just laying it on top – trapped air pockets under the surface are a common reason a repair cracks again later. Overfill slightly, mounding it a bit above the surrounding wood surface to account for shrinkage as it dries, then scrape the excess flush once it has fully cured rather than while it’s still wet.
For a hole deeper than about a quarter inch, build it up in layers instead of packing it full in one pass. A thick single application shrinks unevenly and often cracks right down the middle as it dries, since the outer surface skins over while the inside is still wet. Fill halfway, let that layer dry completely (usually a few hours for a thin layer), then add the next layer. This takes longer than one big application but produces a far more stable repair on anything deeper than a shallow scratch.
Sanding And Smoothing
Work through sandpaper grits in order rather than jumping straight to fine paper – start coarse (about 100-120 grit) to knock down any excess filler proud of the surface, then move to medium (150-180) and finish with fine (220) for a smooth blend into the surrounding wood. Sand in the direction of the grain, not across it, since cross-grain scratches show up clearly once you stain. Swap out sandpaper once it clogs with filler dust; a clogged sheet burnishes the surface instead of cutting it.
Use light, even pressure and a sanding block on flat sections so you don’t create a shallow dip by sanding the filler faster than the surrounding wood – DIY sawdust filler is often slightly softer than the parent wood and sands away quicker if you’re not careful. Check your progress under raking light (a lamp held at a low angle) rather than overhead light, since that’s what reveals a filler patch that still sits proud or sunken.
Staining And Painting
Here’s the honest limitation of a sawdust-and-glue filler: it usually doesn’t absorb stain the same way as the surrounding solid wood, because the cured glue seals the wood fibers and blocks even penetration. The patch often ends up slightly lighter or duller than the wood around it even when the dry, unstained color looked like a perfect match. If a repair will be stained rather than painted, test on your scrap piece first – apply stain to both the filler and the solid wood side by side and compare before committing to the actual repair.
If the test shows a visible mismatch, a stainable commercial filler (or a filler blended with a bit of matching stain mixed directly into the paste before it cures) usually performs more predictably than plain sawdust and glue. Paint is far more forgiving than stain here, since paint sits on top of the surface rather than needing to soak in evenly – a DIY filler under paint blends in with a normal primer and topcoat with no special workaround needed.
Maintenance And Longevity
Check repaired spots occasionally for new hairline cracks, especially on furniture that flexes or outdoor pieces exposed to humidity swings – a DIY filler’s slightly higher shrinkage rate compared to commercial products means it’s a little more prone to developing a fine crack over a season or two of temperature changes.
If a patch does fail, dig out the old filler with a small pick or screwdriver rather than filling over it, clean out the dust, and remix a fresh batch. Filling over a failed patch just traps the old crack under a new layer that will likely telegraph through again.
Common Mistakes To Avoid
Mixing the paste too wet is the most common mistake – a runny mix shrinks far more than it should as the extra moisture evaporates, leaving a sunken dip that needs a second fill. Keep the ratio on the stiffer side (more sawdust than seems necessary at first) and add liquid gradually rather than starting wet and trying to thicken it after the fact.
Skipping the dry-time between layers on a deep repair is the second most common issue – a filler that looks dry on the surface can still be wet underneath, and sanding or staining too early traps moisture that causes the patch to darken unevenly or crack later. When in doubt, give a deep repair a full 24 hours before sanding, even if the label or a thin test patch dried faster.
Tips And Tricks From The Pros
Sawdust straight from active sanding mixes into the smoothest paste, since it hasn’t had time to absorb ambient moisture – store extra in a sealed bag or jar if you’re not using it immediately, and it will still work weeks later. Matching the exact species (not just a similar-looking dust) makes the biggest visible difference on a natural-finish piece that won’t be stained or painted.
For structural gaps larger than a small nail hole, swap the wood glue for a two-part epoxy mixed with sawdust instead. Epoxy filler cures far harder than a PVA-based mix and won’t compress under weight the way a glue-based filler can on something like a stair tread or a chair joint – the tradeoff is a shorter working time before it hardens, so mix only as much as you can apply in one go.
Frequently Asked Questions
What Can You Use As A Substitute For Wood Filler?
You can use epoxy, caulk, or a mixture of sawdust and glue as substitutes for wood filler. These options fill gaps effectively.
Can I Make My Own Wood Filler?
Yes, you can make your own wood filler. Mix sawdust with wood glue to create a paste. Apply it to the damaged area, let it dry, then sand it smooth. This DIY solution is effective and cost-efficient.
What Can Be Used For Wood Filler?
Wood filler options include epoxy, wood putty, and sawdust mixed with glue. Choose based on the repair needed.
How Do You Fill Wood Without Wood Filler?
Use a mixture of sawdust and wood glue. Apply the paste to the crack or hole, then sand it smooth.
Want the deep dive on the sawdust method specifically – drying times, storage, and troubleshooting a batch that won’t cure right? See our full guide on making wood filler with sawdust. Working without any sawdust on hand? Our wood filler without sawdust guide covers flour, epoxy, and other substitutes.
Will Sawdust And Glue Wood Filler Take Stain Evenly?
Not always – the cured glue can seal the wood fibers and block even stain absorption, leaving the patch lighter or duller than the surrounding wood. Always test on a scrap piece before staining a visible repair.
How Long Does Homemade Wood Filler Take To Dry?
A thin layer typically dries in a few hours, but a deep fill built up in layers should cure for a full 24 hours before sanding to make sure the inside is dry, not just the surface.
Conclusion
Creating your own wood filler is simple and cost-effective. With just a few materials, you can fix small wood damages. No need for expensive store-bought fillers. DIY wood filler blends well with existing wood. It’s handy for quick repairs. Plus, it dries fast and lasts long.
Try this method next time you need to fill gaps or cracks. You’ll be amazed at the results. Happy woodworking!
Sponsored / affiliate links. As an Amazon Associate I earn from qualifying purchases. I may earn additional commission from eligible campaigns.