How Much Wood Glue Do You Need for a Tabletop Glue-Up?
For a typical tabletop edge-glue, I plan on about 1 fluid ounce of PVA wood glue for every 8–10 linear feet of joint, and I usually choose a 16 oz bottle for small tops or a 32 oz bottle for larger dining tables. Too little glue leaves dry joints and weak seams; too much wastes time and makes cleanup harder. This guide gives a simple tabletop glue calculator, a board-length estimate, and when edge quality, spread method, or epoxy changes the number.
What you’ll need before you start



- PVA wood glue for normal edge-gluing when the boards fit well, or epoxy if the joint fit, working time, or exposure calls for it
- Glue spreader, roller, or brush for a controlled film
- Clamps, cauls, and a dry-fit layout for the full panel
- Rag, scraper, and a timer for cleanup and assembly timing
How much wood glue do you need for a tabletop glue-up?
For many tabletops, 16 oz is enough for a small panel, and 32 oz is often enough for a typical dining-table glue-up with some margin. A practical planning rate is about 1 fluid ounce for every 8–10 linear feet of edge joint with PVA wood glue, then add a waste factor for spread loss and cleanup.
The real number changes with joint length, how heavily the glue is spread, and how fast you assemble. Flat, well-jointed boards need less than rough edges. Epoxy usually needs a different estimate because it is chosen for gap filling, longer working time, or outdoor use, not as the default for straight edge-gluing.
How do I calculate glue for a table top?
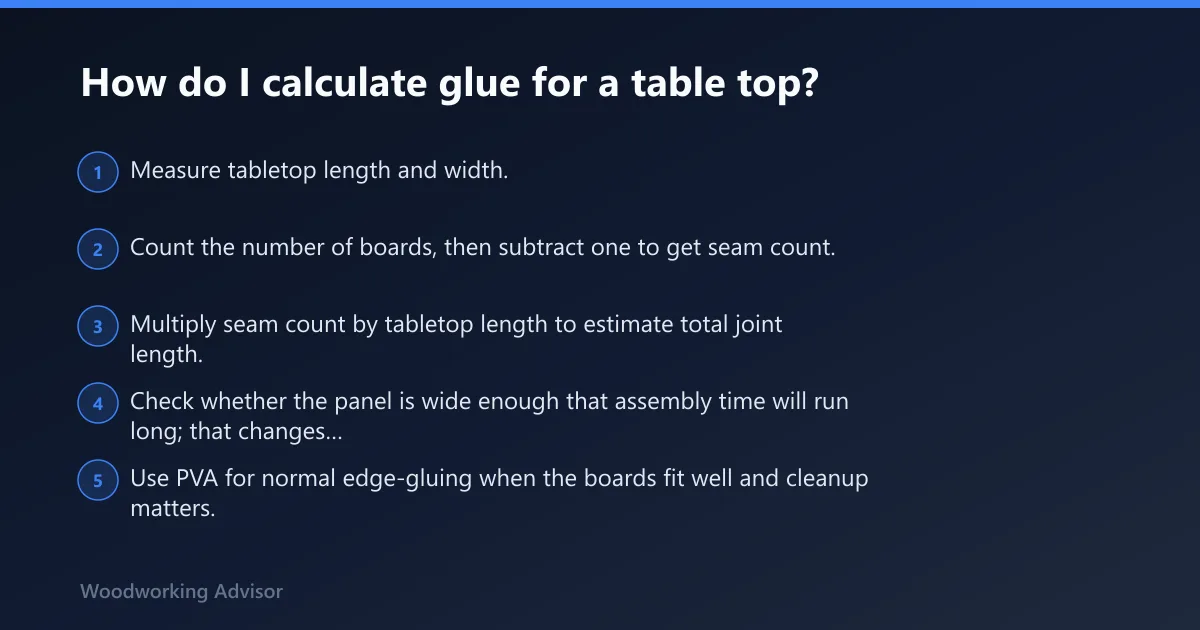
Measure the total glued seam length, then convert that length to ounces using a simple coverage rate. For PVA, a thin, even film on both edges often works out to around 1 oz per 8–10 linear feet of joint, with some extra kept in hand for brush or roller loss, squeeze-out, and a little working margin.
Board count matters because each seam adds length. Wider tabletops and longer panels usually need more glue not because the joint gets deeper, but because the assembly takes longer and more seams must be coated before clamp pressure starts moving the boards around.
Step 1: Measure the panel and count the joints
- Measure tabletop length and width.
- Count the number of boards, then subtract one to get seam count.
- Multiply seam count by tabletop length to estimate total joint length.
- Check whether the panel is wide enough that assembly time will run long; that changes the amount of glue worth keeping ready.
Step 2: Choose the glue type and spread method
- Use PVA for normal edge-gluing when the boards fit well and cleanup matters.
- Use epoxy only when gaps, outdoor exposure, or longer working time justify it.
- Match the spreader to the job: roller for broad films, brush for controlled edge coverage, applicator for narrow seams.
I reach for epoxy when I need extra working time, and I use it for gap filling. I also use it on outdoor projects, on complicated glue-ups, and on jobs where the layout takes longer than PVA allows. Some epoxies come with different working times, but faster epoxy may not gap fill well.
Step 3: Apply enough glue without flooding the joint
- Spread a thin, continuous film on the mating edges when using PVA.
- Cover the full length; do not leave dry patches at the ends.
- Look for light, even squeeze-out along the seam as the coverage check.
Squeeze-out is useful because it tells you the joint got enough adhesive, but it should be a thin bead, not a flood. More glue is not always better. Heavy squeeze-out usually means extra cleanup, not extra strength, and too much pressure can push glue out of the joint and risk starvation.
Step 4: Clamp for even pressure and alignment
- Place clamps so pressure is spread across the panel width.
- Use cauls or alignment aids if the boards want to step.
- Watch the seam for movement during the first few minutes.
Clamp spacing should keep the panel flat while the glue is wet. On a broad tabletop, the goal is even pressure distribution, not maximum force. PVA glue usually gets a standard clamp window, while epoxy needs enough time to stay workable through the full setup and alignment process.
How much glue for 1 board foot of wood?
Board footage is a poor way to size tabletop glue by itself, because glue use tracks seam length, not board volume. For straight edge-gluing, a board foot with one short seam may need very little adhesive, while a long, narrow board can need more glue than a thicker piece with no joint to form.
If you must convert from board footage, use it only as a rough planning check. Then return to seam length. That gives a usable number for PVA and a better starting point for epoxy when the job has gaps or demands longer working time.
How many ounces of wood glue per square foot of joints?
For PVA on well-fit tabletops, a practical estimate is roughly 0.1 to 0.15 oz per square foot of glued seam area, with some waste factor added. That is only a planning figure, because edge quality, spread method, and how heavily you coat the boards can move the number up or down.
Square-foot figures are less useful than joint length for edge-glued tabletops. A thin, uniform film from a glue spreader gives better consistency than guessing by area alone, especially when the panel has many seams and the clamping sequence has to happen quickly.
Tabletop glue calculator
| Tabletop size | Board count | Total joint length | Base PVA estimate | With waste factor | Practical bottle choice |
|---|---|---|---|---|---|
| 48 x 24 in. | 4 boards | 12 ft | 1.2–1.5 oz | 1.8–2.3 oz | Small bottle, 16 oz |
| 60 x 30 in. | 5 boards | 20 ft | 2.0–2.5 oz | 3.0–3.8 oz | Small bottle, 16 oz |
| 72 x 36 in. | 6 boards | 30 ft | 3.0–3.8 oz | 4.5–5.7 oz | Large bottle, 32 oz |
| 96 x 42 in. | 8 boards | 56 ft | 5.6–7.0 oz | 8.4–10.5 oz | Large bottle, 32 oz or more |
Use the table as a shop estimate, not a law. If the board edges are rough, your spread is heavy, or the glue is dragging because the room is warm and dry, move up a step. For most tabletops, a 16 oz bottle covers small work; 32 oz is the safer choice for a full dining top or a panel with many seams.
Do I need more glue for wide tabletops or thick boards?
Wide tabletops usually need more glue in practice because the seams add up and assembly takes longer, not because thick boards absorb a lot more adhesive. Thick stock matters less than edge length unless the faces are rough, porous, or badly machined and drink up the first coat.
For a wide panel, work from a dry-fit, keep clamps laid out before the glue opens, and stage enough adhesive to coat every seam without stopping. That is where extra glue becomes useful: not as insurance for strength, but as insurance against running short midway through the panel.
How much squeeze-out is normal on a tabletop glue-up?
A thin, continuous line of squeeze-out along the seam is normal and useful. It shows the joint has enough glue coverage. Heavy squeeze-out is not the goal, and a dry seam with almost no squeeze-out can mean the joint was under-coated or the surfaces were too thirsty or too rough.
Clean squeeze-out before it hardens. For PVA, wait until it turns rubbery, then scrape or wipe it off with care so you do not push wet glue back into the grain. With epoxy, cleanup timing depends on the product’s working time and cure speed, which is why a timer matters.
How do I avoid running out of glue in the middle of a panel glue-up?
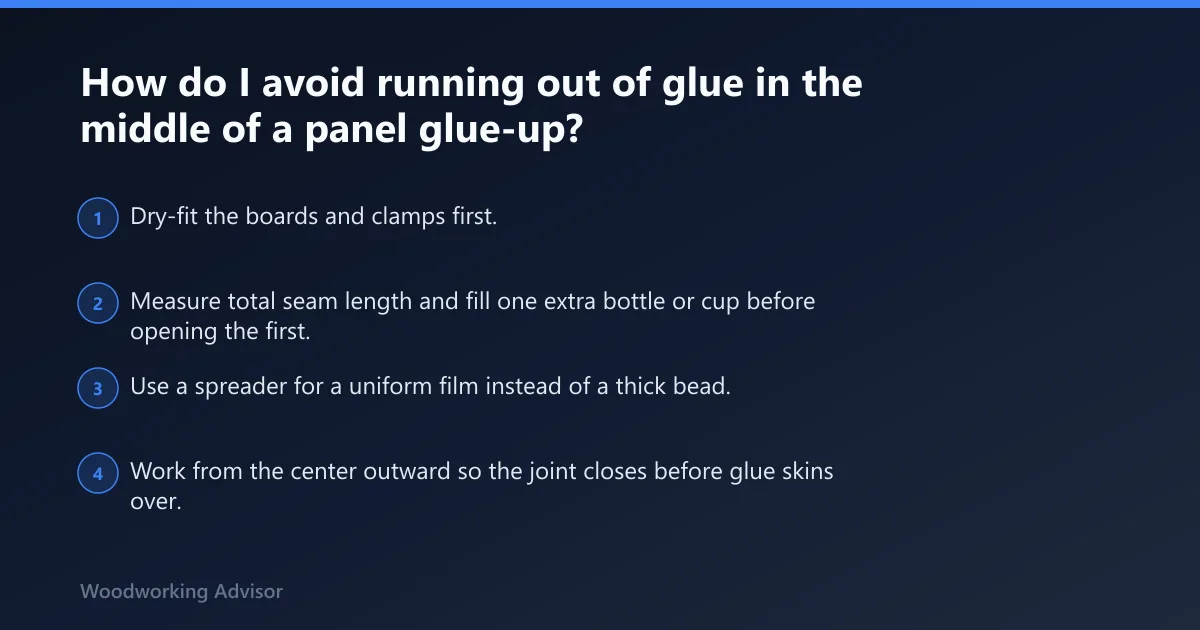
Set out more glue than the calculator says you need, then keep the bottle open and within reach before the first clamp goes on. The safest margin is a second container ready to go, especially on wide tabletops where open time, spread losses, and cleanup from squeeze-out all eat into the supply.
- Dry-fit the boards and clamps first.
- Measure total seam length and fill one extra bottle or cup before opening the first.
- Use a spreader for a uniform film instead of a thick bead.
- Work from the center outward so the joint closes before glue skins over.
If that still leaves you short, stop and reload before the open time expires. A restarted glue-up is better than forcing a starved seam together with scraps of adhesive. For epoxy, remember that mix ratio matters; a 1:1 mixing ratio is specified for one product line, and some epoxy is sold in gallon size, which can matter for larger panels.
Should I use PVA or epoxy for a tabletop glue-up?
Use PVA wood glue for most edge-glued tabletops. It is the default because it cleans up well, bonds straight seams reliably, and fits the usual clamp window. Choose epoxy when you need longer working time, gap filling, outdoor use, or a compound glue-up that gives PVA too little forgiveness.
PVA still has its place, and glue-line creep can be a tabletop problem. Epoxy is favored for tabletop construction in some cases, and self-leveling properties matter for certain epoxy finishes. That said, epoxy is expensive to use all the time, so it makes sense only when the job needs what PVA cannot give.
Before any glue-up, dry-fit the full panel, mark clamp locations, and check alignment from both faces. That simple step prevents a lot of wasted glue and keeps the setup from turning into a race against open time.
Common mistakes
Most problems come from guessing instead of measuring. A tabletop seam needs enough adhesive for full coverage, but not so much that the panel swims in squeeze-out or the joint shifts under clamp pressure.
- Starting without a dry-fit: stage boards and clamps before opening the bottle.
- Using a heavy bead: spread to a thin film for more consistent coverage.
- Ignoring open time on wide tabletops: assemble in the order that closes the seams fastest.
- Waiting too long to scrape cleanup: remove squeeze-out before it hardens.
- Assuming more glue means a stronger bond: aim for full coverage, not flooding.
Sponsored / affiliate links. As an Amazon Associate I earn from qualifying purchases. I may earn additional commission from eligible campaigns.