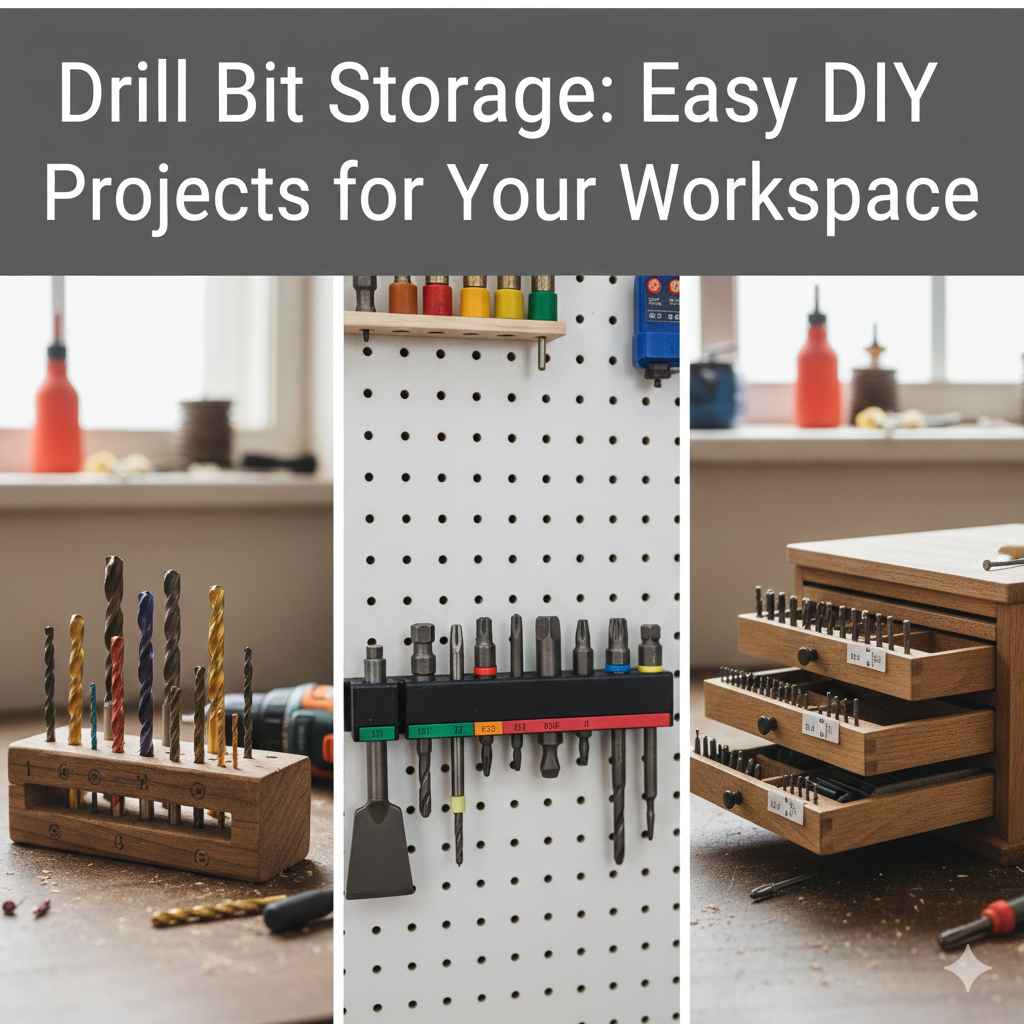
Drill Bit Storage: Easy DIY Projects for Your Workspace
Organizing your tools can sometimes feel like a puzzle, especially when it comes to small items like drill bits. Finding the right way to store your drill bits can be tricky when you’re starting out. This is because there are so many sizes and shapes to deal with. Don’t worry, though! The good news is that creating efficient Drill Bit Storage Ideas You Can DIY Fast is totally achievable. I’m going to share some simple, step-by-step projects so you can get your drill bits sorted quickly and easily. Let’s explore some clever storage solutions!
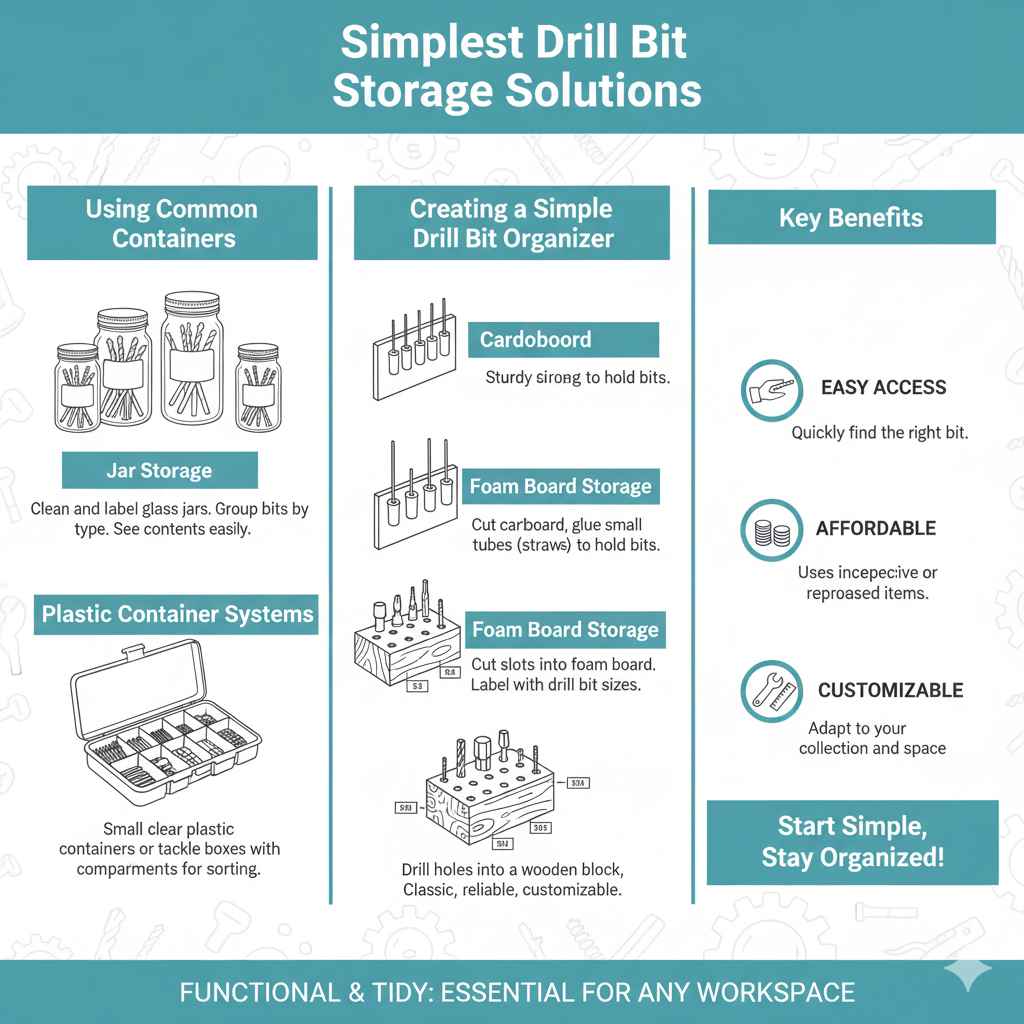
Simplest Drill Bit Storage Solutions
When you begin to consider how to store your drill bits, it’s vital to start with some easy, foundational ideas. These simple solutions are perfect for anyone new to DIY or with limited space. They often use items you already have around the house or are easy to find at any local store. The key is to keep things straightforward and focused on function. This means that access is easy, identification is quick, and the setup doesn’t take hours to build. A good beginning makes all the difference.
Using Common Containers
One of the quickest methods involves using containers you likely already own. These are often great for keeping things organized. Repurposing old jars, plastic containers, or even small boxes can provide instant drill bit storage. The best part is that you can adapt them as your collection grows. These options are budget-friendly and allow you to quickly see what you have. It’s an excellent way to organize and keep things accessible.
Jar Storage: Simply clean and label glass jars. Group bits by size or type. This method lets you see the contents immediately.
Mason jars are a classic example. You can add labels to the lids or the jars themselves. Clear jars allow you to quickly see what you have without opening them.
Plastic Container Systems: Use small, clear plastic containers or tackle boxes. These often have compartments, making sorting straightforward.
Look for containers with dividers. These will help keep your bits separate and easy to find. Stackable containers save space and are convenient.
Boxed Sets: Some drill bits come in cases. Keep the cases and label them clearly.
The original cases often provide good protection. If the case is weak, reinforce it with tape or cardboard. Label the outside for easy reference.
Creating a Simple Drill Bit Organizer
Even a basic organizer makes a huge difference in tidiness. A simple organizer can be created with a few materials. Cardboard, wood scraps, or even foam board can be repurposed into functional storage. This project offers a fun way to improve your organizational skills. It can be made in an afternoon. Plus, it’s easy to customize. Adjust the size and layout to fit your needs.
Cardboard Organizer: Cut a piece of cardboard and glue small tubes (like straws or pen casings) to it. Insert drill bits into the tubes.
Use sturdy cardboard. Secure the tubes with strong glue, such as hot glue. Consider adding a backing for extra stability.
Foam Board Storage: Cut slots into a piece of foam board and insert the drill bits.
Make the slots slightly smaller than the drill bit sizes for a snug fit. Label the slots with the drill bit sizes for easy identification.
Wooden Block: Drill holes into a wooden block to hold your drill bits. This is a classic and reliable solution.
Use a drill press for precise and uniform holes. Sand the edges for a clean finish and smooth handling.
Advanced DIY Drill Bit Storage Systems
If you’re ready to take your organization up a level, these more advanced DIY solutions offer improved functionality and customization. These projects require a bit more skill and effort, but the results are a big increase in organization. They may involve the use of power tools or more complex designs. These projects are great for people looking for long-term storage solutions.
Building a Wall-Mounted Drill Bit Rack
A wall-mounted drill bit rack is a great space-saving solution, especially in a workshop or garage. This method keeps your drill bits visible and readily available. This also frees up valuable workspace on your workbench. Building a wall-mounted rack gives you the freedom to customize the design to your specific needs. You’ll need some basic woodworking tools, but the end result is a strong and appealing storage solution.
Materials Needed: You’ll require a piece of wood, screws, wood glue, and possibly a drill press.
Choose hardwood for durability and longevity. Consider the weight of your drill bits when selecting the wood type and thickness.
Design and Measurements: Plan the layout of your holes or slots to hold the drill bits.
Measure the length and width of your drill bits, and then space the holes accordingly. Make sure to account for any drill bit cases or holders.
Assembly: Drill the holes or create slots using a drill press or saw.
The holes should be sized to snuggly fit your drill bits. Sand the rack, apply finish, and attach it to the wall.
Constructing a Custom Drill Bit Drawer
A drill bit drawer offers a blend of convenience and concealed storage. It’s a useful addition to any workbench or tool cabinet. This solution is more involved than the wall-mounted rack. It requires accurate measurements and construction techniques. However, the final product provides a neat and tidy way to store your drill bits. Moreover, it prevents them from gathering dust.
Drawer Design and Planning: Design the layout of the drawer, including sections for different drill bit types and sizes.
Make sure to measure your available space carefully to ensure the drawer fits. Plan the interior dividers to keep things neat and easy to find.
Building the Drawer Box: Construct the drawer box using wood, screws, and wood glue.
Ensure the corners are square and the drawer slides smoothly. The drawer’s construction determines its ability to handle weight.
Creating the Interior Dividers: Add dividers to separate drill bit types.
Use thin pieces of wood or cardboard for the dividers. Make sure to label the compartments clearly. This will give you quick access.
Choosing the Best Drill Bit Storage System
Selecting the ideal drill bit storage solution depends on your particular workspace, the size of your drill bit collection, and your personal preferences. There are various options, each with benefits and drawbacks. Consider these factors before starting. By matching your storage system to your needs, you can create a more useful and productive workspace.
Factors to Consider
Several things affect what solution is best. Space availability, the number of bits, and the frequency of use are important. Additionally, think about accessibility. Do you need easy access or hidden storage? Considering these factors helps you select the best solution for your situation.
Workspace Size: In a small space, wall-mounted or compact solutions are excellent.
Utilize vertical space and surfaces effectively. Make sure your storage doesn’t take up too much floor space.
Drill Bit Quantity: For a large collection, consider drawers or multi-tiered systems.
Plan for future growth when planning your storage. The system must accommodate more drill bits over time.
Frequency of Use: Easy access is important if you use your drill bits often.
Place the storage near your primary workspace. This will provide instant access to what you need.
Comparing Storage Options
Here’s a comparison that can help you select a solution. Consider the cost, required skill, and space needed for each of the options described above. Compare options to determine what fits your budget and skill level. Understanding the characteristics of each storage system helps you make the right choice.
| Storage Solution | Cost | Skill Level | Space Required | Key Features |
|---|---|---|---|---|
| Jar Storage | Low | Beginner | Flexible | Simple, affordable, easy access |
| Cardboard Organizer | Low | Beginner | Small | Customizable, budget-friendly |
| Wall-Mounted Rack | Moderate | Intermediate | Small to Moderate | Space-saving, visible |
| Drill Bit Drawer | High | Advanced | Moderate | Concealed storage, custom layout |
The table will help you compare different options quickly. It provides a clearer overview of the advantages and disadvantages of each method.
Tools and Materials for Drill Bit Storage
Creating your drill bit storage solutions requires certain tools and materials. Having the right tools makes the task more comfortable and gives you professional results. Knowing the necessary materials and how to use them simplifies the process. It also helps you prepare for your projects.
Essential Tools
Gathering the correct tools is crucial for any DIY project. The required tools vary depending on the chosen storage method. However, some tools are essential across all projects. These tools assist in various tasks, from measuring to cutting and assembling the storage system. They will make the job much easier.
Measuring Tools: A tape measure and ruler are essential for accurate measurements.
Accuracy is important for building storage solutions. Precise measurements prevent issues during construction.
Cutting Tools: A saw (hand saw or circular saw) is needed for cutting wood or cardboard.
A sharp saw allows for precise and clean cuts. The type of saw depends on the materials being used.
Drilling Tools: A drill and drill bits are needed for making holes.
Use a drill to make holes for the drill bits or to secure components. Select the correct drill bit size for your screws.
Fastening Tools: Screwdrivers or a drill with a screwdriver bit are necessary for assembly.
Choose the correct screwdriver size to prevent stripping the screws. A power drill with a screwdriver bit will speed up the assembly process.
Materials Needed
The materials required depend on the storage method chosen. Regardless of the project, you’ll need essential materials such as wood, screws, and glue. Knowing what materials to buy and the benefits of using each one ensures a long-lasting and effective storage system.
Wood or Cardboard: For building the storage structure.
Select wood based on durability and appearance. Sturdy cardboard is also suitable for lighter storage needs.
Screws and Glue: For securing the parts together.
Choose screws of the correct length and gauge for the wood. Use wood glue for added strength in the joints.
Labels and Markers: To identify drill bit sizes and types.
Organize your drill bits with clear labels to save time. Using various colors can also help to organize the bits.
Paint or Finish (Optional): To protect and improve the appearance.
Paint or varnish adds protection and adds to the appearance of the finished product. Make sure the finish is suitable for the intended use.
Having these tools and materials ready to go streamlines the process, leading to a more satisfying and efficient experience. Preparing these items before you begin will make the work much easier.
Maintaining and Improving Drill Bit Storage
Once you’ve set up your storage, remember that maintenance and improvement are key. Regular maintenance ensures your drill bit storage system stays functional and organized. As your tool collection changes, make adjustments. This will keep your storage system efficient and meet your needs for years to come.
Regular Maintenance Tips
Regular maintenance ensures that the storage system remains effective. Routine tasks like cleaning and checking for wear and tear can extend the system’s life. Following these simple steps ensures that your storage keeps your drill bits organized and in good shape.
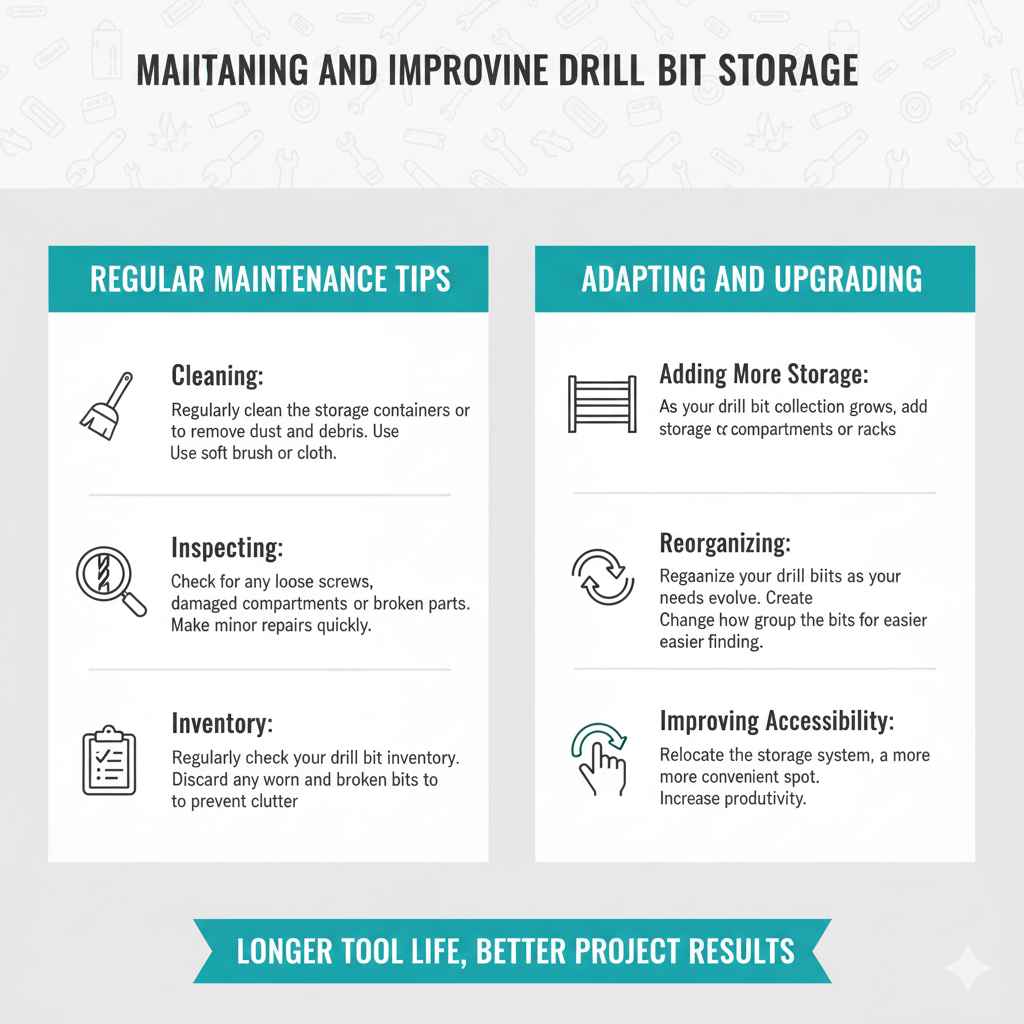
Cleaning: Regularly clean the storage containers or racks to remove dust and debris.
Dust and debris can affect your drill bits and reduce their lifespan. Use a soft brush or cloth to clean the storage area.
Inspecting: Check for any loose screws, damaged compartments, or broken parts.
Make minor repairs quickly to prevent more severe damage. Tighten screws or replace any parts that have been damaged.
Inventory: Regularly check your drill bit inventory and discard any worn or broken bits.
Get rid of bits that are damaged or no longer useful. This is a great way to keep your storage from becoming cluttered.
Adapting and Upgrading
As your tool collection grows, you may need to upgrade your storage. You might need to change your existing system to meet new needs. This can involve adding new compartments, building a larger rack, or refining the organization of your drill bits. Staying adaptable helps you keep your storage system running.
Adding More Storage: As your drill bit collection grows, add more storage space.
Create more compartments or install another rack. This ensures that you have space for all your drill bits.
Reorganizing: Reorganize your drill bits as your needs evolve.
Change your organization system as needed. This includes changing how you group the bits. It can make them easier to find.
Improving Accessibility: Make sure your drill bits are always easily accessible.
Relocate the storage system to a more convenient spot in your workspace. This can also increase your productivity.
By using the tips provided, you can enhance your storage. This includes keeping your drill bits organized, accessible, and in excellent condition. This will help you get the most out of your tools.
Frequently Asked Questions
Question: How do I measure my drill bits for storage?
Answer: Use a ruler or tape measure to find the length and diameter of your drill bits. This information will help you decide the right size for your storage containers or create holes.
Question: What’s the best way to label my drill bits?
Answer: Use permanent markers or adhesive labels. Label each drill bit or storage compartment clearly with its size and type for easy identification. This prevents confusion and keeps you organized.
Question: What types of wood are best for drill bit storage?
Answer: Hardwoods like oak, maple, or birch are great choices. They’re durable and resist wear. However, pine can also be used if it’s properly finished. Choose materials suitable to your project.
Question: Can I use plastic containers for drill bit storage?
Answer: Yes, plastic containers are a simple and cost-effective option. Make sure the container is sturdy and has compartments or dividers to separate the drill bits. Clear containers let you easily see the contents.
Question: How do I secure a wall-mounted drill bit rack?
Answer: Use screws that are the appropriate length for your wall and the wood thickness. Be sure to anchor the rack into wall studs or use wall anchors if mounting on drywall. This helps your rack stay secure.
Final Thoughts
As you’ve seen, organizing your drill bits doesn’t have to be hard. There are numerous Drill Bit Storage Ideas You Can DIY Fast. These range from simple solutions using jars to more advanced systems like wall-mounted racks or custom drawers. Whether you’re new to DIY or a seasoned pro, there’s a storage solution that’s right for you. The key to a tidy workspace is using clever, space-saving strategies.
By choosing a method that fits your needs and space, you’re one step closer to a more organized and efficient workshop. Ready to start your project? Pick a plan, gather your tools and materials, and begin creating your storage system today. Enjoy the process and the satisfaction of a well-organized workspace!