DIY Wood Truck Bed Bike Rack: Wood Choice and No-Drill Plans
A wood truck bed bike rack costs under $40 in lumber and hardware, and most builds go together in an afternoon with a circular saw and a drill. But two details separate a rack that holds up for years from one that rattles loose after a few trips: the wood species you choose, and whether you’re willing to drill into your truck bed to mount it. Here’s a build that gets both right, including a no-drill mounting method most guides skip entirely.
Materials and Tools You’ll Need
Best No-Drill Tie-Down Pick
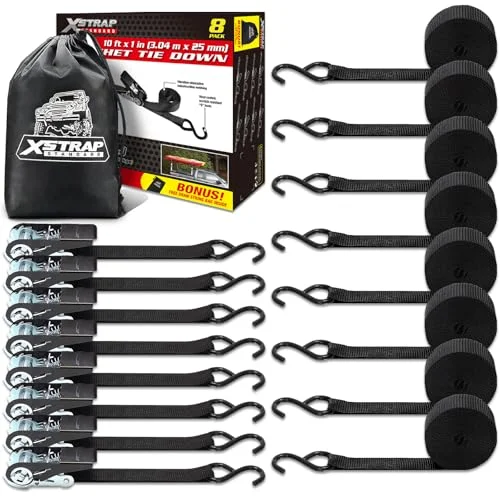 |
XSTRAP Standard 8-Pack Ratchet Tie-Down Straps – $26.89 These are the straps doing double duty on my own rack: lashing the frame to factory tie-down points for a no-drill mount, then cinching the bikes down once the rack is loaded.
|
You don’t need a full shop for this. A circular saw or jigsaw for cutting, a drill/driver, a tape measure, a speed square, sandpaper (100 and 220 grit), and a couple of clamps cover the actual construction. For hardware: 2.5-inch exterior-rated wood screws, outdoor wood glue, and a set of ratchet tie-down straps rated for at least 300 lbs working load — the straps above are what I use for both the no-drill mount below and for cinching the bikes down once the rack is built.
Lumber-wise, plan on roughly 12–16 linear feet of 2x4s for the frame, plus a handful of 1x4s or 1x6s for the deck slats, depending on your bed length and how many bikes you’re carrying. That brings us to the choice that actually determines whether this rack lasts.
Choosing the Right Wood (Skip Pine If You Can)
Plenty of build guides tell you to grab pine because it’s cheap and easy to cut — and it is. But pine is a soft, low-density wood, and every time a loaded bike rocks against a screwed pine joint on rough pavement, the screw threads work themselves a fraction looser. Do that over a summer of trips and pine joints start to wallow out, especially at the pocket-hole and screw connections carrying the most weight.
Hardwoods like oak, maple, or construction-grade Douglas fir hold screw threads far better under that kind of repeated vibration, which is why experienced builders generally steer away from soft, low-density lumber for anything that takes ongoing stress rather than sitting still. Oak and maple cost more and are harder on saw blades, but the joints stay tight for years instead of months.
If you’d rather save money and build with pine or SPF framing lumber anyway, compensate at the joints: use threaded insert hardware instead of bare wood screws at the highest-stress connections, and check those joints every few trips instead of every few months.
Planning Your Design
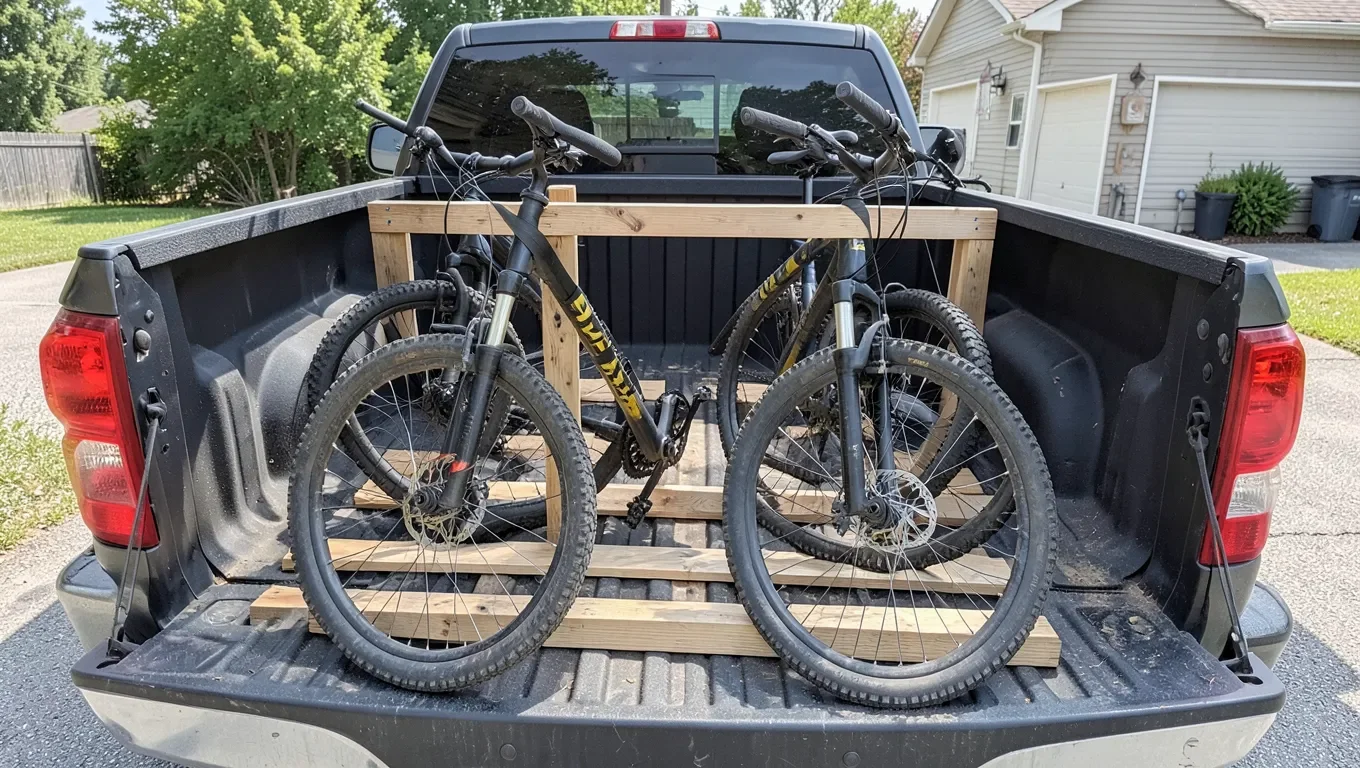
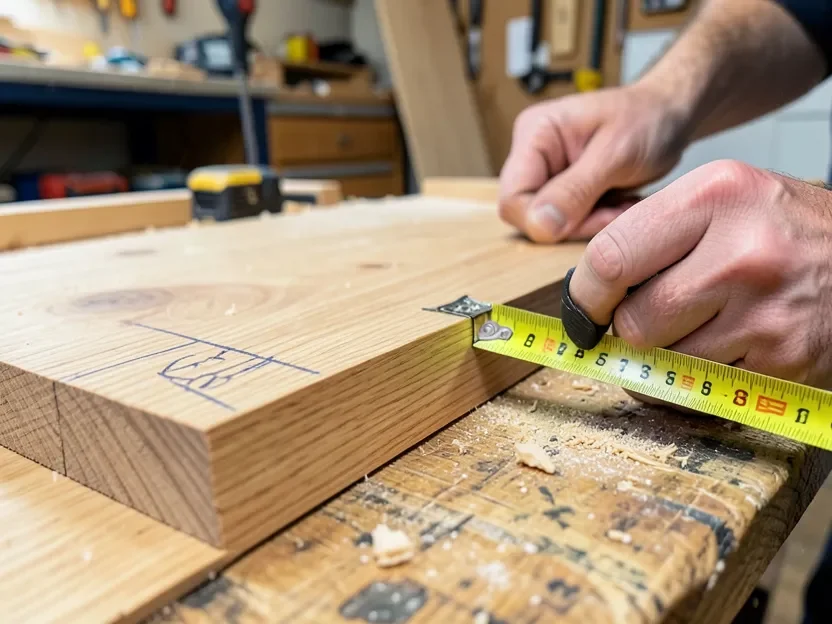
Start by measuring your truck bed‘s length, width, and height with a tape measure, and note any wheel-well humps or bedliner ridges that will affect where the rack’s feet can sit. Sketch the layout on paper using those numbers: mark where each upright will land, how much space you want between bikes so tires and pedals don’t touch, and how tall the rack needs to be so loading and unloading a bike doesn’t turn into a wrestling match.
For spacing, budget around 10–12 inches between upright supports for a standard mountain or road bike frame, and closer to 14 inches if you’re mixing in a fat-tire bike. A short bed (roughly 5.5 feet) comfortably fits two bikes wheel-to-wheel; a standard 6.5-foot bed or a long 8-foot bed gives enough room for three or four if you stagger the handlebars so they don’t collide. If you’re only ever hauling one bike, you can simplify the whole design down to a single upright post with two wheel cradles — there’s no need to build full-width if you don’t need the capacity.
Cutting and Assembling the Frame
Wear safety glasses and gloves before you cut, clear the workspace of clutter, and clamp the wood down rather than trying to hold it steady by hand. Mark every cut with a pencil and speed square, use a circular saw for the long straight cuts and a jigsaw for anything curved, and let the blade do the work instead of forcing it — forcing a cut is what causes splintering and crooked edges.
For joining the pieces, butt joints reinforced with screws are the simplest option and fine for a first build. Pocket holes give a cleaner look and a strong hold with just a basic jig, which is what I’d recommend if this is your first rack. Whichever method you use, always pre-drill the screw holes first — skipping that step is the single most common way to split the wood right before final assembly. Add wood glue to each joint before driving the screws for extra holding strength, and clamp pieces together while the screws go in so the joint stays tight instead of shifting.
Two Ways to Mount It: Drilled vs. No-Drill
Most guides assume you’re fine screwing directly into your truck bed’s tie-down brackets or bed rail, and if you own the truck long-term and don’t mind the holes, that’s the most rigid option: screw cleats to the underside of the rack’s base and bolt or screw those cleats straight into the existing tie-down anchor holes so nothing shifts under load.
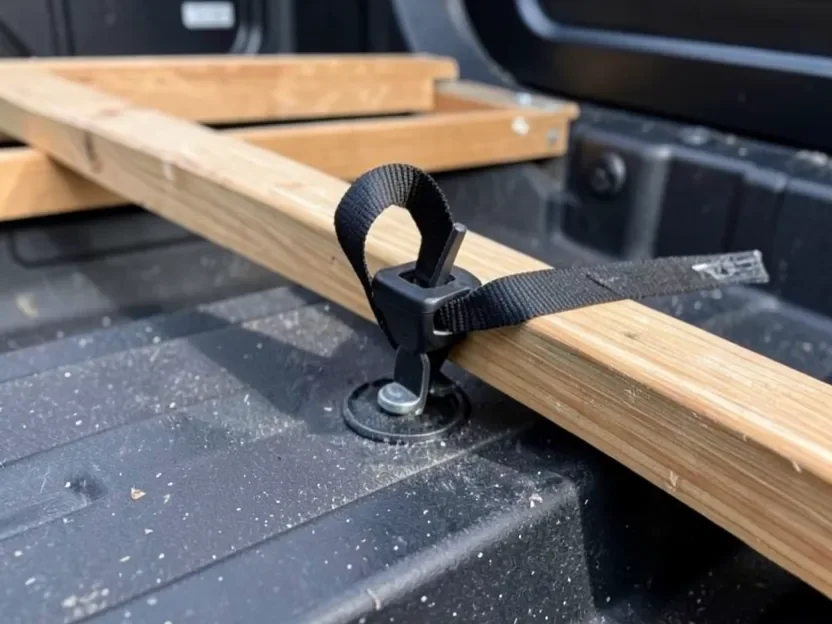
If you lease your truck, plan to sell it, or just don’t want new holes in a bedliner, there’s a no-drill alternative: build the rack as a free-standing frame sized to wedge snugly against the side of the bed, then run a ratchet strap from the frame through your factory tie-down loops and back to itself. A single 1-inch ratchet strap rated for 300+ lbs, tightened snug at two or three anchor points, holds a loaded rack still enough for daily driving — just plan to check strap tension every few trips since nothing is mechanically fastened.
Most pickups built in the last couple of decades have at least four factory tie-down loops molded or bolted into the bed floor or rail, usually rated for a few hundred pounds each — check your owner’s manual for the exact rating before you rely on them. If your truck’s loops feel undersized or you’re not confident in them, a set of bed-rail-mounted anchor points (the kind that clamp onto an existing rail system without drilling) is a reasonable middle ground between a fully drilled mount and relying on factory loops alone.
Finishing and Weatherproofing
Sand every surface before the rack ever touches a truck bed. Start with 100-grit to knock down rough edges and saw marks, then move to 220-grit for a smooth finish, and wipe the wood down with a damp cloth to clear dust before finishing. A weather-resistant exterior sealant or spar varnish protects the wood from rain and road grime; apply it evenly with a brush, let it dry fully, scuff lightly with fine-grit sandpaper between coats, and put on at least two coats total.
Testing, Adjustments, and Long-Term Care
Before your first real trip, load the bikes on, shake the rack by hand, and drive slowly around the block listening for creaks or rattles. If anything wobbles, tighten loose screws, add a support brace where the frame flexes, or re-tension the straps if you went the no-drill route. After that, a quick monthly check of the joints, screws, and strap tension is enough to catch problems early — a hairline crack or a loose screw is a five-minute fix now and a rebuilt corner later. Wood filler handles small cracks, a replacement board handles bigger ones, and a little penetrating oil on any rusty hardware keeps it from seizing up.
Frequently Asked Questions
How Can I Carry My Bike In The Bed Of My Truck?
Secure your bike in the truck bed using a tailgate pad, wheel chock, or fork mount. Use tie-down straps for stability.
Is It Illegal To Drive With A Bike Rack?
It is generally legal to drive with a bike rack if it is properly installed. Ensure it doesn’t obstruct your license plate or lights. Check local laws for specific regulations.
How To Build A Vertical Bike Rack Out Of 2×4?
To build a vertical bike rack, cut 2x4s into desired lengths. Assemble a rectangular frame. Attach vertical supports spaced to fit bike tires. Secure to wall or floor for stability.
Why Are Bike Racks Prohibited On Rvs?
Bike racks are prohibited on RVs due to safety concerns. They can obstruct visibility and affect vehicle handling.
What Kind Of Wood Is Best For A Truck Bed Bike Rack?
Hardwoods like oak, maple, or construction-grade Douglas fir hold screws better than soft pine under repeated vibration. If you build with pine to save money, use threaded insert hardware at the highest-stress joints instead of bare wood screws, and recheck those joints regularly.
Conclusion
A wood truck bed bike rack is a genuinely simple weekend build, and most of what determines whether it’s still solid a year from now comes down to two choices: building the load-bearing joints from a wood that actually holds a screw thread under vibration, and picking a mounting method that matches how long you plan to keep the truck. Get those two right and the rest — cutting, assembling, finishing — is straightforward even for a first-time builder.
Sponsored / affiliate links. As an Amazon Associate I earn from qualifying purchases. I may earn additional commission from eligible campaigns.