How Do You Paint Pine Cones Easy DIY Guide
Many people wonder how to paint pine cones for crafts or holiday decorations. It can seem a little tricky for beginners, especially if you want them to look just right. But don’t worry!
Painting pine cones is actually quite simple and a lot of fun. This guide will show you step by step how to achieve beautiful painted pine cones for any project. Get ready to transform plain pine cones into stunning decorative pieces with our easy-to-follow method.
How Do You Paint Pine Cones Easy DIY Guide
This section covers the fundamental steps and materials needed to paint pine cones. It breaks down the process into manageable actions, making it accessible for anyone wanting to try this craft. We will explore the best ways to prepare your pine cones and the different types of paint that work well.
Getting these basics right ensures a smooth and enjoyable crafting experience.
Gathering Your Supplies
Before you start painting, it’s essential to have all your supplies ready. This makes the process much smoother and prevents interruptions. You’ll need pine cones, of course, but also paint, brushes, and something to protect your workspace.
Having everything on hand helps you focus on the creative part.
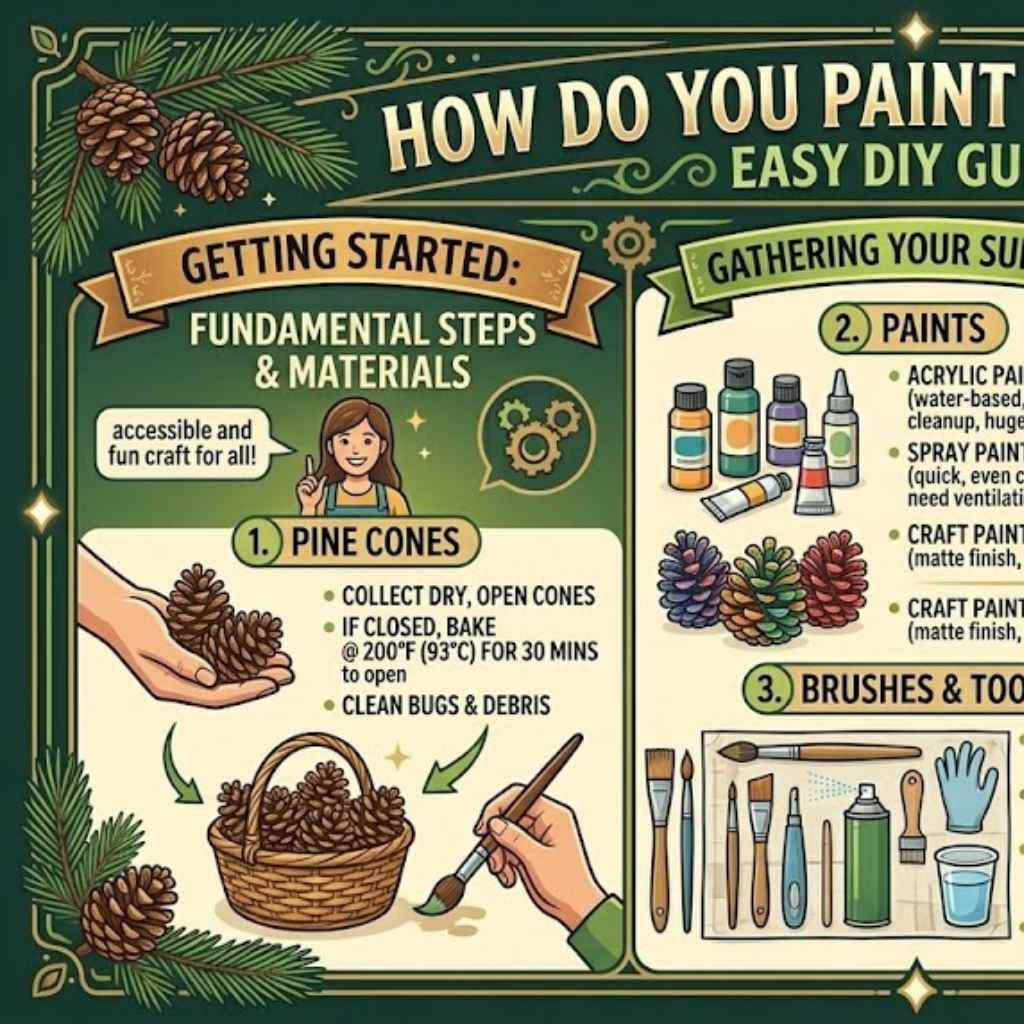
- Pine Cones
Start by collecting pine cones from outside. Look for ones that are dry and have their scales open. If the scales are tightly closed, you can gently bake them in an oven at a low temperature (around 200°F or 93°C) for about 30 minutes to help them open up.
Be sure to let them cool completely before you paint them. Inspect them for any bugs or debris and brush them clean. Natural pine cones offer a wonderful texture and shape that serves as a perfect canvas.
- Paints
Several types of paint work well for pine cones. Acrylic paints are a popular choice because they are water-based, easy to clean up, and come in a huge variety of colors. Spray paints are also a quick option, especially for achieving an even coat, but require good ventilation.
For a more natural look, consider craft paints or even chalk paint for a matte finish. The type of paint you choose can significantly influence the final look and feel of your painted pine cones.
- Brushes and Tools
You will need paintbrushes in various sizes. A medium-sized brush is good for covering larger areas, while smaller brushes are perfect for adding details or getting into tight spots between the scales. If you are using spray paint, you won’t need brushes, but you will need gloves and a mask for protection.
Other useful tools include newspaper or a drop cloth to protect your work surface, and containers for water if you are using acrylic paints. Having the right tools makes the painting process efficient and enjoyable.
Preparing Your Pine Cones
Proper preparation is key to successful pine cone painting. This involves cleaning and ensuring the pine cones are ready to accept paint. A little bit of effort here goes a long way in achieving a professional-looking result.
Cleaning Pine Cones
Even if your pine cones look clean, it’s a good idea to give them a thorough cleaning. This removes any dirt, sap, or tiny insects that might be hiding in their scales. You can brush them gently with a stiff brush.
For a deeper clean, you can soak them in warm, soapy water for a few minutes, then rinse them well. After soaking, spread them out on a towel and let them air dry completely. This drying process can take a day or two, so plan ahead.
A clean surface ensures the paint adheres better.
Ensuring Scales are Open
Pine cones with open scales are ideal for painting because they allow the paint to reach more surface area and create a fuller look. If your pine cones have closed scales, you can encourage them to open by placing them in a warm, dry place. Another effective method is to bake them at a low temperature.
Spread the pine cones on a baking sheet and bake at around 200°F (93°C) for about 30 to 60 minutes. This process helps to dry out any moisture that is keeping the scales closed. Remember to let them cool down completely before you start painting.
This step is crucial for the aesthetic of your finished product.
Painting Techniques for Pine Cones
Once your pine cones are prepped, it’s time to bring them to life with color. This section explores different ways to apply paint, offering various visual effects. From solid colors to shimmering finishes, you can achieve a wide range of looks depending on your chosen technique.
Solid Color Painting
Solid color painting is the most straightforward method. It involves applying one even coat of paint over the entire pine cone. This technique is great for creating a bold look or when you want the color to be the main focus.
You can use a brush or spray paint for this. Acrylic paints are excellent for solid colors, offering vibrant hues. For a seamless finish, ensure you cover all areas, including the base and the tips of the scales.
- Using Acrylic Paints
Acrylic paints are fantastic for solid colors on pine cones. They dry relatively quickly and are water-soluble, making cleanup easy. To get a smooth, even coat, apply the paint with a brush, working your way around the pine cone.
You might need two coats for full coverage, especially if you are painting a dark color over a natural brown pine cone. Let the first coat dry completely before applying the second. This layering helps ensure the color is rich and opaque.
- Using Spray Paints
Spray paint offers a quick way to cover a pine cone with a solid color. It’s ideal for larger batches or when you want a perfectly uniform finish. Always use spray paint in a well-ventilated area, ideally outdoors, and wear a mask and gloves to protect yourself.
Hold the can about 10-12 inches away from the pine cone and spray in light, even strokes. Turning the pine cone as you spray helps ensure all sides are covered. Several light coats are better than one heavy coat, which can cause drips.
Creating Special Effects
Beyond solid colors, you can add unique touches to your painted pine cones. These effects can make your crafts stand out and add a festive or whimsical flair. Experimenting with these techniques can lead to surprisingly beautiful results.
Dry Brushing Technique
The dry brushing technique involves using very little paint on your brush and applying it with light, sweeping strokes. This method highlights the texture of the pine cone, giving it a distressed or antique look. Dip your brush into the paint, then wipe most of it off on a paper towel until the brush is almost dry.
Gently brush over the pine cone, allowing the color to catch on the raised edges of the scales. This technique is perfect for adding subtle highlights or a frosted appearance.
Glitter and Sparkle Finishes
For a touch of glamour, add glitter or metallic paints. You can paint the entire pine cone with a metallic color, or use glitter glue to add sparkle to the tips of the scales. Another method is to apply a clear sealant or Mod Podge and then sprinkle glitter over it while it’s still wet.
Let it dry, then shake off any excess glitter. This is a wonderful way to make pine cones look magical, especially for holiday decorations like Christmas trees or wreaths.
Two-Tone or Ombre Effects
To create a more artistic look, try painting your pine cones with two colors. You can paint the tips of the scales one color and the base another, or blend colors for an ombre effect. For an ombre look, start with a darker color at the base and gradually blend in a lighter color as you move towards the tips.
This requires a bit more blending skill but can result in a very sophisticated appearance. Use slightly damp brushes to blend the colors together smoothly before they dry.
Tips for a Professional Finish
Achieving a professional look with painted pine cones is all about paying attention to detail and using the right methods. These tips will help you elevate your painted pine cones from simple crafts to decorative art pieces.
Drying and Sealing
Proper drying is essential between coats of paint and after you finish. Allow adequate time for each layer of paint to dry completely. This prevents smudging and ensures a smooth finish.
Once your painted pine cones are completely dry, you might want to seal them. A clear sealant, such as a spray acrylic sealer or a brush-on varnish, will protect the paint and give your pine cones a lasting sheen. It also helps to prevent any loose paint from flaking off over time.
- Allowing Adequate Drying Time
Rushing the drying process is a common mistake that can ruin your hard work. If you apply a second coat of paint before the first has dried, you risk lifting the wet paint and creating a muddy or uneven surface. Similarly, if you seal a damp pine cone, the sealant might not adhere properly or could cause the paint to bubble.
Always check the paint manufacturer’s instructions for drying times, and when in doubt, wait a little longer. Patience here pays off with a superior finish.
- Using Sealants for Durability
A sealant acts like a protective shield for your painted pine cones. It not only adds a nice finish, whether matte or glossy, but also helps the paint last longer. This is particularly important if your pine cones will be displayed outdoors or handled frequently.
Spray sealants are convenient for an even coating, while brush-on sealants offer more control. Choose a sealant that complements the look you are going for. Some sealants can also add a subtle waterproofing effect, which is beneficial if the pine cones might be exposed to moisture.
Troubleshooting Common Issues
Even experienced crafters run into problems sometimes. Knowing how to fix common issues can save your project and your sanity. Here are a few problems you might encounter and how to solve them.
Paint Not Sticking
If your paint isn’t sticking well to the pine cone, it could be due to sap or a waxy residue on the surface. Make sure you have thoroughly cleaned your pine cones and that they are completely dry. You might also consider using a primer specifically designed for glossy or difficult surfaces before applying your colored paint.
A good primer will create a better base for the paint to adhere to.
Uneven Coverage
Uneven paint coverage can happen if you are not applying enough paint or if your brush strokes are too heavy. For acrylics, ensure you are using enough paint and painting in a consistent direction. For spray paints, use multiple light coats rather than one heavy one.
Rotating the pine cone as you paint is also key to getting into all the nooks and crannies. If you have patches of unevenness, you can often go back with a smaller brush to touch them up once the initial coat is dry.
Drips and Smudges
Drips typically occur when too much paint is applied at once, especially with spray paints or thick acrylics. If you catch a drip while the paint is still wet, you can often gently smooth it out with your brush or a damp cloth. If the paint has already dried, you might need to let it dry completely and then carefully sand down the drip before repainting the area.
Smudges are usually a result of touching wet paint. If this happens, let the area dry fully and then try to touch it up carefully with a fine brush.
Creative Uses for Painted Pine Cones
Painted pine cones are incredibly versatile and can add a special touch to many different projects. Their natural shape and the ability to customize their color make them a crafter’s delight. Here are some ideas to inspire your creativity.
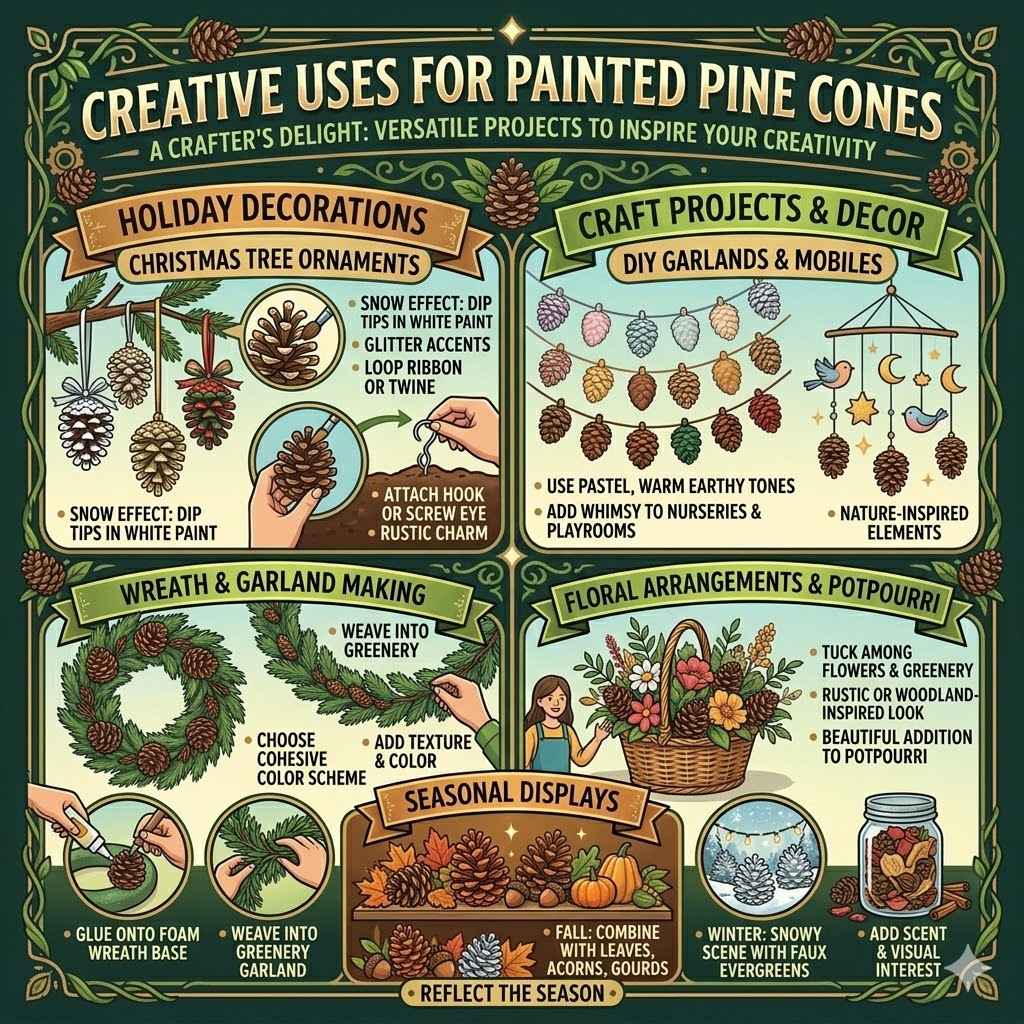
Holiday Decorations
Painted pine cones are a staple for holiday decor, especially Christmas. You can string them together to make garlands, add them to wreaths, or use them as festive ornaments for your Christmas tree. White or silver painted pine cones can create a snowy, wintery effect, while red and green ones add traditional holiday cheer.
Gold and silver painted pine cones are elegant choices for a more sophisticated holiday display. They also look lovely scattered as table centerpieces during festive gatherings.
- Christmas Tree Ornaments
To create beautiful Christmas tree ornaments, you can simply tie a loop of ribbon or twine around the top of a painted pine cone. For extra flair, you can dip the tips of the scales in white paint to mimic snow, or add a touch of glitter. Another fun idea is to attach a small hook or screw eye to the base of the pine cone and hang it from the tree.
They offer a natural, rustic charm that complements many Christmas tree themes.
- Wreath and Garland Making
Painted pine cones add texture and color to homemade wreaths and garlands. You can glue them onto a foam wreath base or weave them into a strand of faux greenery for a festive garland. For a cohesive look, choose a color scheme for your painted pine cones that matches your overall holiday decor.
This is an excellent way to bring the outdoors in and add a handmade touch to your celebrations.
- Table Centerpieces
Arrange a collection of painted pine cones in a bowl or on a platter for a simple yet elegant table centerpiece. You can mix different colors and sizes for visual interest. Adding elements like fairy lights, small ornaments, or seasonal foliage can further enhance the display.
This is a quick and easy way to add a festive atmosphere to your dining table or mantelpiece.
Craft Projects and Decor
Beyond holidays, painted pine cones can be used in various craft projects and general home decor throughout the year. They can add a natural, colorful element to almost any decorative theme.
DIY Garlands and Mobiles
Create unique garlands for any season by painting pine cones in colors that match your theme. For a spring or summer look, use pastel colors. For fall, use warm earthy tones.
These can be hung on mantels, windows, or across doorways. They also work wonderfully as elements in DIY mobiles for nurseries or playrooms, adding a touch of nature and whimsy.
Floral Arrangements and Potpourri
Painted pine cones can be incorporated into floral arrangements for added texture and visual appeal. Tuck them among flowers and greenery for a rustic or woodland-inspired look. They can also be a beautiful addition to homemade potpourri, adding both scent and visual interest.
Simply mix them with dried flowers, spices, and essential oils for a fragrant and decorative display.
Seasonal Displays
Use painted pine cones to enhance seasonal displays. For fall, combine them with leaves, acorns, and gourds. In winter, they can be part of a snowy scene with faux evergreens and white elements.
Their adaptability means you can use them to decorate shelves, side tables, or windowsills to reflect the current season or holiday.
Frequently Asked Questions
Question: How do I make sure my pine cones are completely dry before painting them?
Answer: After cleaning or baking, spread your pine cones out on a tray or newspaper in a warm, dry place. Allow at least 24-48 hours for them to dry thoroughly. You can also place them in a very low oven (around 150°F or 65°C) for a couple of hours if you’re in a hurry, but ensure they cool completely before painting.
Question: Can I paint pine cones that are still closed?
Answer: Yes, you can paint closed pine cones. However, they will be harder to paint evenly, and the paint won’t reach the inner parts of the scales. It’s best to encourage them to open up first by baking them at a low temperature or leaving them in a warm, dry environment.
Question: What kind of paint is best for pine cones?
Answer: Acrylic paints are a great choice because they are versatile, come in many colors, and are easy to clean up. Spray paints are good for quick, even coverage. Chalk paint can give a nice matte finish, and metallic paints add a special shimmer.
Question: How many coats of paint do I need?
Answer: This depends on the color of your pine cone and the paint you are using. For lighter colors on darker pine cones, you may need two or even three coats for full coverage. Always let each coat dry completely before applying the next.
Question: How do I prevent paint from chipping off painted pine cones?
Answer: To prevent chipping, ensure your pine cones are clean and dry before painting. After the paint is completely dry, apply a clear sealant like acrylic spray or varnish. This seals the paint and protects it from wear and tear, making your painted pine cones last longer.
Summary
Painting pine cones is a simple and rewarding craft. This guide showed you how to gather supplies, prepare your pine cones, and apply various painting techniques. From solid colors to glittery effects, you learned how to create beautiful decorations.
Remember to let them dry well and seal them for lasting beauty. Now you can easily paint pine cones for any occasion.