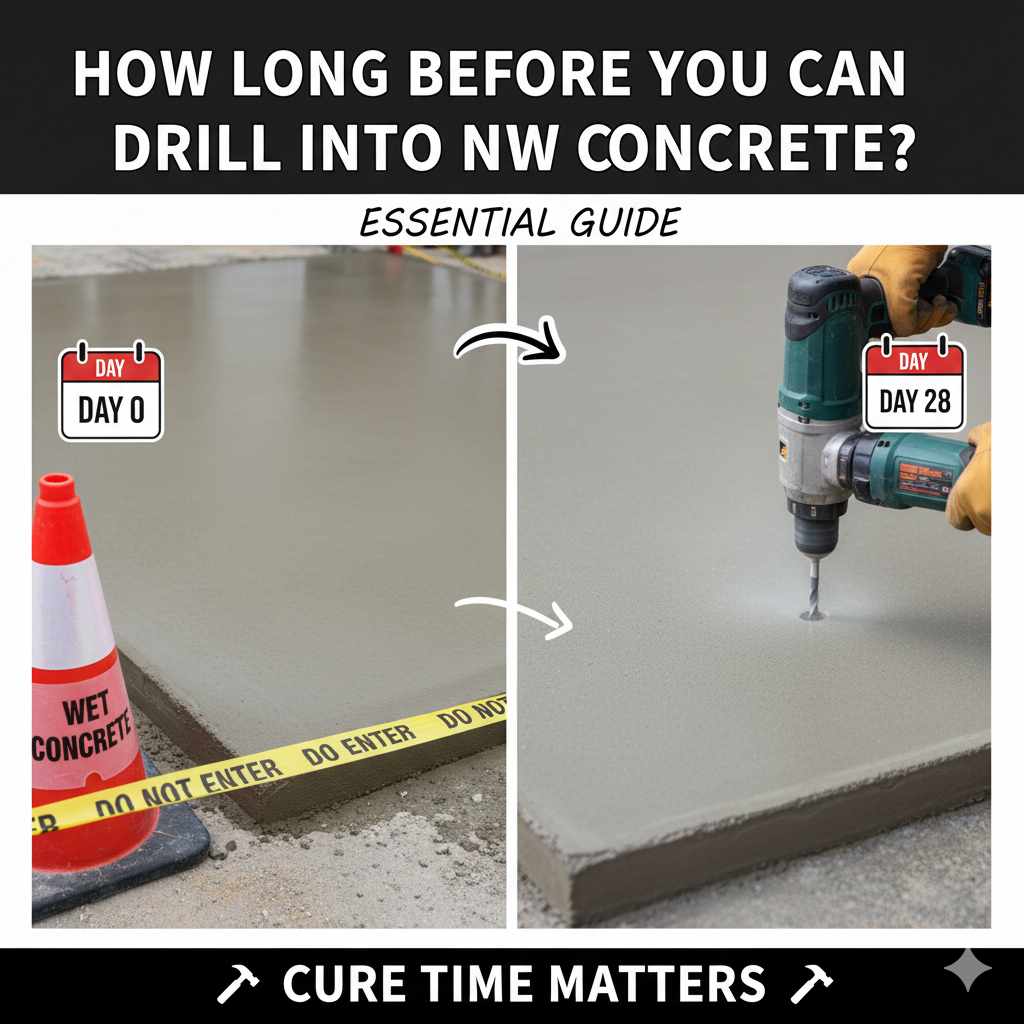
How Long Before You Can Drill Into New Concrete? Essential Guide
Quick Summary:
Generally, wait at least 7 days before drilling into new concrete for light-duty tasks. For heavier loads or critical installations, it’s best to wait 28 days. Always consider the concrete’s curing process, environmental factors, and the specific application. Proper curing ensures strength and prevents damage.
Drilling into new concrete can be exciting, especially when you’re ready to hang shelves, install fixtures, or start a new DIY project. But there’s a crucial step many beginners overlook: waiting for the concrete to cure properly. Jumping in too early can lead to cracks, weakened anchors, or even structural issues. As your friendly workshop mentor, I’ve seen this firsthand. Don’t worry; this guide will walk you through exactly when it’s safe to drill and how to do it right, so you can tackle your projects with confidence and achieve lasting results. We’ll cover everything you need to know to get started.
Understanding Concrete Curing: The Science Behind the Wait
Concrete might feel hard to the touch within a day or two, but that’s just the surface setting. The real strength development, known as curing, is a chemical process that takes time. Think of it like baking a cake – the outside might seem done, but the inside needs time to fully bake and firm up. This chemical reaction requires moisture and a specific temperature range to happen effectively. When concrete cures, the cement particles hydrate, creating a dense, strong matrix. Drilling too soon disrupts this ongoing process, potentially compromising the concrete’s integrity.
This curing process is vital for achieving the intended strength and durability of the concrete. It’s not just about hardness; it’s about internal bonding and molecular development. Factors like humidity, temperature, and the mix of the concrete itself can influence how long this takes. Understanding this fundamental principle is the first step to knowing how long to wait before drilling.
Why the Waiting Game is Essential
When concrete is new, it’s still relatively soft internally, even if it feels solid on the surface. This is because the hydration process, where cement and water chemically react to create strength, is ongoing. Imagine trying to drill into a block of damp sand that’s just starting to firm up – it wouldn’t hold an anchor well and might crumble. New concrete is similar.
Waiting allows the concrete to achieve a significant portion of its designed strength. Drilling too early can cause several problems:
- Cracking: The drilling force can create stress fractures that spread within the weaker concrete.
- Anchor Failure: Anchors drilled into under-cured concrete might not hold weight securely, leading to sagging or falling fixtures.
- Dusting: The surface might be too weak, leading to excessive dust when drilling.
- Reduced Durability: You could compromise the long-term performance and lifespan of the concrete slab.
Factors Affecting Concrete Curing Time
The “how long” question isn’t a one-size-fits-all answer. Several factors play a role in how quickly concrete gains strength. Understanding these will help you make a more informed decision for your specific situation.
1. Temperature and Humidity
Concrete cures best in a moderate temperature range, ideally between 50°F and 70°F (10°C and 21°C). Extreme heat can cause the concrete to dry out too quickly, hindering the hydration process and leading to a weaker surface. Cold temperatures slow down the chemical reactions significantly, meaning concrete will take much longer to reach its full strength. High humidity helps keep the concrete moist, aiding the curing process, while very dry conditions can accelerate surface drying.
According to the Concrete Construction Magazine, maintaining proper moisture and temperature is one of the most critical aspects of achieving durable concrete. They emphasize that curing is not just about gaining hardness, but about chemical reactions happening within the concrete itself.
2. Concrete Mix Design
Not all concrete is created equal! The specific ingredients and their proportions in the concrete mix will affect its curing rate and ultimate strength. Different admixtures (additives) can be used to speed up or slow down setting times, improve workability, or enhance durability. A standard mix will cure differently than a high-strength or rapid-set mix. If you know the specific mix used, you might have a better idea of its expected strength gain curve.
3. Exposure to Elements
If the new concrete is exposed to direct sunlight, wind, or rain, it can affect its curing. Wind and sun can dry out the surface rapidly, leading to a weaker outer layer. Rain can wash away the cement paste or alter the water-to-cement ratio. Protecting new concrete with plastic sheeting, curing blankets, or specialized curing compounds can help ensure a more uniform and complete cure.
4. Thickness and Size of the Pour
Thicker concrete pours tend to retain moisture and heat for longer periods, which can affect the curing process. While this sometimes means a slower surface set, it can also contribute to more thorough internal curing over time. Smaller, thinner slabs might dry out faster but also reach a certain strength more uniformly.

General Guidelines: How Long Should You Wait?
While the factors above are important, here are some general, reliable timelines you can follow for most standard concrete applications. These are based on typical conditions and common construction practices.
Light-Duty Applications (e.g., hanging pictures, small fixtures)
For tasks that involve minimal load-bearing, such as hanging lightweight decorations, small shelves, or light fixtures, you can often begin drilling after the initial hardening phase. This typically means waiting:
- Minimum: 3-7 days
During this period, the concrete will have gained sufficient surface hardness to resist moderate drilling pressure without significant crumbling. However, the internal strength is still developing. For these lighter tasks, using plastic anchors or screw anchors designed for masonry is usually sufficient. Always ensure the anchor is rated for the weight you intend to hang.
Medium-Duty Applications (e.g., mounting TV brackets, heavier shelves)
When your project involves more significant weight or requires a more secure fix, such as mounting a TV bracket, installing heavier shelving units, or attaching railings, you’ll need to wait longer for the concrete to achieve more substantial strength. This allows for the use of robust anchors like wedge anchors or sleeve anchors, which rely on a firmer concrete base.
- Recommended: 7-14 days
Waiting for at least a week, and ideally two, provides a much better foundation for these anchors. If the weather has been particularly cold or wet, extending this waiting period is wise. Ensure the anchors are properly installed, as per manufacturer instructions, to maximize their holding power.
Heavy-Duty and Structural Applications (e.g., large machinery, structural components)
For any application that involves substantial loads, critical structural integrity, or where failure could have serious consequences (like mounting heavy machinery, structural supports, or significant architectural features), you must allow the concrete to cure for its full designed period.
- Full Cure: 28 days
The standard benchmark for concrete achieving approximately 70-80% of its ultimate compressive strength is 28 days. For critical applications, waiting the full 28 days is not just a recommendation; it’s essential for safety and performance. Even after 28 days, concrete continues to gain strength for months, but 28 days is the industry standard for reaching a significant and reliable strength level for drilling and anchoring purposes.
Table: Concrete Curing Time vs. Application
Here’s a quick reference table to help you decide when you can drill based on your project. Remember, these are general guidelines; always err on the side of caution.
| Application Type | Recommended Waiting Period (Days) | Typical Anchor Types | Notes |
|---|---|---|---|
| Light Duty (e.g., pictures, very light shelves) | 3-7 days | Plastic anchors, screw anchors | Surface hardness is key. Avoid heavy loads. |
| Medium Duty (e.g., TVs, substantial shelves, railings) | 7-14 days | Wedge anchors, sleeve anchors, concrete screws | Requires more developed internal strength. Cold weather may require longer waits. |
| Heavy Duty / Structural (e.g., machinery, structural supports) | 28 days (minimum) | Expansion anchors, chemical anchors, custom solutions | Full strength development is critical for safety and load capacity. |
How to Test if Concrete is Ready for Drilling
While waiting for the recommended time is the best approach, you might need a way to gauge readiness, especially if you’re unsure about the exact pouring date or environmental conditions. Here are a few informal tests, though they are not substitutes for proper curing.
Scratch Test
Using a sharp object like a nail or a screwdriver, try to scratch the surface of the concrete. If it leaves a deep gouge easily or crumbles significantly, it’s likely still too green. If it’s difficult to mark and only shallow scratches appear, the surface is hardening.
Finger Press Test
Press your finger firmly into the concrete surface. If there’s any visible indentation or your finger picks up a significant amount of soft material, it’s not ready. You’re looking for a rock-hard feel with no impression.
Drilling a Test Hole (with caution)
If you’re nearing the end of your waiting period and have a small, inconspicuous area, you could attempt to drill a small test hole. If the material crumbles excessively, generates a lot of fine dust, or the drill bit gets bogged down and the concrete fractures around the hole, it’s likely too soon. If you can drill smoothly with moderate pressure and the hole edge is relatively clean, it’s a good sign.
Remember, these tests are informal. The most reliable method is to rely on the recommended waiting periods based on your application and environmental factors.
Best Practices for Drilling into New Concrete
Once you’ve determined that your concrete has cured sufficiently, using the right tools and techniques will make the job easier and safer. Improper drilling can still cause damage even to properly cured concrete.
1. Use the Right Drill
A standard drill might struggle with concrete. You’ll often need a hammer drill or a rotary hammer. These tools have a hammering action that pulverizes the concrete as the bit rotates, making drilling much faster and more efficient. Smaller, lighter tasks might be manageable with a powerful hammer drill, but for larger jobs or harder concrete, a rotary hammer is a worthwhile investment or rental.
2. Select the Correct Drill Bit
For concrete, you need specialized masonry drill bits. These bits have hardened carbide tips designed to withstand the abrasive nature of concrete and masonry. They come in various sizes, so choose the diameter recommended for the anchors you plan to use. Always ensure your drill bit is in good condition; dull bits make the job harder and can damage the concrete.
Many anchor manufacturers, like FastenMaster, provide specific instructions on the recommended drill bit size and depth for their anchoring products. Always check these guidelines.
3. Start Slowly and Increase Pressure
Begin drilling at a low speed to get the bit started and create a precise entry point. Once the bit is engaged, increase the speed and apply steady, firm pressure. Let the hammer action of the drill do the work; forcing it too hard can overheat the bit or damage the concrete.
4. Keep the Hole Clean
Dust can interfere with the anchor’s grip and the drilling process. Periodically withdraw the drill bit from the hole to clear out dust and debris. For deeper holes, you might use compressed air or a vacuum to thoroughly clean it out before installing the anchor.
5. Drill to the Correct Depth
Most anchors require drilling to a specific depth to ensure they are fully seated and can achieve their rated holding strength. Refer to the anchor manufacturer’s instructions for the required hole depth. It’s often slightly deeper than the anchor itself to accommodate dust.
6. Protect Yourself
Always wear safety glasses to protect your eyes from flying concrete dust and chips. Hearing protection is also recommended, especially when using hammer drills or rotary hammers for extended periods. A dust mask will prevent you from inhaling fine concrete particles.
Common Mistakes to Avoid When Drilling New Concrete
Even with the best intentions, there are a few common pitfalls that can lead to frustration or damage. Being aware of these can help you avoid them.
- Drilling too soon: As we’ve discussed, this is the most common mistake. Be patient!
- Using the wrong tools: A standard drill might not have enough power, and using plain wood or metal bits on concrete will dull them instantly and make drilling nearly impossible.
- Drilling without a hammer function: This will make the process incredibly slow and tiring, even if the concrete is cured.
- Not cleaning the hole: Debris hinders anchor performance.
- Drilling too close to the edge: Concrete is weakest at its edges. Drilling too close can cause the edge to spall or break off. A general rule of thumb is to keep anchors at least several anchor diameters away from the edge.
- Overheating the drill bit: This can dull the bit and reduce its effectiveness. Taking breaks and clearing dust helps.
When to Consult a Professional
While many DIY projects involving drilling into slightly cured concrete are manageable, there are situations where calling in a professional is the smartest move:
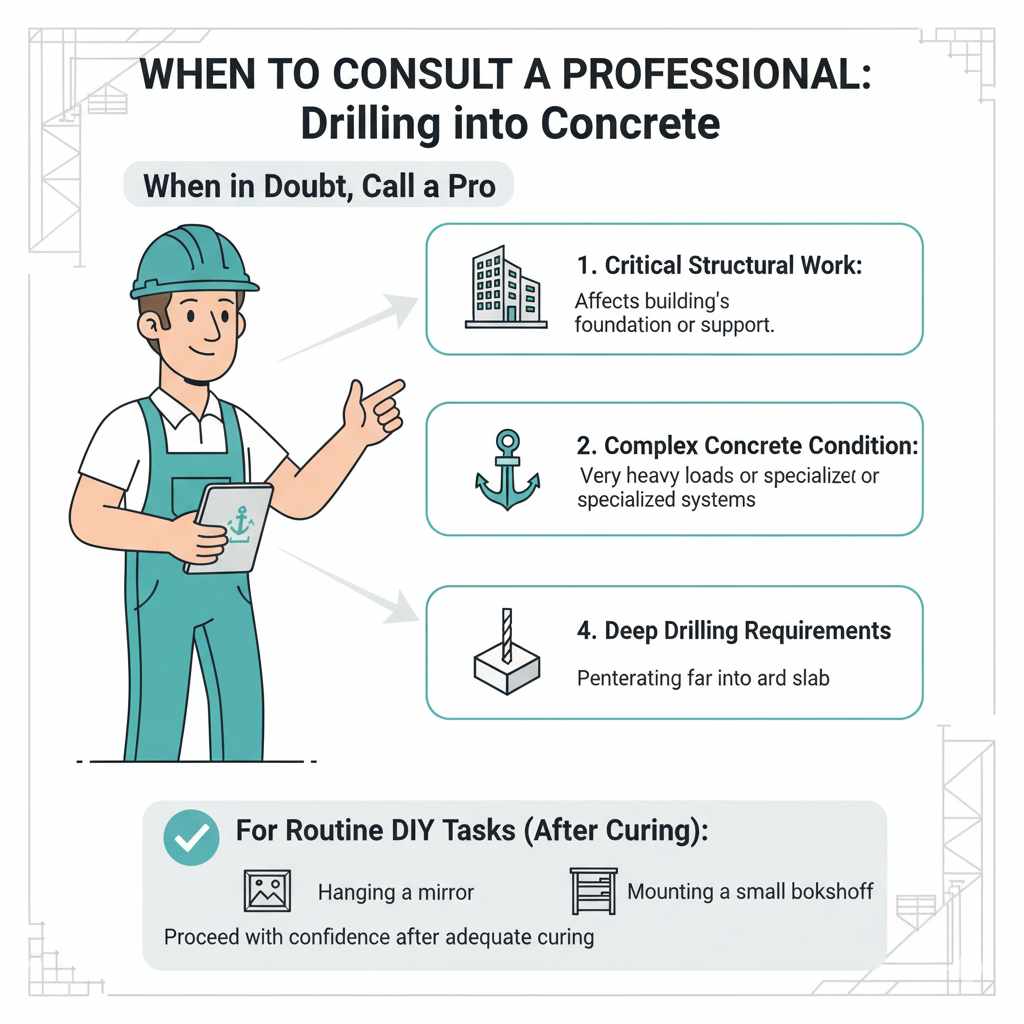
- Large or critical structural work: If you’re drilling for something that affects the building’s structure, always consult an engineer or a qualified contractor.
- Uncertainty about concrete age or strength: If you’re not sure how long the concrete has been in place or if it’s experiencing issues like cracking, a professional assessment is wise.
- Complex anchoring needs: For very heavy loads or specialized applications, professionals have access to specialized tools and high-strength anchoring systems.
- Deep drilling requirements: Penetrating deeply into concrete requires specific equipment and expertise.
For routine home improvement tasks like hanging a mirror or a small bookshelf, you can typically proceed with confidence after adequate curing. But for anything that poses a safety risk or requires certified load-bearing capabilities, professional advice is invaluable.
Conclusion
So, how long before you can drill into new concrete? The answer isn’t a single number, but it boils down to patience and understanding the concrete’s curing process. For light tasks, a few days to a week might suffice, but for anything requiring robust anchoring or carrying significant weight, waiting at least 7 to 14 days, and ideally the full 28 days, is crucial for ensuring strength, safety, and longevity. By considering factors like temperature, the concrete mix, and the specific demands of your project, you can confidently time your drilling and use the right techniques. Remember to always use appropriate tools like a hammer drill and masonry bits, and protect yourself with safety gear. That’s the heart of good DIY – planning, patience, and using the right methods. Happy drilling, and enjoy your completed projects!
Frequently Asked Questions (FAQ)
Here are some common questions beginners have about drilling into new concrete.
Q1: Can I drill into concrete just 24 hours after it’s poured?
A1: No, absolutely not. Concrete is still very wet and weak just 24 hours after pouring. Drilling this early will almost certainly cause damage like cracking and will not securely hold any anchors.
Q2: What’s the difference between concrete setting and concrete curing?
A2: Setting refers to when the concrete loses its plastic state and becomes firm enough to hold its shape. Curing is the longer, ongoing chemical process where concrete gains its strength and durability. They are not the same thing.
Q3: Is it safe to put anchors in concrete that’s only a few days old?
A3: For very light-duty applications (like hanging a small picture frame), a week might be acceptable. However, for anything requiring a secure hold or bearing weight, it’s much safer to wait longer, ideally 14 days or more.
Q4: What happens if I drill into concrete that hasn’t cured enough?
A4: You risk cracking the concrete, weakening the anchor’s grip, causing the anchor to pull out, or even causing the concrete surface to spall or break apart. This can compromise the integrity of your project and potentially create safety hazards.