Remove a Drill Press Chuck (Morse Taper & Stuck-Chuck Fix)
Most drill press chucks release with a chuck-removal wedge set or a few sharp mallet taps – but on a Morse-taper spindle (the common fit on benchtop and floor models), forcing the wrong tool can mushroom the taper and ruin the fit. A stripped or damaged taper means an expensive spindle repair, not just a new chuck. This guide covers the taper types, the safe removal steps, and how to free a stuck or rusted chuck.
Tools and Materials Needed
Best Chuck Removal Pick
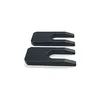
HHIP JT6/JT33 Drill Chuck Removal Wedge Set – $14.84
Matches the wedge method in Step 4 above – the two slotted wedges squeeze the Jacobs taper apart without shocking the spindle bearings, unlike a bare mallet.
- Best for: JT6/JT33 taper-fit chucks on mid-size and larger drill presses
- Why we picked it: A known brand in machine-tooling accessories, sized to match common floor-standing spindle tapers
- Main drawback: Only fits JT6/JT33 – confirm your Jacobs taper size before ordering
Compare more chuck-removal options
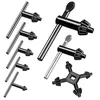 Option 1 Waltool 8Pc Universal Chuck Key Wrench Set – $14.99
|
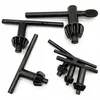 Option 2 6-Size Heavy Duty Drill Chuck Key Set – $7.69
|
 Option 3 Free All Rust Eater Deep Penetrating Oil 11oz – $21.98
|
As an Amazon Associate we earn from qualifying purchases.
Before you start, unplug the drill press and gather these items. Which tools you need depends on how your chuck is fitted – see the taper section below.
- Drill chuck removal wedge set (for taper-fit chucks – the safest method)
- Rubber or soft-faced mallet
- Chuck key sized to your chuck
- Penetrating oil, for a stuck or rusted chuck
- A block of hardwood, as a backup striking surface
- Clean cloth and light machine oil for cleanup
- Safety glasses and gloves
Wear safety glasses and gloves throughout. Wear a dust mask if you’re also clearing metal shavings or old grease from the spindle housing, and make sure your workspace is well lit before you start tapping on anything.
How Drill Press Chucks Attach: Morse Taper vs. Jacobs Taper
A Morse taper is a self-locking friction fit that holds the chuck’s arbor inside the drill press spindle without any screws, bolts, or clamps. The taper size is labeled MT1 through MT4 – MT1 is the smallest, common on benchtop hobbyist drill presses, while MT2 and MT3 show up on most mid-size and floor-standing models. Check your owner’s manual or the spindle label to confirm which size you have before ordering a wedge set or replacement chuck.
The chuck itself is usually mounted to that Morse-taper arbor through a separate Jacobs taper (labeled JT0 through JT6), which is what a chuck-removal wedge set is actually designed to split apart. A small number of older or lighter-duty chucks are instead held by a single retaining screw inside the jaws, threaded directly onto the spindle – on those, you loosen the screw first (it’s reverse-threaded on some models) before the chuck will budge at all.
📊 MT1 is the most common taper on benchtop drill presses under 10 amps; MT2 and MT3 dominate floor-standing and industrial models. — Source: Morse Taper, Wikipedia (engineering reference)
Step-by-Step: Removing the Chuck
Unplug the drill press before doing anything else, and raise the table (or move it out of the way) so the chuck has room to drop free without hitting anything on its way down.
- Clear the chuck: Remove any drill bit and open the jaws fully with the chuck key.
- Check for a retaining screw: Look inside the jaws for a screw. If present, remove it – some are reverse-threaded, so try clockwise first if counterclockwise won’t budge it.
- Insert the wedge set: Slide the two wedges from your chuck-removal set into the gap between the chuck and the arbor shoulder, flat sides facing each other.
- Squeeze the wedges together: Tap the wedges toward each other with a mallet. This pops the Jacobs taper apart without shocking the spindle bearings.
- No wedge set on hand? Use the mallet method: Support the chuck in one hand, and tap sharply upward on the underside of the chuck with a soft-faced mallet, or drive a hardwood block against it, to break the Morse taper’s friction fit.
- Catch the chuck: Once the taper releases, the chuck (and arbor, if it separated with it) will drop – keep your free hand under it.
- Inspect before reinstalling: Wipe the spindle bore and arbor clean, and check both tapers for burrs or damage before pressing a chuck back on.
Removing a Stuck or Rusted Chuck
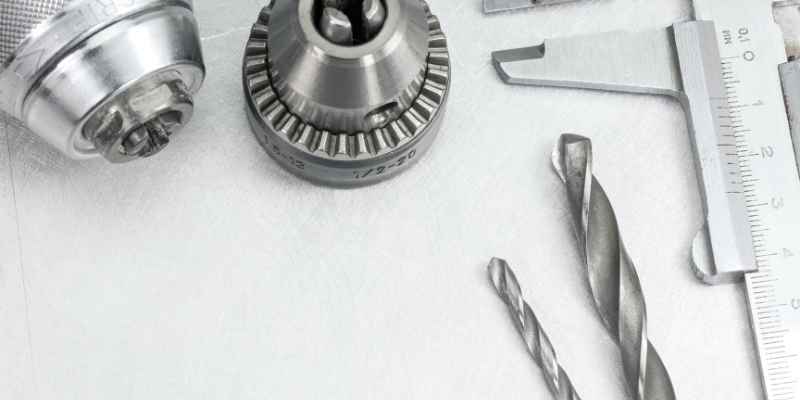
A chuck that won’t budge with a wedge set or mallet is almost always rust or dried grease bridging the taper, not a mechanical lock. Unplug the drill press, then apply a penetrating oil to the visible seam between the chuck and the arbor.
- Let the oil soak for 10–15 minutes before trying the wedge set again – don’t force it sooner.
- Reapply once and give it another 10 minutes if the taper still hasn’t moved.
- Once it starts to loosen, work the wedges or mallet taps in short, controlled bursts rather than one hard hit.
- If it’s still frozen after two oil applications, the taper may be corroded enough to need a shop press – stop before you risk bending the spindle.
“On an old benchtop press left in a damp garage, the chuck didn’t move at all on the first wedge attempt – two rounds of penetrating oil, ten minutes apart, was what finally let the taper pop free without a single extra hammer strike.”
Chuck Removal Methods Compared
| Method | Risk to Spindle | Best For |
|---|---|---|
| Chuck removal wedge set | Low | JT-taper chucks, repeat use |
| Mallet and hardwood block | Moderate – can shock bearings if overdone | One-off removal, no wedge set on hand |
| Retaining screw + unscrew | Low, if the correct screw direction is used | Older screw-mounted chucks only |
Cleaning and Maintenance After Removal
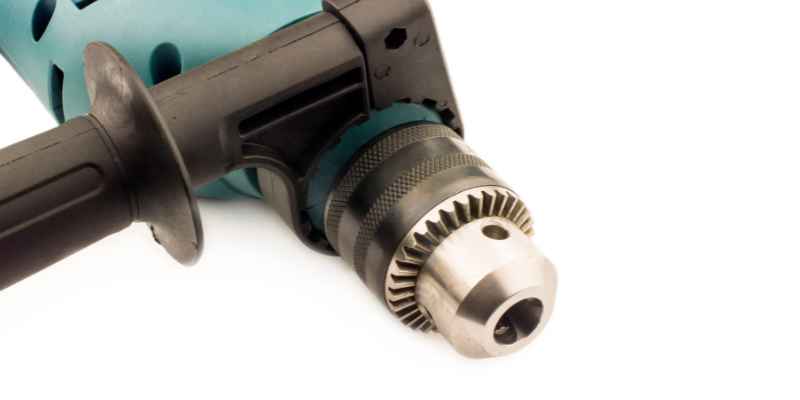
Wipe the chuck and spindle bore with a clean cloth, then brush out any packed dust or metal shavings from inside the taper socket. Rust or debris left in the taper will keep the next chuck from seating flush.
Apply a few drops of light machine oil to the arbor taper before reinstalling – not the taper socket itself, since too much oil there can prevent a solid friction grip. Wipe off any excess before you press the chuck back on.
Reattaching or Replacing the Chuck
Replace the chuck if it no longer holds a bit securely, wobbles during use, or shows visible chips or cracks in the jaws – a damaged chuck throws off drilling accuracy even if it still spins. Always match the new chuck’s taper size (Morse or Jacobs) to your spindle; an undersized taper won’t seat and an oversized one won’t fit at all.
- Clean both mating surfaces: wipe the spindle bore and the chuck’s arbor taper free of oil, dust, and debris.
- Align the chuck: hold it square to the spindle centerline – a tilted press-on will seat off-axis.
- Seat it firmly: push up and give the underside of the chuck a sharp rap with a rubber mallet.
- Test the fit: chuck a bit and run the press briefly at low speed, checking for wobble before drilling anything.
Frequently Asked Questions
How do you separate a chuck from a drill press?
Unplug the press, then use a chuck-removal wedge set to squeeze apart the Jacobs taper, or tap the chuck free with a mallet to break the Morse taper’s friction fit. Check for a retaining screw inside the jaws first on older models.
What holds the chuck on a drill press?
Most drill press chucks are held by a Morse taper – a self-locking friction fit between the arbor and the spindle, with no screws or bolts involved. A smaller number of light-duty chucks thread directly onto the spindle and are secured with a single retaining screw.
How do you remove a stubborn or rusted drill press chuck?
Apply penetrating oil to the taper seam and let it soak 10–15 minutes before trying the wedge set or mallet again. Reapply once more if needed – if it’s still frozen after two applications, stop and have it pressed off rather than risk bending the spindle.
What size wedge set do I need for my drill press chuck?
Match the wedge set to your chuck’s Jacobs taper size, stamped or printed on the chuck body as JT0 through JT6 – JT33 and JT6 are the most common sizes on benchtop and mid-size drill presses. Check your chuck before ordering, since a mismatched wedge set won’t seat properly.
Can I remove a drill press chuck without a chuck key?
Yes – the chuck key only opens the jaws to remove a bit. Removing the chuck itself from the spindle uses a wedge set or mallet on the taper fit, not the chuck key, so a missing or lost key doesn’t stop you from taking the chuck off.
How to take a drill bit out of a drill press?
Turn off and unplug the drill press. Insert the chuck key into one of the three holes on the chuck body and rotate it counterclockwise to open the jaws, then pull the bit free.
Conclusion
Knowing whether your chuck sits on a Morse or Jacobs taper – and matching your removal tool to it – is what separates a clean five-minute job from a mushroomed spindle. For handheld drills instead of a drill press, the removal steps are different; see our guide on changing a drill chuck without stripping it. For more drilling fixes and maintenance guides, visit our drilling hub.
Sponsored / affiliate links. As an Amazon Associate I earn from qualifying purchases. I may earn additional commission from eligible campaigns.