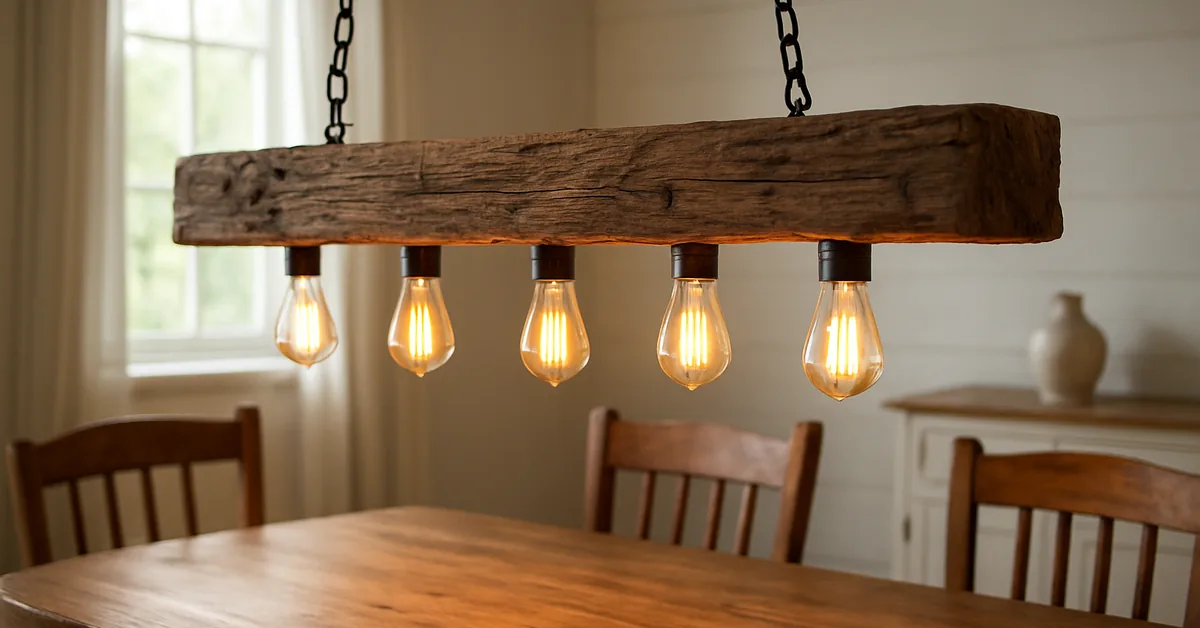
DIY Wood Beam Light Fixture: Wiring, Weight & Mounting Guide
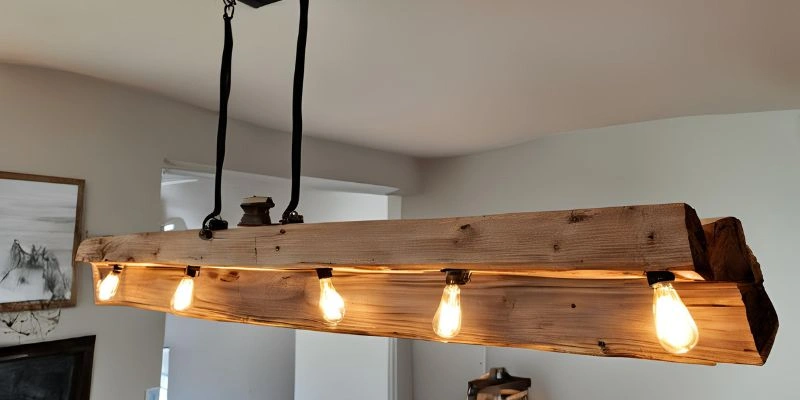
A DIY wood beam light fixture is a hollowed or channel-routed wood beam wired with an E26 pendant socket kit and mounted straight into ceiling joists — not just drywall. A solid 6″x6″x4′ oak beam weighs roughly 45 lb, which triggers NEC 314.27(B)’s independent-support rule at 50 lb. This guide covers safe wire gauge and socket choice, how beam weight decides your mounting hardware, and the build steps from cutting to finishing.
Quick Answer
Use 18-gauge UL-listed SVT or SPT-1/SPT-2 lamp cord with E26 porcelain sockets, wire black-to-brass and white-to-silver terminals, and mount the beam with lag screws into at least two ceiling joists once it weighs more than about 30 lb. Anything over 50 lb needs support independent of the electrical box under NEC 314.27(B) — a licensed electrician should handle that connection if you’re not confident reading a junction box.
Materials and Tools You Actually Need
Best Pendant Cord Kit Pick
FadimiKoo 2-Pack E26 Pendant Light Cord Kit, 13.2ft, UL Listed
Two pre-wired, UL-listed cord sets with switches — skip splicing raw lamp cord to a socket from scratch on your first build.
- Best for: beginners wiring their first pendant socket without stripping and terminating cord by hand
- Why we picked it: UL listing on the cord itself removes the biggest safety unknown in a scratch-built fixture
- Main drawback: the included switch adds bulk you’ll need to route or hide inside the beam channel
Compare more build hardware
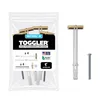 Option 1 TOGGLER SnapToggle 1/4-20 Anchors, 4-Pack
|
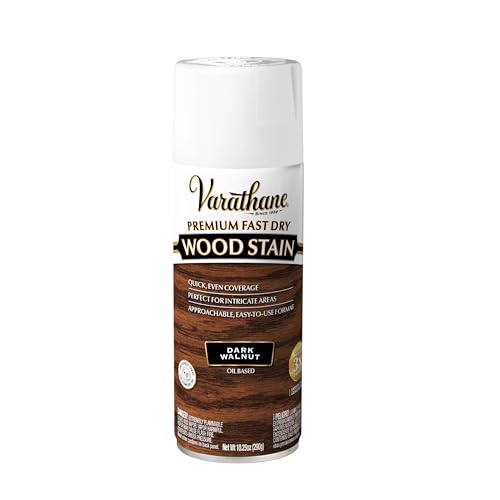
 Option 2 Varathane Premium Fast Dry Dark Walnut Stain
|
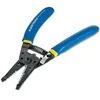 Option 3 Klein Tools 11055EP Wire Cutter and Stripper
|
As an Amazon Associate we earn from qualifying purchases.
Skip the vague “light fixture” shopping-list approach. The parts below are specified by gauge, listing, and rating because those numbers are what keep a homemade fixture safe once it’s hanging over a dining table. First build? Our woodworking projects and tips guide covers the core skills — squaring a cut, picking moisture-appropriate wood — that carry straight over into this one.
Materials
- Wood beam — pine or cedar for a first build (lighter, easier to drill); oak or reclaimed fir if you want the heft and don’t mind the extra mounting hardware
- UL-listed 18-gauge SVT or SPT-1/SPT-2 lamp cord (this is the actual “electrical wire” — never substitute unlisted zip cord)
- E26 porcelain or UL-listed phenolic sockets — one per bulb location
- Wire nuts rated for the cord gauge you’re using
- Lag screws (1/4″ x 3″ minimum) or heavy-duty toggle anchors, sized to the beam’s actual weight (table below)
- Wood stain or paint, plus a clear sealer or varnish
- 120-grit and 220-grit sandpaper
Tools
- Drill with a 3/4″ spade bit (wiring channel) and standard bits (mounting holes)
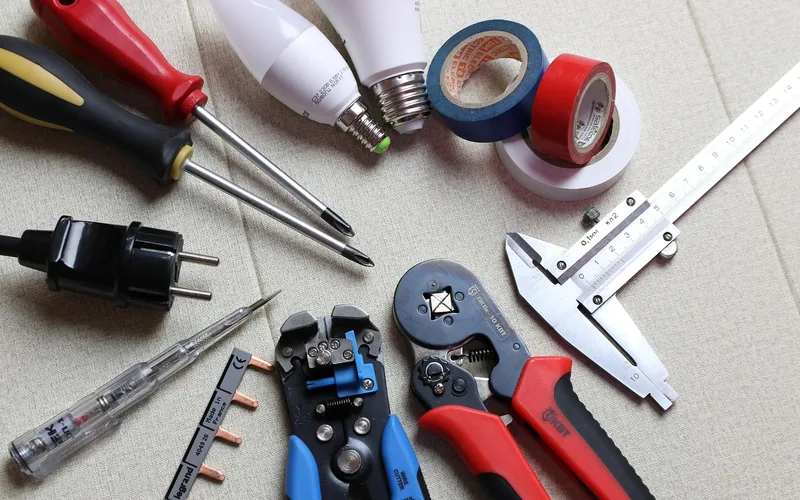
- Wire strippers and a wire cutter/crimper
- Non-contact voltage tester
- Stud finder
- Measuring tape and a level
- Safety glasses, dust mask, and work gloves
How Much Does Your Wood Beam Weigh? (And What That Means for Mounting)
Beam weight is what actually decides your mounting hardware — not the size of the room or how the fixture looks in a photo. A solid beam of common dimensions works out close to exactly 1 cubic foot per 4 linear feet at 6″x6″, so the wood species alone swings the finished weight by nearly 2x.
| Wood species (6″x6″ x 4ft beam) | Approx. solid weight | Hollowed for wiring (~20% removed) | Minimum mounting hardware |
|---|---|---|---|
| Cedar | ~23 lb | ~18 lb | 3/16″ toggle anchors (2-4) into drywall, or joist screws |
| Pine | ~30 lb | ~24 lb | Toggle anchors rated 90+ lb each, or lag screws into a joist |
| Reclaimed fir/barn beam | ~33 lb | ~26 lb | Lag screws into at least one joist recommended |
| Oak | ~45 lb | ~36 lb | Lag screws into two ceiling joists — approaching the 50-lb code threshold |
Two rules follow directly from that table. First, a 1/8″ toggle bolt is rated for roughly 30 lb in 3/8″ drywall and up to 55 lb in thicker wallboard, but the safe working load is that ultimate rating divided by a safety factor of about 4 — so treat a “30-lb-rated” toggle as good for roughly 7-8 lb of real, permanent, vibrating load. Second, once total fixture weight clears 50 lb, NEC 314.27(B) requires the fixture to be supported independently of the electrical box — through a structural brace, direct joist mounting, or an independent suspension point — not by the junction box screws alone. Practically: for anything past a light cedar beam, locate the ceiling joists with a stud finder and run lag screws directly into at least two of them.
Is It Safe to Wire Your Own Wood Beam Light Fixture?
Wiring a wood beam light fixture is a plug-in project that most confident DIYers can do safely with UL-listed parts; hardwiring it into a ceiling junction box is a different job that assumes basic electrical literacy, and anything beyond a like-for-like box swap is worth a licensed electrician’s time. The distinction matters because the two paths carry different risk.
Plug-in vs. hardwired: which one is actually DIY-friendly
- Plug-in (cord to a wall outlet): no electrical box work at all — you’re wiring bulb sockets to a UL-listed cord and plugging it in. This is the beginner-friendly path and what the product box above is built around.
- Hardwired, like-for-like: replacing an existing fixture at an existing ceiling box, on a beam under about 30 lb, with the power off and confirmed dead at the box — doable with basic knowledge, still worth a voltage tester before you touch anything.
- Hardwired, new box or beam over 30-50 lb: this is where box ratings, joist framing, and NEC 314.27(B) come in. Call a licensed electrician for the box and mounting portion, even if you built and finished the beam yourself.
Wire, socket, and connection specifics
Use UL-listed 18-gauge SVT or SPT-1/SPT-2 lamp cord — the gauge and listing are printed right on the cord jacket, so check before you buy. Eighteen-gauge is sufficient for standard household bulb loads; move to a heavier gauge only if a manufacturer spec sheet calls for it. At the socket: the ribbed or silver-marked wire is neutral and connects to the silver screw, the smooth wire is hot and connects to the brass screw, and any bare copper or green wire is ground and must stay a continuous connection through every metal part of the fixture. Reversing hot and neutral leaves the socket shell live even when the switch is off — an easy mistake to make and a genuinely dangerous one to skip checking.
Standard E26 pendant sockets are typically rated for up to 60-100W per socket depending on the kit — check the printed rating on your specific cord set rather than assuming. Keep any bulb’s glass envelope at least a couple of inches from the wood itself; a warm LED filament bulb runs far cooler against dry wood than a high-wattage incandescent Edison bulb, and that heat gap is what actually prevents scorching over months of use, not the bulb’s looks.
This is general safety information, not a substitute for your local electrical code. Requirements vary by jurisdiction — when in doubt about a junction box, a permit, or a beam over 50 lb, have a licensed electrician confirm the connection before you power it on.
Preparing Your Workspace
Set up before you cut anything. Wear safety glasses, a dust mask, and gloves; work in good light and good ventilation, especially once stain and sealer are open. Keep a stud finder, tape measure, and level within reach — you’ll use all three more than once. A stable workbench at the right height makes the drilling and sanding steps far more accurate than a floor or a kitchen table.
Selecting and Cutting the Beam
Match the beam to the table above before you buy: pine or cedar for a first build under 30 lb, oak or reclaimed fir only if you’re prepared to mount into two joists. Measure the install span and mark your cut length, leaving room for mounting hardware at each end. Use a circular saw or miter saw and make sure the cut stays straight — an out-of-square end shows immediately once the beam is stained and lit from below.
Sand with 120-grit to remove saw marks and knock down rough edges, then 220-grit for a finish-ready surface. Wipe the beam down with a damp cloth to pull off dust before staining — skipping this step is the single most common reason a stain job comes out blotchy.
Drilling the Wiring Channel and Bulb Holes
- Mark bulb spacing: Space socket locations evenly along the beam’s underside — 8-10 inches apart works for most 4-6ft beams with 4-5 bulbs.
- Drill the wiring channel: Bore a 3/4″ channel through the beam’s core (a spade bit run from each end, or a routed groove on the back face) large enough for the lamp cord to pass through without pinching.
- Drill bulb-socket holes: At each marked point, drill down into the channel from the underside, sized to seat the socket housing snugly.
- Drill the feed hole: At one end (or the center, if you’re running a single drop cord), drill a larger hole for the main cord to exit toward the ceiling or outlet.
Wiring the Sockets and Testing the Fixture
- Strip the cord: Strip about 1/2″ of insulation from each conductor at every socket location — the wire strippers above are sized for 18-gauge cord specifically so you don’t nick the copper.
- Thread the cord: Run the UL-listed lamp cord through the channel, feeding it out at each socket hole.
- Connect each socket: Hot (smooth wire) to the brass screw, neutral (ribbed wire) to the silver screw, tightened clockwise around the post. Seat and screw down each socket housing.
- Terminate the feed end: Connect the main cord to your plug (plug-in build) or, for a hardwired build, to the ceiling box wiring — black to black, white to white, ground to ground — with wire nuts rated for the gauge.
- Test before final mounting: With the beam still on the bench, plug in (or have the power confirmed on at the box) and check every bulb lights. Fix any dark socket now, not after the beam is on the ceiling.
Mounting the Fixture
Locate your ceiling joists with a stud finder before you decide on final placement — the beam’s weight (from the table above) tells you whether joists are optional or mandatory. Center the fixture over the dining table or kitchen island it’s meant to light, and set the hanging height so the lowest bulb sits above eye level for anyone standing.
| Tool | Purpose |
|---|---|
| Stud finder | Locate ceiling joists before drilling any mounting holes |
| Lag screws (1/4″x3″+) | Primary mounting into joists for beams over ~25-30 lb |
| Heavy-duty toggle anchors | Backup or secondary support only — not the sole support for a joist-required beam |
| Level | Confirm the beam hangs straight before final tightening |
If you can’t align mounting points with a joist and the beam is under roughly 30 lb, heavy-duty toggle anchors rated well above the beam’s weight are an acceptable fallback. Past that weight, don’t rely on drywall alone — reposition the fixture to hit a joist, or add a ceiling-mounted mounting plate that spans between two joists.
Finishing Touches
Stain or paint after sanding and before final wiring is easier than working around installed sockets. A penetrating stain highlights the grain and matches faster than paint; let it dry fully before handling. Add a clear sealer or varnish coat once the stain has cured to protect the finish from the heat cycling of nearby bulbs. Metal brackets, rope wrap, or small hooks are optional — our shelf bracket ideas guide has styles that pair well with an exposed beam. Add any of them only if they don’t cover a bulb’s heat clearance.
Maintenance Tips
Turn off power at the switch (and the breaker, if you’re doing more than dusting) before any cleaning. Dust with a soft dry cloth regularly; for grime, use a barely damp cloth and dry it immediately — standing water on a stained beam near live sockets is the one combination to avoid. When a bulb burns out, twist it counterclockwise to remove, confirm the replacement matches the socket’s printed wattage rating, and twist the new one in clockwise without overtightening.
Styling the Finished Fixture
Center the beam over a dining table or kitchen island rather than a corner — it reads as a design choice, not an afterthought. Match the beam’s stain to nearby wood tones, keep the surrounding wall simple so the fixture stays the focal point, and wire in a dimmer switch if your socket kit supports it for more control over the mood than an on/off switch alone.
Frequently Asked Questions
Do you need an electrician for a wood beam light fixture?
Not for a plug-in build — wiring bulb sockets to a UL-listed cord and plugging it into an outlet is DIY-friendly. You should call a licensed electrician if you’re hardwiring into a new or unrated ceiling box, or if the finished beam weighs more than about 50 lb, since NEC 314.27(B) then requires support independent of the box.
How much weight can a ceiling light fixture hold?
It depends entirely on what you anchor into. A 1/8″ toggle bolt holds roughly 30 lb in 3/8″ drywall; a 3/16″ toggle can hold 90-110 lb depending on brand. Toggle bolts into a wood ceiling member can hold up to about 50 lb each. Past 50 lb total, code requires support independent of the electrical box — lag screws into ceiling joists, not drywall anchors alone.
What wire gauge do you need for a pendant light?
Eighteen-gauge (18 AWG) UL-listed SVT or SPT-1/SPT-2 lamp cord covers standard household bulb loads for a pendant fixture. Only step up to a heavier gauge if your specific socket or bulb manufacturer’s spec sheet calls for it — check the printed rating on the cord and socket before assuming.
How do you make a wood beam light?
Choose a beam sized to the weight table above, cut and sand it, drill a wiring channel with socket holes spaced 8-10 inches apart, wire E26 sockets to UL-listed 18-gauge cord, test every bulb on the bench, then mount into ceiling joists (or rated toggle anchors for lighter beams) once wiring is confirmed safe.
Can you make a light fixture out of wood?
Yes — wood is a common material for pendant and beam fixtures as long as bulbs are kept a couple of inches from the wood surface and all electrical components are UL-listed. Lower-heat LED filament bulbs are a safer default against wood than high-wattage incandescent bulbs run for long periods.
Is it safe to wire your own light fixture?
A plug-in build with UL-listed cord and sockets is safe for most DIYers who follow correct hot/neutral/ground connections and test with a voltage tester before assuming a circuit is dead. Hardwiring into a ceiling junction box carries more risk from incorrect connections or an under-rated box, which is why that specific step is worth a licensed electrician’s time if you’re not confident reading the box.
Conclusion
A wood beam light fixture comes down to two decisions most tutorials skip: matching your mounting hardware to the beam’s actual weight, and using UL-listed, correctly-gauged wiring instead of whatever cord is on hand. Get those two right and the rest — cutting, sanding, staining — is a straightforward weekend build that ends with a genuinely custom piece over your table.
Sponsored / affiliate links. As an Amazon Associate I earn from qualifying purchases. I may earn additional commission from eligible campaigns.