How Long Does Gorilla Glue Take To Dry? Genius Guide
Gorilla Glue typically dries to the touch in 1-2 hours, but full cure takes 24 hours. Avoid stressing the bond until it’s fully cured for maximum strength.
Ever found yourself staring at a Gorilla Glue project, wondering, “Is it dry yet?” You’re not alone! This powerful adhesive is fantastic for tough jobs, but understanding its drying and curing times is key to getting a super strong bond. Rushing the process can lead to a weak connection, and waiting too long can feel like an eternity. Don’t worry, though! I’m here to demystify Gorilla Glue’s drying times, so you can tackle your DIY projects with confidence. We’ll break down exactly what to expect, how to speed things up (safely!), and what “fully cured” really means. Let’s get those projects finished strong!
Understanding Gorilla Glue Drying Times: The Basics
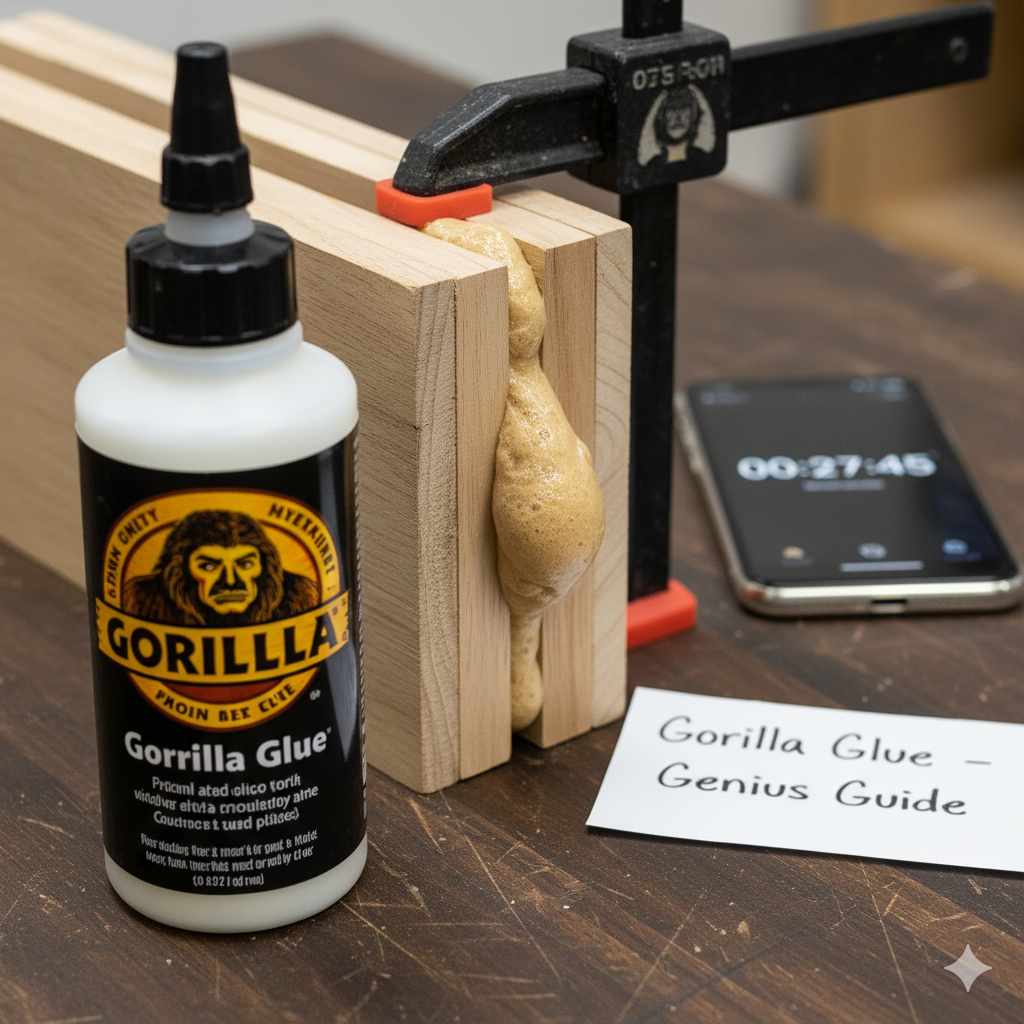
Gorilla Glue is known for its incredible strength, but this strength comes from a specific curing process. Unlike everyday glues, many Gorilla Glue products are polyurethane-based. This means they react with moisture in the air to cure. This is why they often foam up slightly as they dry – that’s the glue expanding and filling gaps!
Understanding the difference between “dry to the touch” and “fully cured” is crucial.
- Dry to the Touch: This is when the surface of the glue feels dry and no longer sticks to your finger when lightly pressed. It means the initial bonding process has begun.
- Fully Cured: This is when the glue has reached its maximum strength and durability. It means the chemical reaction is complete.
Knowing these stages helps you avoid accidentally breaking your bond before it’s ready.

How Long Does Gorilla Glue Take to Dry? Factors to Consider
Several factors can influence how long your Gorilla Glue takes to dry and reach its full strength. It’s not just a one-size-fits-all answer!
Environmental Conditions
Water and humidity are the superhero ingredients for polyurethane-based Gorilla Glues.
- Humidity: Higher humidity levels will speed up the curing process because there’s more moisture for the glue to react with. In very dry environments, it might take longer.
- Temperature: While temperature isn’t as critical as humidity, extreme cold can slow down the chemical reaction. Most Gorilla Glues perform best at room temperature (around 50-90°F or 10-32°C).
Type of Gorilla Glue Product
Gorilla Glue isn’t just one product; they have a whole family! Different formulations have slightly different drying times.
- Original Gorilla Glue (Polyurethane): This is the classic yellow bottle. It’s moisture-activated and can take a bit longer to cure fully.
- Gorilla Glue Gel: This version is thicker and less likely to run, making it great for vertical surfaces. It often has slightly faster initial set times but still needs 24 hours for a full cure.
- Gorilla Super Glue (Cyanoacrylate): Unlike the original, super glues cure by reacting with moisture on the surfaces you’re bonding, not ambient humidity. They set much faster – sometimes in seconds!
- Gorilla Wood Glue: This PVA-based glue behaves more like traditional wood glues, requiring good contact and often clamping pressure. Its drying times can vary but typically involve several hours of clamping and then a full cure.
Amount of Glue Used
Using too much glue can actually prolong the drying time. A thin, even layer is best. Excess glue will take longer to react with moisture and cure completely. It can also lead to more of that signature Gorilla Glue foam, which might need trimming.
Surface Porosity
The type of material you’re gluing also plays a role.
- Porous materials: Materials like wood, fabric, or paper can absorb some moisture, which can help the glue cure faster.
- Non-porous materials: Smooth, non-porous surfaces like some plastics or metals might rely more on ambient humidity, potentially leading to slightly longer cure times if humidity is low.
Gorilla Glue Drying Times by Product: A Useful Guide
Let’s get specific! Here’s a breakdown of typical drying and curing times for popular Gorilla Glue products. Remember, these are general guidelines, and your project conditions might cause variations. It’s always best to refer to the specific product’s instructions on the packaging.
| Gorilla Glue Product | Clamping Time (Initial Bond) | Dry to the Touch | Full Cure Time |
|---|---|---|---|
| Original Gorilla Glue (Polyurethane) | 1-2 hours (allow for foaming) | 1-2 hours | 24 hours |
| Gorilla Glue Gel | 30 minutes – 1 hour | 1-2 hours | 24 hours |
| Gorilla Super Glue (Liquid) | N/A (Sets in seconds) | Seconds to minutes | 24 hours |
| Gorilla Super Glue (Gel) | N/A (Sets in seconds) | Seconds to minutes | 24 hours |
| Gorilla Wood Glue | 30 minutes – 1 hour (clamping) | 1-2 hours | 12-24 hours |
| Gorilla Heavy Duty Construction Adhesive | 12-24 hours (support needed) | 2-4 hours | 24-72 hours |
Understanding the Columns:
- Clamping Time: For glues that require it (like Original Gorilla Glue and Wood Glue), this is how long you need to hold the pieces together firmly.
- Dry to the Touch: When the surface feels dry. You can usually handle it gently after this point but avoid stressing the bond.
- Full Cure Time: When the glue reaches its maximum strength. This is when your project can withstand full use and stress.
For most Gorilla Glue applications, patience is a virtue, and giving it the full 24 hours for curing is the best way to ensure a lasting bond.
How to Speed Up Gorilla Glue Drying Times (Safely!)
Want to get that project finished a little quicker? There are a few tried-and-true ways to help Gorilla Glue cure faster, especially the original polyurethane formula.
Boost the Humidity
Since moisture is key for the original Gorilla Glue, increasing the humidity around your project can significantly speed things up.
- Misting: Lightly mist one of the surfaces with water before applying the glue. Don’t soak it – just a fine spray is enough.
- Damp Cloth: Place a damp cloth near the glued area (but not touching it).
- Humid Environment: If possible, work in a slightly more humid room.
Be cautious with delicate materials that could be damaged by excess moisture.
Apply Thin, Even Layers
This is more about efficient curing than speeding it up directly. A thin, even application means all the glue is closer to the air and moisture it needs to cure properly. A thick blob will take much longer for the outer edges to cure and for the core to react.
Use Clamping Pressure Correctly
While not directly speeding up the chemical cure, proper clamping ensures good contact between the surfaces. This is essential for polyurethane glues to effectively bond to both materials and react with the available moisture. For Original Gorilla Glue, clamp for the recommended time (usually 1-2 hours) to prevent movement while it cures.
Consider the Glue Type
If speed is your absolute top priority for instant bonding, you might reach for Gorilla Super Glue rather than the original polyurethane formula. Super glue sets in seconds, making it ideal for small, quick fixes where high structural strength isn’t the primary concern. Always check the product description to see if it’s suitable for your specific project. For example, our friends over at Popular Mechanics recommend different glues for different woodworking needs.
What to Do While Your Gorilla Glue is Drying
Patience is key, but there are a few things you can do (and avoid!) to ensure the best results while your Gorilla Glue does its work.
Ensure Proper Clamping
For any glue that requires it, make sure your clamps are snug but not so tight that they squeeze all the glue out or damage the material. Proper clamping pressure ensures the surfaces remain in solid contact, allowing the glue to cure effectively. For Original Gorilla Glue, clamping is needed for the initial 1-2 hours.
Keep the Area Still
Avoid moving or stressing the glued joint until the glue is fully cured. Even if it’s dry to the touch, the internal chemistry is still working to achieve maximum strength. Bumps, wiggles, or pressure can disrupt this process and weaken the final bond.
Manage the Foam
Original Gorilla Glue is famous for foaming as it cures, which helps fill gaps. If you have a lot of excess glue that has foamed out and hardened, you can trim it away with a sharp knife or chisel after the glue has fully cured (typically 24 hours and beyond). Don’t try to trim wet glue.
Protect from Extreme Conditions
While some humidity helps, avoid submerging the project in water or exposing it to extreme temperatures (either hot or cold) during the initial curing phase. This can interfere with the bonding process.
Consider Ventilation
Gorilla Glue products, particularly the polyurethane ones, can release fumes during the curing process. Always work in a well-ventilated area. If you’re working in a small space, consider using a fan to improve air circulation. The Occupational Safety and Health Administration (OSHA) emphasizes the importance of proper ventilation in workshop environments.
Troubleshooting Common Gorilla Glue Drying Issues
Sometimes, things don’t go exactly as planned. Here are a few common issues and how to address them.
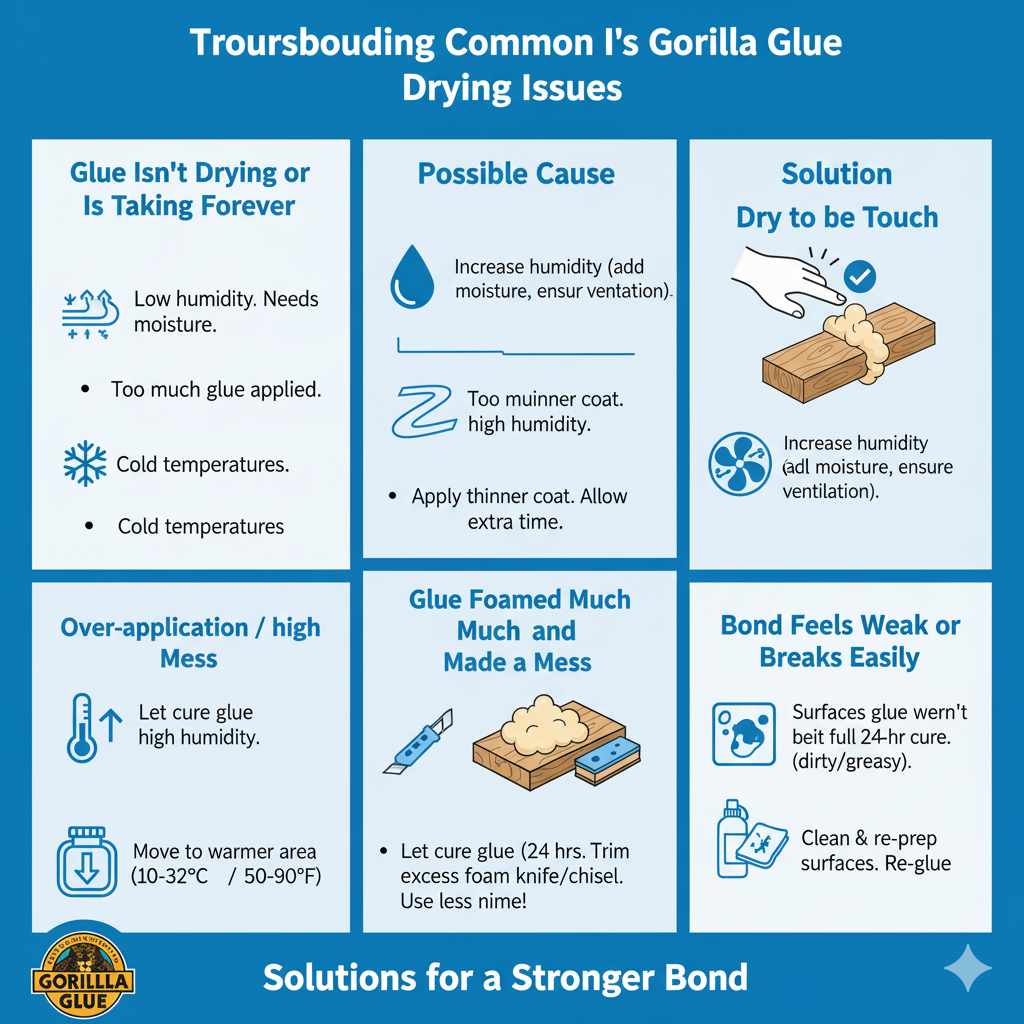
Issue: Glue Isn’t Drying or Is Taking Forever
- Possible Cause: Low humidity. The original Gorilla Glue needs moisture to cure.
- Solution: Increase humidity in the area as described in the “Speed Up Drying” section. Ensure adequate ventilation if adding moisture.
- Possible Cause: Too much glue applied. A thick layer takes longer to cure.
- Solution: Next time, apply a thinner, more even coat. For now, allow extra time.
- Possible Cause: Cold temperatures.
- Solution: Move the project to a warmer area (ideally 50-90°F or 10-32°C) to allow the chemical reaction to proceed.
Issue: Glue Foamed Too Much and Made a Mess
- Possible Cause: Over-application of glue or very high humidity.
- Solution: This is normal behavior for Original Gorilla Glue! Let it cure fully. Once hardened (24 hours minimum), carefully trim the excess foam with a craft knife, chisel, or sandpaper. For future projects, use less glue—a little goes a long way!
Issue: Bond Feels Weak or Breaks Easily
- Possible Cause: Project was stressed before full cure.
- Solution: This is the most common reason for weak bonds. Unfortunately, once a bond has been compromised before curing, it’s difficult to fully salvage. You may need to carefully remove the old glue (using appropriate solvents for the glue type) and reapply, ensuring you wait for the full 24-hour cure time for maximum strength.
- Possible Cause: Surfaces weren’t properly prepared.
- Solution: Ensure surfaces were clean, dry, and free of dust or grease before applying glue. Re-prep and re-glue.
How to Safely Clean Up Uncured and Cured Gorilla Glue
Cleanup depends on whether the glue is still wet or has already hardened. Safety first! Always wear gloves when handling Gorilla Glue, as it can bond skin quickly.
Cleaning Uncured Glue
- On Skin: Try to gently pry the skin apart. If that doesn’t work, soak in warm, soapy water. Acetone (nail polish remover) can help dissolve uncured super glue, but use with caution and test on a small area of skin first as it can be drying. For polyurethane glues, it’s even tougher – avoid getting it on skin if possible.
- On Tools/Surfaces: For polyurethane-based glues (like Original Gorilla Glue), uncured glue can often be wiped away with mineral spirits or denatured alcohol. For super glues, acetone is usually effective. Always wear gloves and work in a well-ventilated area.
Cleaning Cured Glue
Once Gorilla Glue is fully cured and hardened, it’s much tougher to remove.
- From Projects:
- Trim: The best method for excess cured foam is to carefully trim it with a sharp blade (like a utility knife or chisel).
- Sand: You can sand down cured glue drips or excess. Start with a coarser grit sandpaper and move to finer grits for a smooth finish.
- Scrape: A stiff putty knife or scraper might help remove larger, hardened blobs.
- From Skin: Cured glue on skin is difficult. Gently file away over time or cover with petroleum jelly and try to gently peel it off as the skin softens. It will eventually wear off naturally.
- From Surfaces: For hardened glue on tools or work surfaces, scraping, sanding, or using a specialized adhesive remover (following product instructions carefully) are your best bets. For very stubborn cured polyurethane glue, some users have had success with heat (using a heat gun on a low setting and scraping), but this requires extreme caution to avoid damaging the underlying material or causing a fire hazard.
Always test any cleaning solvent or method on an inconspicuous area of your project first to ensure it doesn’t cause damage. A great resource for finishing and repair techniques can be found at the Wood Magazine website.
FAQ: Gorilla Glue Drying Times and Usage
Q1: How long does Original Gorilla Glue take to cure fully?
Original Gorilla Glue typically needs 24 hours to achieve its full strength cure. While it becomes dry to the touch in about 1-2 hours and can be clamped for that initial time, the chemical bonding process continues for a full day.
Q2: Can I use Gorilla Glue in cold weather?
While most Gorilla Glues can be used in temperatures as low as 40°F (4°C), colder temperatures can significantly slow down the curing process. For best results, it’s recommended to use Gorilla Glue in temperatures between 50-90°F (10-32°C).
Q3: How do I make Gorilla Glue dry faster?
For Original Gorilla Glue, increasing the humidity around the project is the most effective way to speed up curing. Lightly misting one surface with water before application or working in a more humid environment can help. Ensure good ventilation during this process.
Q4: What is the difference between “dry to the touch” and “fully cured”?
“Dry to the touch” means the surface of the glue feels dry and no longer adheres to light contact. “Fully cured” means the glue has reached its maximum bonding strength and durability. You should wait for the full cure time before putting your project under any stress or load.