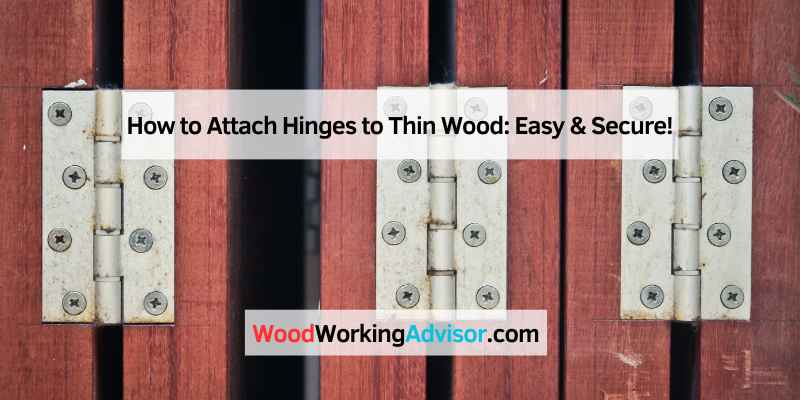
How to Attach Hinges to Thin Wood (Right Screw Size)
To attach hinges to thin wood, first mark the hinge placement on the wood. Use a drill to create pilot holes before securing the hinges with screws.
Attaching hinges to thin wood requires precision and care. Thin materials can split or crack easily, so using the right technique is crucial. Proper placement ensures the door or lid operates smoothly. Selecting appropriate hinges for thin wood is also important, as heavy-duty options may not be suitable.
This guide will walk you through the steps to securely attach hinges, maintaining the integrity of your wood. Whether you’re working on a DIY project or a repair job, understanding these basics will help achieve a professional finish. Let’s dive into the details to make your project a success.
Introduction To Thin Wood Projects
Best Pilot Hole Pick
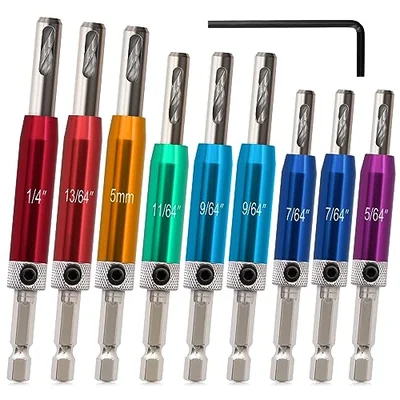
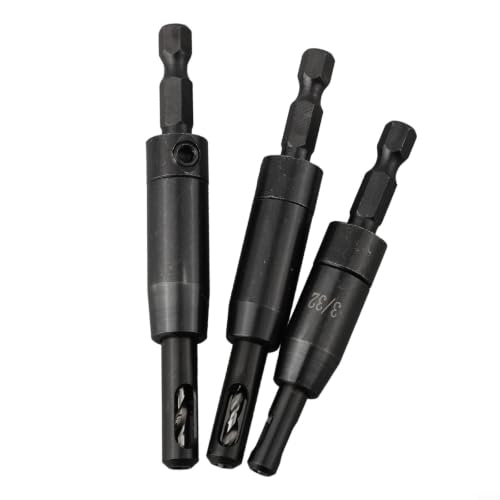
Self-Centering Hinge Drill Bit Set (VIX Bit)
Uses the hinge’s own screw hole as a guide, so every pilot hole lands dead center on thin, unforgiving stock.
- Best for: preventing crooked hinges on thin wood where there’s no margin for error
- Why we picked it: eliminates the guesswork of hand-centering a drill bit on a hinge leaf
- Main drawback: different hinge screw sizes need matching bit sizes in the set
Round out your hinge install kit
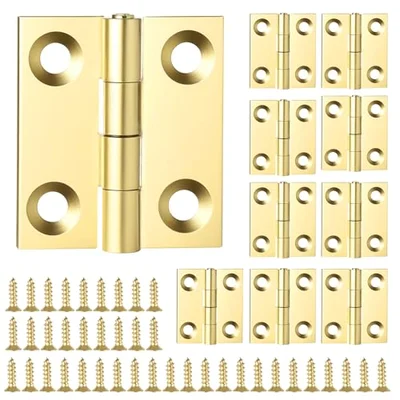 Option 1 Mini Brass Butt Hinges (1″, 10-Pack)
|
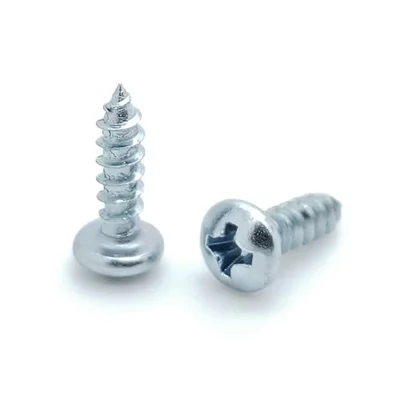 Option 2 #6 Coarse-Thread Wood Screws
|
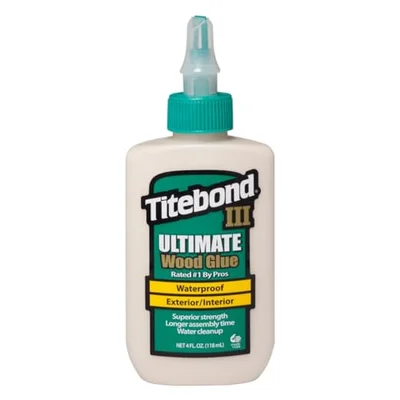 Option 3 Titebond III Wood Glue (4oz)
|
As an Amazon Associate we earn from qualifying purchases.
Working with thin wood brings a unique charm to projects. Its lightweight nature makes it easy to handle. Artisans often love the delicate details that thin wood can showcase.
Common challenges arise when attaching hinges. Thin wood may split or crack easily. It is crucial to use the right tools and techniques. Pre-drilling holes helps prevent damage. Choosing the correct hinge type also matters. Lightweight hinges work best for thin wood.
Always test the fit before final installation. This ensures a secure and smooth movement. Patience and care can lead to beautiful results.
Types Of Hinges Suitable For Thin Wood
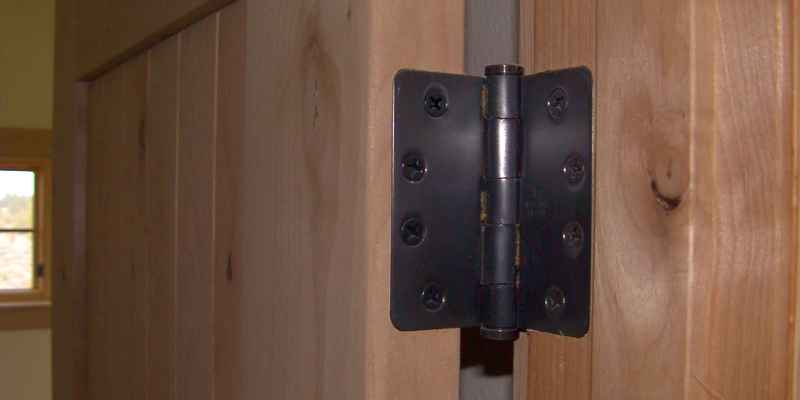
Choosing the right hinges for thin wood is important. Butt hinges are a popular choice. They fit neatly into the wood. This type allows for a clean look. They are strong and durable.
Piano hinges are another option. These long hinges provide extra support. They run the entire length of the door or lid. This helps distribute weight evenly. Piano hinges are great for larger projects.
| Type of Hinge | Features |
|---|---|
| Butt Hinges | Compact, strong, ideal for doors |
| Piano Hinges | Long, supports weight, great for lids |
Essential Tools And Materials
To attach hinges to thin wood, gather essential tools and materials. Here’s a list of necessary tools:
- Drill
- Screwdriver
- Measuring tape
- Clamps
- Hinges
- Screws
- Wood glue
Choosing the right screws and adhesives is very important. Use screws that match the hinge size. Select screws long enough to grip thin wood. Wood glue provides extra strength. Make sure the glue is strong and dries clear.
Preparation Steps
Start by measuring the area where the hinges will go. Use a ruler or tape measure for precision. Mark the spots clearly with a pencil. Ensure that your marks are straight and even.
Next, create a clean workspace. Remove any clutter from your table or bench. Having a tidy area helps avoid accidents. Make sure you have all your tools ready, including a drill, screws, and hinges.
Check the lighting in your workspace. Good lighting helps you see your measurements clearly. A well-lit area also helps prevent mistakes.
Attaching Hinges To Thin Wood
Start by drilling pilot holes for the screws. Use a drill bit that is slightly smaller than the screws. This helps prevent the wood from splitting. Place the hinge on the wood where you want it. Mark the positions of the screw holes carefully.
Next, secure the hinge with screws. Align the hinge properly before tightening. Make sure the screws are not too tight to avoid damaging the wood. Check if the hinge moves smoothly. If it doesn’t, loosen the screws a bit.
Getting Pilot Hole Size Right
“Slightly smaller than the screw” is the general rule, but thin wood punishes a pilot hole that’s too small or badly centered more than thicker stock does. For a #6 screw, a 5/64″ to 3/32″ bit is the right pilot size in softwood or plywood; going smaller increases split risk without adding real holding strength. The bigger practical problem on thin wood is an off-center pilot hole pulling the hinge leaf crooked as the screw seats — a self-centering hinge drill bit (sometimes called a VIX bit) solves this by using the hinge’s own screw hole as a guide, so every pilot hole lands dead center automatically.
Data point: Woodworking hardware guides consistently recommend #8 coarse-thread wood screws around 2″ long for 3/4″ plywood box construction, scaling down to #6 screws around 1/2″-5/8″ for 1/4″-1/2″ thin stock — coarse thread outperforms fine thread in plywood and softwood because it bites into more material per turn.
Reinforcement Techniques
Using epoxy can greatly enhance the strength of hinges on thin wood. Mix the epoxy according to the instructions. Apply it to the hinge area for a strong bond. Wait for the epoxy to cure fully before attaching the hinge.
Installing backer boards is another effective method. Cut small pieces of wood to fit behind the hinge. Secure the backer boards with screws or adhesive. This adds stability and prevents the wood from splitting.
Finishing Touches
Begin by sanding the wood surface. Use fine-grit sandpaper for a smooth finish. Sand in the direction of the wood grain. This helps avoid scratches and marks.
After sanding, wipe away any dust with a clean cloth. This step is important for a nice finish.
Next, apply a wood finish or paint. Choose a color that suits your project. Use a brush or cloth to apply evenly. Let it dry completely before handling.
For extra protection, consider adding a clear coat. This helps to keep the wood looking great over time.
Troubleshooting Common Issues
Hinge misalignment can cause doors not to close properly. To fix this, check the screws. Tighten them if they are loose. If the hinge is still misaligned, remove it. Re-drill the holes slightly if necessary. Make sure the hinge is straight before reattaching.
Wood splitting is a common problem with thin wood. Use a pilot hole to prevent splits. Drill slowly and use the right size bit. If splitting occurs, apply wood glue to the crack. Clamp the wood until the glue dries.
| Issue | Fix |
|---|---|
| Hinge Misalignment | Tighten screws or re-drill holes |
| Wood Splitting | Use pilot holes and apply glue |
Frequently Asked Questions
How Do I Choose Hinges For Thin Wood?
Choosing hinges for thin wood involves considering their weight and style. Opt for lightweight hinges that fit the thickness of your wood. Also, consider concealed hinges for a clean look. Ensure the hinge size matches your door or cabinet for optimal function.
What Tools Are Needed To Attach Hinges?
To attach hinges, you need a drill, screwdriver, and measuring tape. A chisel may be necessary for mortising. Additionally, having wood screws that match your hinge size is essential. A level can help ensure correct alignment during installation for best results.
Can I Use Regular Screws For Hinges?
Regular wood screws work fine for hinges on thin wood as long as the size is right. For hinges on 1/4″ to 1/2″ thick stock, #6 coarse-thread wood screws around 1/2″ to 5/8″ long give good holding power without punching through the other side. Coarse thread grips softwood and plywood better than fine thread, which is meant for metal or pre-tapped holes. Avoid drywall screws — their thin shank and brittle head snap easily under the side-load a hinge puts on a screw.
How Do I Align Hinges On Thin Wood?
To align hinges on thin wood, first, mark their positions accurately. Use a level to ensure they are straight. Next, pre-drill holes to prevent wood splitting. Finally, attach the hinges securely while checking alignment as you go for a perfect fit.
Conclusion
Attaching hinges to thin wood can seem challenging, but with the right techniques, it’s manageable. Choose the appropriate hinges and tools for your project. Always measure carefully and drill pilot holes to avoid splitting. With practice, you’ll achieve a secure and professional finish.
Happy woodworking!
Sponsored / affiliate links. As an Amazon Associate I earn from qualifying purchases. I may earn additional commission from eligible campaigns.